All elements of a data model have attributes that describe their behavior in the service. In the Attributes panel, you can see and change the attributes of a selected data model element. If using the panel preset, the attributes panel is displayed in the lower left corner. To return to the panel preset, go to the user preferences and use button Reset Panels.
Refer to Customizing Editors and Panels for detailed information about panel management in general.
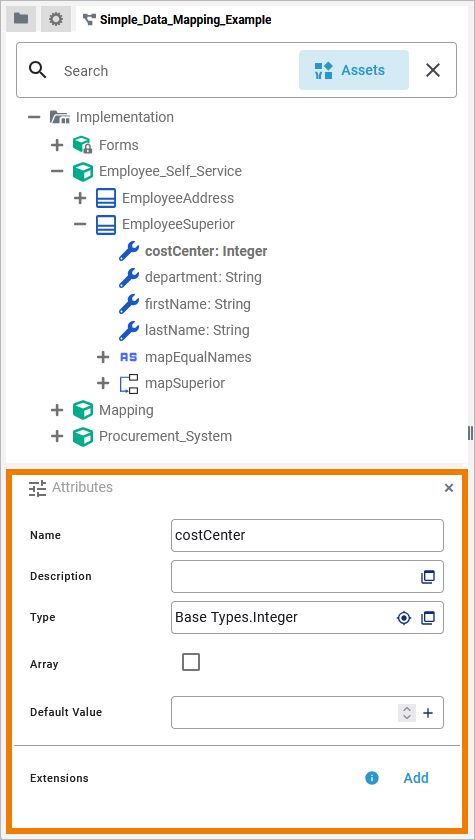
Click an element in the Implementation folder to display its attributes in the Attributes panel:
All elements have the following standard attributes:
-
Name
-
Description
-
Extensions
Some elements have specific attributes:
-
Base Class
-
Interfaces
-
Include in Library Export
-
Type
-
Array
-
Default Value
-
Is static
Standard Attributes
In the attributes panel, all attributes of the selected element are displayed. Some standard attributes are present for all elements.
|
Attribute Name |
Description |
Possible Values / Example |
Availability |
|---|---|---|---|
|
Name |
Click here to insert and change the Name of the related element. Generated elements (like e.g. the Message folder and its elements) cannot be changed. Element names must follow certain naming rules. They
|
EmployeeSuperior |
All data model elements. |
|
Description |
If you want to insert or change a description for the respective data model element, click here to open a text editor where you can enter and format your text: 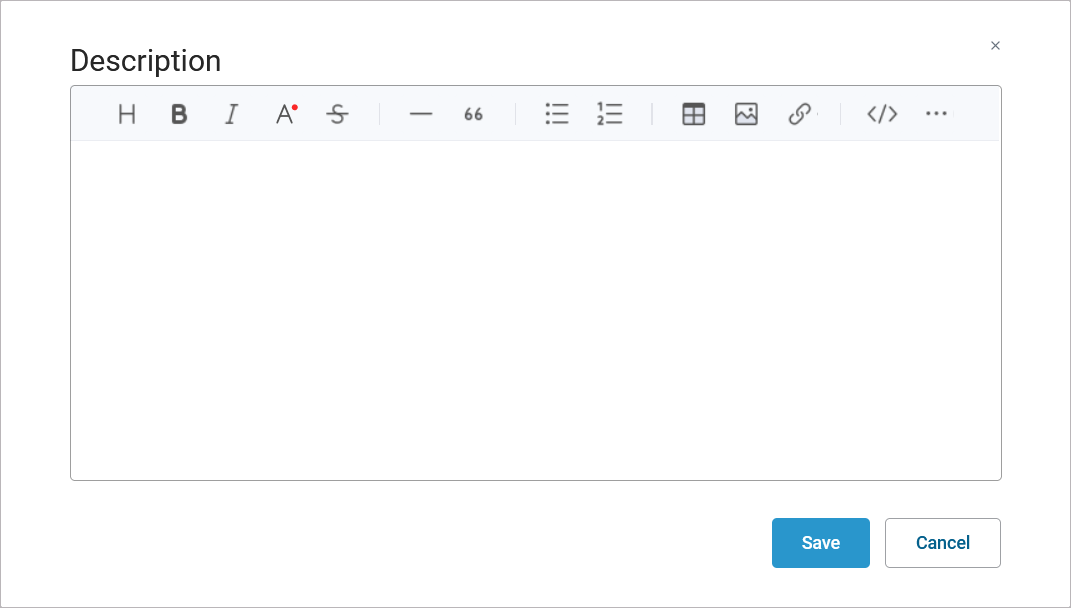
|
|
All data model elements. |
|
Extensions
|
By clicking Add, you can add extensions to a data model element. By adding an extension, you can add additional attributes to a data model element. |
All data model elements. |
Specific Attributes
In the attributes panel, all attributes of the selected element are displayed. Some attributes are only available for specific elements (see column Availability below).
|
Attribute Name |
Description |
Possible Values / Example |
Availability |
|
|---|---|---|---|---|
|
Base Class |
Select the class the current class derives from. All properties and operations of the base class will also be available on the current class. |
Order |
Classes |
|
|
Interfaces |
You can add an interface to the respective class by clicking option Open selection dialog and selecting an interface from the list of available interfaces. |
SupportManager |
Classes |
|
|
Include in Library Export
|
You can mark classes and interfaces as to be part of a library export. Read more about defining and using libraries on Developing and Using Libraries. |
true |
The selected element is part of the library. |
|
|
false |
The selected element is not part of the library. |
|||
|
Type
|
Properties always have a type. These can be basic types or user defined types. Users can define their own types in the Implementation folder or in a library. For properties, you can change the type by clicking option Select in service panel and selecting a class or an interface from the list of available types. |
Base Types.String |
|
|
|
Array
|
Use the attribute Array to enable multiplicity. It is not possible to set default values for arrays. Therefore, the option to set a Default Value for the respective property (see below) disappears when the option Array is enabled. |
true
|
The variable has a multiplicity of 0..*. |
|
|
false |
The variable has a multiplicity of 0..1 (default). |
|||
|
Default Value
|
Specify a default value for the respective property here by clicking Plus on the right. Click Minus to remove a set default value. |
a valid default value depending on the type of the property |
Properties |
|
|
Is static
|
Specify if the operation is static (default) or not.
For more information, also refer to Adding Operation Calls. |
true |
The operation is static (default) and can be used outside the context of the related class.
|
Operations |
|
false |
The operation is non-static and needs a self object as an input. |
|||