If a user wants to consume a private API, he must first register for it (refer to Creating a Contract). If approval is required for the plan he wants to subscribe to, the user has to wait for an API Management user with approval authorization to answer his request. On this page, we explain the approval process and its options.
Users with profile api_management_admin, so-called "superadmins" (refer to Administration), bypass the approval process: Their requests do not need to wait for approval but are effective directly.
If a user has signed up for a plan that needs approval, a corresponding note is displayed when he finishes the signup wizard:
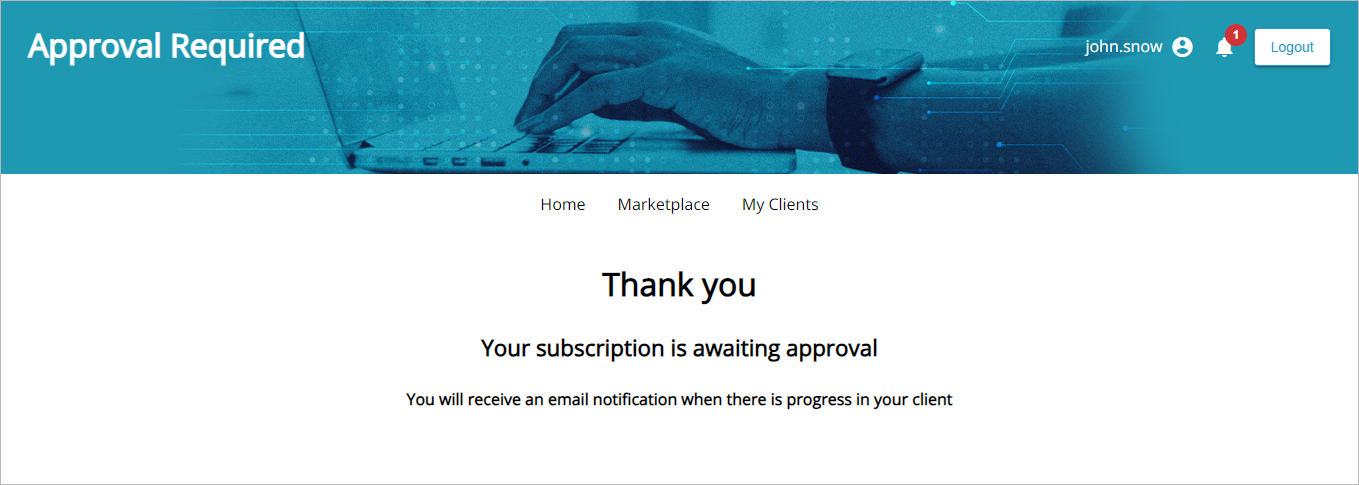
He will also get a notification in the API Developer Portal (refer to Notifications). The user must now wait for his request to be processed:

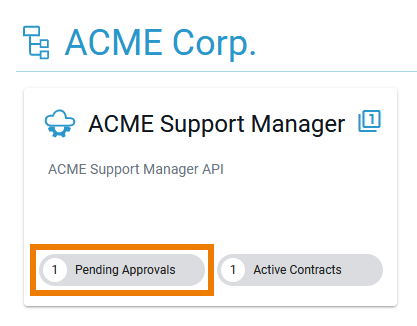
At the same time, the open approval request is displayed in API Management:
-
On the tile and details page of the related API:
-
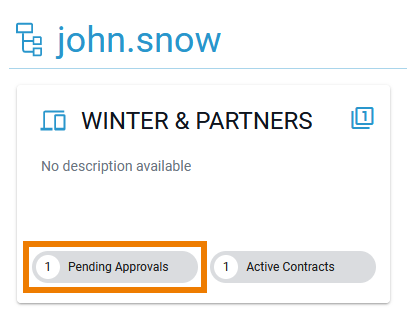
On the tile and details page of the related client:
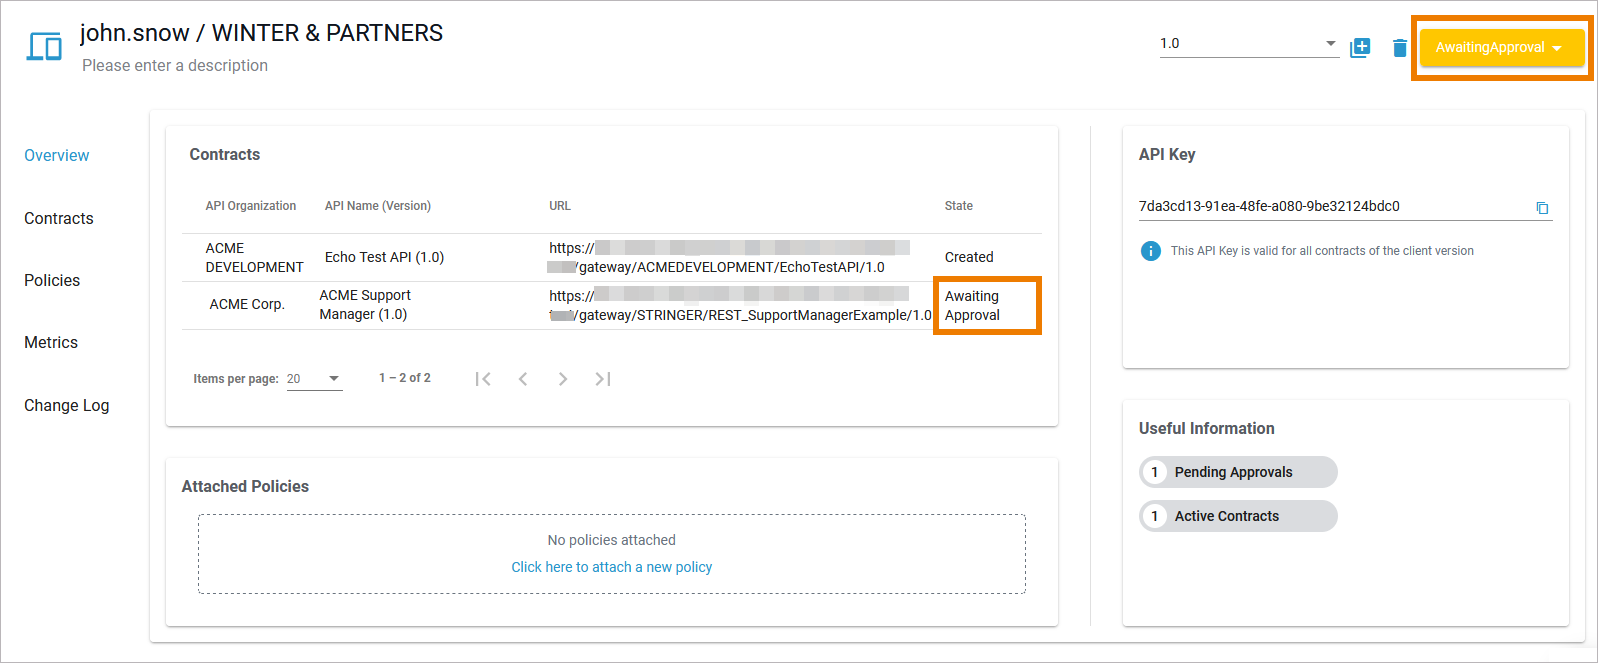
If the client has been created during the creation of the contract, the client is also in state Awaiting Approval (refer to Creating a Contract for details):
Answering an Approval Request
To handle an open approval request, the approver can click the Pending Approvals label on the API tile or details page:

Approvers are informed about open approval requests:
-
via the My Notifications menu in API Management.
-
via email notification.

Both notifications direct the approver via link to the Contracts tab of the API's details page. Column State indicates which contract is awaiting approval.
To handle an approval request, activate the contract(s) in state Awaiting Approval. This will enable the three buttons at the bottom of the page:

The enabled buttons indicate your options:
-
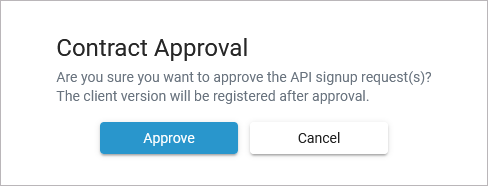
Click Approve to allow the client to use the API. The requester is notified by email and gets a notification in his Developer Portal account.
-
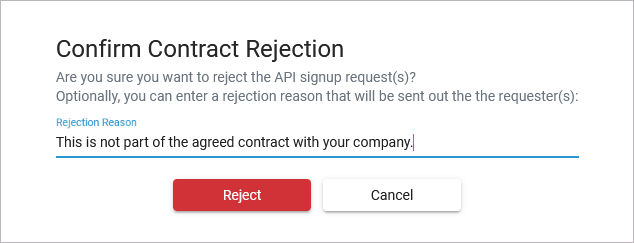
Click Reject to deny the request. The requester is notified by email and gets a notification in his Developer Portal account.

All possible actions must be confirmed in a separate pop-up window. After contract approval, the client version is automatically registered:
During contract rejection, you can specify a rejection reason. The reason is included in the email that is sent to the requester:
If the request has been approved, the contract is displayed as Created in the Contracts tab:

If a request has been rejected, the contract is removed from the list in the Contracts tab:

Related Content
Related Pages:
