To create a new user account, you need at least the following data:
-
first name, last name
-
e-mail address
Creating a User in the Scheer PAS Administration
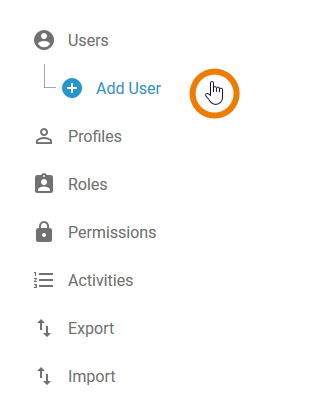
Select Add User in menu Users in the sidebar:
An empty user data sheet opens:

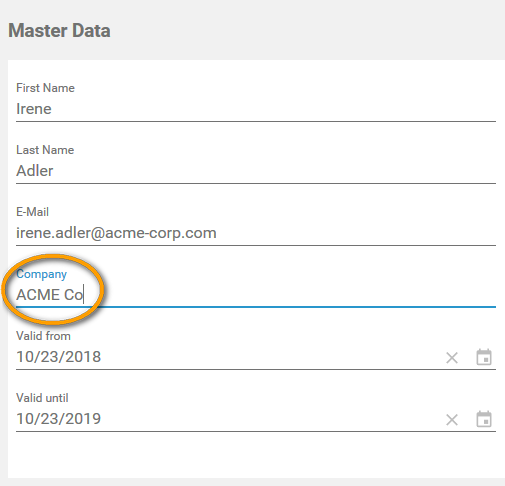
On the left side of the Master Data section, you have to insert the personal data of the new user:
-
First Name, Last Name and E-Mail are mandatory.
-
The e-mail address provided in field E-Mail is used when the business system needs to send e-mails to the user.
-
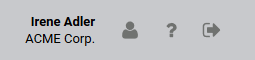
The content of field Company is displayed in the user's cockpit along with his name:
By default, the validity of a user account is one year. You can edit the default settings in the fields Valid from and Valid until:
-
Manually by inserting a date in format mm/dd/yyyy. Additionally, a calendar opens:
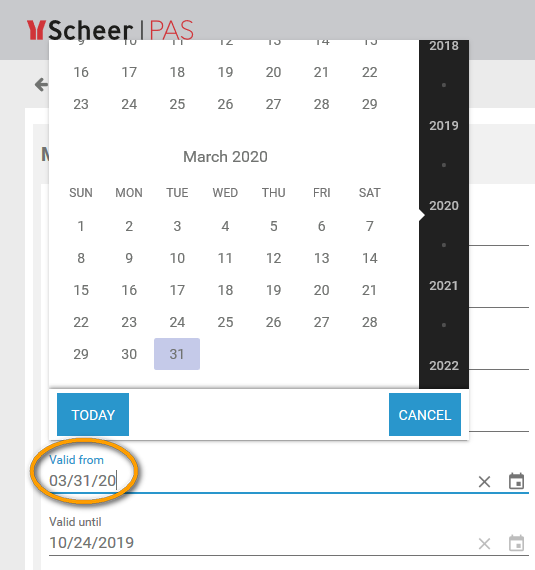
If the date set for Valid until has expired, the user can no longer log in to the system, even if his account is still activated.
-
Using the calendar. Click a date in the calendar to adopt it:
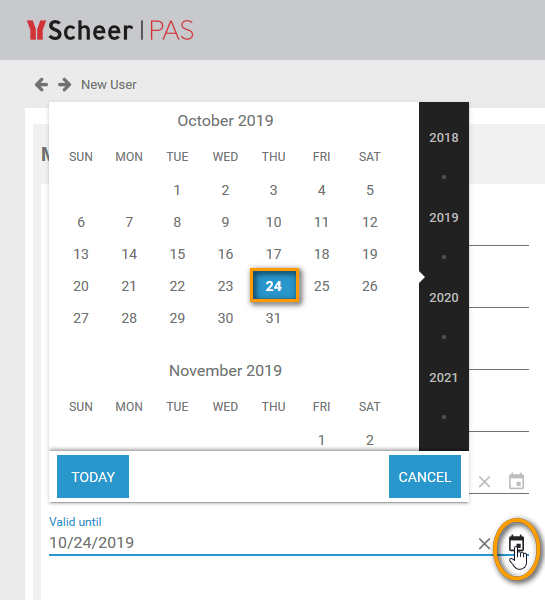
If the date set for Valid until has expired, the user can no longer log in to the system, even if his account is still activated.
On the right side of the Master Data section, the account specific data of the user can be filled in:
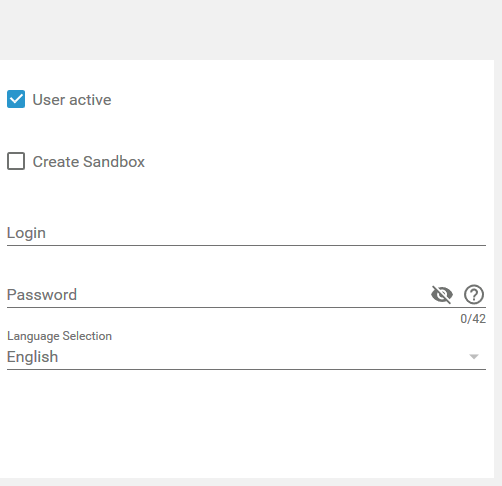
User active: This checkbox allows you to manage, if the user account is activated and usable, or deactivated, so that the user cannot log in to the business system any more.
If the date set for Valid until has expired, the user can no longer log in to the system, even if his account is still activated.
Create Sandbox: A sandbox is a personal profile. If you activate this checkbox, a sandbox is created along with the user account and directly assigned to the user's account.
The notation for automatically created sandboxes follows the scheme: sandbox_Login.
Insert the users Login here (this is the ID for the user to log in to the business system):

Please note: Once set up, the Login cannot be changed anymore.
Every login has to be unique. Your entry in the Login field is checked automatically. If it is already in use, you will have to change the login name:

The Login must not be empty. Allowed characters are:
-
numbers 0-9
-
letters a-z and A-Z
-
special characters . - _ and !
The use of a valid e-mail address is also allowed:

In the next step, assign a password:

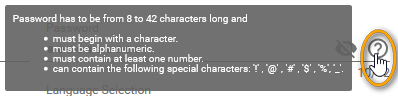
Make sure that the password ...
-
is 8 to 42 characters long.
-
starts with a character.
-
is alphanumeric.
-
contains at least one number.
-
contains only the allowed special characters (!, @, #, $, %).
You can display the password criteria by hovering over the question mark icon:
If your chosen password is not matching the password criteria, the error message Password is invalid! is displayed. Enter a password that matches the password criteria:

Use the eye icon to show or hide the password:


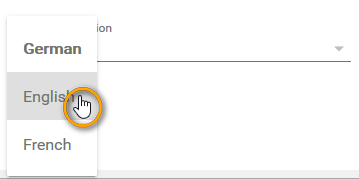
The content of field Language Selection determines the language of the user interface for the business system. Default language is German. Click the arrow to display the list of available languages:

Choose the default language for this user. German, English and French are available:
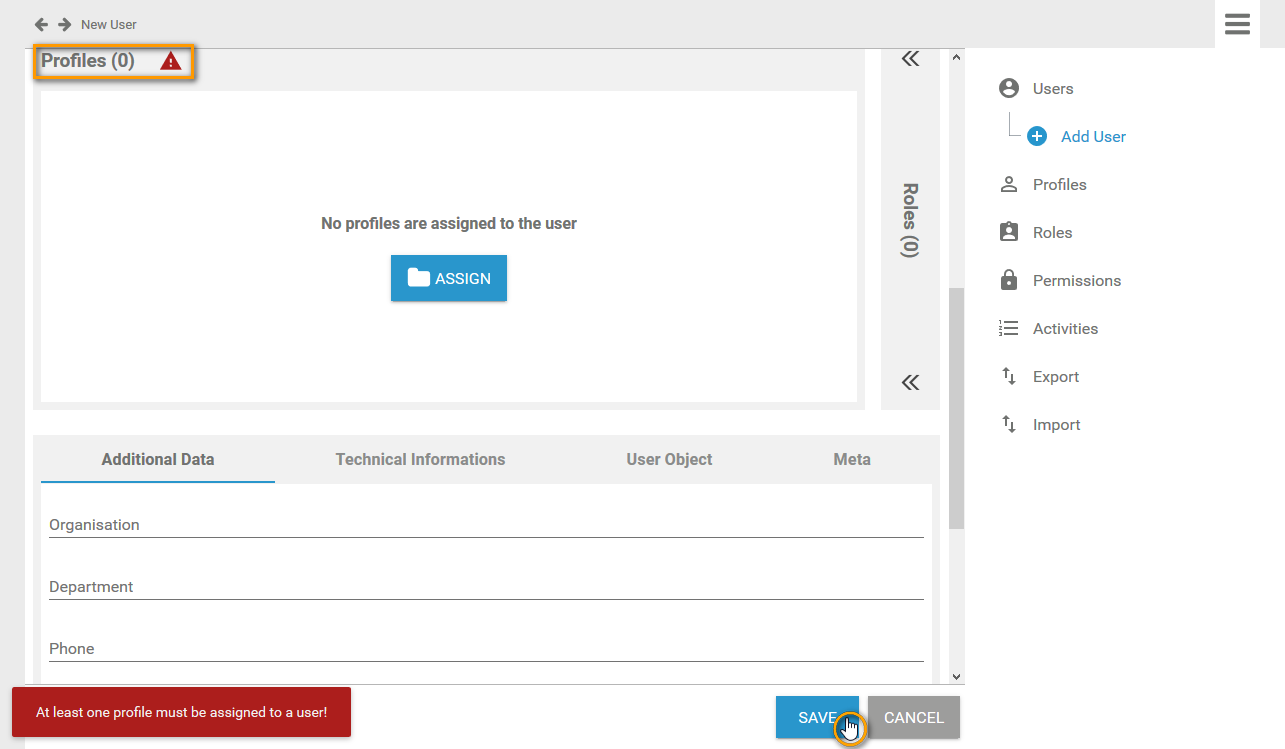
When you have inserted all personal data, you must assign a profile before saving the user data sheet. Otherwise an error message At least one profile must be assigned to a user! will appear:
Assigning a Profile
Every user needs at least one profile, otherwise he will not be able to work on the business system. The necessary standard profiles for the corresponding business system are provided with every Scheer PAS Administration. An overview on the standard profiles can be found in menu Profiles.
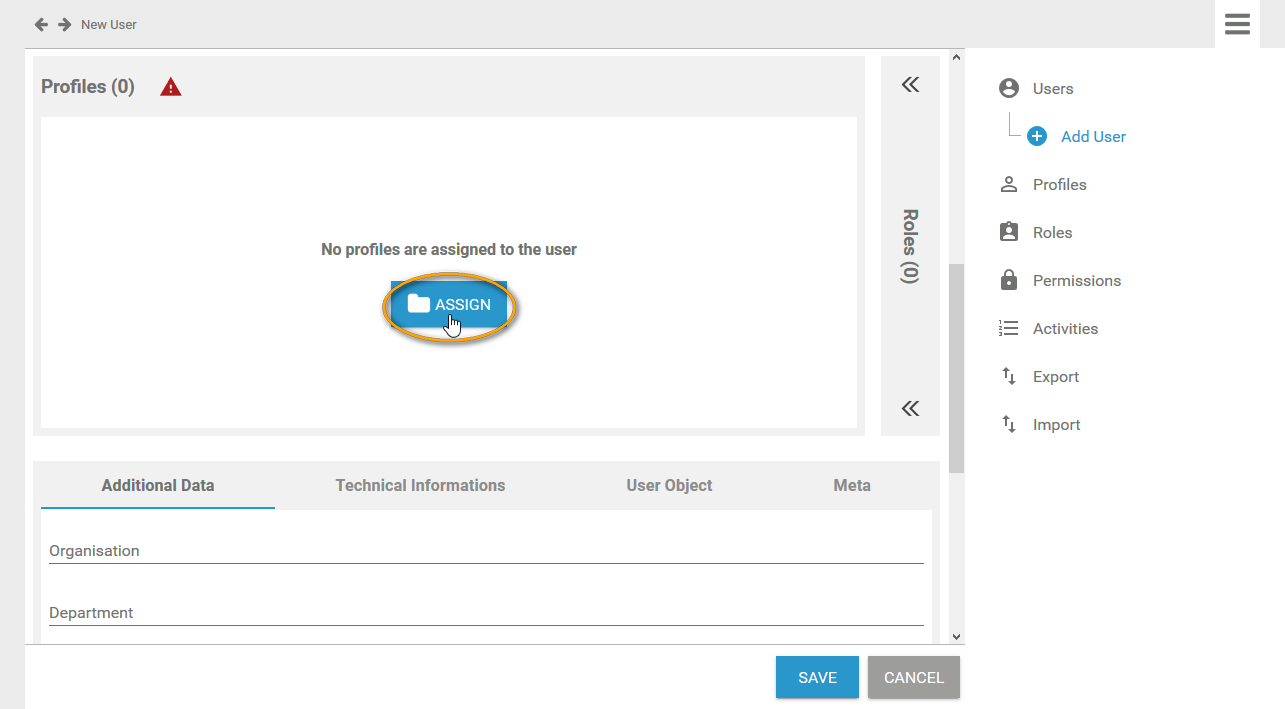
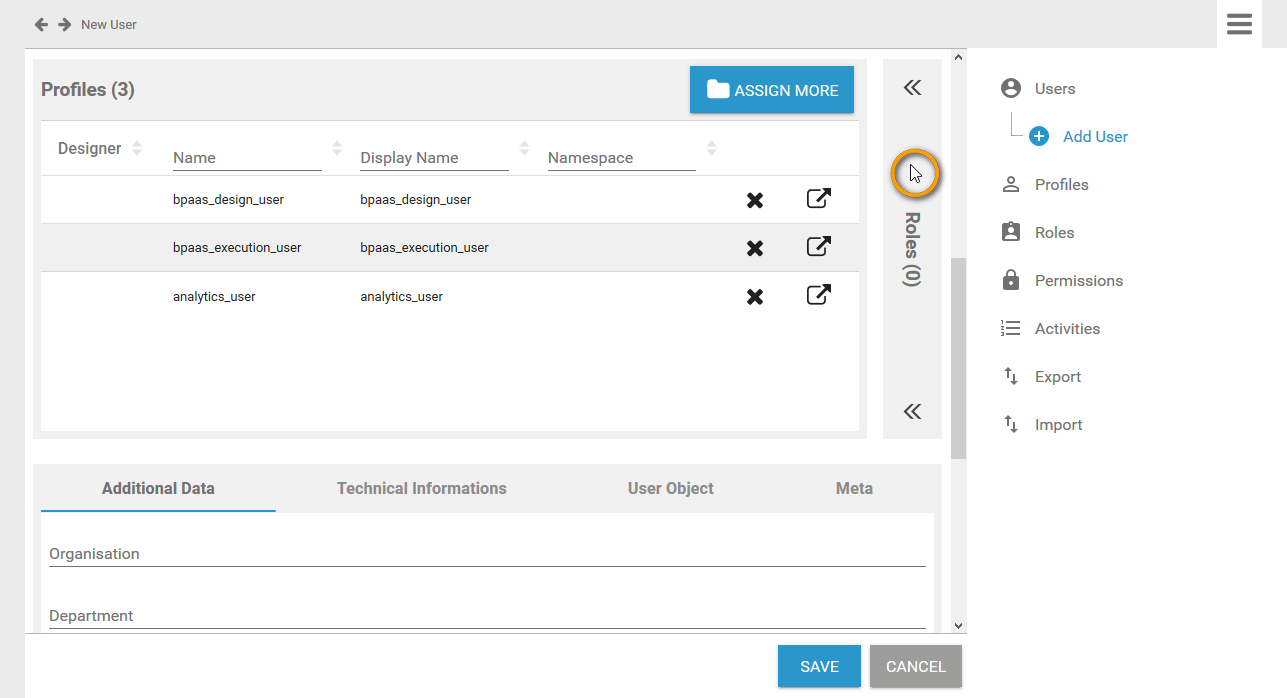
In a user data sheet, the profiles assigned to the user are listed in the Profiles window. If you create a new user, you start with an empty Profiles window.
Click button Assign to add a profile:
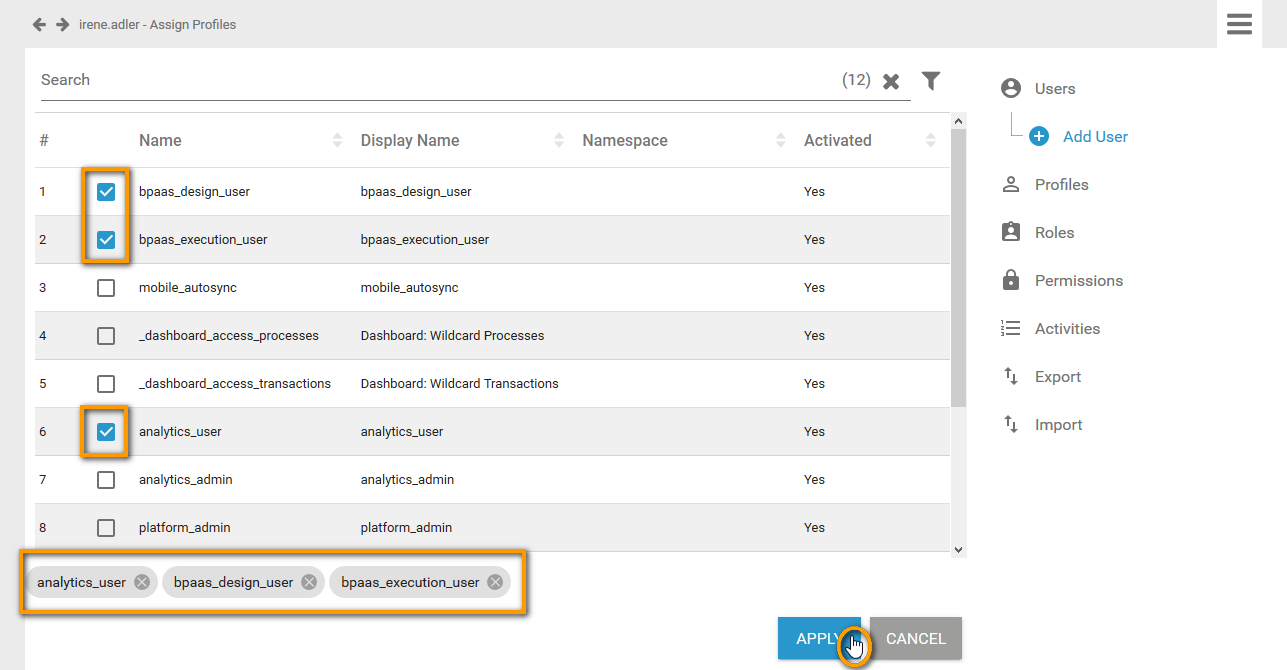
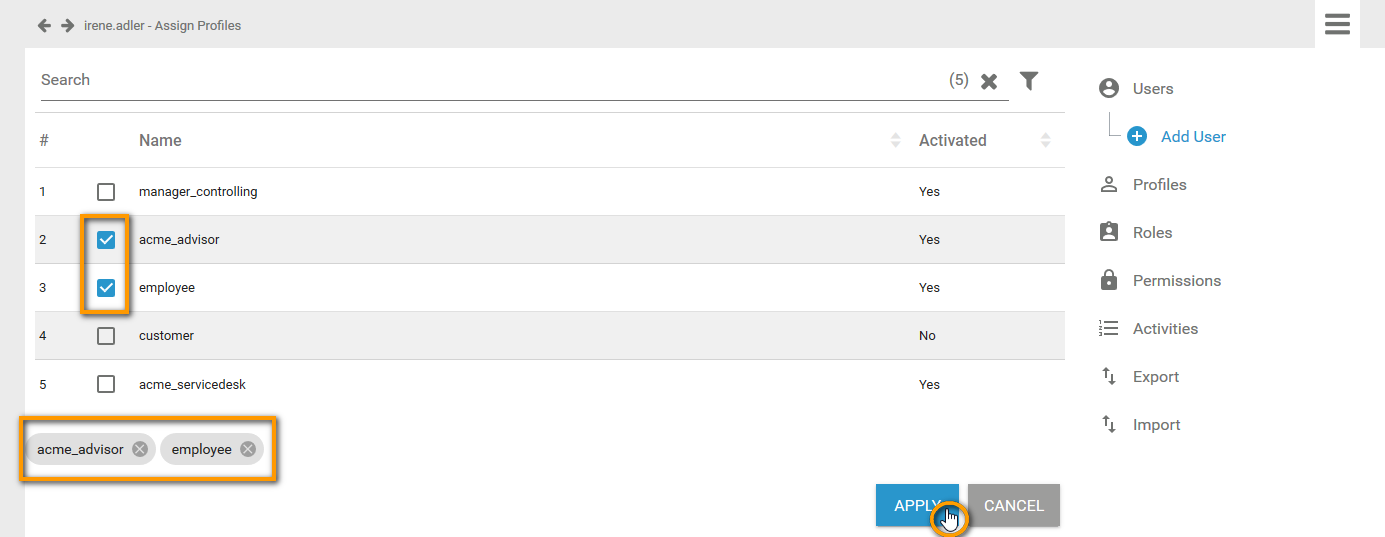
The list of all available profiles opens. Use the corresponding checkboxes to choose the roles you want to assign:
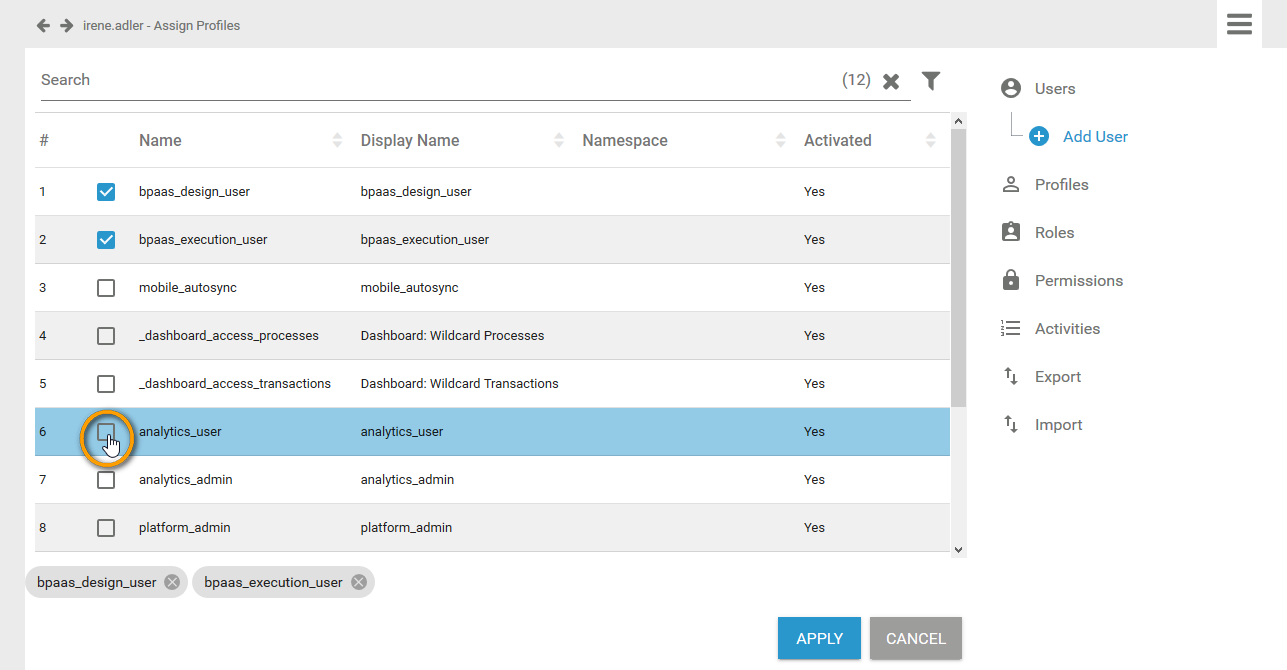
All chosen profiles are displayed in the footer of the list. Click Apply to assign the profiles to the user:
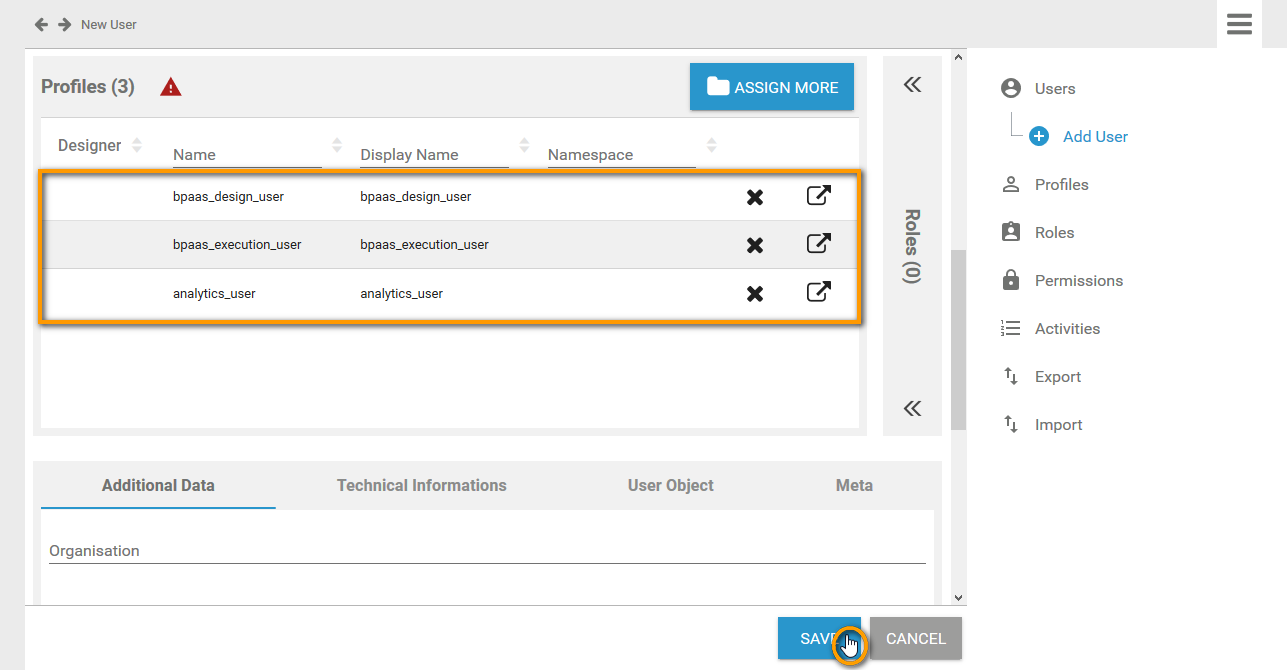
Your selection is transferred to the Profiles window of the user data sheet. When all necessary profiles have been assigned, you can save the user data sheet:
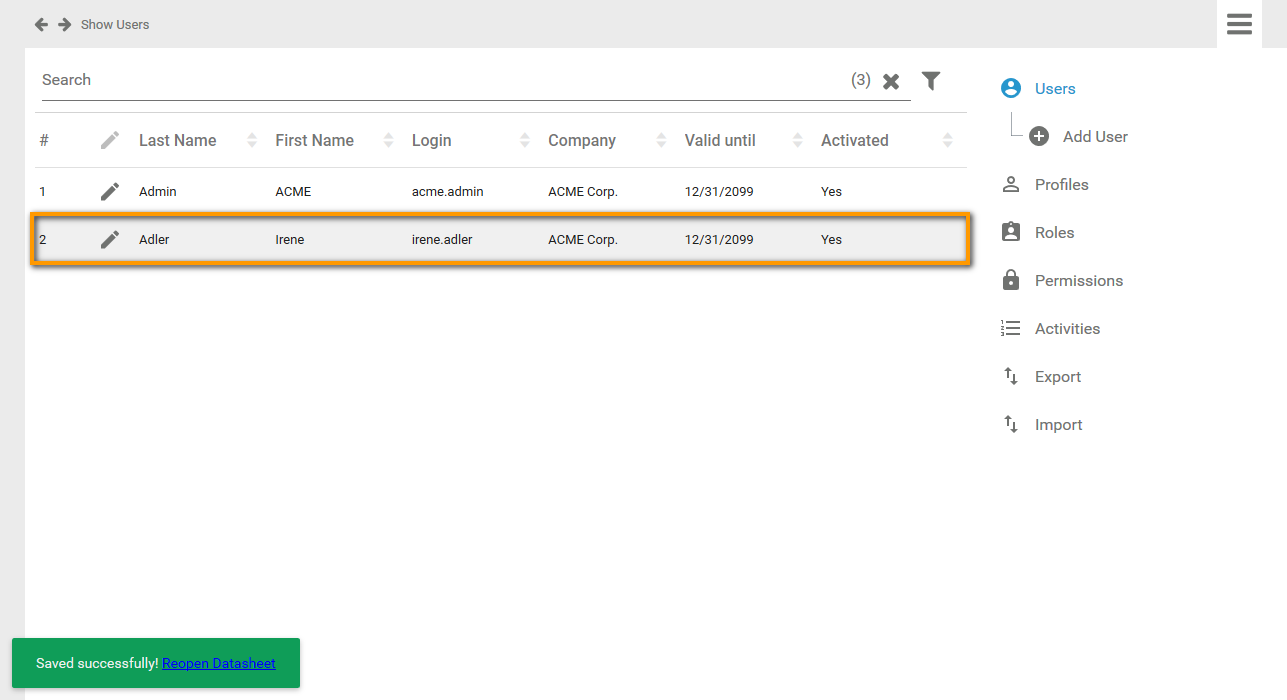
The data sheet closes and the new user is displayed in the user list:
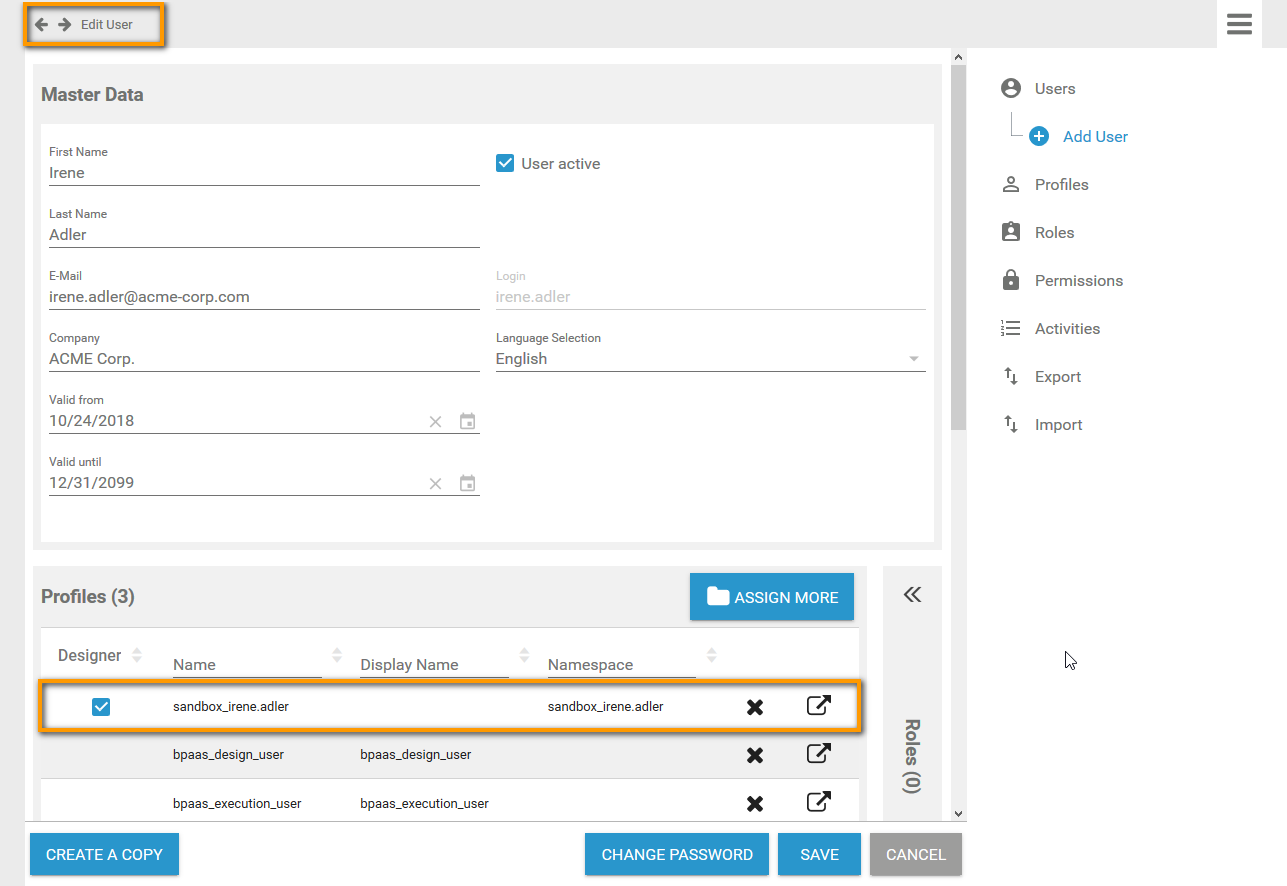
You can use the link in the success message to reopen the user data sheet, for example to edit the user data or to check whether the sandbox has been created and assigned:
Individual write permissions can be granted or denied for profiles with namespace. See page Edit a User for information on how to grant write permissions on profiles.
Expert Tip
We recommend to separate administrator accounts from user accounts. If one person should be system user as well as system administrator, he should use one account to access the business system and one account with administrator privileges.
Example: Irene uses the account irene.adler for the business system with profile analytics_user to use Scheer PAS Process Mining. Account acme.admin is her account with administrator privileges (profile platform_admin) Irene uses to log in to the Scheer PAS Administration.
Assigning a Role
You can assign roles just like you assign profiles. Use the sidebar of the profiles window to switch to the roles window:
Click the Assign button to open the list of available roles:

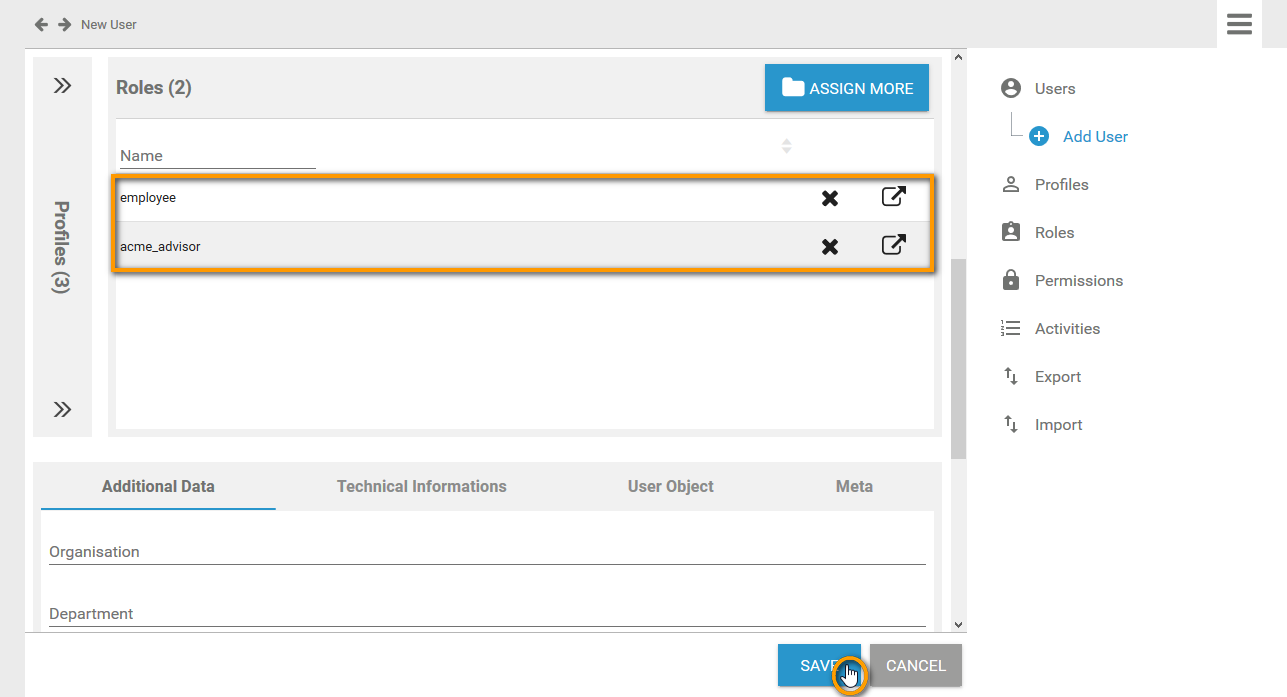
Tick the checkboxes to choose the roles you want to assign to the user:

All chosen roles are displayed in the footer of the list. Click Apply to assign the roles:
Your selection is transferred to the Roles window of the user data sheet. When all necessary roles have been assigned, you can save the user data sheet: