You can use the sidebar to display your projects in a hierarchical structure. The Hierarchy Sidebar shows all projects in all profiles assigned to your user.
Use the Hierarchy Sidebar...
-
...to get an overview of all profile contents.
-
... to see how many apps belong to a project.
-
... to navigate through your projects.
-
... to create suitable groups for projects or apps.
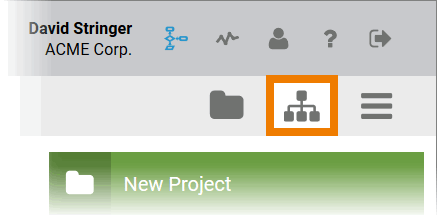
Showing the Hierarchy Tree
Use option Open Tree to display the Hierarchy Sidebar:
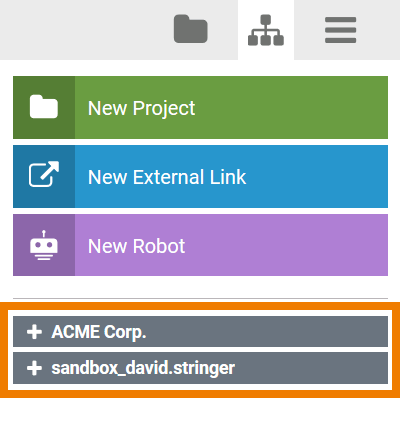
The display of the hierarchy tree starts with an overview of your user profiles. Usde the Plus button to open the first level: The project level.
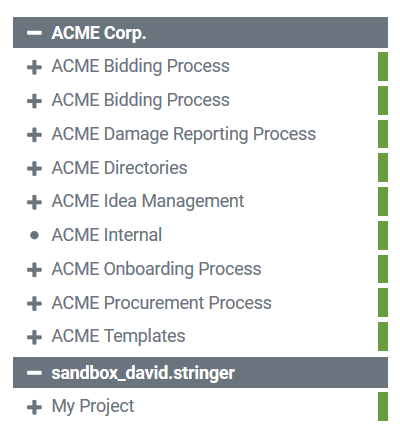
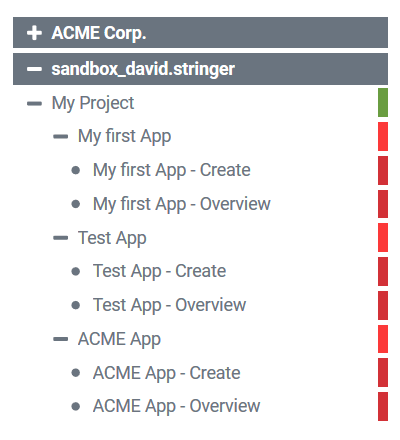
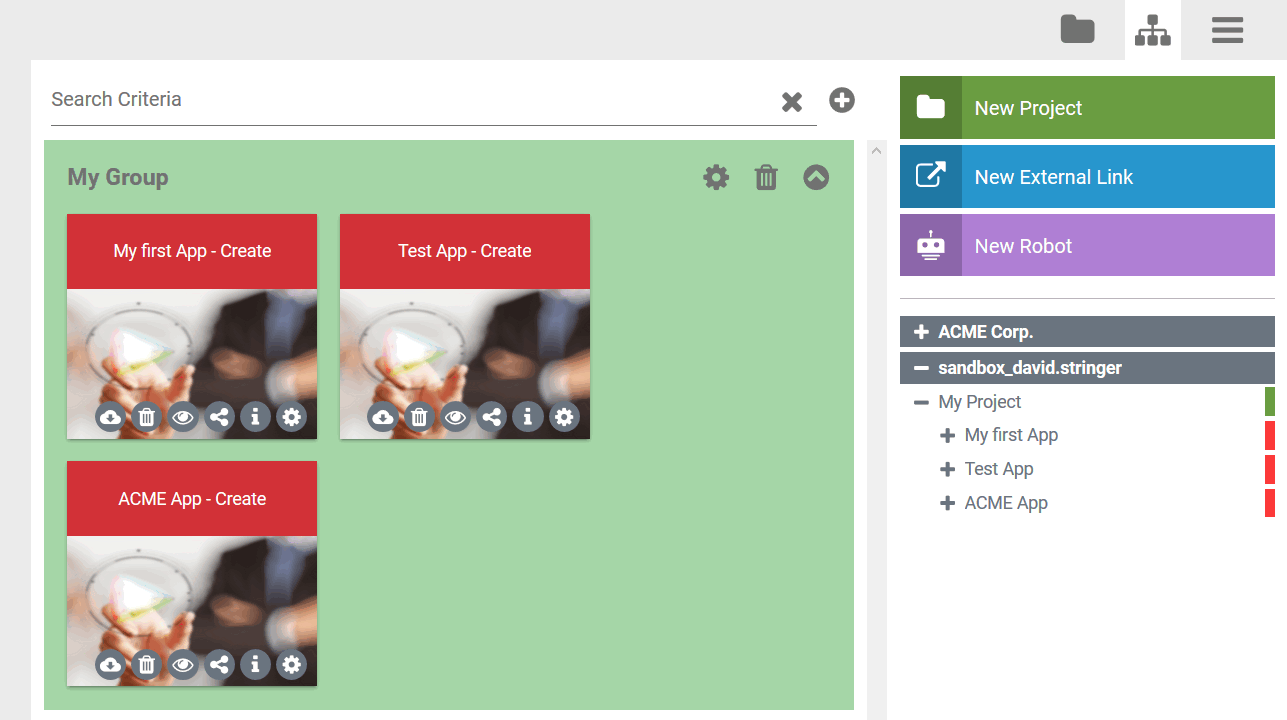
All projects are displayed in the first level of the profile. You can recognize projects by the green marker:
The displayed icons indicate the possible actions:
|
I con |
Description |
|---|---|

|
Expand the next level. |

|
Hide this level. |

|
No further level available. |
Click the Plus to open the next hierarchy level: The app project level. In the app project level, all app projects that have been created in the respective project are displayed. App projects are marked in light red:
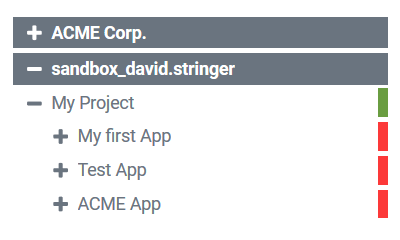
If you click Plus again, you open the Process App level. The Process App level represents the lowest level of the hierarchy. It is marked with a dark red bar. All Process Apps created in an app project are listed here:
Functionalities of the Hierarchy Tree
The display of the hierarchy tree is multifunctional:
-
All displayed objects are clickable:
-
A click on a project opens the project editor, the corresponding project can be edited directly.
-
If you click on an app project, the project editor opens and you can directly edit the app projects content.
-
Process Apps will be executed directly from the hierarchy tree if you click on them.
-
-
The objects can also be dragged from the hierarchy tree into the content area of the cockpit to create new tiles.
Creating a Tile Using the Hierarchy Tree
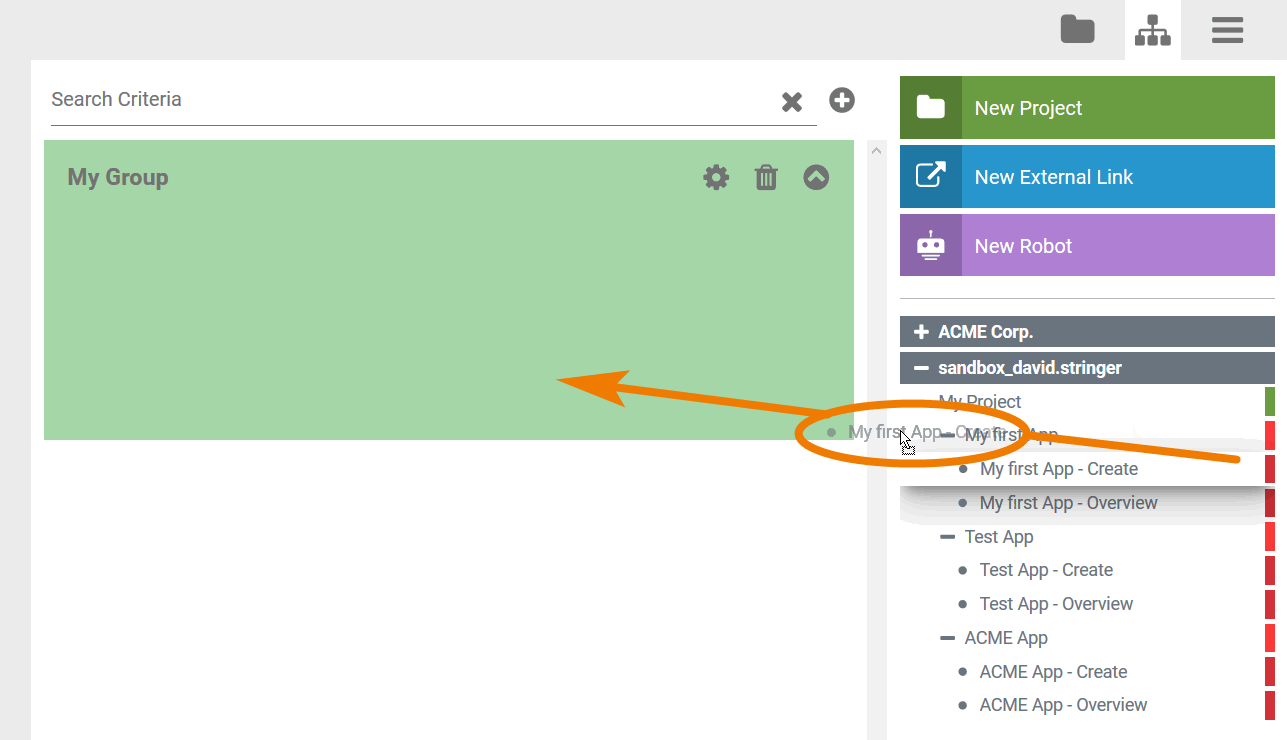
Drag the element for which you want to create a tile from the sidebar into a group:
The tile is created in the group, the corresponding element is still present in the sidebar:
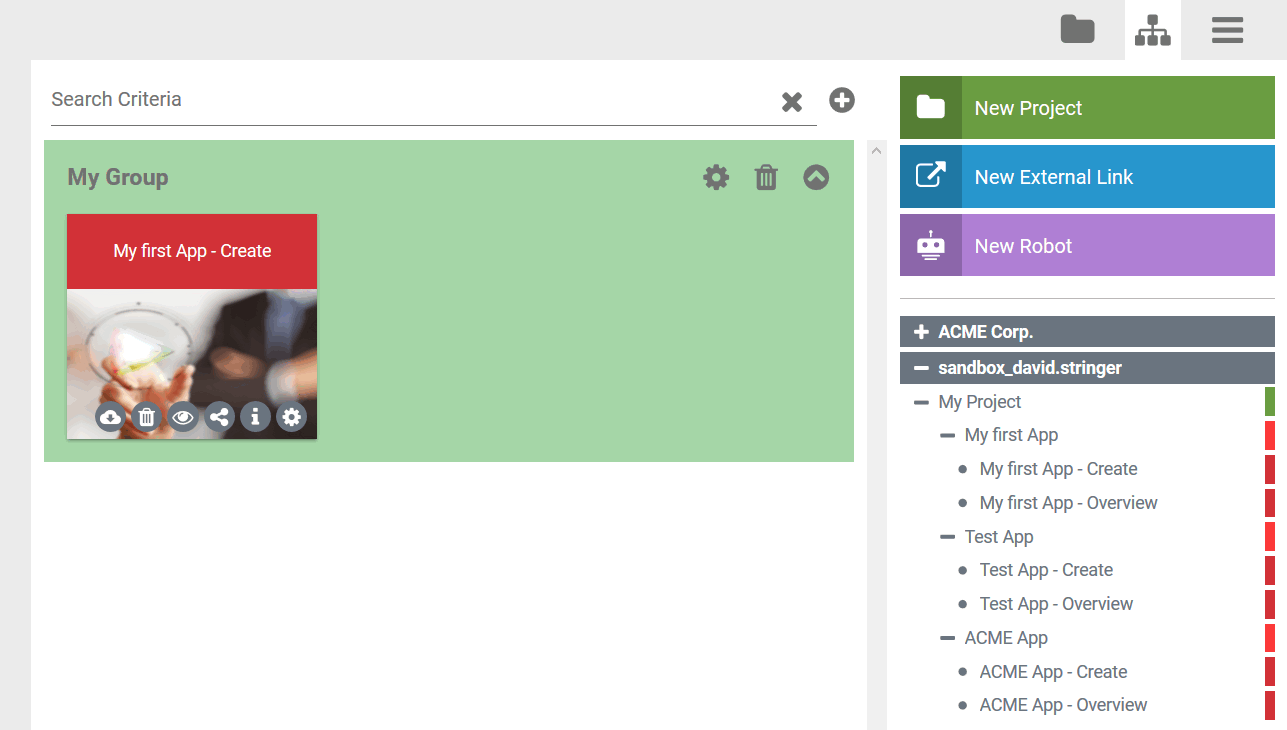
The configuration option of tiles are explained in detail on The Content Area.
Creating Tiles for a Complete Project
Drag the project from the sidebar into a group:

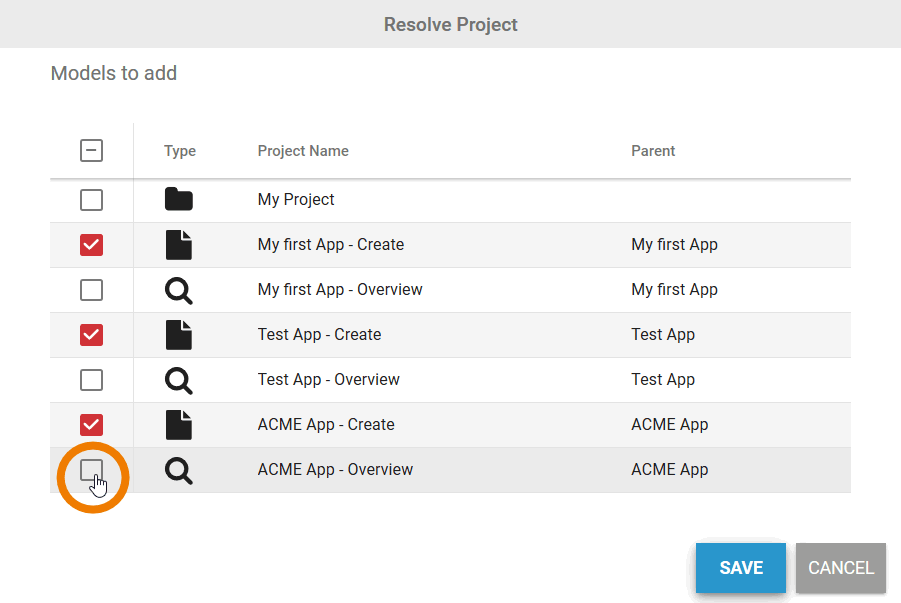
The dialog Resolve Project opens automatically displaying all available content within the project. All content is selected by default:

Use the checkboxes to deselect the elements for which you do not want to create tiles. Then click Save:
Tiles are only created for the selected contents:
The configuration option of tiles are explained in detail on The Content Area.