Developers can create their own libraries in the Designer. You can include classes, interfaces and forms in a library. When wanting to create a library, you need to define which elements from the service panel you want to include.
It is recommended to create a separate service for each library you want to create. This makes it easier to maintain your libraries.
Defining the Library Content
You have two options to do define the contents of your library:
-
Including library content via the Attributes panel
-
Including library content in the Publish Asset wizard
Which option you choose depends largely on how you go about developing.
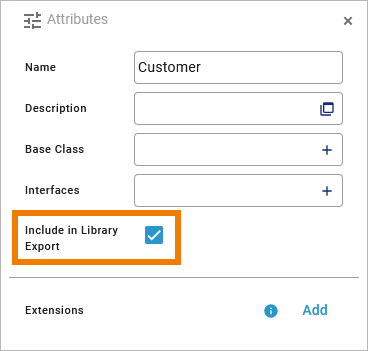
The Attributes panel option is the first choice if you want to define the contents of the library directly during development. When you are working on a class, interface or form you want to include in the library, open its attributes panel and activate the Include in Library Export attribute:
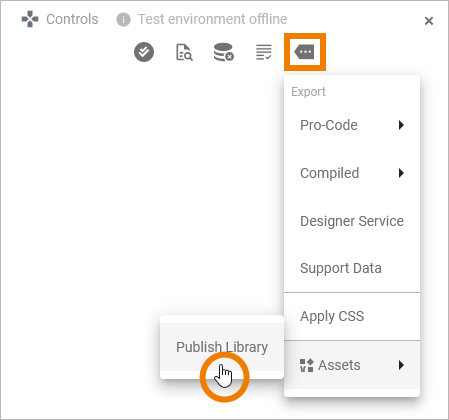
The Publish Asset wizard option is the first choice if you want to define the contents of the library all at once after development is complete. In that case, go to the Controls panel and open Additonal menu > Assets > Publish Library:
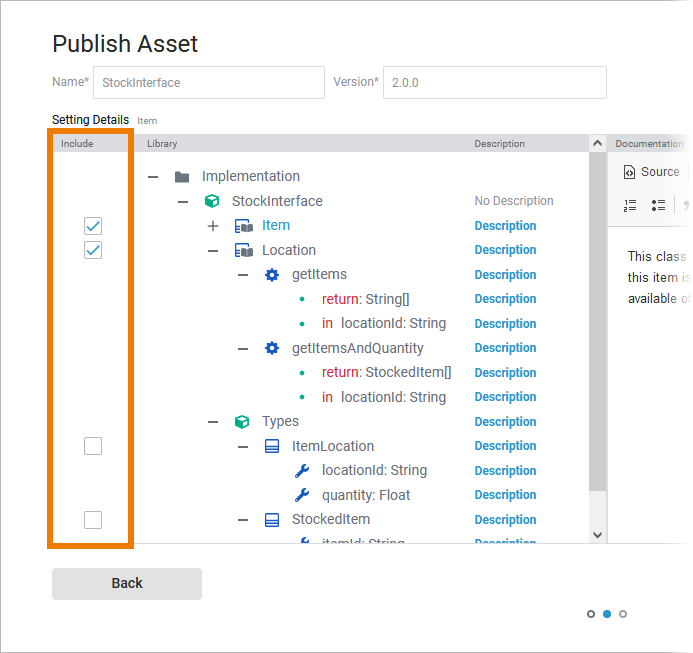
Click button Next in the first window of the Publish Asset wizard. In the second window of the wizard you can manage the library content and its documentation. Section Setting Details on the left side shows the content of the Implementation folder of your service. You can expand and collapse the nodes to display all available items.The Include checkbox corresponds to the element attribute Include in Library Export: Activate the checkbox for all elements that you want to include in your library.
For a detailed description of how to use the Publish Asset wizard, refer to Publishing Assets.
Expert Advice
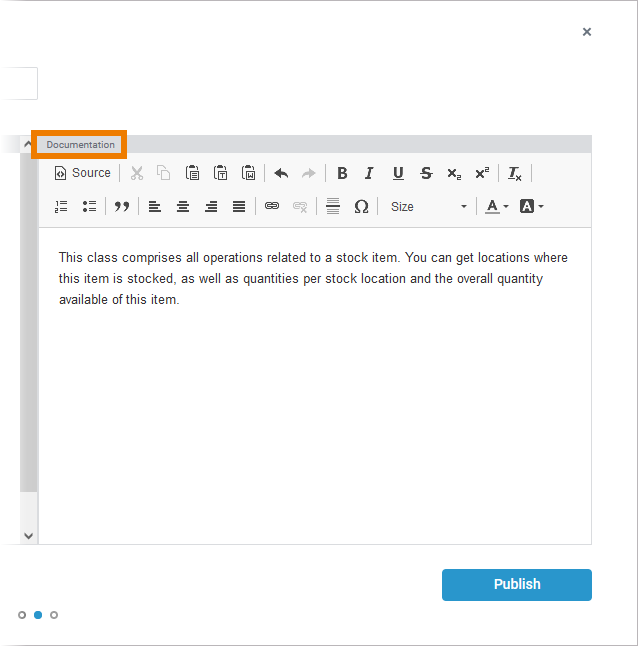
Detailed documentation is important so that other team members can use your library quickly and easily. For more details about documenting your library in Designer, refer to Documenting Assets:
Sharing Your Library
The main purpose of creating a library is that you want to share it with other users. As of PAS 23.1.1 an asset repository is introduced to the Designer, which allows you to quickly share your libraries with the entire team. Use the Publish Asset wizard to make your library available to others. You decide which user groups should be able to use the library by selecting the namespaces in which the library should be available:
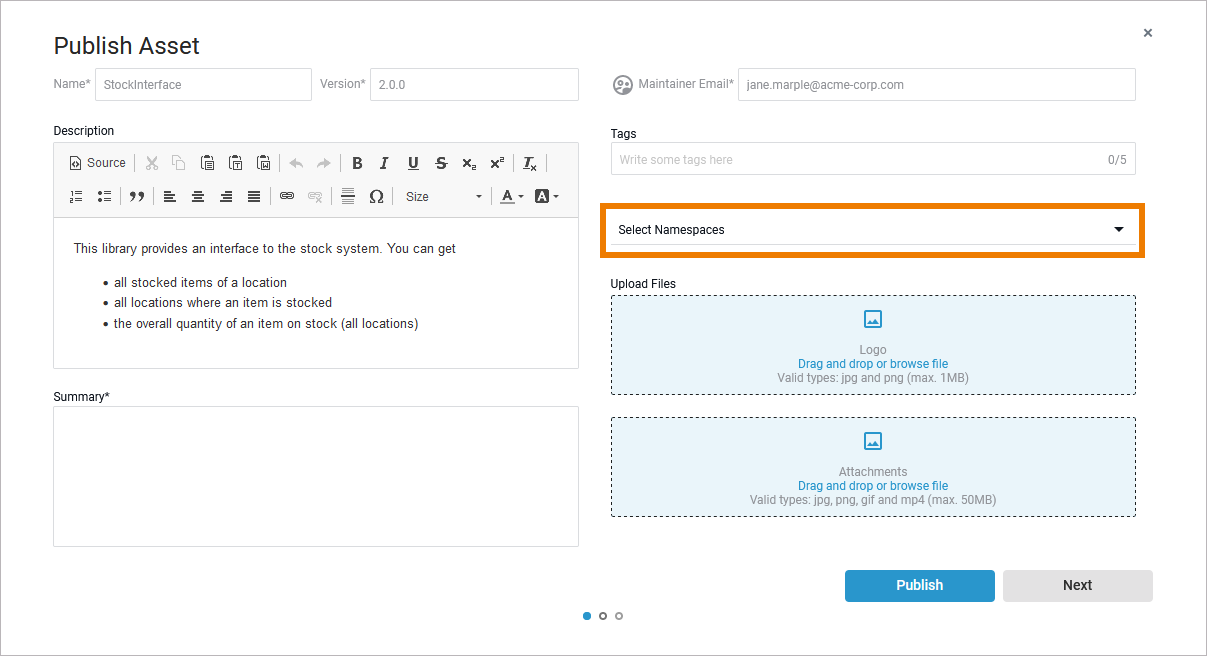
Find detailed information about the functionalities of the asset repository in chapter Sharing Designer Content.
Exporting a Library
You can still create an export of your library. Use the export e.g. if you want to create a backup of your library. If you want to share the library with other users, you should prefer to publish it via the asset repository (see Sharing Your Library).
After having defined the library components, you can export the library repository via the Controls panel Compiled > Library:
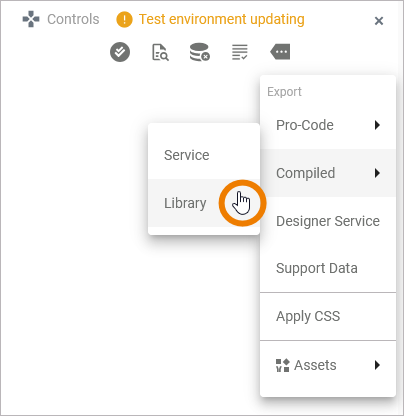
All selected elements and depending elements are exported to a library file with extension .xlib. The exported file is accessible via the download menu from your browser resp. located in your downloads folder.
-
The name of the library corresponds to the service name.
-
The library version corresponds to the service version defined in the service details.
