The E-Mail Element
|
Element |

|
|
Function |
The EPC element E-mail is a preconfigured worker, which enables the server based dispatch of e-mails. In contrast to the mailto command no mail program must be available on the user's end device for this. A double click on the element opens an editor, in which the e-mail text can be formatted and saved. |
|
Connection |
Predecessor: none
|
|
Example |
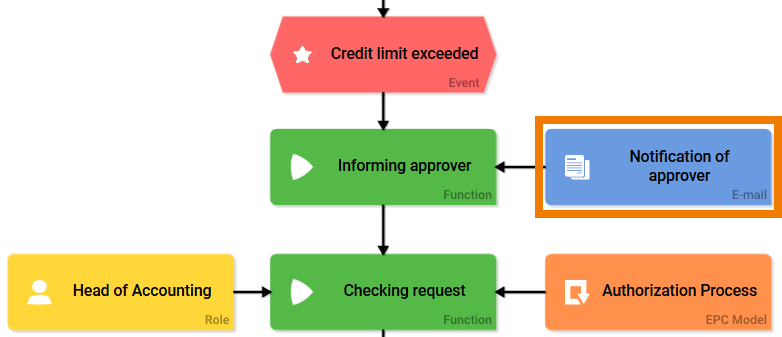
|
Configuration Options
Edit the element via the Edit Sidebar.

|
Name Name of the element within modeling. |
|
|
ID The read-only field contains the model ID of the element. Designers can use the ID for example in the search to link the element in other models. |
|
Description A commentary field for the modeler. Its content is invisible to users and its sole purpose is internal documentation. |

|
Hashtags Possibility to insert your own key terms . The leading hashtag sign # (hash) will be inserted automatically. Use the spacebar to insert multiple hashtags: 
One hashtag may be issued for multiple elements: 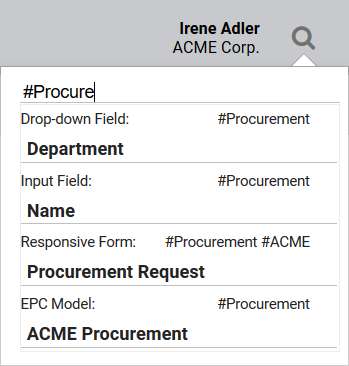
|

|
Subject Definition of the subject line to be displayed in the e-mail. Here you may enter either a firm value or a placeholder (framed by #), which will be replaced by a value from container during dispatch. Example: 
|
|
Empty: Containing Content: |
Content Template Click on the gear wheel to open a text editor. Here you can design the content for your e-mail. Placeholder (framed by #) will be replaced with values from container during dispatch. The color of the gear wheel shows, whether an element is empty (light grey) or if content has already been saved (dark grey). Example: 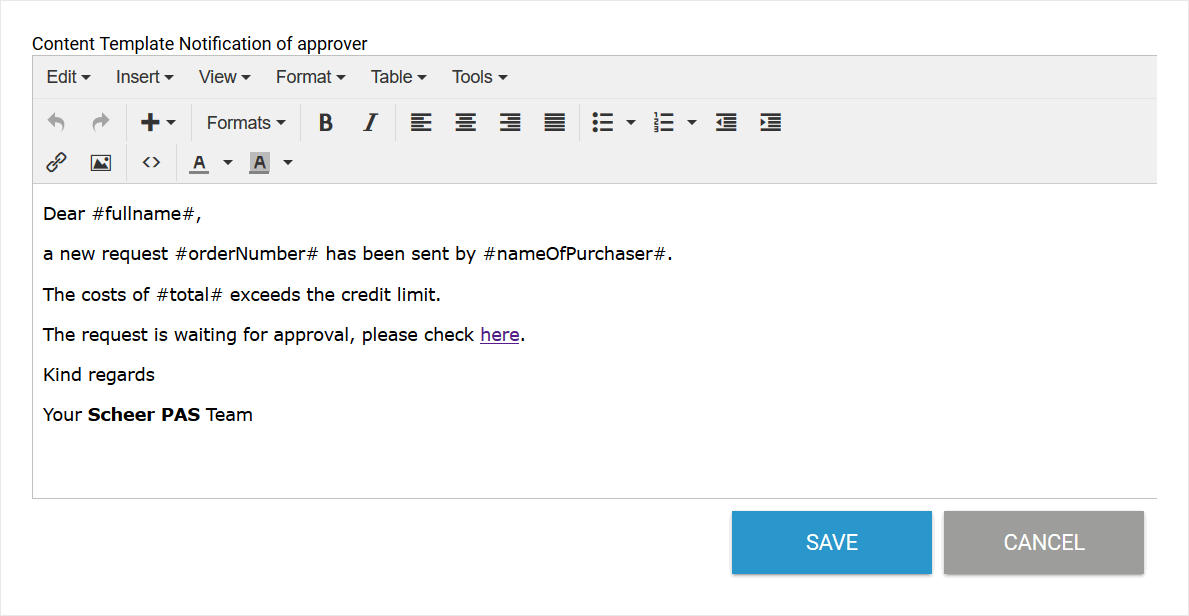
|

|
Date Format If your content template contains a date from the instance, you can adapt its date format here. An overview of available placeholders and fill characters can be found at Date Format Specification. |
|
|
Choose Executing User as Sender Activate this option if the current user shall be used as the sender of the in BPaaS generated mail. |
|
Recipient The e-mail recipients need to be specified in a list. Multiple recipients can be entered, each entry has to be separated by comma or line break in the input field. Example: 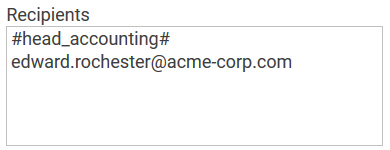
It is also possible to send e-mails to a role in the process. All users owning this role will then receive the e-mail. Enter the role as a placeholder (framed by #; the technical name of the role must be used) in the Recipient field. |
|
Copy to Recipients to receive this mail in copy (CC) can be listed here. Multiple entries need to be separated by comma or line breaks. Example: 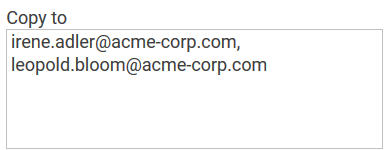
It is also possible to send e-mails to the next role in the process. All users owning this role will the receive the mail. Enter the role as a placeholder (framed by #; the technical name of the role must be used) in the Copy to field. |
|
Attachments Use this field to define e-mail attachments. The files will be attached to the e-mail during dispatch. Use a placeholder (framed by #) or the notation value;filename to define the attachment. A modeler may use various options to define attachments for e-mails. For further information and step-by-step instructions visit page Dispatch of E-Mail Attachments. |
|
|
Mandatory Choosing this option makes executing the worker mandatory. |
Developer Options
Open the Developer Options menu to use functions for advanced PAS design users:

Oftentimes in projects the requirement exists to determine the recipient lists or e-mail content dynamically. The following elements are available to users with programming background (JavaScript):
The color of the gear wheel shows, whether an element is empty (light grey) or if content has already been saved (dark grey).
|
|
Function: Determine Recipients Click on the gear wheel to open the editor. Here you may save the code to identify the recipients, for example in a separate system. |
|
|
Function: Determine Recipients for Copy to Click on the gear wheel to open the editor. Enter the coding to define the recipients in copy, for example to determine representatives. |
|
|
Function: Determine E-mail Content Click on the gear wheel to open the editor. Save your code to determine all e-mail content here. |
|
|
Function: Determine attachments Click on the gear wheel to open the editor. Enter your coding to identify e-mail attachments here. |
Date Format Specification
In two elements design users can specify the output of a date format:
-
In the EPC element E-Mail.
-
In the form field Date Picker.
The two elements do not use the same placeholders for the date format.
EPC Element E-Mail
The following place holders may be used to specify the date format in the EPC element E-Mail:
|
Date Format |
Place Holder |
Display |
Date Format Input |
Display in Date Field
|
|---|---|---|---|---|
|
Year |
yy yyyy |
two-digit year figure four-digit year figure |
dd.mm.y dd.mm.yyyy |
01.02.19 01.02.2019 |
|
Month |
m mm mmm mmmm |
month digit without leading 0 month digit with leading 0 month abreviated month written-out |
d.m.yyyy dd.mm.yyyy dd. mmm. yyyy d. mmmm yyyy |
1.2.2019 01.02.2019 01. Feb. 2019 01. February 2019 |
|
Day |
d dd ddd dddd |
day digit without leading 0 day digit with leading 0 week day abreviated week day written-out |
d.mm.yyyy dd. mmmm yyyy ddd dd.mm.yyyy dddd, dd. mmmm yyyy |
1.02.2019 01. February 2019 Mon 01.02.2019 Monday, 01. February 2019 |
Fill Characters
The place holders may be combined with a fill character, for example blank space, dot, comma, hyphen, horizontal line.
Date format placeholders may not be used as fill characters.
|
Fill Character |
Date Format Input |
Display in Form Field Date Picker
|
|---|---|---|
|
dot |
dd.mm.yyyy |
31.01.2017 |
|
hyphen |
dd-mm-yyyy |
31-02-2017 |
|
horizontal line |
yyyy/dd/mm |
2017/31/01 |
|
blank space |
d. MM yyyy |
31. January 2017 |
|
comma |
DD, d. MM yyyy |
Tuesday, 31. January 2017 |
|
fill word
|
DD, the dd. MM yyyy |
Tuesday, the 31. January 2017 |


