The Keycloak OAuth Policy is a Keycloak-specific OAuth2 policy to regulate access to APIs. Keycloak’s token format and auth mechanism facilitate excellent performance characteristics and enable users to easily tune the setup to meet their security requirements. In general, this is a good approach for achieving security without greatly impacting performance. Refer to API Security: Authentication and Authorization for more details.
If you are using the JWT or Keycloak OAuth policy, an authentication dialog is shown in the API Developer Portal that you need to use to consume the API. To support you during testing, API Management provides the default user token, if you leave the authentication dialog empty. If you make your own entries in the dialog, these are used in preference to the default. Refer to Testing APIs for details.
Configuration Options
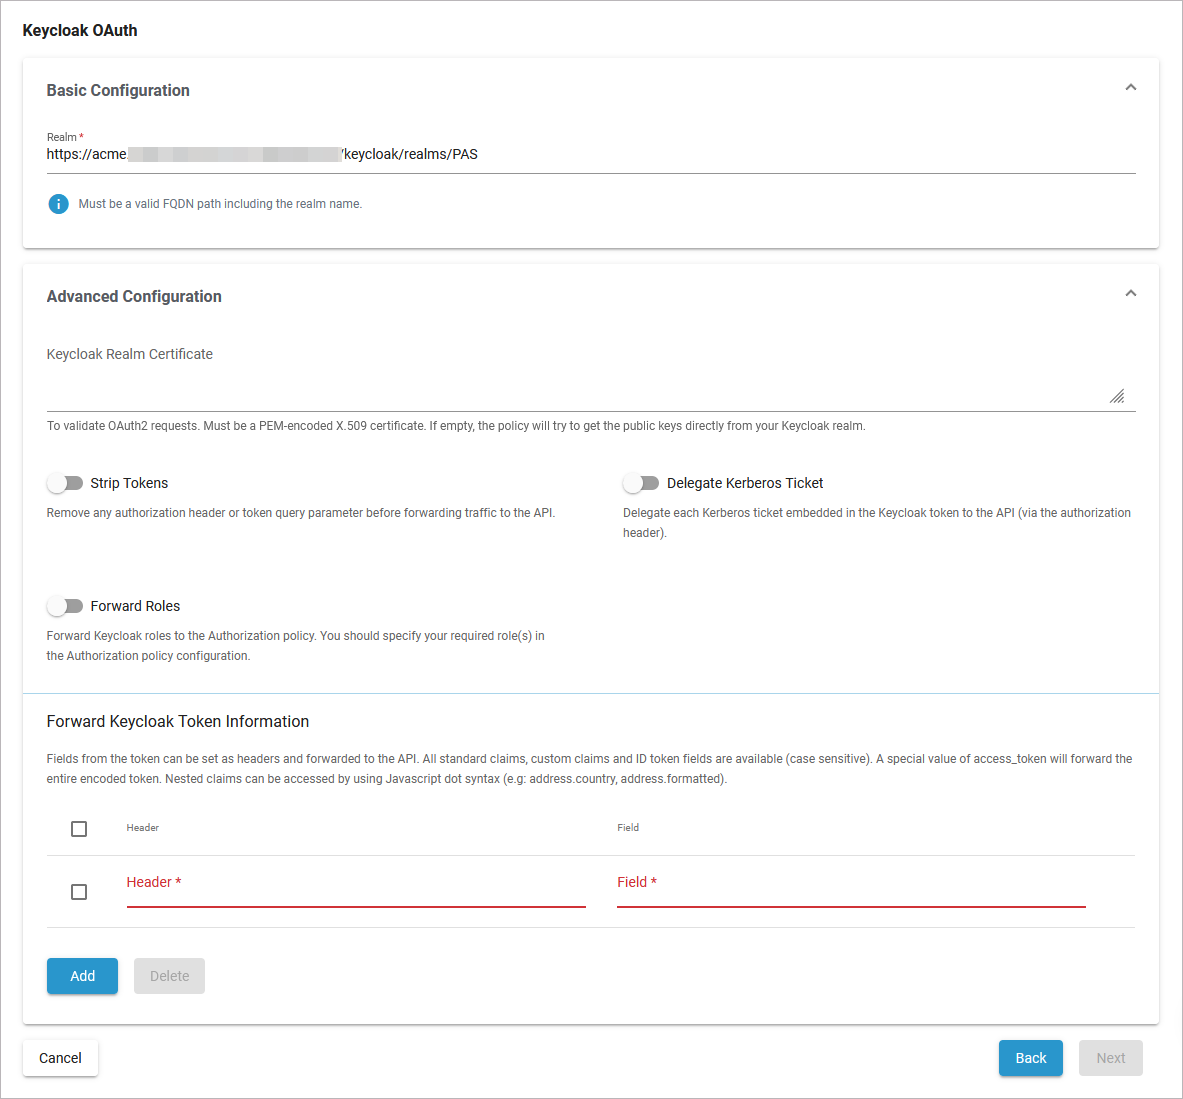
Basic Configuration
|
Option |
Description |
Possible Values |
|---|---|---|
|
Realm |
Enter the realm name. It must be a valid FQDN path including the realm name. |
a valid FQDN path
|
Advanced Configuration
|
Option |
Description |
Possible Values |
|
|---|---|---|---|
|
Keycloak Realm Certificate |
To validate OAuth2 requests. Must be a PEM-encoded X.509 certificate. If you leave this field empty, the policy will try to fetch the public keys directly from your Keycloak realm. If you want to add the certificate manually, you can copy it from the Keycloak console. Where to find the Keycloak certificate?To copy the Keycloak certificate, open Keycloak > PAS Realm > Realm Settings > Keys. Click Certificate to display and copy the certificate. If your user has no access to the realm settings, ask a Keycloak administrator for help. 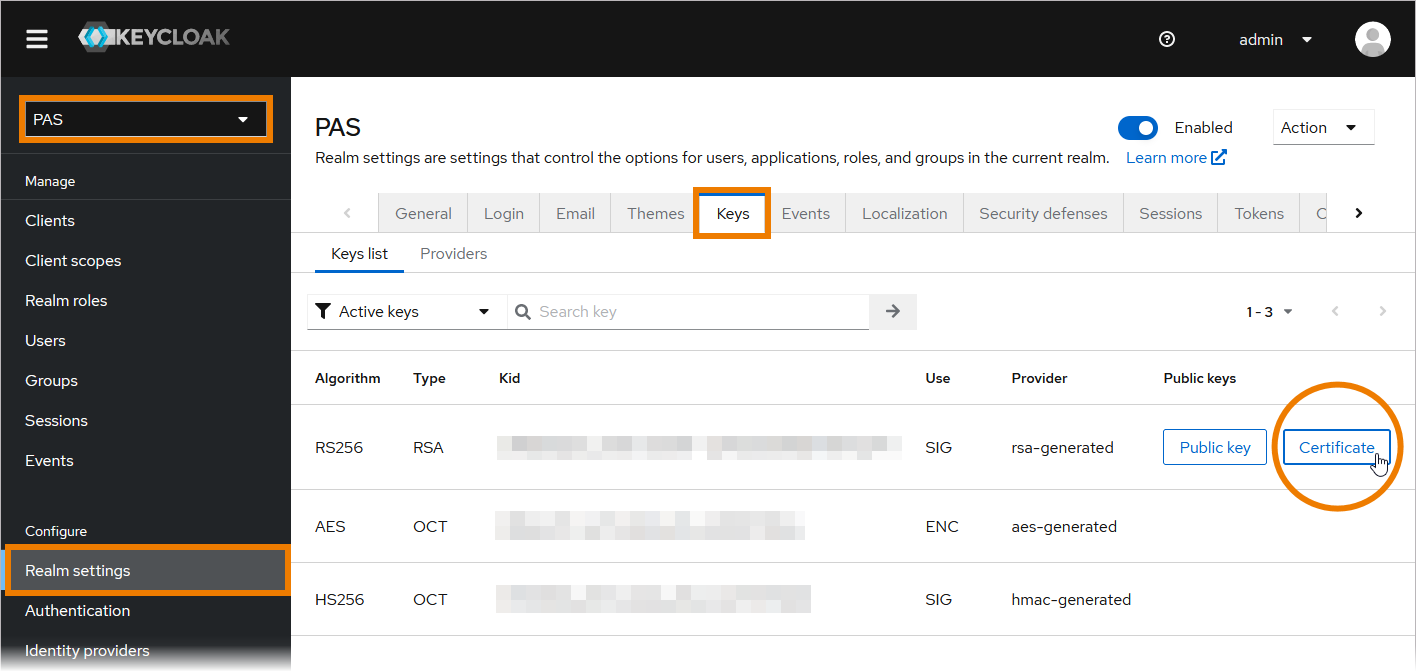
|
a string |
|
|
Strip Tokens |
Remove any authorization header or token query parameter before forwarding traffic to the API. |
enabled |
Removes authorizations headers or token query parameters. |
|
disabled |
Keeps authorizations headers or token query parameters (default). |
||
|
Delegate Kerberos Ticket |
Delegate any Kerberos ticket embedded in the Keycloak token to the API (via the authorization header). |
enabled |
Delegate Kerberos ticket to the API. |
|
disabled |
Do not delegate Kerberos ticket (default). |
||
|
Foward Roles |
Forward Keycloak roles to the Authorization policy. You should specify your required role(s) in the Authorization policy configuration. |
enabled |
Forward Keycloak roles to the Authorization policy. |
|
disabled |
Do not forward Keycloak roles (default). |
||
|
Forward Keycloak Token Information |
|||
|
Fields from the token can be set as headers and forwarded to the API. All standard claims, custom claims and ID token fields are available (case sensitive). A special value of access_token will forward the entire encoded token. Nested claims can be accessed by using the JavaScript dot syntax (e.g: address.country, address.formatted). |
|||
|
Option |
Description |
Possible Values |
|
|
Header |
The header value to set (to paired field). |
a string |
|
|
Field |
The token field name. |
a string |
|
|
Click Add to create more rows in the table. Click Delete to remove selected rows. |
|||
Working with Keycloak Tokens
The Scheer PAS installation comes with the default Keycloak client api-management-oauth. Keycloak clients are entities that can request Keycloak to authenticate a user. In most cases, Keycloak clients are applications and services that want to use Keycloak to secure themselves and provide a single sign-on solution. However, clients can also be entities that just want to request identity information or an access token so that they can securely invoke other services on the network.
If you use the Keycloak OAuth policy, we recommend to check against the default client api-management-oauth.
Expert Advice
If you need to create your own client in Keycloak, visit the official Keycloak documentation for further information.
How to Get the Secret
To retrieve a Keycloak token, you need to know the secret of the used client.
Open the Identity Management (Keycloak):
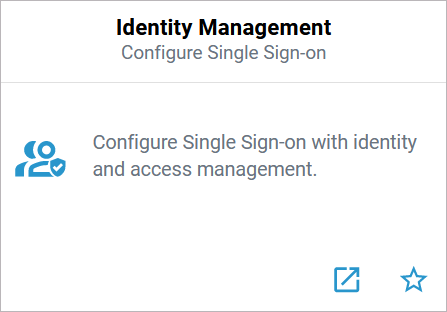
If your user has no permission for the identity management, contact an administrator and ask him to provide the secret.
You will find the secret of the client in the PAS realm: Clients > Credentials > Client Authenticator: Client Id and Secret > Client secret
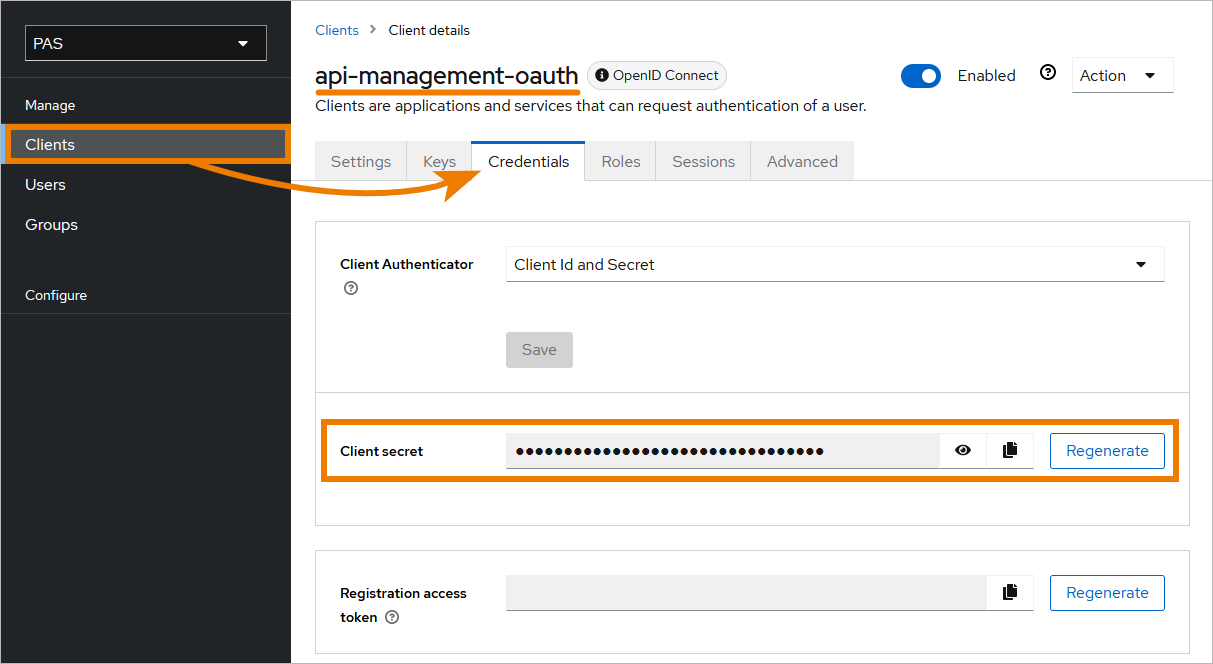
If field Client secret does not contain any content, click Regenerate once.
How to Retrieve the Keycloak Token
The token exchange in Keycloak is a very loose implementation of the IETF's OAuth Token Exchange specification. It is a simple grant call on the OpenID Connect token endpoint of a realm. It accepts form parameters (application/x-www-form-urlencoded) as input. The output depends on the type of token for which you requested an exchange. The token exchange is a client endpoint, so requests must include authentication information for the calling client.
The client_secret parameter is required for clients that use form parameters for authentication and use a client secret as credentials. A list of all form parameters can be found in the official Keycloak documentation > Form parameters.
The token URL is composed as follows:
-
https://<system name>/<client name>/keycloak/realms/<realm name>/protocol/openid-connect/token
Example:
-
https://scheer-acme.com/acme-test/keycloak/realms/PAS/protocol/openid-connect/token
Send your request to the token URL.
Example:
//Example Request
//For demonstration purpose only

curl --location 'https://scheer-acme.com/acme-test/keycloak/realms/PAS/protocol/openid-connect/token' \
--header 'Content-Type: application/x-www-form-urlencoded' \
--data-urlencode 'username=<username>' \
--data-urlencode 'password=<password>' \
--data-urlencode 'client_id=api-management-oauth' \
--data-urlencode 'client_secret=<client-secret>' \
--data-urlencode 'grant_type=password'
A successful response from an exchange call returns the HTTP 200 response code with a content type that depends on the requested-token-type and requested_issuer. Clients requesting a refresh token receive both an access token and refresh token back in the response. Clients requesting only an access token receive only an access token in the response.
Example:
//Example Response
//For demonstration purpose only

{
    "access_token": "eyJhbGciOiJIUzI1NiIsInR5cCI6IkpXVCJ9.eyJzdWIiOiIxMjM0NTY3ODkwIiwibmFtZSI6IkpvaG4gRG9lIiwiaWF0IjoxNTE2MjM5MDIyfQ.SflKxwRJSMeKKF2QT4fwpMeJf36POk6yJV_adQssw5c",
    "expires_in": 300,
    "refresh_expires_in": 7200,
    "refresh_token": "eyJhbGciOiJIUzI1NiIsInR5cCI6IkpXVCJ9.eyJzdWIiOiIxMjM0NTY3ODkwIiwibmFtZSI6IkpvaG4gRG9lIiwiaWF0IjoxNTE2MjM5MDIyfQ.SflKxwRJSMeKKF2QT4fwpMeJf36POk6yJV_adQssw5c",
    "token_type": "Bearer",
    "not-before-policy": 0,
    "session_state": "f5dd0490-aaf8-42f7-87b5-df0c7b1cb4a7",
    "scope": "email profile pas_user"
}
Expert Advice
For detailed information about the token exchange, refer to the official Keycloak documentation > Using token exchange.
How to Use the Token for a Request
You have to send the received token with each request as authorization header. If you use the PAS internal request UI (Swagger UI), the token is set automatically.
Example:
//Example API Request
//For demonstration purpose only

curl --location 'https://scheer-acme.com/acme-test/gateway/test/hello-oauth/1.0' \
--header 'Authorization: Bearer eyJhbGciOiJIUzI1NiIsInR5cCI6IkpXVCJ9.eyJzdWIiOiIxMjM0NTY3ODkwIiwibmFtZSI6IkpvaG4gRG9lIiwiaWF0IjoxNTE2MjM5MDIyfQ.SflKxwRJSMeKKF2QT4fwpMeJf36POk6yJV_adQssw5c'