|
Element |
|
|---|---|
|
Description |
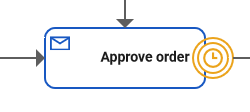
Timer Events are triggered by a defined timer. You can use the timer event in the Designer as an intermediate event or as a boundary event:
Plain Event, Message Event and Timer Event can be used as boundary events along with User Task and Receive Task. When using the events as boundary events, attach the element directly to the border of the corresponding task: 
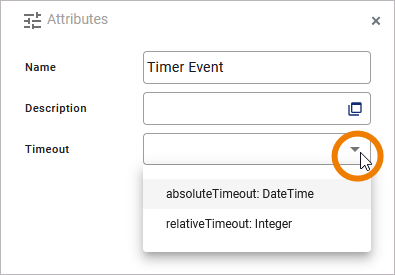
To set the duration of the timer, the event should be trigged by a persisted property of type integer or datetime. You have two options to set the timeout in the attributes panel:
|
|
Attributes |
|
|
Particularity |
To set the duration of the timer, the event should be triggered by a persisted property of type Integer or DateTime. In the Attributes Panel, select the persisted property you want to use: 
If the drop-down list of attribute Timeout is empty, you need to create a new persisted property of type Integer or DateTime first. Depending on the type of the property, you have different options to set the timeout:
The value of the timeout can be specified at development time (default) or at runtime. |
|
Execution |
On Event: Without input or output parameters. |
|
Editing and Styling |
|
BPMN_TimerEvent_Example
Click here to download a simple example model that shows what you can do with Timer Intermediate Events in Scheer PAS Designer.

