You have several options to adjust the layout of the Designer editors. The options apply similarly to most editors.
Managing the Work Area in the Editors
The panel arrangement within the Designer is saved per user.
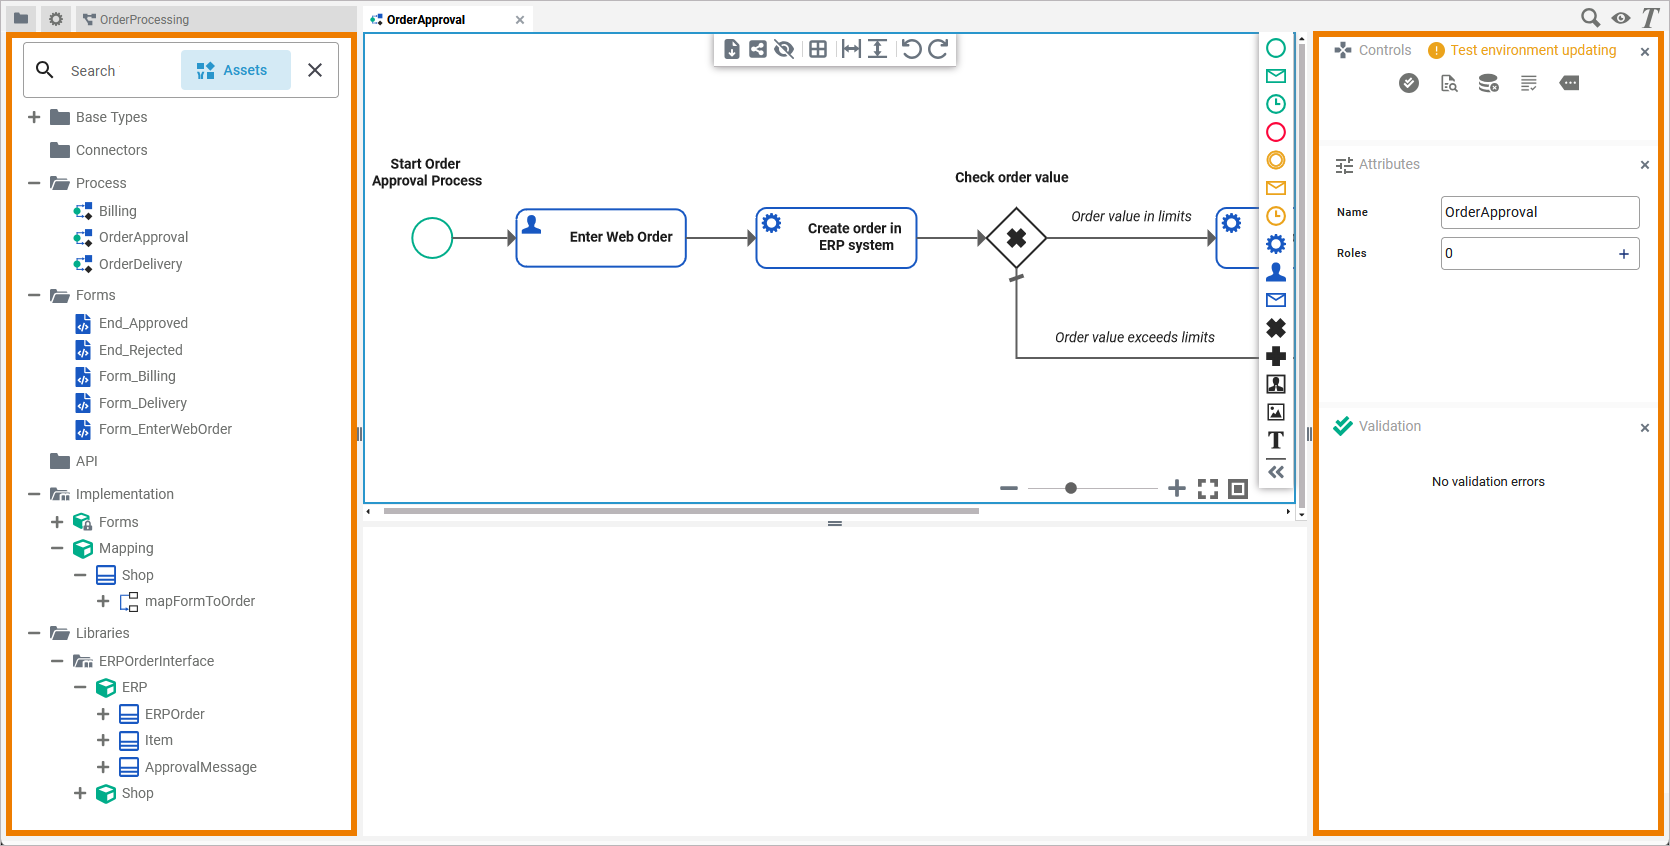
A right and a left sidebar are available for arranging the Designer panels:
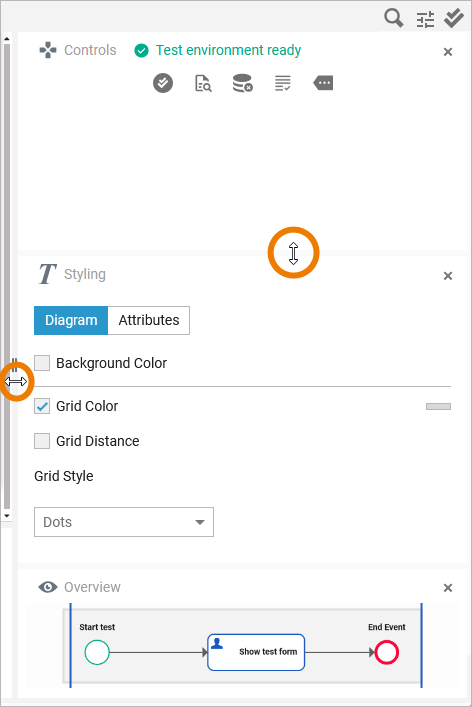
If you want to resize the editor, drag the handle in the middle of each border to make the editor pane larger or smaller:
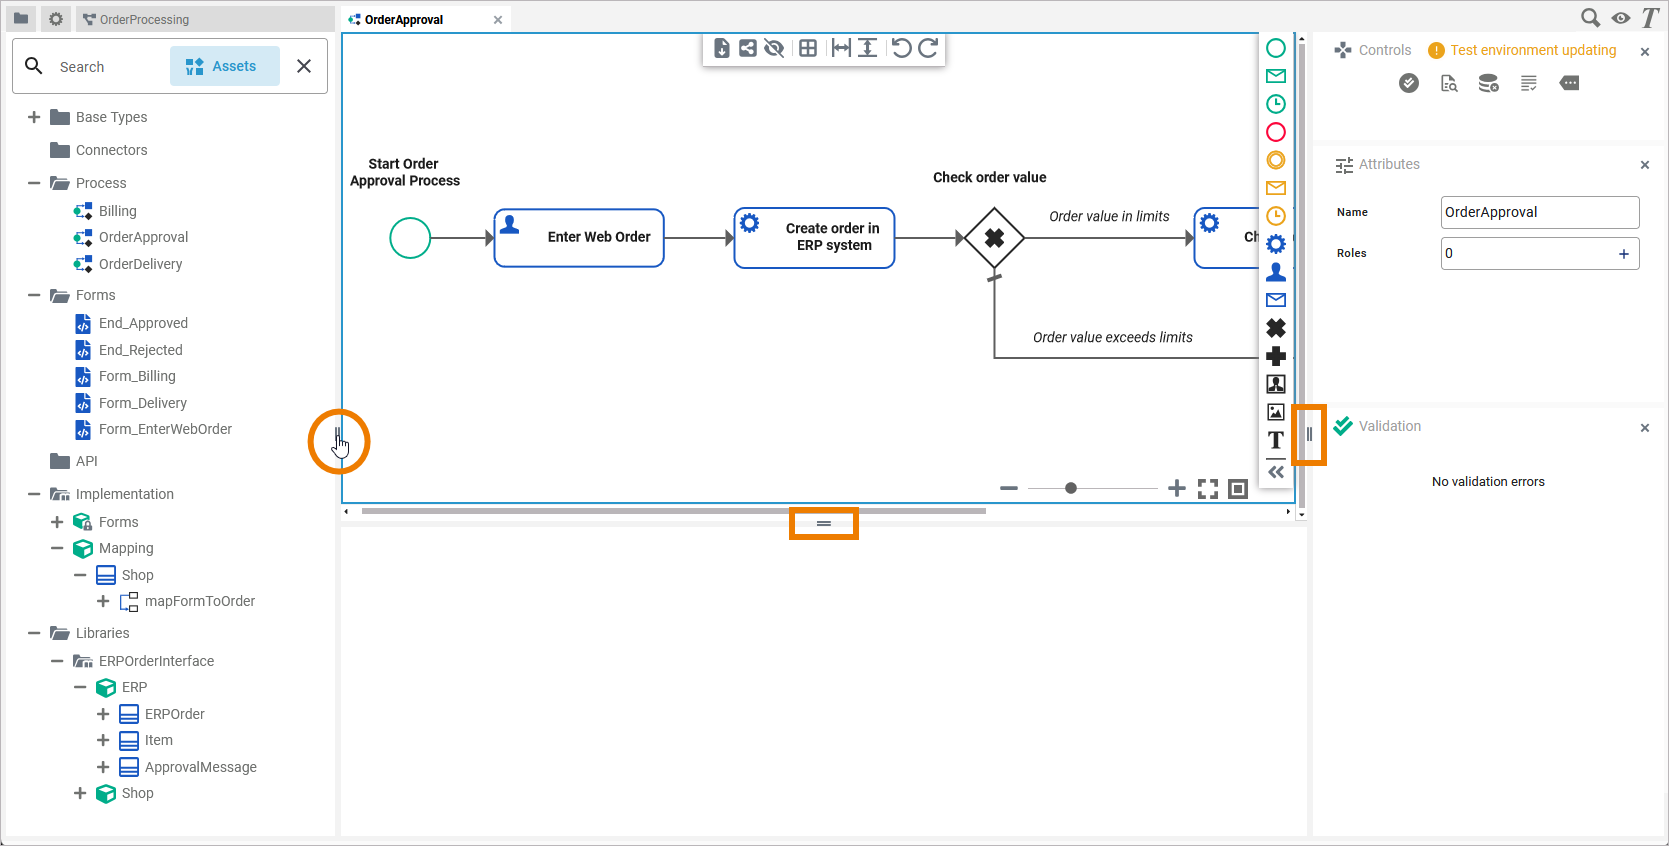
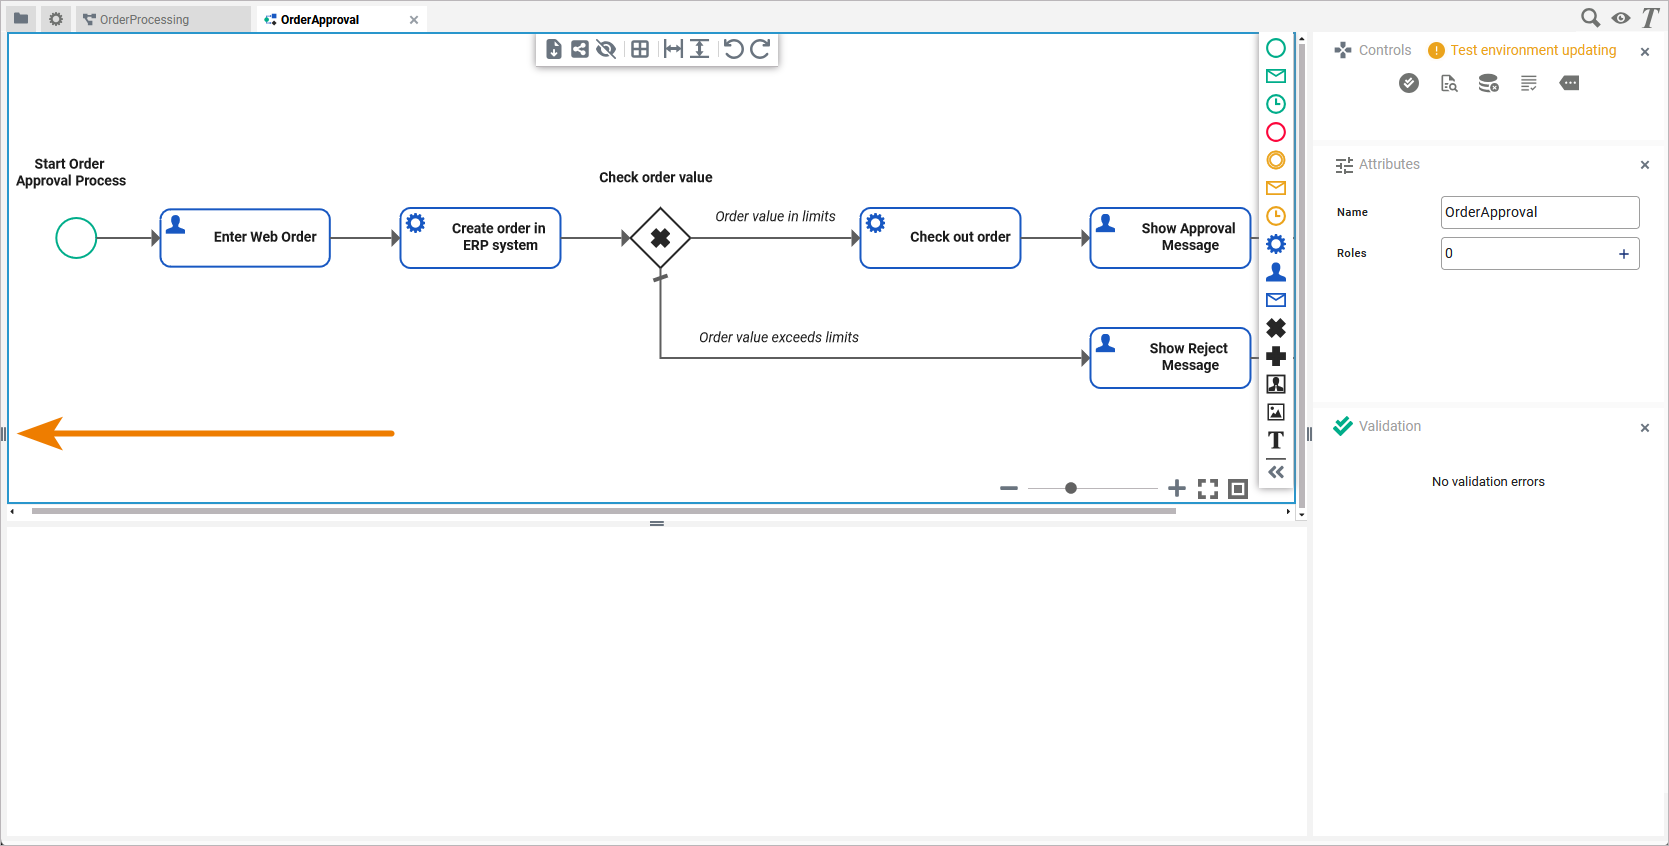
Click the handle to close the sidebar, and maximize the editor to this side of the application:
In the BPMN editor, you have another option: To gain more space for modeling, you can hide the whole execution pane. To do so, use option Hide executipon pane in the model toolbar:
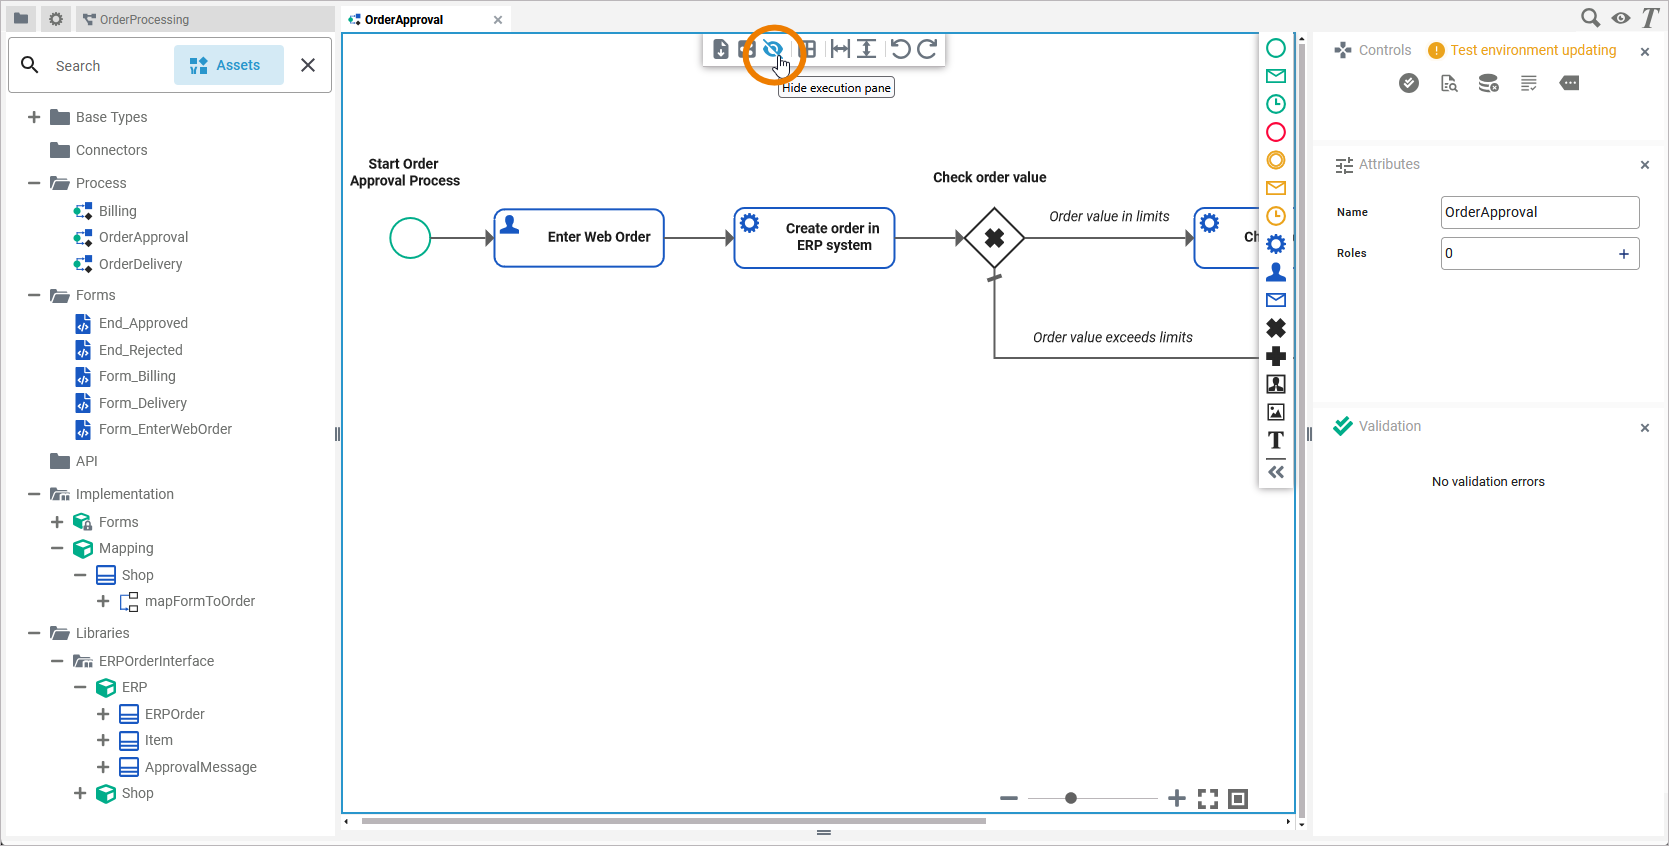
Diagram Pane Functionalities
Some general functionalities help you to browse through your model, and to adjust your working location within the model. The explanation below is taken from the BPMN editor but all of this applies to the other editors as well.
While modeling, you can zoom in and out of your model:
-
Press the Ctrl button and turn the mouse wheel.
-
Use the zoom bar at the bottom of the editor.
To zoom, you can shift the slider or click the plus or minus icons of the zoom bar:

While your model gets bigger and bigger, you may want to shift the visible content on the pane.
-
Turn the mouse wheel to move the pane and its content vertically.
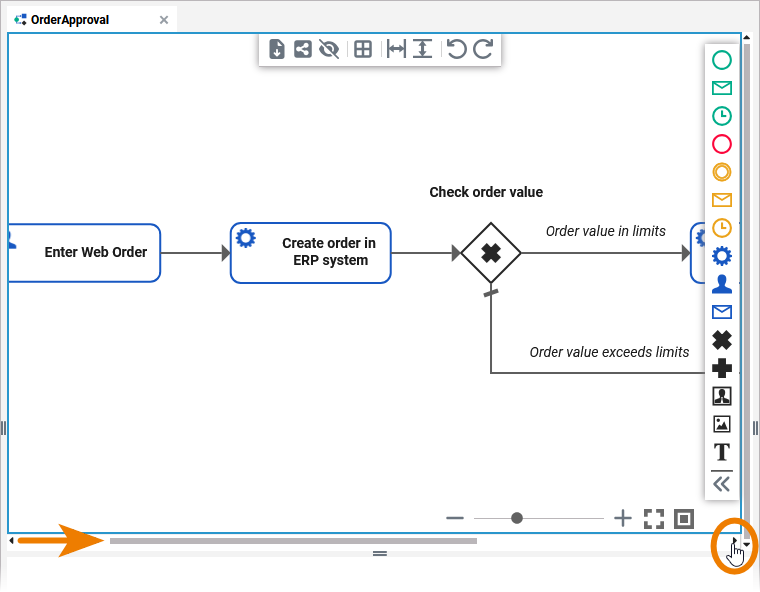
-
Use the scroll bar on the right to scroll vertically.
-
Use the arrow keys (up and down) of your keyboard to move the content vertically.
-
Right-click the diagram pane and hold the mouse button to move the diagram pane around to an arbitrary position.
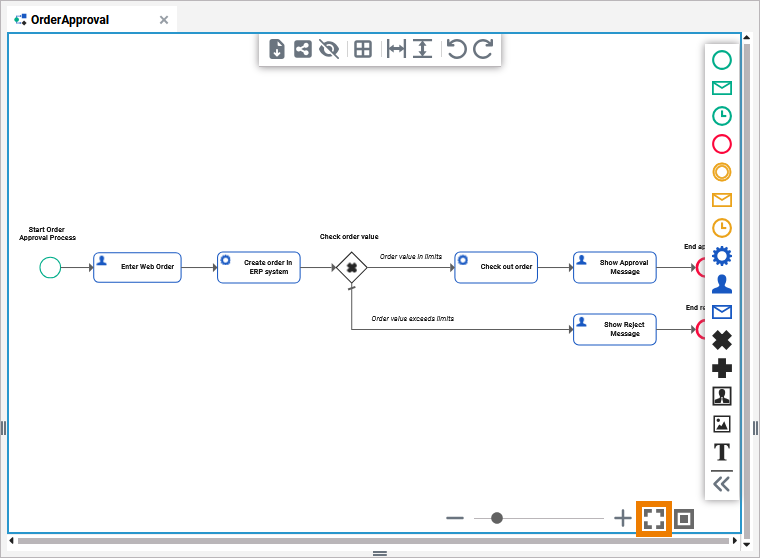
If you want your model to fit to the screen, use option Fit to screen at the bottom of the editor:
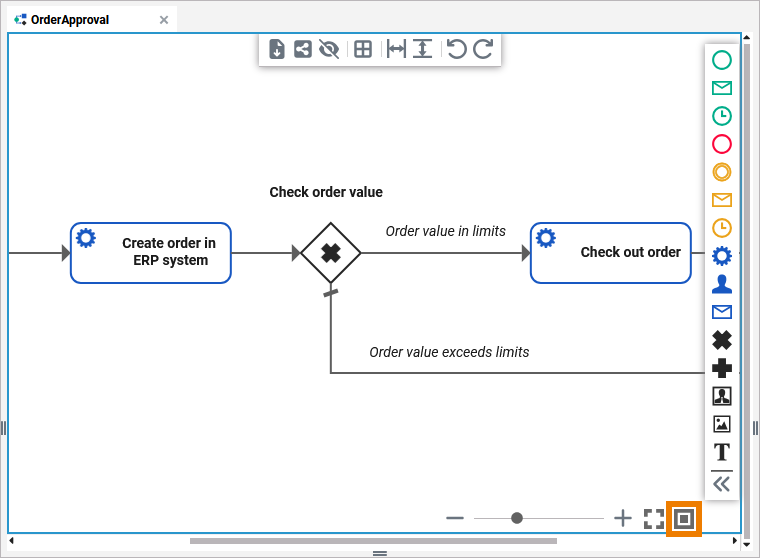
Use option 100 % to scale the model to 100 %:
Managing Panels
Depending on which editor you are currently using, there are different Designer Panels available. Refer to Designer Panels Overview for details on all panels and their content.
You can show and hide the panels and also rearrange them. The panel settings are saved for each user: Your preferred settings will be displayed in every editor of the Designer.
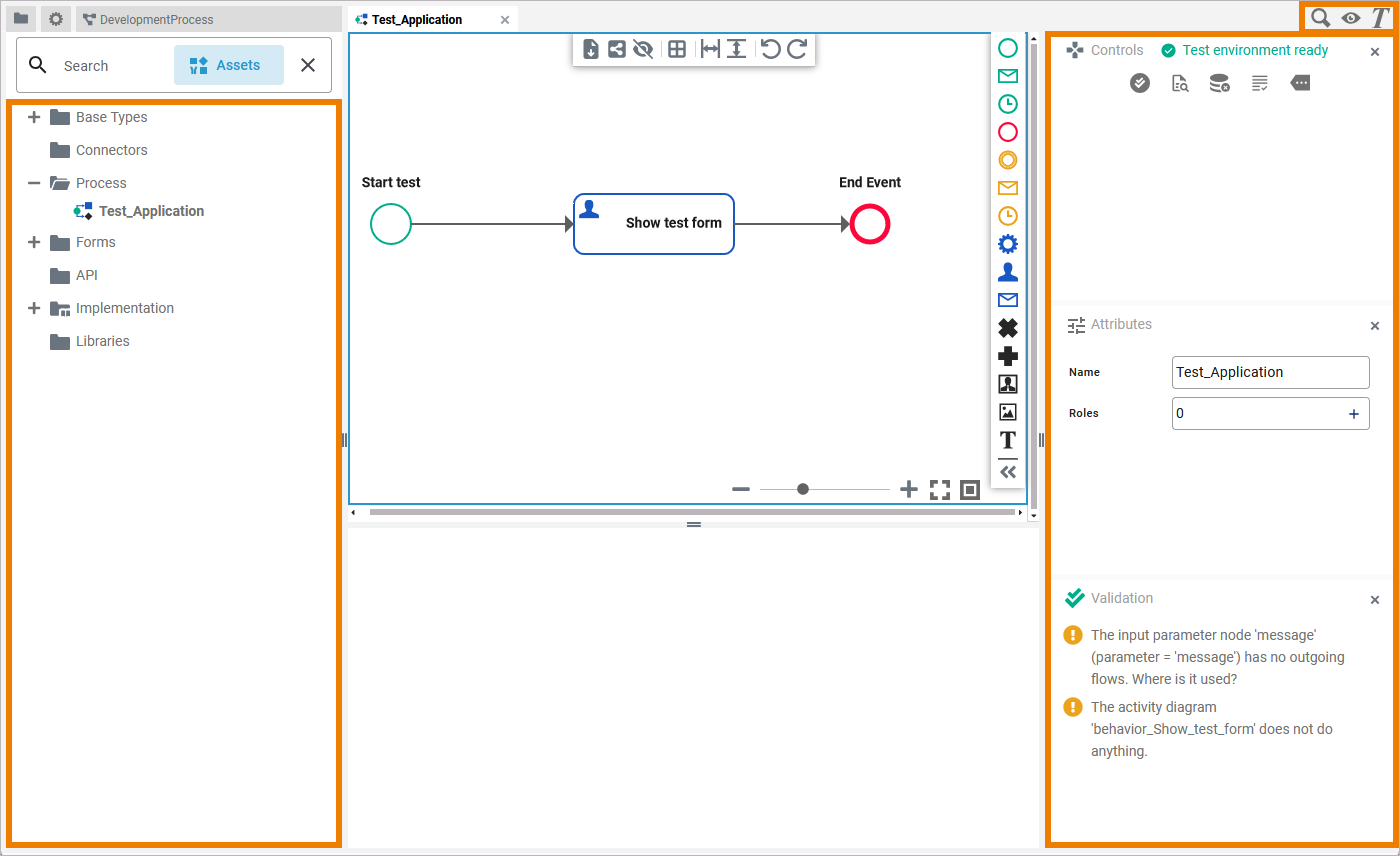
You can distinct the different panels by their icons:
|
Icon |
Panel |
|---|---|
|
|
Attributes Panel |
|
|
Controls Panel |
|
|
Overview Panel |
|
|
Search Panel |
|
|
Styling Panel |
|
|
Validation Panel |
The Service Panel is the only immutable panel: Users can neither close it nor move it. It is always displayed at the top of the left panel area. Refer to Service Panel for further information.
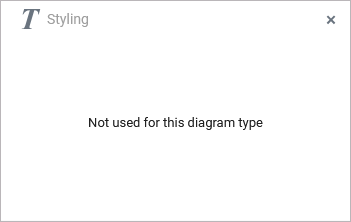
All panels are available in each editor. If they have no function for a diagram type, a corresponding message is displayed in the panel:
Use the left and the right sidebar in the editor to arrange the Designer panels. You can hide panels that you do not currently need. The icons of hidden panels are displayed in the right upper corner of the editor:
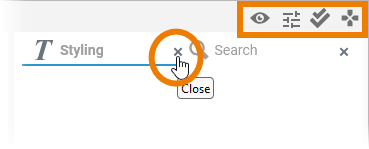
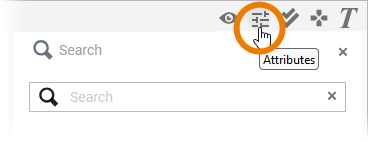
To show a hidden panel again, click on its icon. Hover over an icon to show the name of the corresponding panel. The panel is inserted at the position where it was last visible:
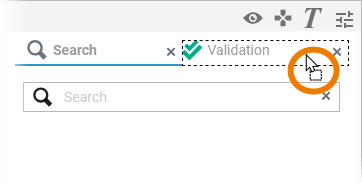
Use drag & drop to rearrange panels. You can move panels to already existing columns. The new panel is then shown as a new tab:
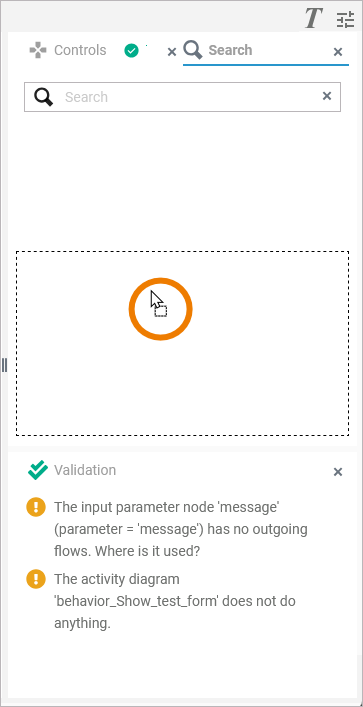
You can also arrange the panels individually. The dashed frame indicates the new position of the panel:
It is also possible to resize panels by dragging the vertical or horizontal panel borders: