The Element Frame
|
Element |
|
|
Function |
The element Frame allows you to visually group project and EPC elements. |
|
Default |
After its creation the element is initially displayed as an empty frame by default. The element's name appears in the top left corner: 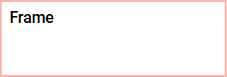
|
|
Connection |
Predecessor: None
Elements, that are saved to the work area of the Project Editor cannot be linked via connections. |
|
Esample |
|
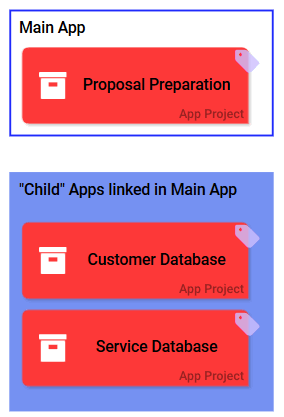
A Frame is always situated in the background. It cannot overlap other elements.
Configuration Options
Edit the element via the Edit Sidebar.

|
Name Name of the element within modeling. |

|
ID The read-only field contains the model ID of the element. Designers can use the ID for example in the search to link the element in other models. |
|
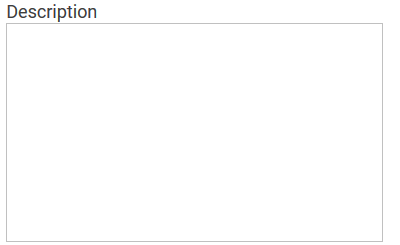
Description A commentary field for the modeler. Its content is invisible to users and its sole purpose is internal documentation. |

|
Hashtags Possibility to insert your own key terms . The leading hashtag sign # (hash) will be inserted automatically. Use the spacebar to insert multiple hashtags: 
One hashtag may be issued for multiple elements: 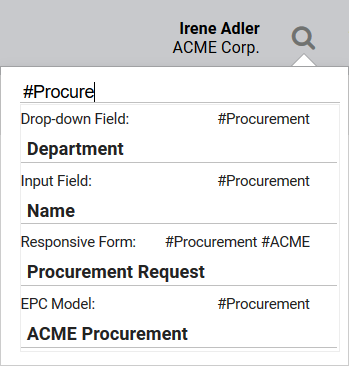
|

|
Choose Background Color Use the drop-down menu to choose a different frame color: 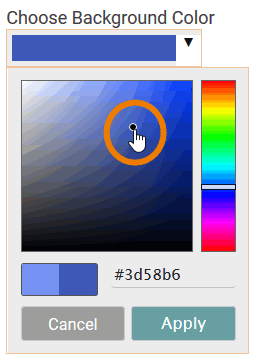
|

|
Draw Border Only This option is activated by default. While active, only the frame is visible: 
Deactivate this option to fill the element with a chosen color: 
|

|
Hide Title Check this box to hide the title of the element. |
In order to move a Frame, the element has to be marked. The Frame element will behave as follows:
-
Click on the frame of the element to mark it.
-
A Frame is also marked if the option Mark All was chosen in the contact menu.
-
Frame elements can be marked by using the multi-select mode (press key CTRL continously).
-
Attention: Frame elements are not captured by the selection frame.
For additional information see Selecting EPC Elements.