By adding class operations, you can model the behavior of the classes from the data model. For class operations, you can select from different types of implementation:
-
Mapping Diagram (explained on this page)
-
Activity Diagram (refer to Modeling Activities for more information)
-
Action Script (refer to Using Action Script for more information)
-
JavaScript (refer to Using JavaScript for more information)
Data Mapping is a very common task in the integration business. The Designer offers you a powerful tool to define data mappings directly by drawing object flows between the properties of the related classes.
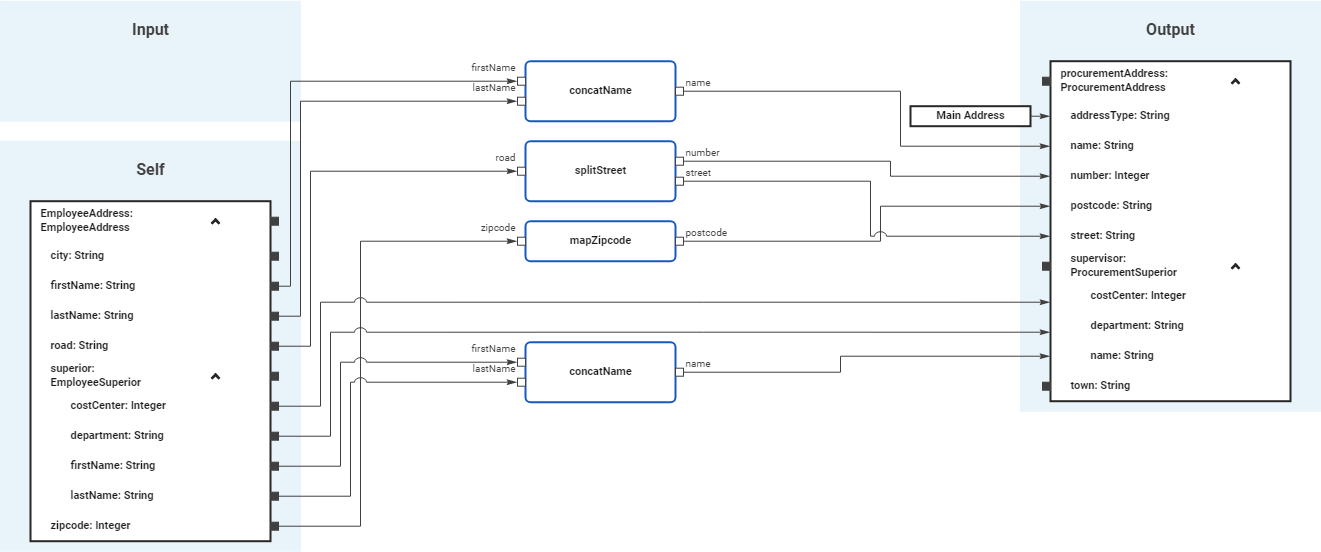
You can create a mapping diagram by creating a mapping operation on a class. The mapping diagram is based on the data model contained in the Implementation folder. It defines mappings between the data structures defined in this data model. You cannot change the data model in the mapping diagram, all attributes are read-only.
Refer to Modeling Data Structures for more details on how to create a class operation.
Creating a Mapping Operation
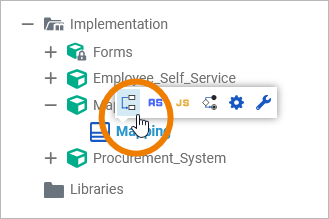
To create a mapping operation, use the quick action Create a new mapping operation of a class:
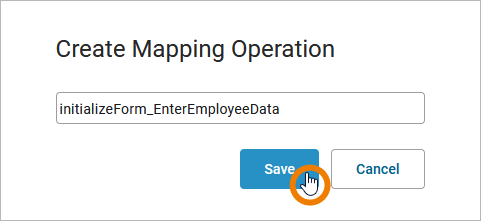
Enter a name for the operation and click Save:
Restrictions on Element Names
A process name must be unique within one service. In addition, the following name restrictions apply to all service panel elements:
Element names...
-
... must not be empty.
-
... must not contain spaces. Exception: Spaces are allowed in operation names.
-
... must not start with numbers.
-
... must not contain a dot ( . ).
-
... must not contain any special characters. Exception: Operation names may end with a slash ( / ).
-
In addition, Action Script commands and some system-relevant strings (refer to Reserved Words) cannot be used as element names.
Your input is validated: If the name you enter violates these restrictions, the field in the editor turns red and cannot be saved.
Alternatively, you can open the context menu of the class and select Create > Operation:
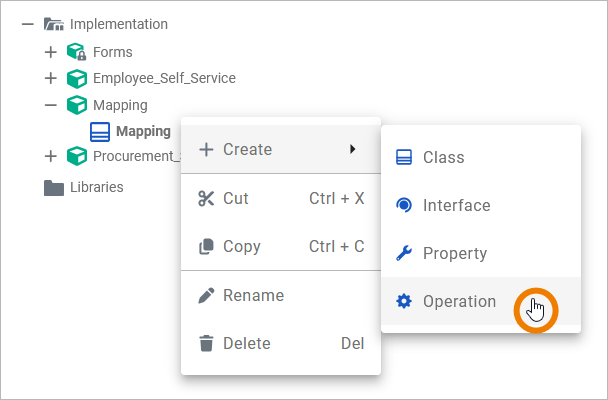
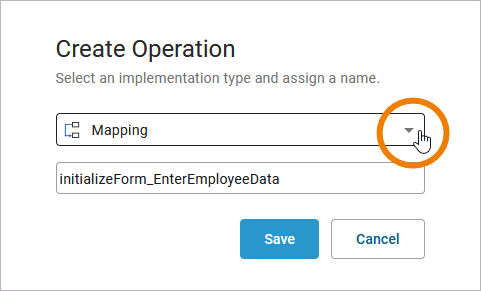
The dialog Create Operation opens. Select Mapping from the drop-down list of available implementation types, enter a name for the operation and click Save to create the operation:
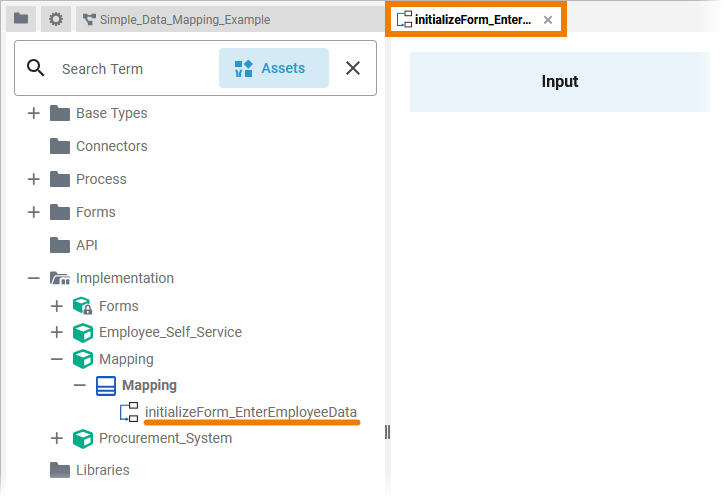
The new operation is added to the class. The corresponding mapping diagram opens automatically in a new Designer tab, where you can directly start modeling your mapping:
Refer to Working with the Mapping Editor for detailed information.
Once the mapping operation has been created, you can use the quick actions and the context menu to manage it:
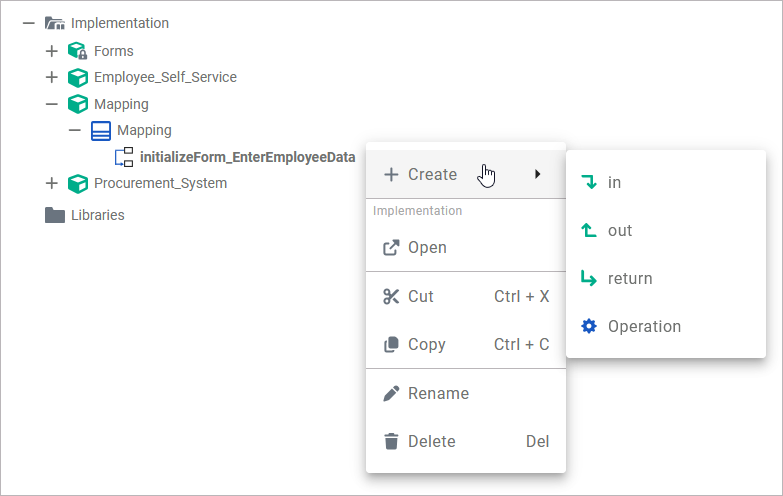
You can:
-
create parameters
-
in
-
out
-
return
-
-
create suboperations
-
open the implementation of the mapping diagram
-
cut the mapping operation
-
copy the mapping operation
-
paste the mapping operation (available if Copy or Cut option have been used before)
-
rename the mapping operation
-
delete the mapping operation
Refer to Implementation and Modeling Data Structures for more information on your options and how to create classes and operations.
Mapping Editor Overview
When you create a mapping operation, its corresponding mapping diagram is automatically opened in the Mapping Editor:
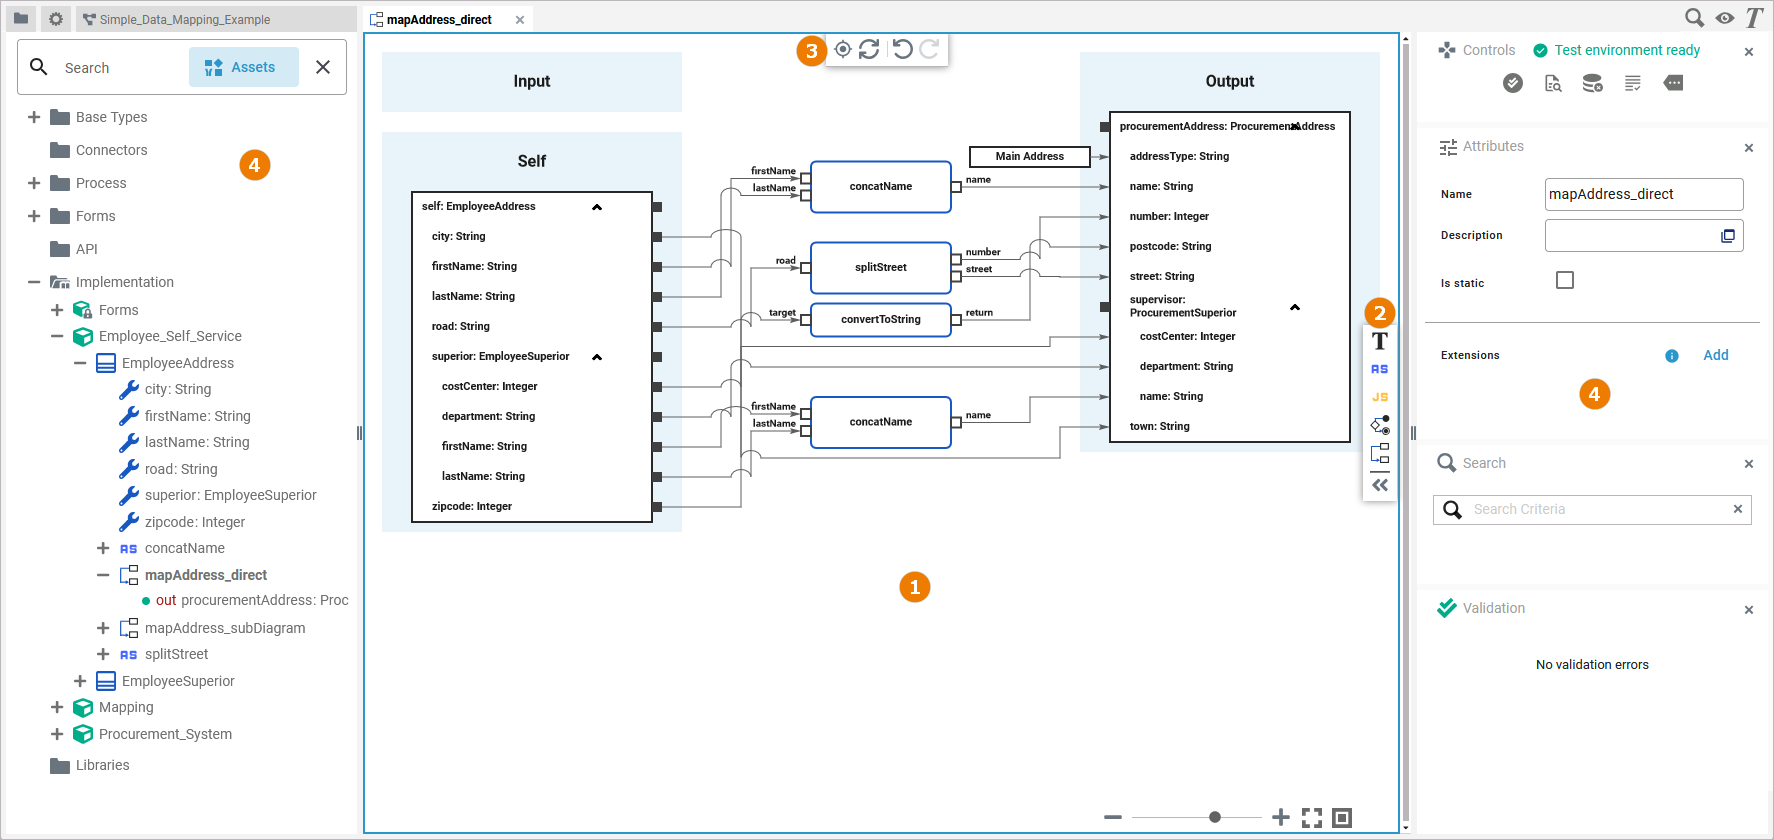
Use the various functionalities of the Mapping Editor to create your mapping diagram:
|
Name |
Description |
Icon |
Description |
|
|---|---|---|---|---|
|
(1) |
Mapping Editor
|
The mapping editor is where you draw your data mappings.
|
- |
- |
|
(2) |
Elements Toolbar
|
The elements toolbar contains all elements that you can create in the mapping editor.
|
- |
- |
|
(3) |
Model Toolbar
|
The model toolbar of the mapping editor offers various options: |
|
Use this option to highlight the operation in the Service panel.
|
|
|
Click on this icon to reload the mapping diagram. |
|||
|
|
Undo the previous action you performed in...
If you click Undo in one of the Designer editors, this may also have an effect on the Implementation folder in the Service panel if you performed your previous action there. |
|||
|
|
Redo your previous action (after undo). |
|||
|
(4) |
Designer Panels
|
In the mapping editor, the following panels assist you during modeling:
|
- |
- |
Attributes of a Mapping Operation
Select a mapping operation in the Implementation folder of the service panel to display its attributes in the Attributes panel. You can also edit them there:
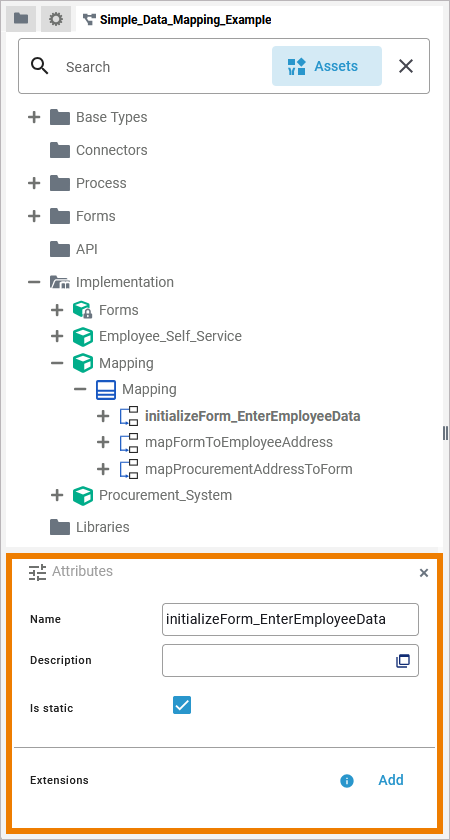
Mapping operations have the following attributes:
|
Attribute |
Description |
Possible Values / Example |
|
|---|---|---|---|
|
Name |
Click here to change the Name of the related operation. Mapping operation names must follow certain naming rules. They
|
initializeForm_EnterEmployeeData |
|
|
Description |
If you want to insert or change a description for the respective mapping operation, click here to open a text editor where you can enter and format your text. |
|
|
|
Is static |
Specify if the operation is static (default) or not.
For more information, also refer to Adding Operation Calls. |
true |
The mapping operation is static (default) and can be used outside the context of the related class. |
|
false |
The mapping operation is non-static and needs a self object as an input. |
||
|
Extensions |
By clicking Add, you can add an extensions to a mapping operation.
|
REST |
|
Attributes of a Mapping Diagram
When you click on the diagram pane in the mapping editor, the attributes of the current mapping diagram (= mapping operation) are displayed in the Attributes panel:
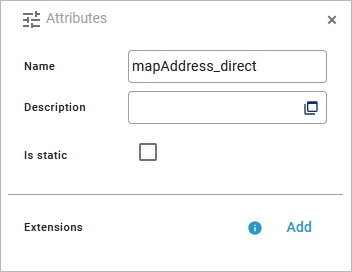
Mapping diagrams have the following attributes:
|
Attribute |
Description |
Possible Values / Example
|
|
|---|---|---|---|
|
Name |
Displays the name of the current mapping diagram. |
mapAddress_direct
|
|
|
Description |
Description of the corresponding mapping operation for documentation purposes. |
|
|
|
Is static
|
Displays if the operation is static (default) or not (see Attributes of a Mapping Operation). For more information, also refer to Adding Operation Calls. |
true |
The mapping operation is static (default) and can be used outside the context of the related class.
|
|
false |
The mapping operation is non-static and needs a self object as an input. |
||
DataMapping_Simple_Example
Click here to download a simple example model that shows how to implement simple mappings in Scheer PAS Designer.
Refer to chapter Mapping Data Structures in the PAS Designer Developer Guide for more mapping examples.
Related Content
Related Documentation:


