When a process instance has been created (refer to Creating a Process Instance for details), it appears in the instance list. You can access a process instance via the instance list as long as it is still running and you have the necessary rights (refer to The Role Concept of the Instance List for more information).
The instance list shows all running instances that have not yet been processed to the last process step:
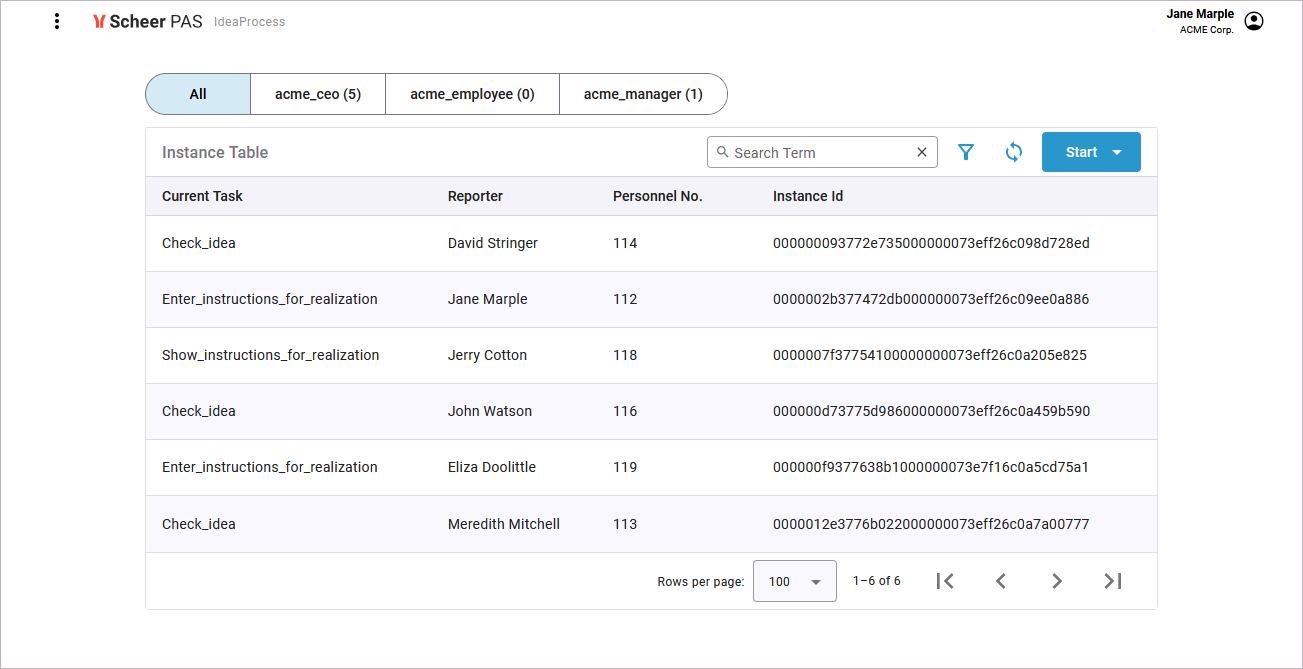
You can specify how the content of the instance list should look like. Refer to Configuring the Columns of the Instance List and Displaying Custom Data in the Instance List.
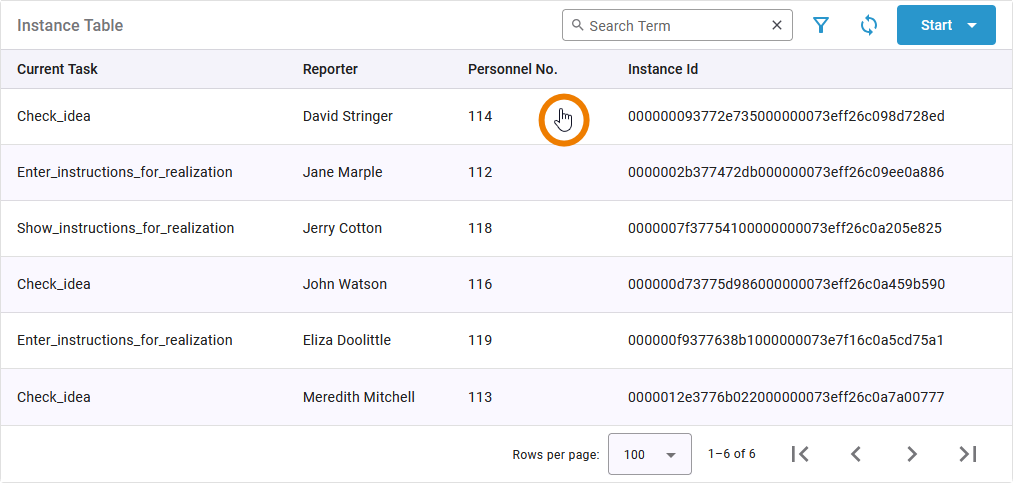
Click on an instance to open it:
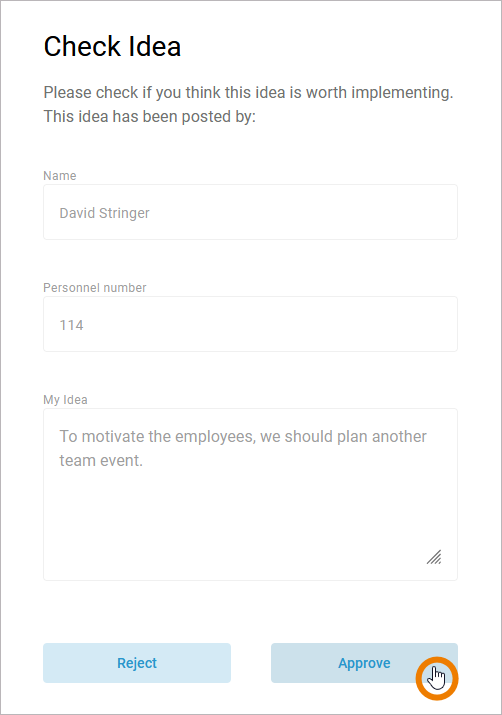
The instance will open in the relevant form so that you can continue to process the instance:
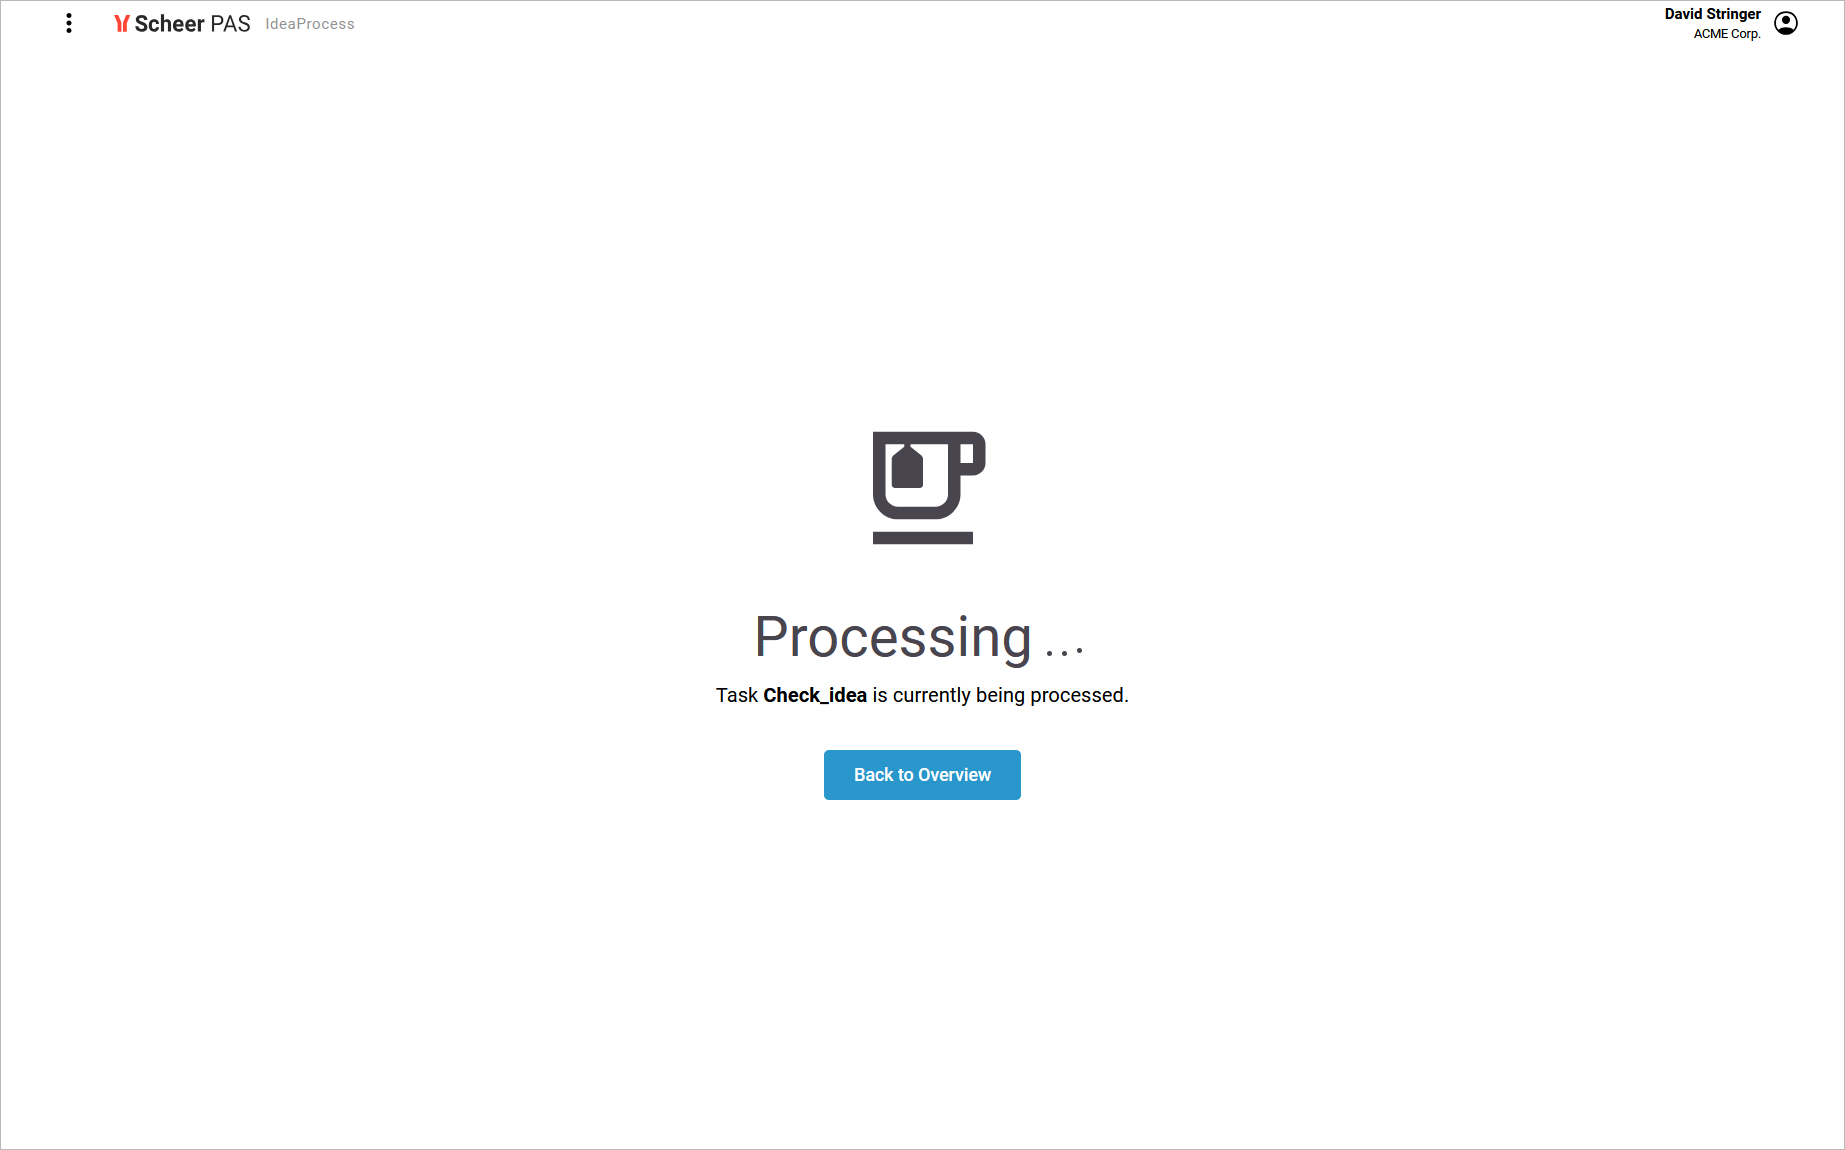
A progress view is displayed...
-
... if an open process instance is in a state where no forms have to be filled.
-
... if the instance is in a state that your role is not allowed to see.
You can wait until the process reaches the next form (or the process end) or switch back to the overview and proceed with another instance.
Instance List Options
If the view of the instance list is associated with a role-based authorization concept, only users with appropriate permissions can access it.
The instance list is not a mere overview, it also offers the following features:
(1) Use option Reload to update the instance list:

(2) If the instance list is already open, you can also create a new process instance by clicking Start. Select the process start you want to trigger from the drop-down menu:

(3) If you want to access another process, use menu to switch back to the service overview. All available processes of this service are then displayed:
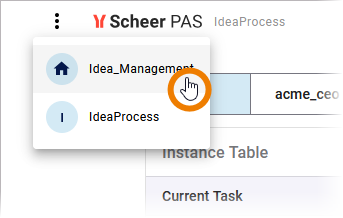
If the process is role-based, role labels are displayed - but only if your user is assigned more than one role. Click a label to view only the instances allowed for that role. For detailed information about role usage in apps, refer to chapter Role-based Authorization Concept.

Filtering the Instance List
Multiple filter features allow you to narrow down the listed instances. Click the filter to display the extended filter options:

You determine the contents of the extended filter yourself: The drop-down list shows all columns for which you selected the attribute Filterable in the column configuration of the instance list (refer to Configuring the Instance List for details).
-
The percent sign (%) represents zero, one, or multiple characters.
-
The underscore sign (_) represents one, single character.
To search for a substring, use the percent sign % as a wildcard for any character and underscore _ for a single arbitrary character.
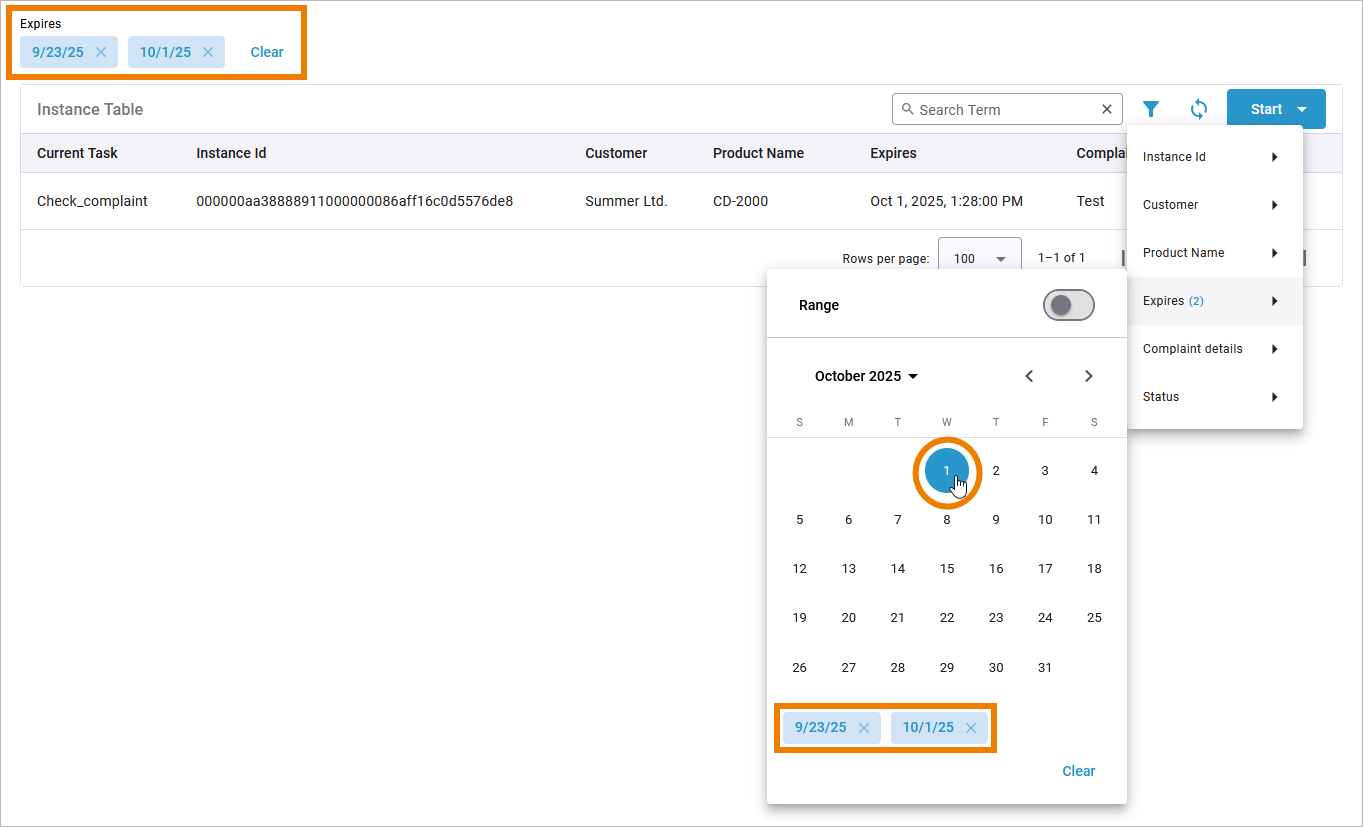
If you want to filter the content of a date field, a calendar opens. Now, you have multiple filter options:
(1) You can select single days. The selected days are displayed in date labels below.
(2) You can select a time range. Do to so, enable the toggle button Range on top. Now click on a start date, then click on an end date to define the time range. The selected range is highlighted in the calendar and displayed in a date label below.
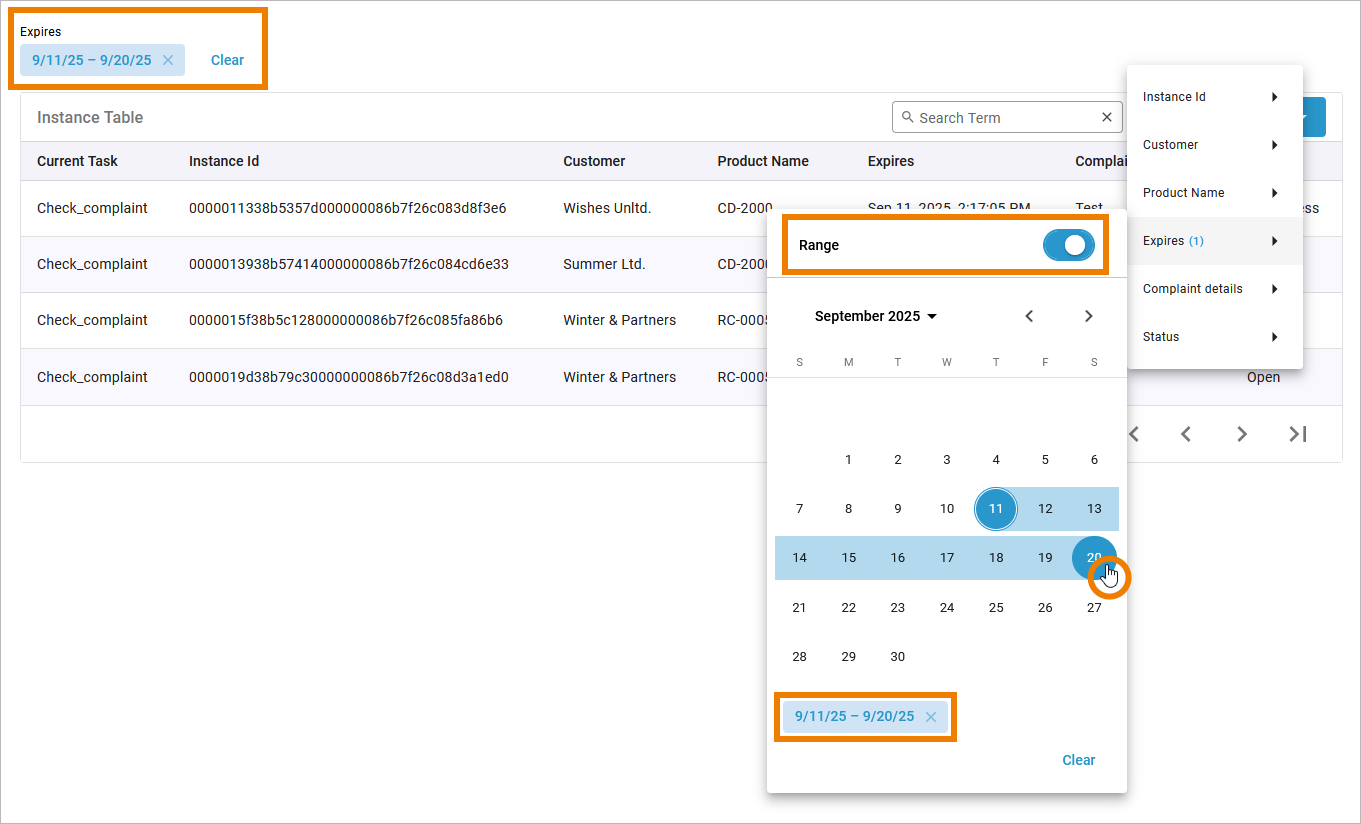
Time is passively included in the filter:
-
When filtering by a single day, the focus of the time is set from 0:00 a.m. to 11:59:59 p.m. (23:59:59).
-
When filtering by a date range, the focus of time is set from 0:00 a.m. of the start day to 11:59:59 p.m. (23:59:59) of the end day.
The currently selected filter settings are displayed above the instance list. The number of hits is displayed in the footer. You can delete individual filters by clicking the X in the respective filter name. Click Delete to remove all current filter settings:

Use the search field to apply a full-text search to the content of the instance list:

-
The percent sign (%) represents zero, one, or multiple characters.
-
The underscore sign (_) represents one, single character.
To search for a substring, use the percent sign % as a wildcard for any character and underscore _ for a single arbitrary character.
