Cron Job Data Sheet Overview
If you use the Plus button, an empty cron job data sheet opens:
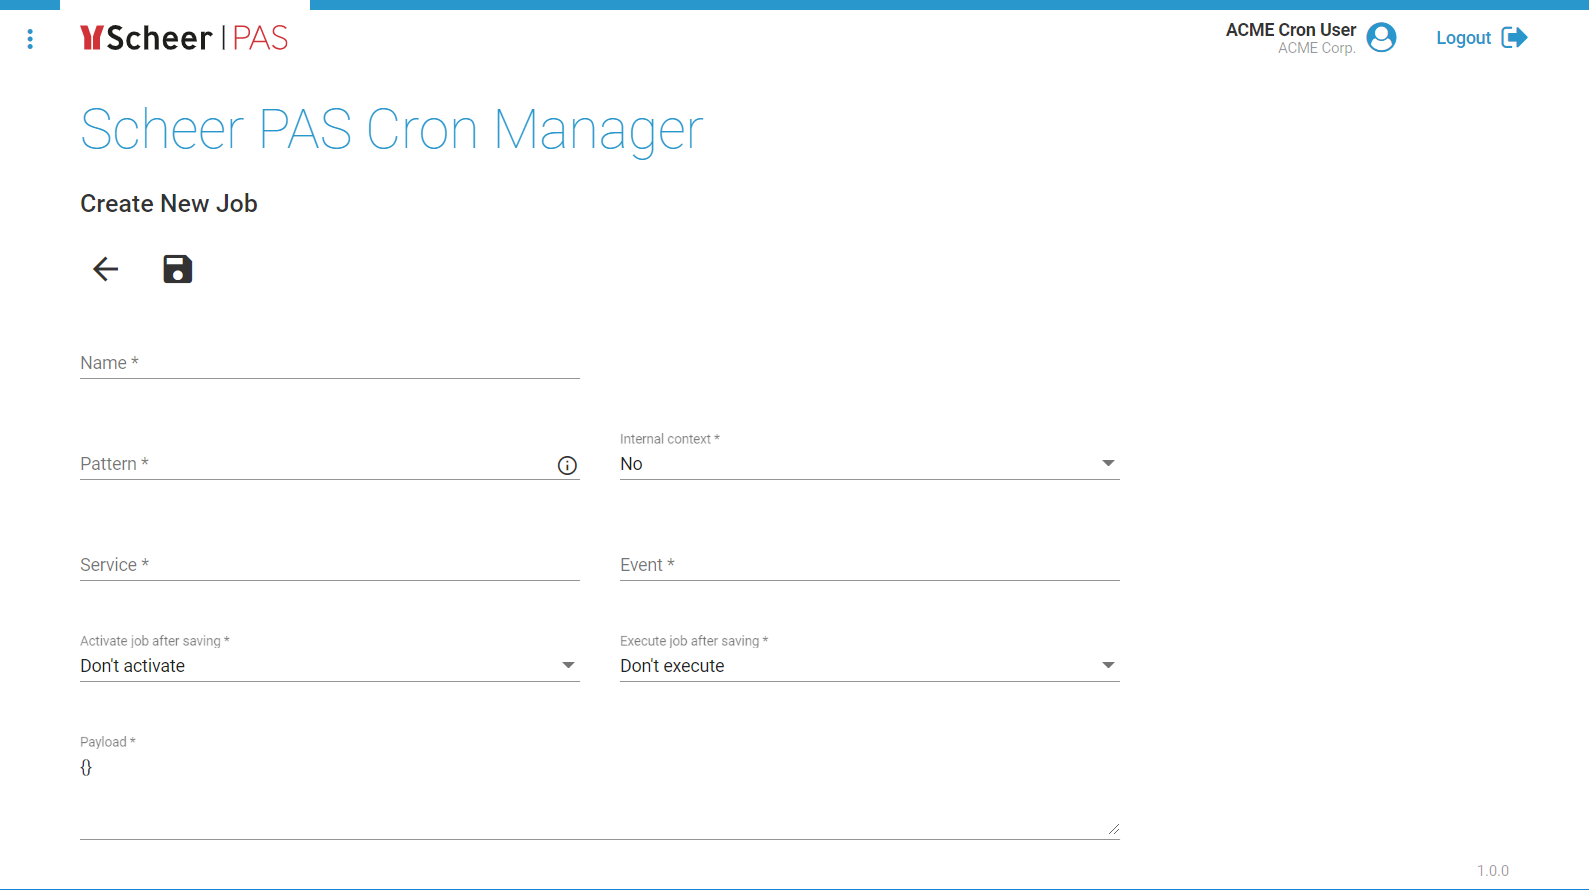
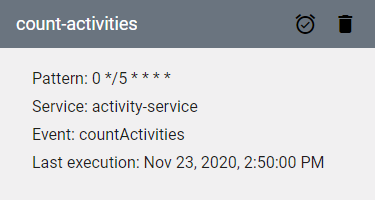
The data sheet contains the basic data of a cron job:
-
Name
-
Pattern
-
Internal context
-
Service
-
Event
-
Activate job after saving
-
Execute job after saving
-
Payload
How to Create a New Cron Job
To create a new cron job, click Plus:
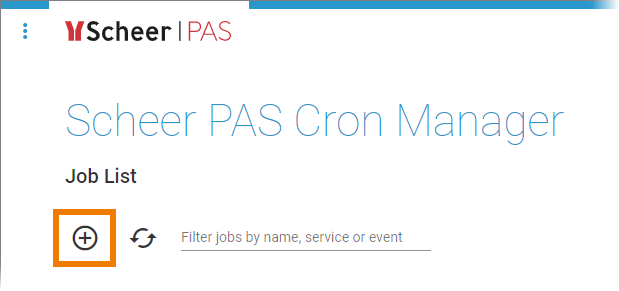
An empty cron job data sheet opens. In this data sheet you must fill the following fields:
-
Name
-
Pattern
-
Internal context
-
Service
-
Event
-
Activate job after saving
-
Execute job after saving
-
Payload
Enter a Name for the job:

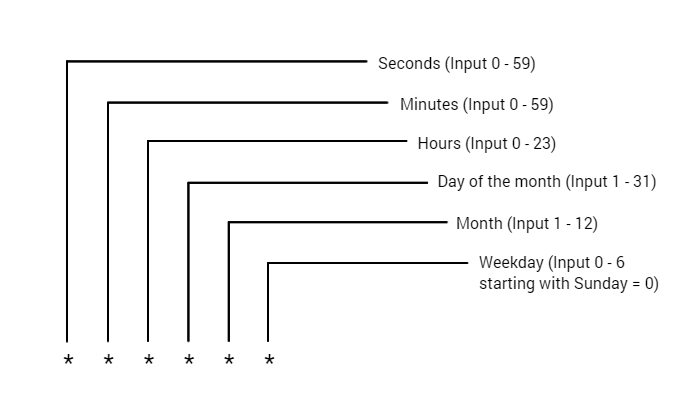
You can enter a six-digit pattern:

If you use only five digits, the seconds are omitted. The pattern defines the schedule of the job. Using the correct pattern, you can determine whether the job should be executed at fixed times, dates, or intervals.
Formatting of the Pattern:
-
Separate the individual digits by spaces.
-
You can use * as a wildcard.
-
The following order applies to the input:
Frequently Used Patterns
-
Every minute: * * * * *
-
Every second: * * * * * *
-
Every midnight: 0 0 * * *
-
All 15 seconds, but only on sundays: */15 * * * * 0
-
Every minute between 17:30 and 17:45: 30-45 17 * * *
-
Mondays to fridays at 01:20 and 01:30: 20,30 1 * * 1-5
The options for the Internal context are Yes and No (default):

-
If you choose No (default), the job will be executed in the user context of the logged-in user.
-
If you choose Yes, the job will be executed in the internal context without user data.
Enter the appropriate Service:

Example: model-execution-service is used to execute EPC models.
Enter the name of the function:

Example: executeModel is used if an EPC is to be executed.
The Activate job after saving field allows you to activate the job directly:

-
Choose option Activate to activate the job when it is created.
-
If you choose Don't activate (default), the job remains deactivated until you activate it manually (see page Editing a Cron Job for details).
The Execute job after saving field allows you to initiate the first execution of the job regardless of the pattern:

-
If you choose Execute, the job will be executed initially after its creation - regardless of the defined pattern. The second execution is then based on the pattern.
-
If you select Don't execute (default), the execution will be based directly on the pattern if the job is activated.
In field Payload you have to enter your service request. The Payload must contain a valid JSON:

Example: e the indicator on the lower right side of the frame to enlarge the payload fie
{
    "modelId": "rp2562b60a-a4fe-4c97-b27a-43faa027d170",
    "pr": "e1e4c500-07b0-12e8-9cfa-7becc0a3e857"
}
Use the indicator on the lower right side of the frame to enlarge the payload field:

Click Save to save the completed data sheet:

Your cron job is created and added to the job list. The job is displayed with a blue frame if you activated it:
Use button Deactivate to deactivate the job.
A grey frame indicates that the job is not activated:
Use button Activate to activate the job.