In the Additional Actions Sidebar, you will find various options that can be called up via corresponding buttons:
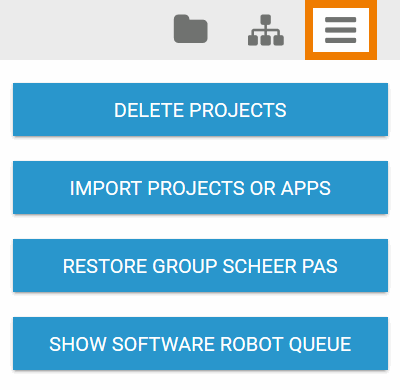
Deleting Projects
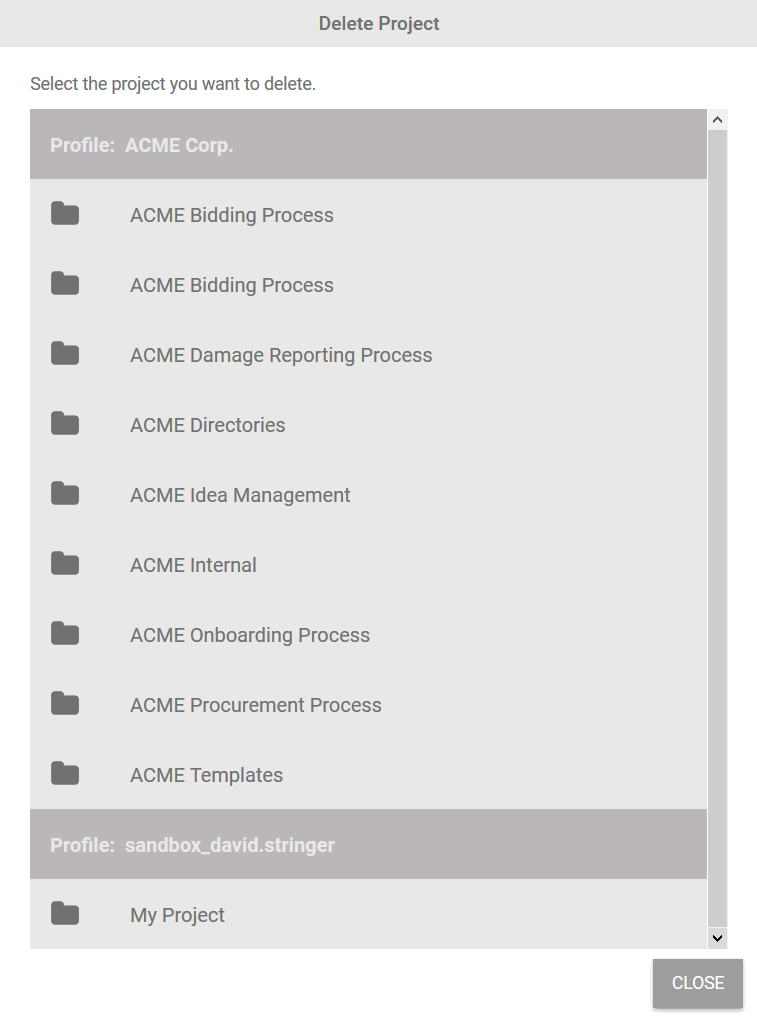
Use the Additional Actions Sidebar to delete projects. If you want to delete a project, click the Delete Projects button. The Delete Project dialog opens automatically, displaying all available projects in all your assigned profiles:
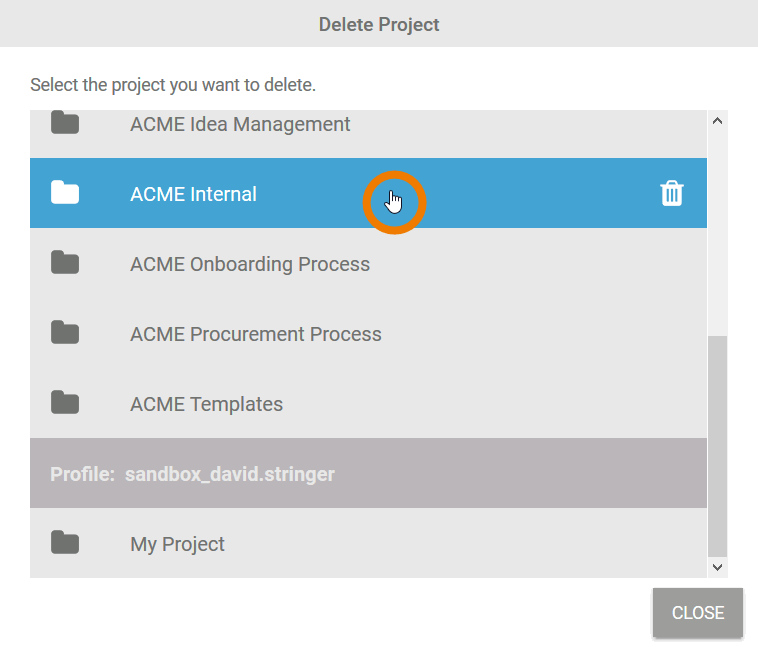
Click on the line of the project you want to delete. The selected project is highlighted in blue and a recycle bin is displayed at the right-hand edge:
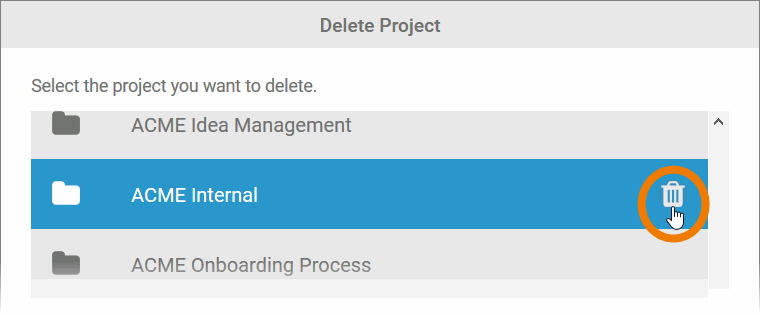
Click on the recycle bin to delete the project. To deselect the project, click on the blue line again:
In the next window, confirm that you really want to delete the project from the database:
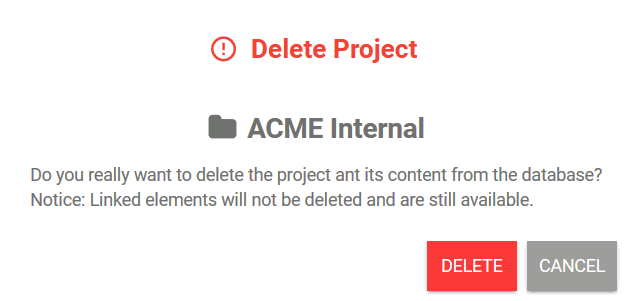
Deleting a project has the following effects:
-
The project tile will be removed from all groups in the cockpit.
-
The project start link is deleted from the New Elements Sidebar.
-
All elements within the project (app projects, Process Apps etc.) are also deleted. Only elements that are linked in other projects will be retained.
If you do not want to delete the project, click the Cancel button to return to the project list.
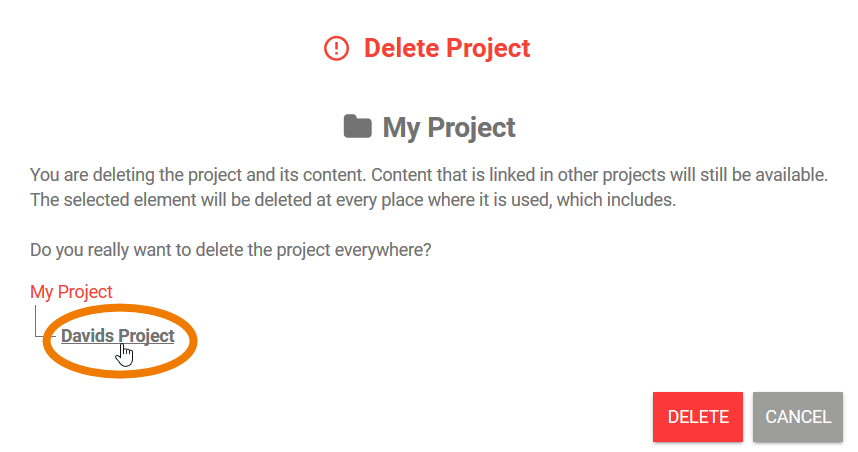
Projects can be linked in other projects. If you try to delete a project that is still linked in other models, a message with a cross-reference list is displayed. Here you can see where the project is still used. You can use the displayed links to open the respective model in a separate browser tab:
After deleting the project, the updated project list is displayed. Once you have deleted all the projects you want, close the window:

If many apps are managed in a project, the deletion process may take some time. To signal to the user that the deletion process is not yet complete, a corresponding message is displayed in the cockpit after five seconds.
Importing Projects or Apps
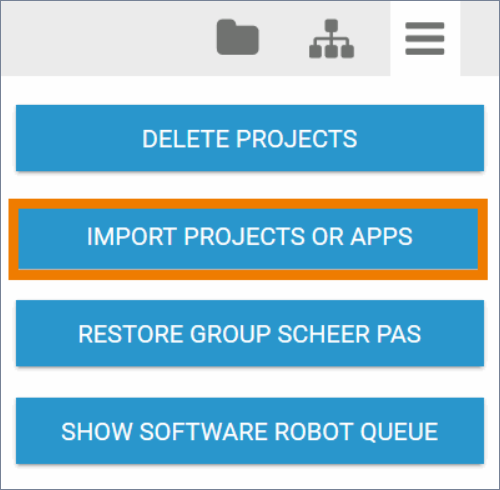
Exported apps or entire projects can be imported into the cockpit. Click on the button Import Projects or Apps in the Sidebar Additional Actions:
The import dialog opens in a separate pop-up window:

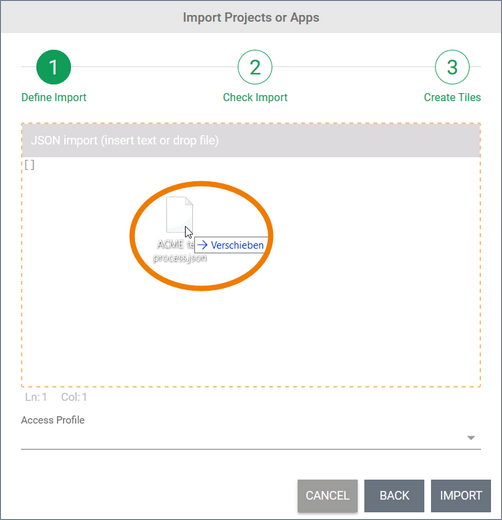
Step 1: Defining the Import
In the window JSON import, you have to add the project or app to be imported as a JSON object. You have two options to add the JSON object:
(1) If the object is available as JSON file on your desktop, drag and drop the .json file onto the JSON-Import field.
Use UTF-8 coded files.
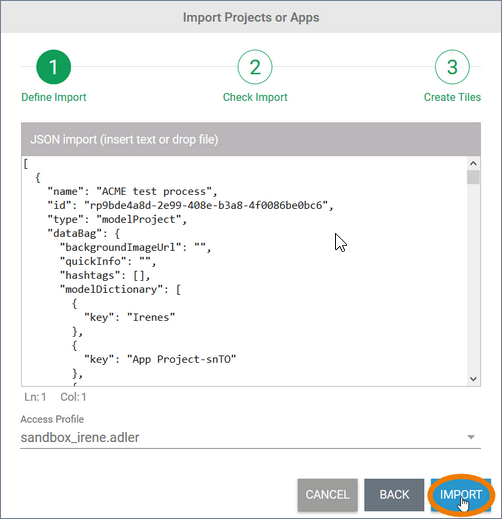
(2) Copy the content of an export window to your clipboard and paste it into the JSON import window. Now use the drop-down menu to select in which profile the import shall be saved:
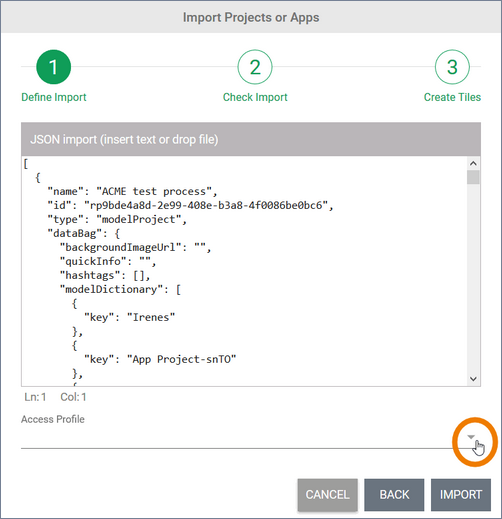
The Import button only activates once import object and profile are entered:
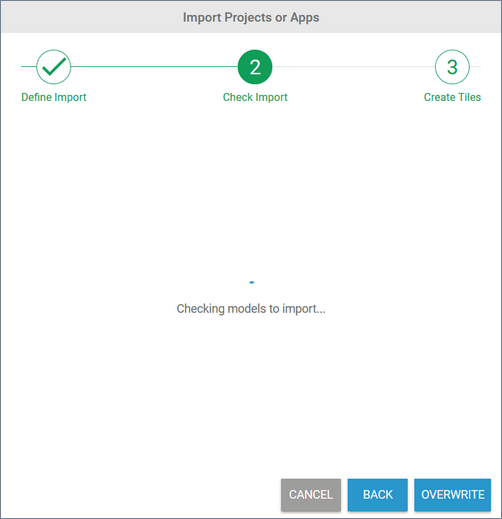
Step 2: Checking the Import
Once the import has started, all to be imported files will be initially analyzed to avoid duplicates:
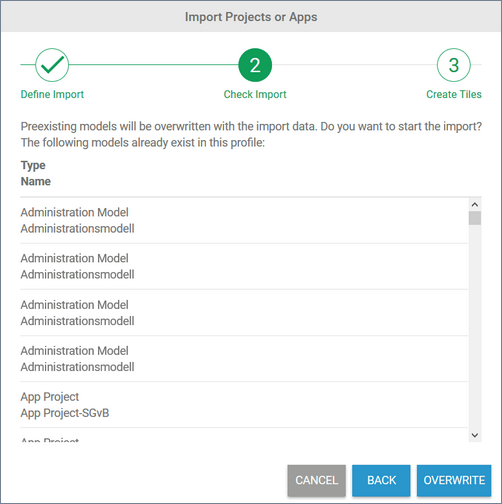
If the chosen profile already contains models with the same name, then these will be listed alongside their element type and element name. If you wish to continue your import, then these elements will be overwritten with your import elements. To continue, please click the button OVERWRITE. To discontinue click CANCEL. To change the import object, choose BACK to return to step 1:
Step 3: Creating Tiles
If no existing models are found or if - in step 2 - you have decided to overwrite, the import is executed. In step 3 you have to decide whether you want to create tiles for the imported models directly in the cockpit.
In the cockpit, tiles for projects and process apps can only be stored in a group. Therefore, if you want to create tiles, you have two options:
-
Creation of tiles in a new group
-
Creation of tiles in an existing group
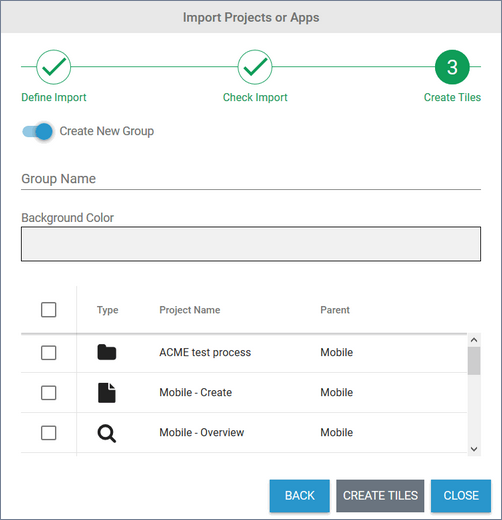
Creation of tiles in a new group
To create the tiles in a new group, use the button Create New Group. Then enter a name for the new group. You can also choose a background color:
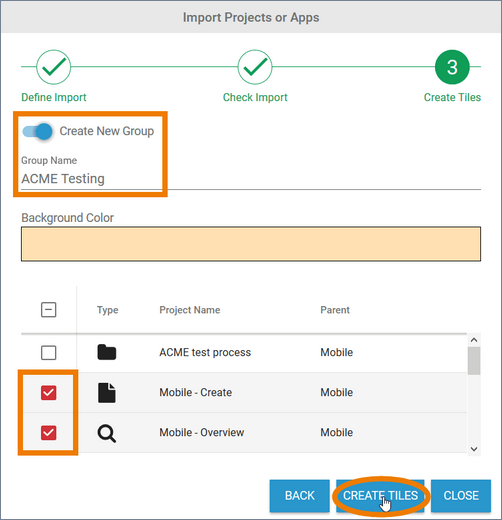
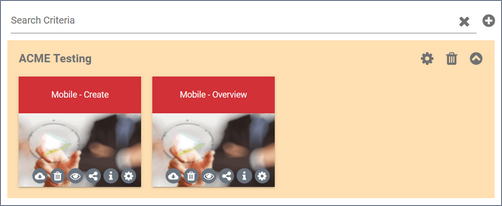
Select the elements for which you want to create tiles from the list below. Finish the process by clicking the Create Tiles button. The tiles for the selected elements are created within the new group:
Creation of tiles in an existing group
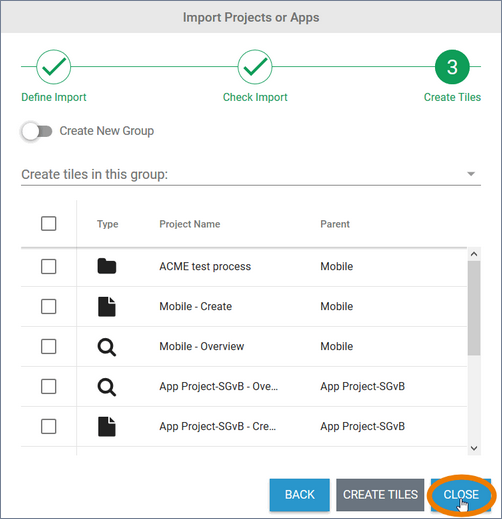
You can also create the tiles in an already existing group. To do so, deactivate the Create New Group button. Open the drowp-down list Create tiles in this group to select one of the existing groups. Select the elements for which you want to create tiles from the list below. Finish the process by clicking the Create Tiles button:

Completing the import without creating tiles
If you want to finish the import without creating tiles, click Close:
If you want to create tiles for the imported elements later, you can do this using the Sidebar New Elements or the Sidebar Tree.
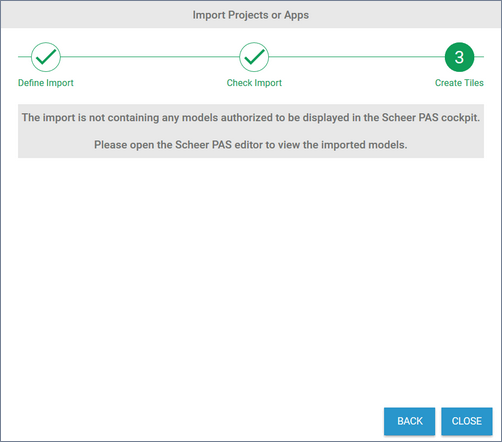
Creation of tiles impossible
If the import file only contains Process App elements with activated option Hide in Cockpit, step 3 of the import cannot be executed. In that case, a corresponding message is displayed in the import window:
Restoring the Scheer PAS Group
After the first login, the Scheer PAS group is available in the cockpit:
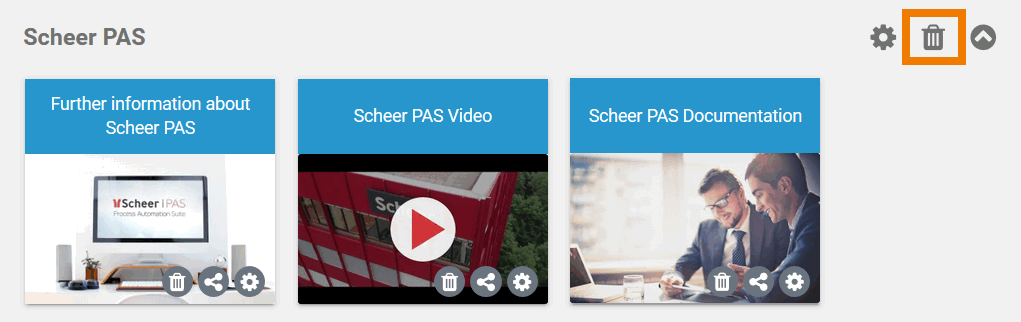
It contains several link tiles, which you can use to obtain further information about the product. Like any other group in the cockpit, you can delete the Scheer PAS group via the group menu.
If you want to show the group again later, you can do so at any time. Open the Additional Actions Sidebar, click on the Restore Group Scheer PAS button and the group will be added to the cockpit again.
