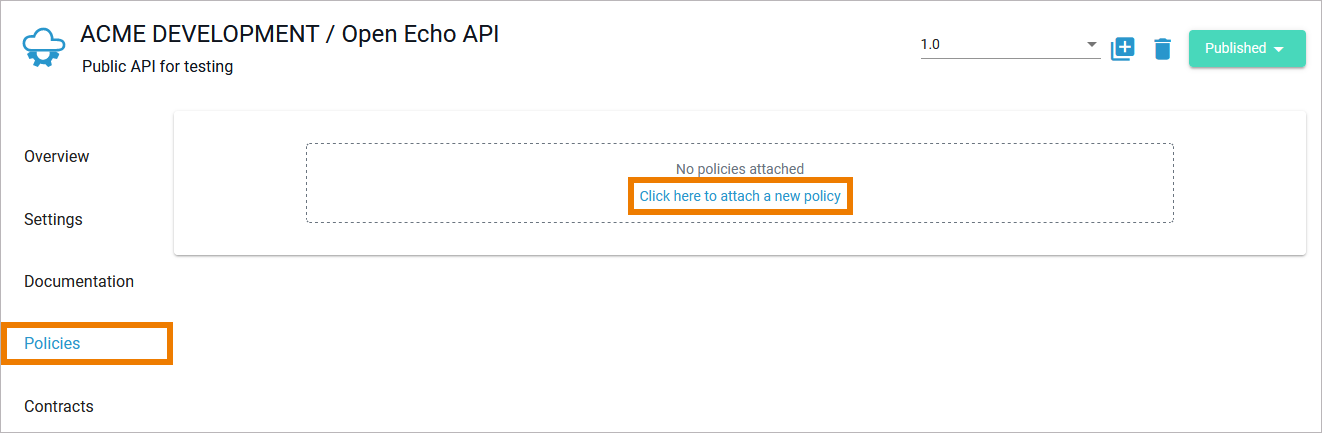
Policies can be configured at three different levels: The details pages of APIs, clients and plans include the tab Policies. Open that tab to attach and manage policies for the corresponding entity. If no policies have been attached to the entity yet, the empty Policies tab displays the link Click here to attach a new policy.
Click the link to access the policy wizard:
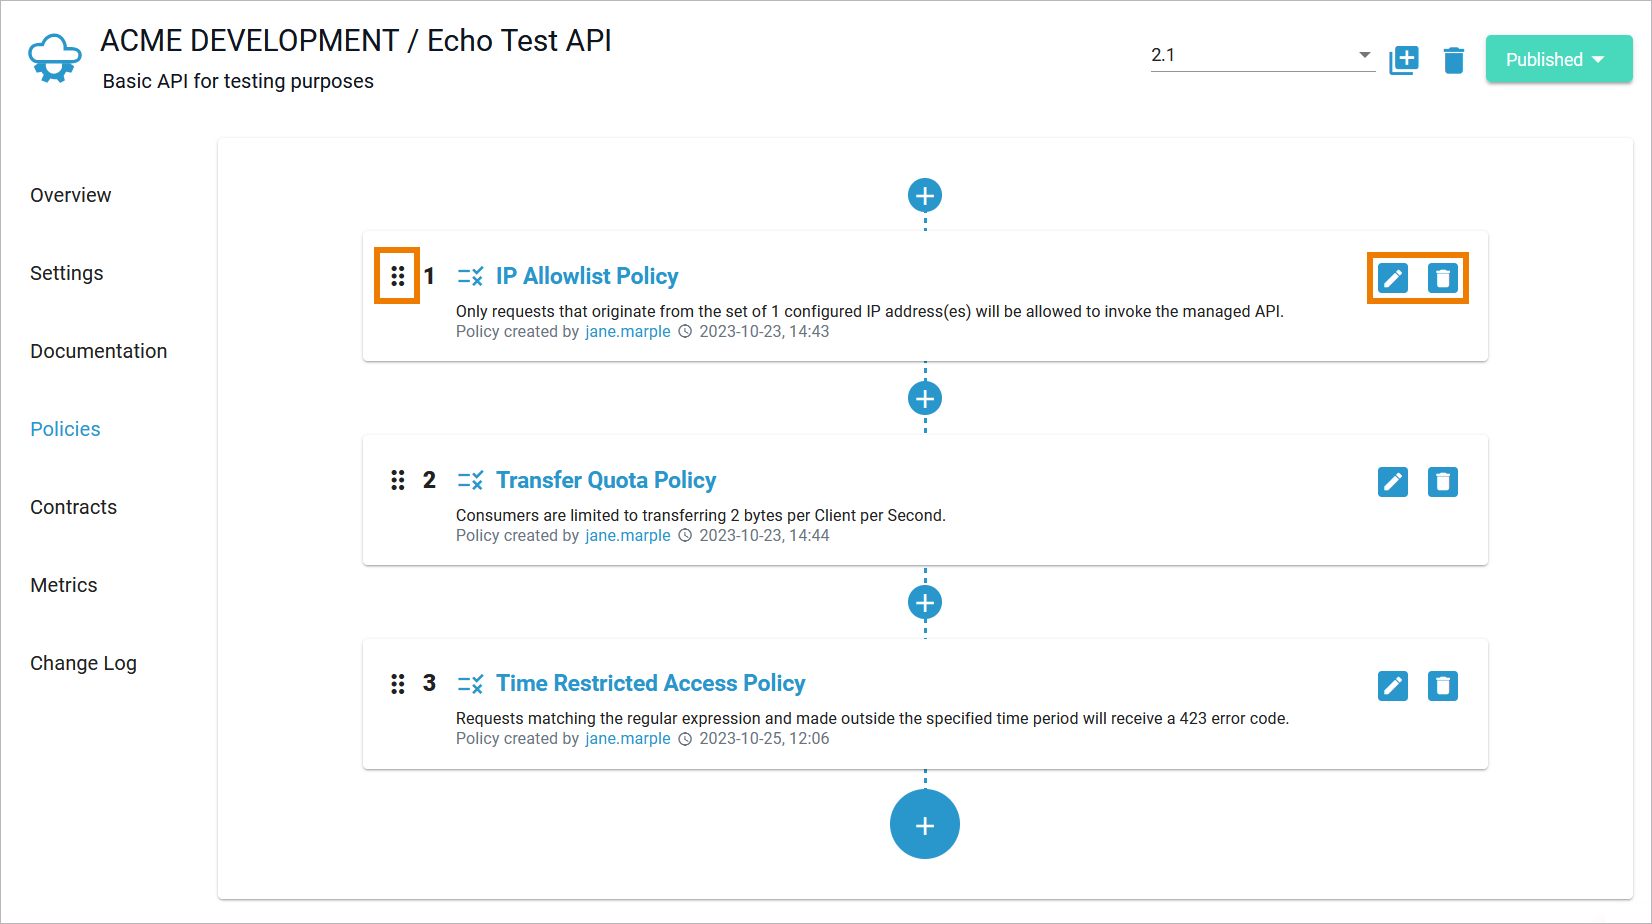
If policies have already been attached to the entity, the Policies tab displays the policies and various plus buttons to add policies.
The order in which the policies appear in the user interface determines the order they will be applied at runtime (refer to Policies > Policy Chain for details). Since the order of the policies is important, you can use the different buttons to add the policy exactly in the right place. Nevertheless, you can still reorder attached policies with simple drag & drop.
Click on the image to run through the animated version once. Click again to repeat.
The policies tab also allows you to manage the attached policies:
|
Option |
Icon |
Description |
|---|---|---|
|
Add |
|
To add another policy, click one of the Plus buttons. |
|
Reorder |
|
Drag the policy and drop it on the desired new place in the hierarchy. |
|
Edit |
|
Use the button to edit the policy configuration. |
|
Delete |
|
Use the button to delete the policy from the entity. |
The OpenAPI definition is adapted when the API is published. Adding or removing policies enriches now the OpenAPI definition. This also applies to the whole policy chain, even if the definition editor in the API details will only show API-related policy code. Refer to API Settings > API Definition for detailed information.
The Policy Wizard
The policy wizard supports you during policy configuration:
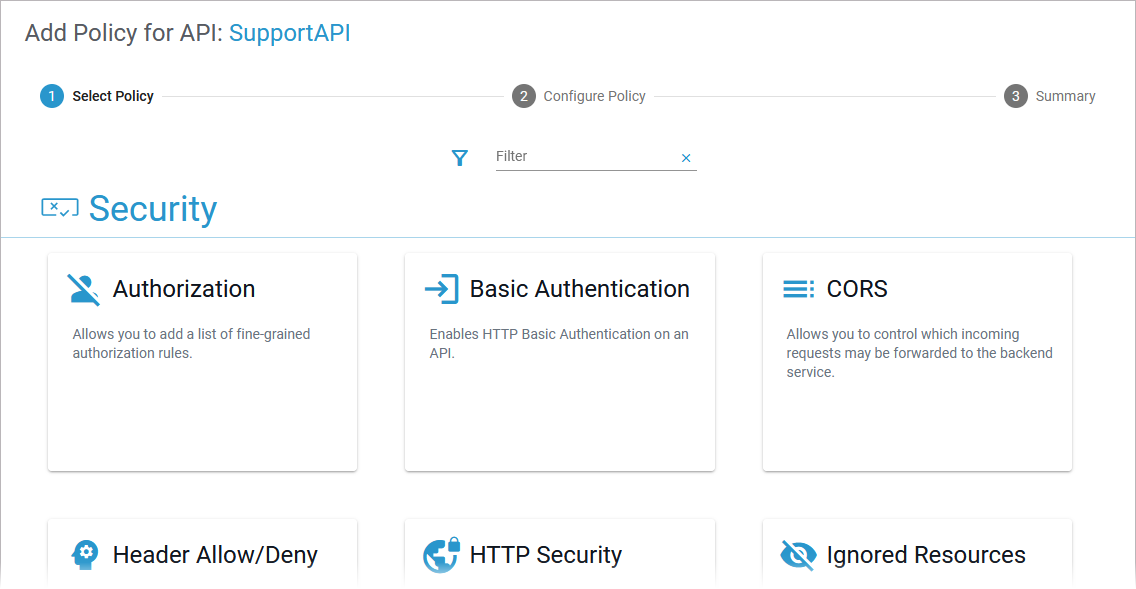
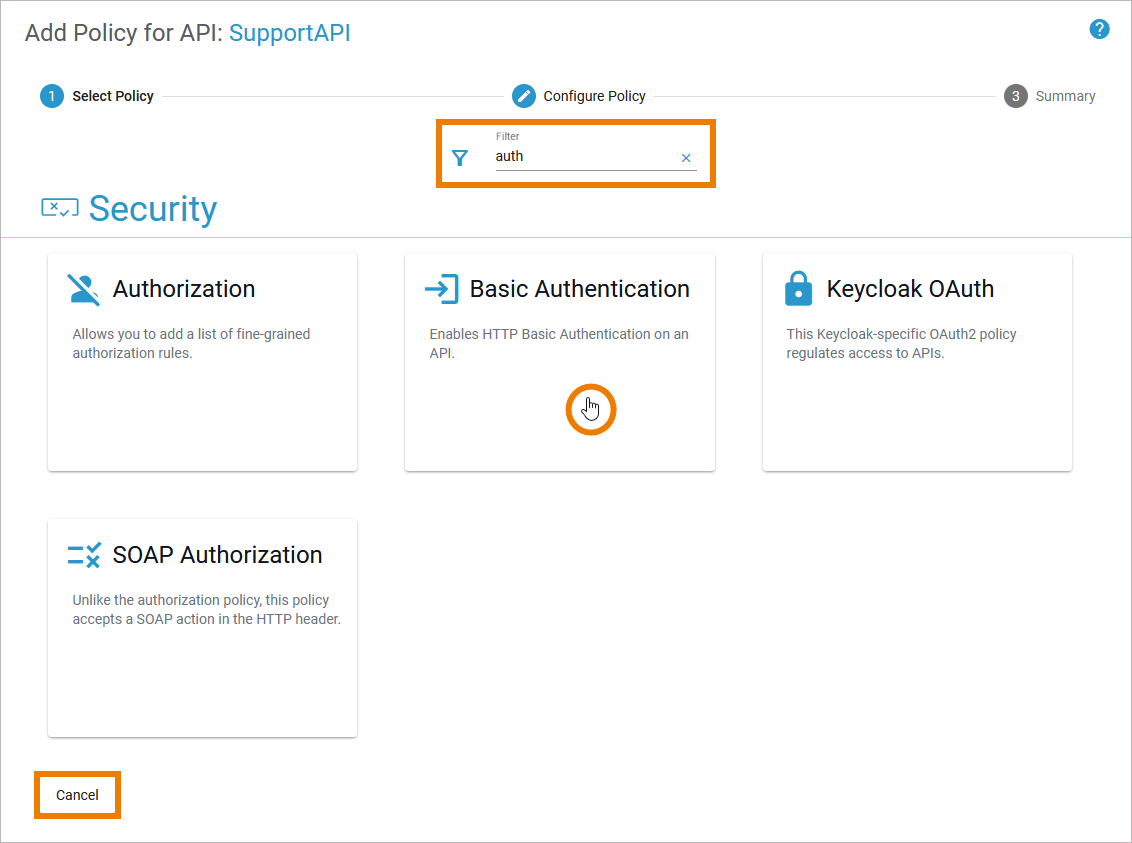
In the first step, you need to select a policy. You can scroll down to browse the page, which displays all available policies by category:
-
Security
-
Limitation
-
Modification
-
Others
You can also use the filters to search for a policy:
-
Fulltext filter: Enter a search term.
-
Extended filter: Filter by policy groups.
At the bottom of the page you can find the Cancel button if you want to leave the policy wizard. Click on a policy tile to continue:
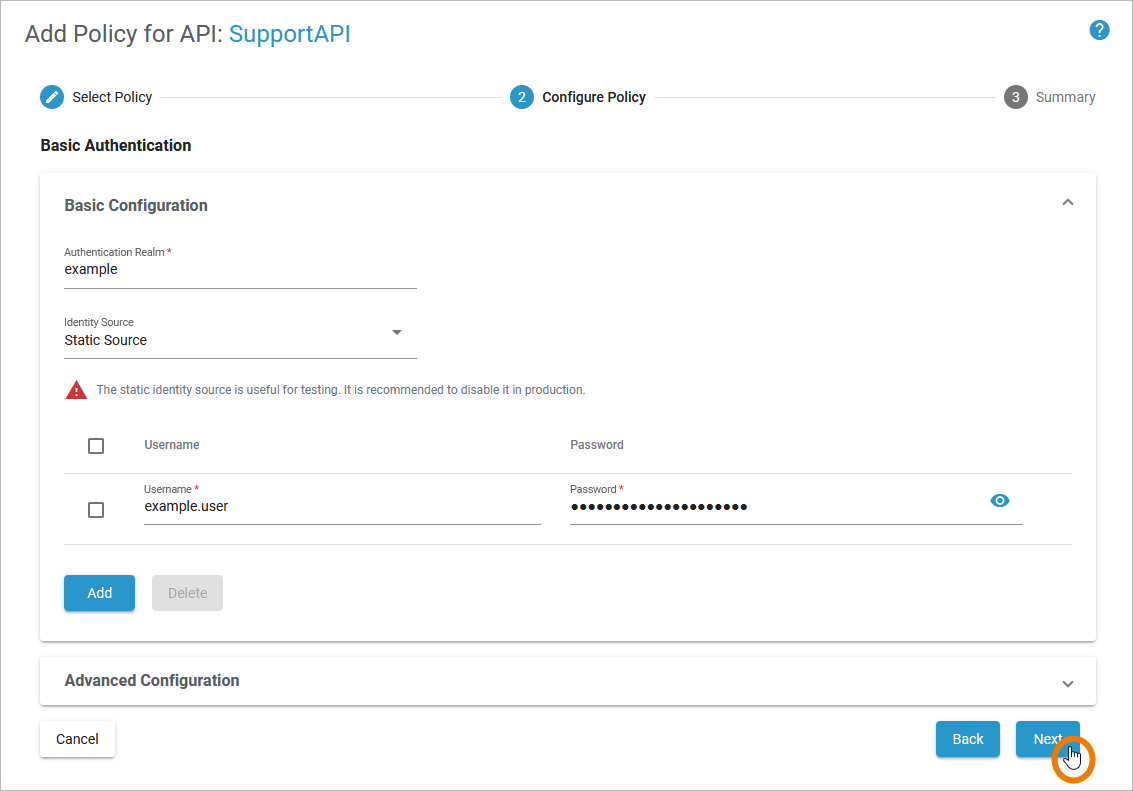
In the second step, the configuration options of the selected policy are displayed. Configure the necessary settings.
Button Next is only enabled if you have configured all mandatory details. Click Next to continue:
In chapter Policy Configuration you will find a separate overview page for each policy, where all configuration options are explained.
The last step shows a summary of your policy configuration.
-
Click Next to attach the policy.
-
Click Back to edit the configuration.
-
Click Cancel to leave the policy wizard.

Once confirmed, you will be redirected to the Policies tab, which will now show the newly attached policy:
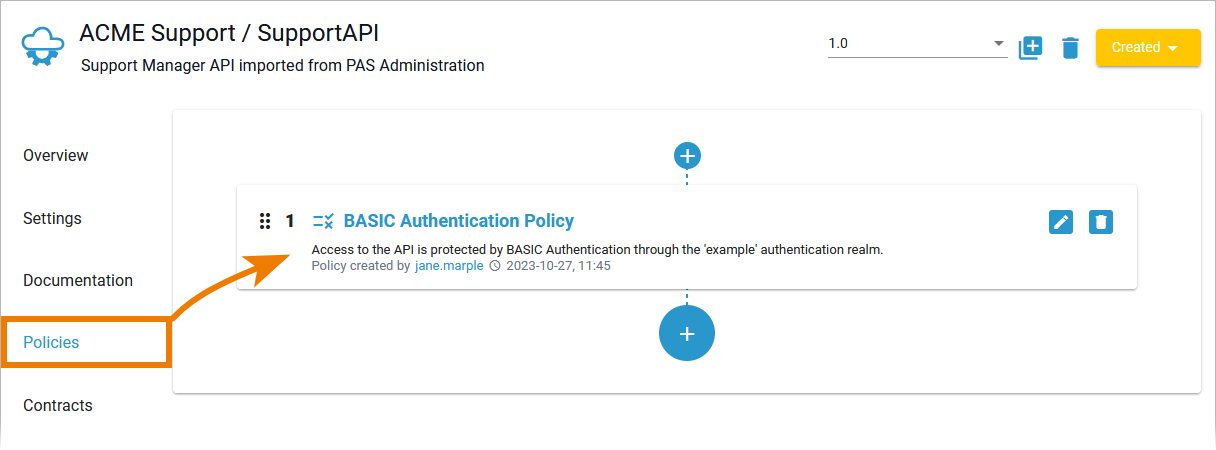
Note that attaching policies is a change that results in a state change for APIs and clients. You need to republish an API / reregister a client to apply newly added policies:

Related Content
Related Pages: