With the deployment wizard, Scheer PAS provides a tool to deploy xUML services as Docker container and Kubernetes workload. All you need is the repository (.rep file) or bundle (bundle.zip folder) of the service.
Please note the following limitation: You cannot deploy services repositories with a UI, that have been compiled on a Docker system, to a Kubernetes system, and vice versa. Reason is the different authorization handling which is decided at compile-time.
To access the deployment wizard, open the Administration:
Your user needs the profile xuml_container_admin to use the deployment wizard and to manage xUML services in the Administration.
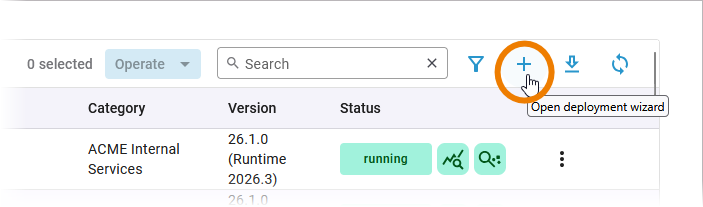
Click Open deployment wizard on top right of the service list to open the wizard:
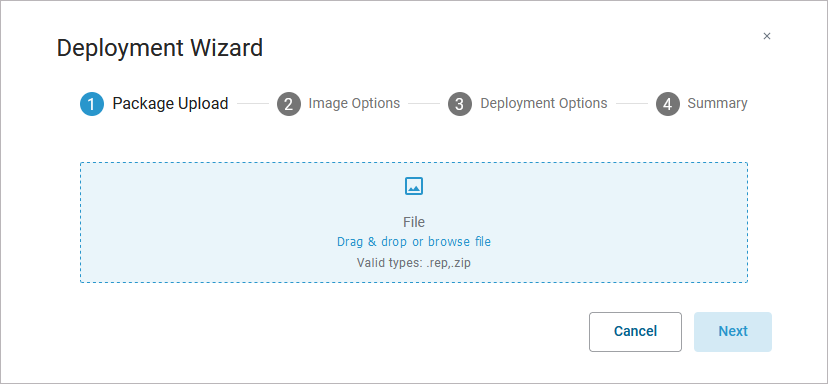
The wizard opens in a pop-up window. As soon as you have selected the .rep or the bundle.zip file of a service, the wizard guides you through the necessary steps to create an xUML service:
For detailed information how to handle containerized xUML services after successful deployment, refer to one of the following pages (depending on your setup):
Step 1: Package Upload
First, select the .rep or bundle.zip file of the service you want to deploy. Drag and drop the file within the framed box or click …browse file to search your computer. The name of your file is displayed after upload:
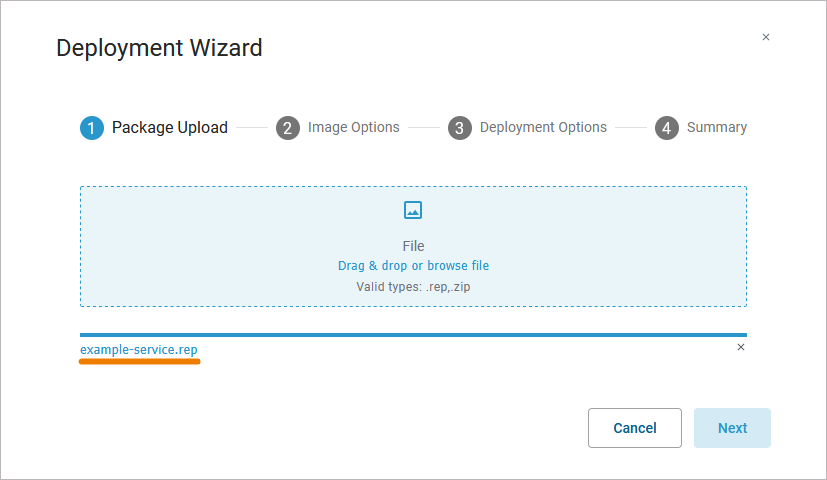
Click Next to continue.
Information on Bundle Uploads
If you upload a bundle.zip file to the deployment wizard, most of the content explained in the next steps is not applicable, because it is already defined in the bundle export.
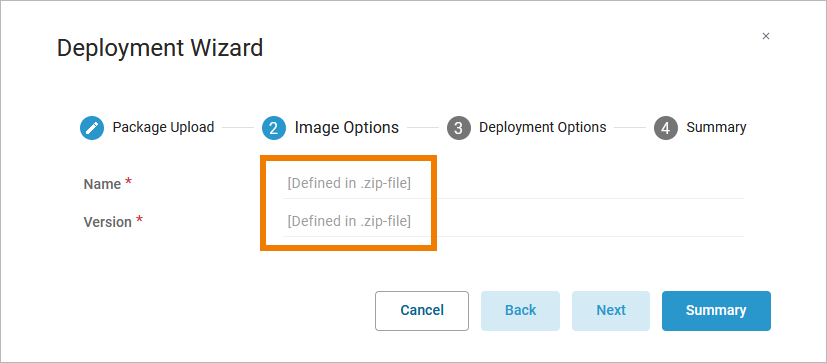
Step 2: Image Options
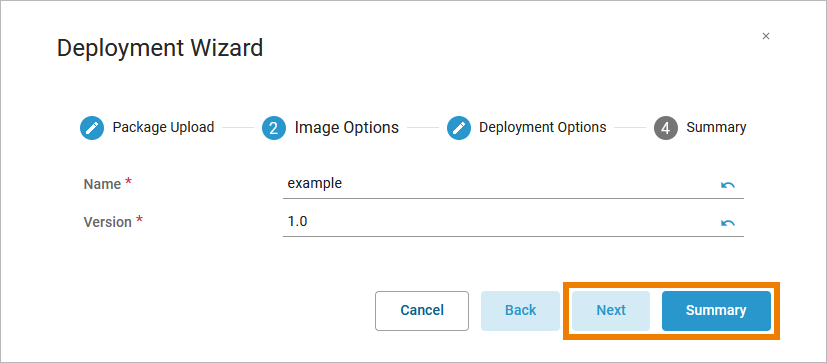
In step 2, you can adapt the image options. All displayed fields are mandatory:
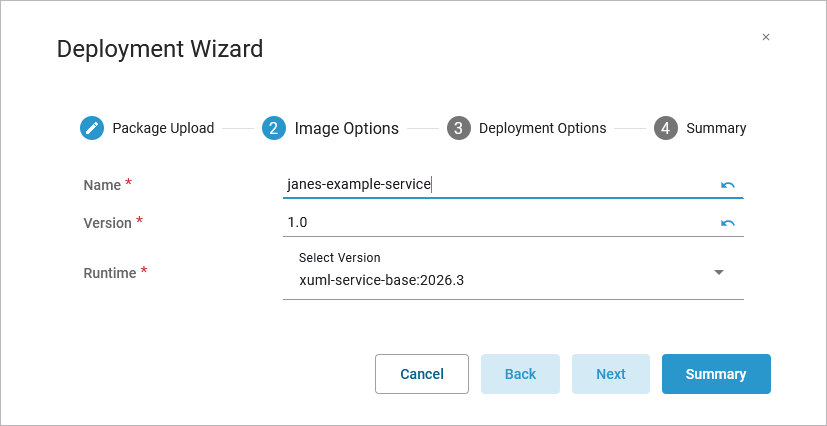
The selection list to choose a Runtime version is only displayed, if several Runtime versions are available on your system.
The image options are:
-
Name: By default, the name of the rep.file is used. You can adapt it (see below for naming restrictions).
-
Version: By default, version number 1.0 is displayed. You can adapt it.
-
Runtime: Only available if your system contains several Runtime versions. If so, the latest version of the Runtime is selected by default. Use the drop-down list to change the version.
Various input restrictions apply to field Name. If you enter invalid characters, corresponding validation notes are displayed:
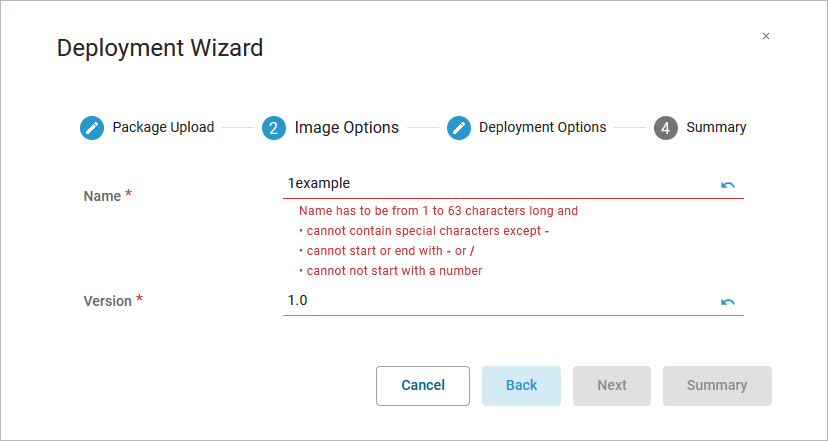
Input Restrictions
The following restrictions apply: The name...
-
... must be between 1 and 63 characters long.
-
... must not contain any special characters except - (minus).
-
... must not start or end with - (minus).
-
... must not start with a number.
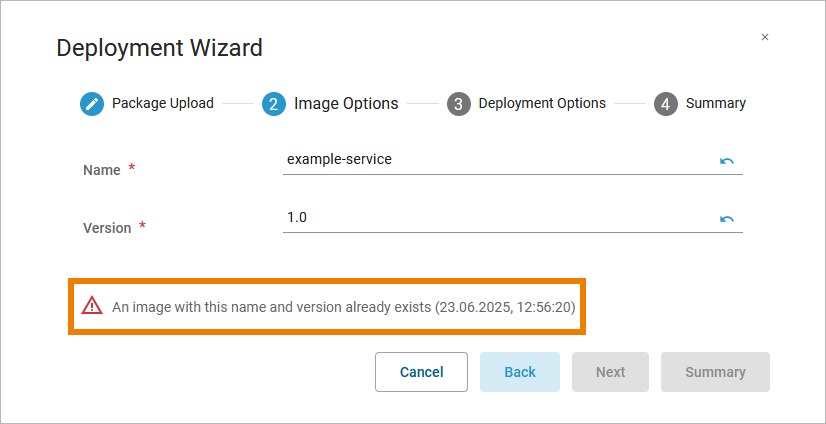
An image must have a unique designation. You will get a warning message if an image with the same name and version already exists. In that case, you must at least change name or version of the image:
-
Click Next to adapt the deployment options. This third step of the deployment wizard is optional.
-
Click Summary to check the deployment data and start the build process.
Step 3: Deployment Options
Step 3 is optional and allows you to adapt the deployment options.
It is divided into different sections:
-
General
-
Custom Labels
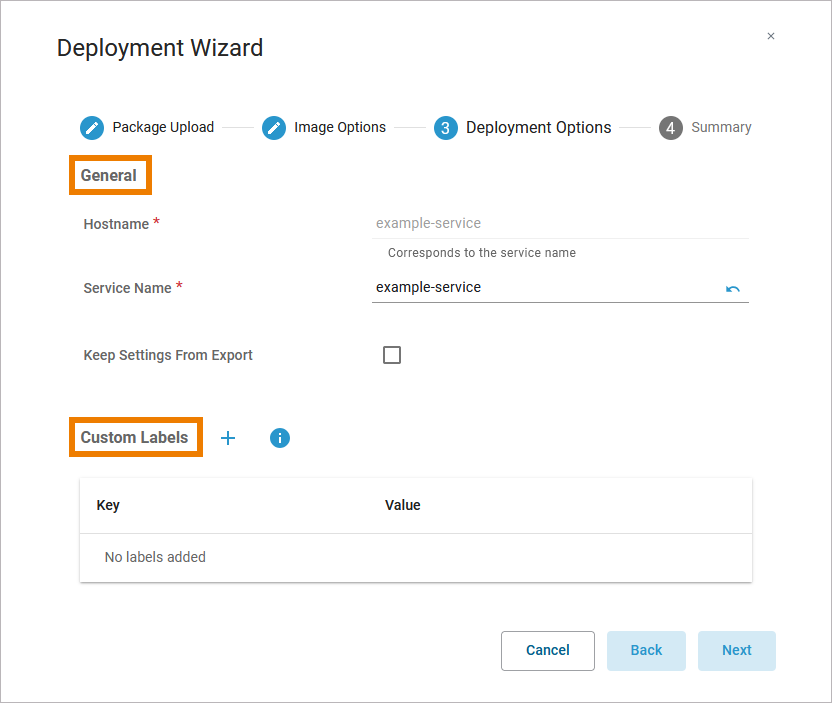
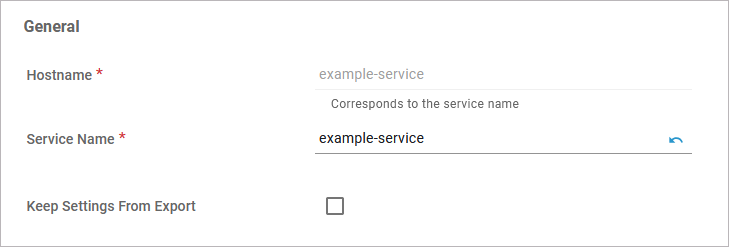
General
In this section, you can find the following options:
|
Option |
Description |
|---|---|
|
Hostname |
Shows the name of the host.
|
|
Service Name |
By default, the image name is displayed.
|
|
Keep Settings From Export |
Enable this option to keep the service settings that have been stored inside either the .rep or .zip file that you used in step 1. Existing settings data will be overwritten. Therefore, it is recommended that you enable this option only during the initial deployment. Service settings are always included if you use the Export Service functionality in the service details. Depending on your setup, refer to one of the following pages for details:
Note on Service Migration and Service Transport The option Keep Settings From Export is helpful during service migration and the transport of services.
|
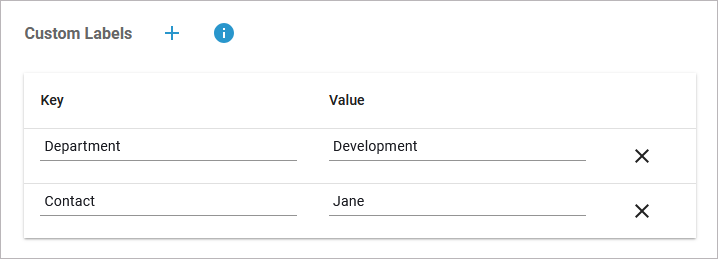
Custom (Container) Labels
Use this option to add technical labels for the container. The labels are added to the container and are also displayed later in the service details. You can add them as key / value pairs:
|
Icon |
Description |
|---|---|
|
|
Click Plus to add a new custom label. |
|
|
Hover over the information option to display further info about the usage of custom labels. |
|
|
Click X to delete the corresponding label. |
Primary functionality of custom labels is to label the container, not to add a detailed description. Some restrictions therefore apply:
Input Restrictions for Custom Labels
Keys can contain alphanumeric characters. Besides that, the following restrictions apply:
-
Each key must start and end with an alphanumeric character.
-
Keys can contain between 2 and 64 characters.
-
Keys can include letters, digits, underscores and hypens but they cannot end with an underscore or hypen.
-
Other special characters are not allowed.
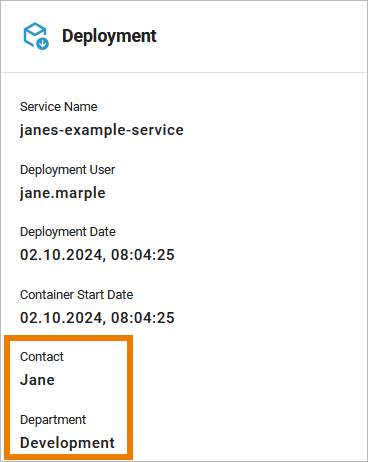
After deployment, the labels are also visible in section Deployment in the service details:
Step 4: Summary
In the last step, you can check all deployment-related information again.
Three sections are summarizing the information provided:
-
Package Upload
-
Image Options
-
Deployment Options
If you want to adapt some of your inputs, use Back or click on one of the steps in the navigation to access it directly. Click Build & Deploy to start the deployment process:

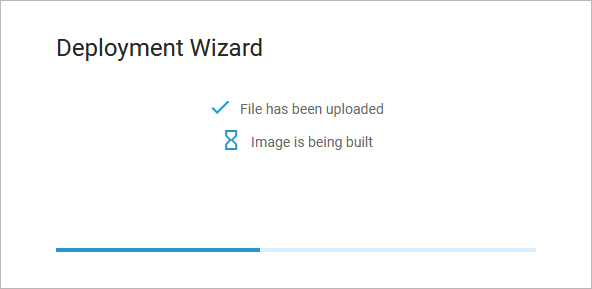
The wizard starts the deployment and keeps you updated about the running deployment steps. This information is read-only, you cannot intervene in the process now:
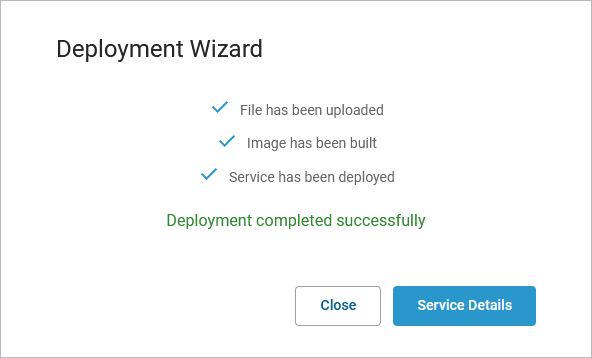
You can take action again when the deployment has been completed.
-
Click Close to close the deployment wizard.
-
Click Service Details to open the deployed service in the Administration.
For detailed information how to handle containerized xUML services after successful deployment, refer to one of the following pages (depending on your setup):