In the Designer, you can connect to backend systems using adapters. To make this much easier, you can create a connector that provides the needed configurations for the adapter:
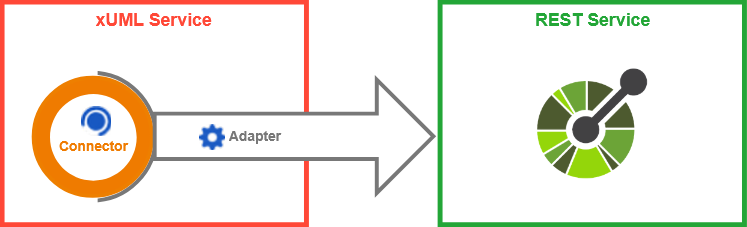
The Connector provides the data model, the Adapter performs the actual call to the outside system. The example above shows the connection to a REST service. You can create connectors to the Connectors folder.
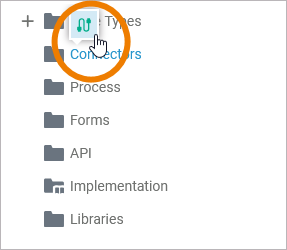
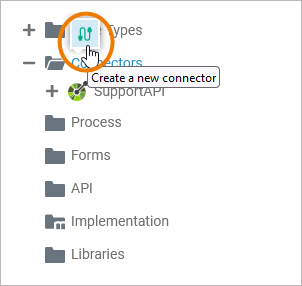
Hover over the Connectors tree node in the service panel. Choose quick action Create a new connector:
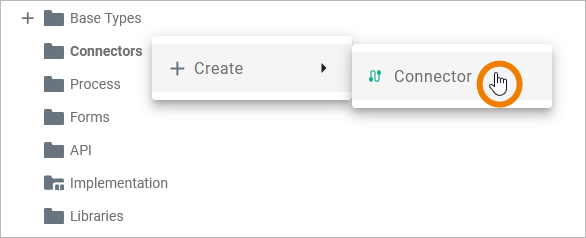
Alternatively, you can open the context menu of the Connectors folder and use Create > Connector:
The Create Connector dialog is displayed. Select a type of connector from the drop-down list:
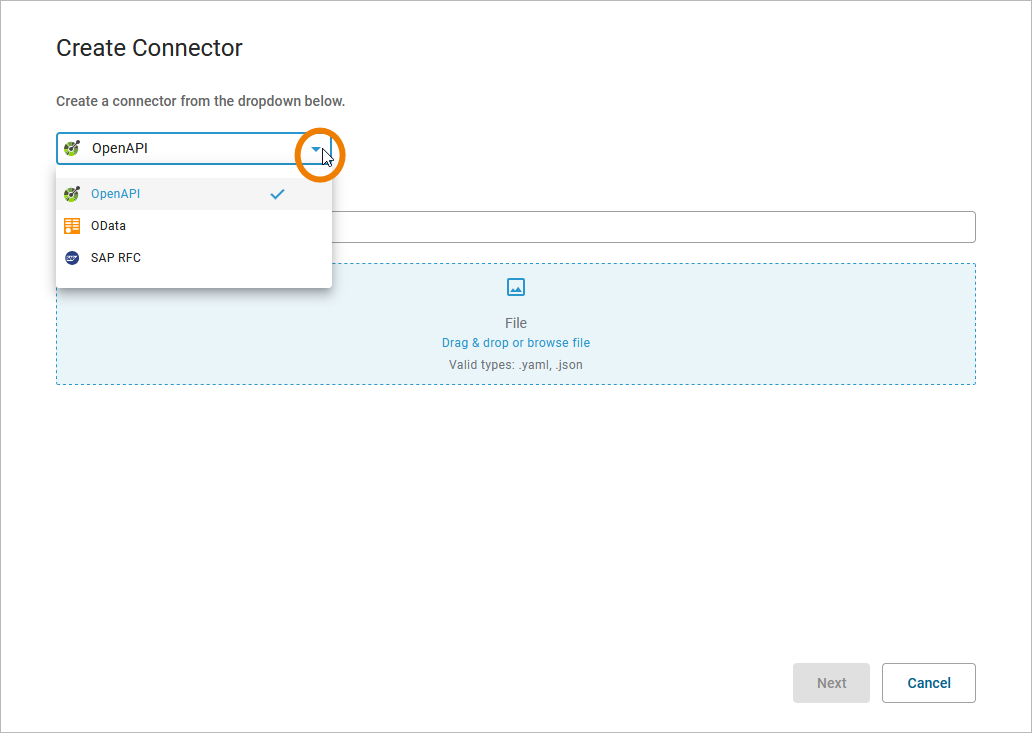
Configure the selected connector and enter the necessary information in the field(s) below. When everything is configured to your needs, click Next to save the connector:
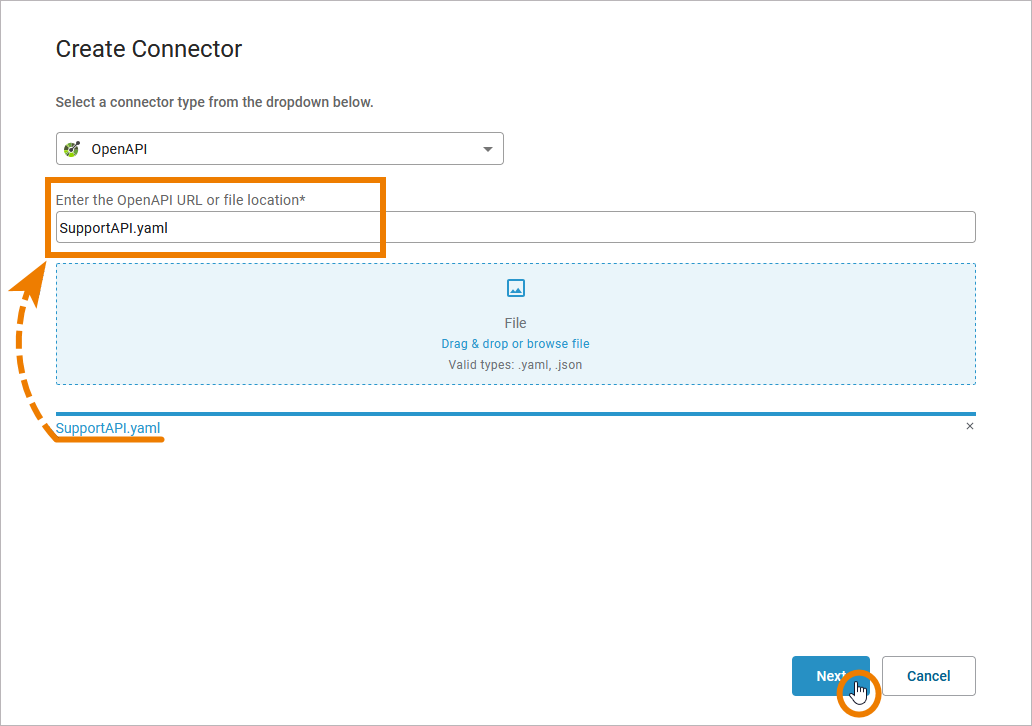
Option Next is only enabled once you have completed all the necessary configuration steps.
For further information on how to configure the individual connector types, see the links below:
The individual configuration steps depend on the selected connector type.
Changing the Configuration of a Connector
To change the configuration of a connector, also use the Manage Connectors dialog.
You need to configure the connector from scratch and apply your changes. The old connector will be replaced by the new configuration.
Hover over the Connectors folder in the service panel. Use option Create a new connector to open the connector management:
Proceed with the configuration as described above.
Related Content
Related Pages: