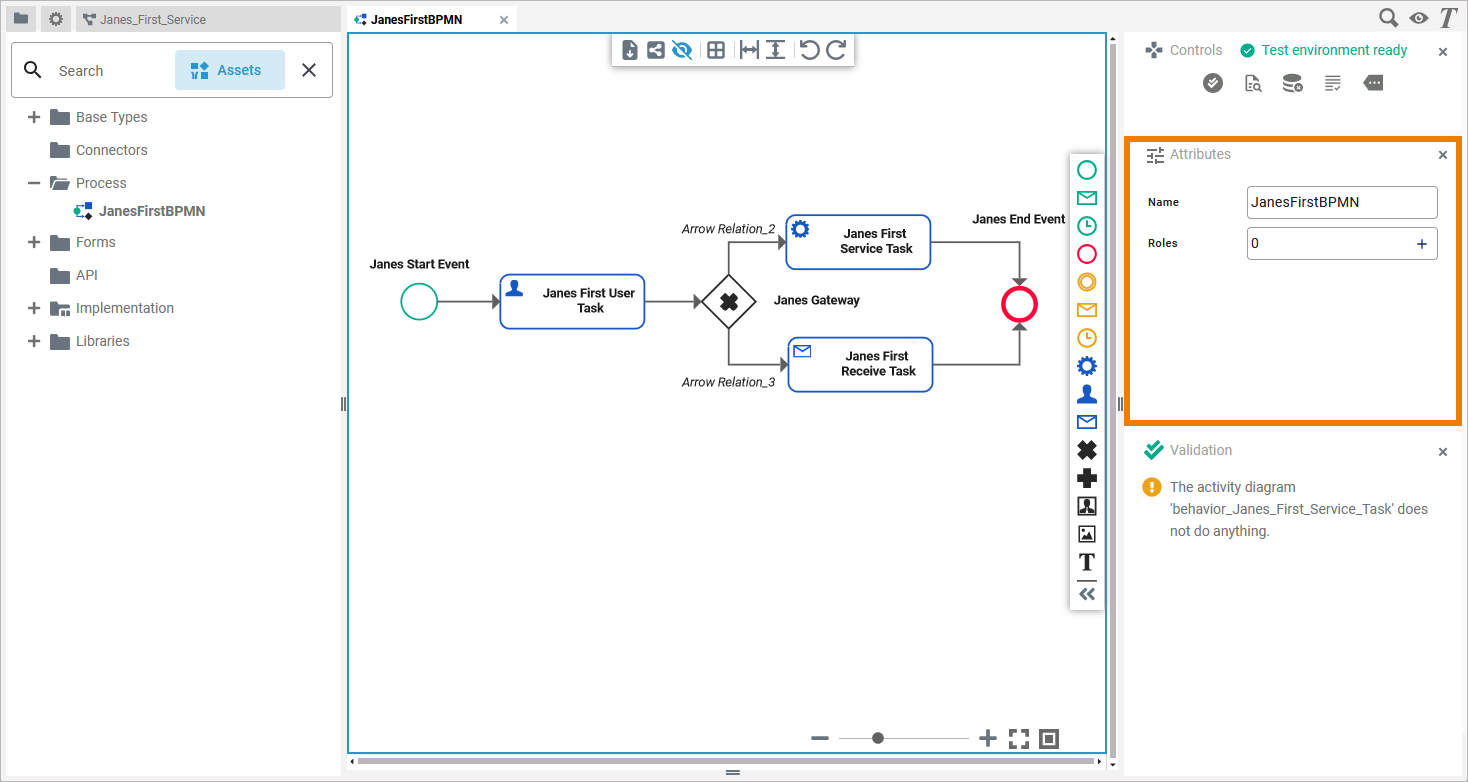
The Designer comes with an Attributes panel that displays the attributes of the currently selected element. Element in this case means every Designer element, e.g. form, form element, diagram, diagram element, execution, execution element, and more. Some attributes are locked and cannot be changed, some are changeable. If you use the panel preset, the Attributes panel is displayed in the middle of the right panel sidebar below the Controls Panel:
To return to the panel preset, go to the user preferences and use button Reset Panels.
Refer to Customizing Editors and Panels for detailed information about panel management in general.
Attributes Panel Contents
The Attributes panel contains a list of attributes that describe the selected element. These attributes may differ depending on what element you have selected. If you click on the diagram pane itself, the attributes of the diagram are displayed.
Also, Designer elements can have extensions applied that extend the set of attributes that describe the element with additional ones.
Attribute: Name
All Designer elements have a Name attribute that specifies the name of the element.
Element names are generated automatically when you create an element and can be changed afterwards. Names of imported elements, e.g. from a connector, cannot be changed.
Restrictions on Element Names
A process name must be unique within one service. In addition, the following name restrictions apply to all Service panel elements:
Element names...
-
... must not be empty.
-
... must not contain spaces. Exception: Spaces are allowed in operation names.
-
... must not start with numbers.
-
... must not contain a dot ( . ).
-
... must not contain any special characters. Exception: Operation names may end with a slash ( / ).
-
In addition, Action Script commands and some system-relevant strings (refer to Reserved Words) cannot be used as element names.
Your input is validated: If the name you enter violates these restrictions, the field in the editor turns red and cannot be saved.
Attribute: Description
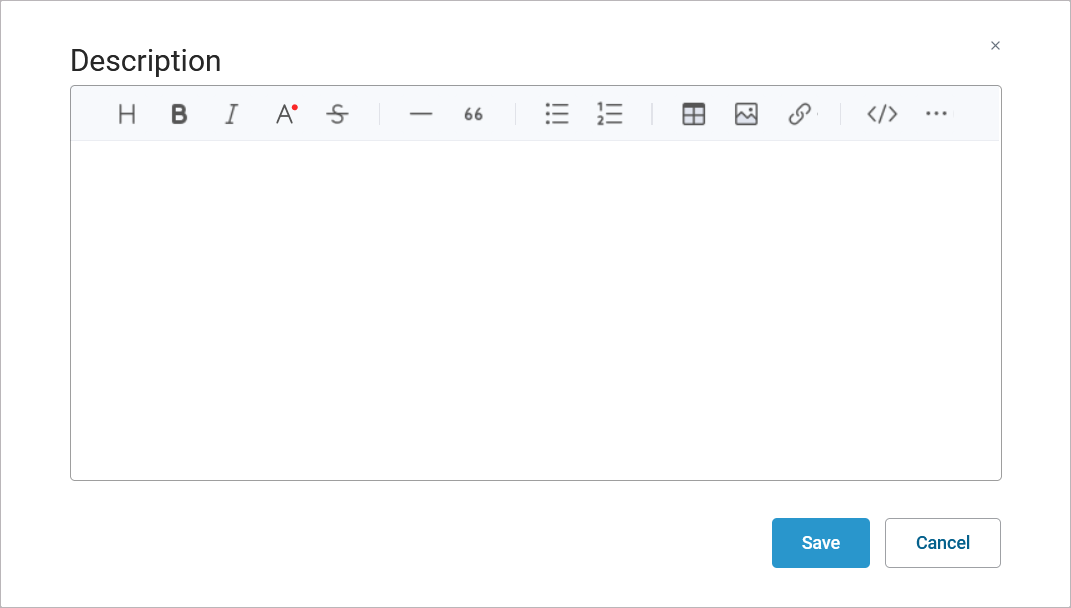
Most of the Designer elements have a Description attribute where developers can enter explanatory text about the element and its usage. The attribute contains a built-in text editor with various formatting functions that can be used to enter a sophisticatedly designed description. A meaningful description is especially important when you want to share your developed elements with other users (refer to Sharing Designer Content for further details).
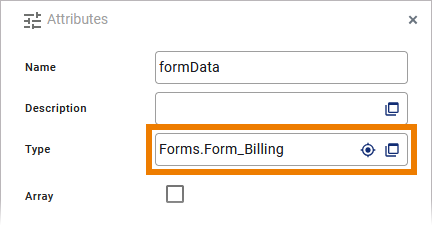
Attribute: Type
Most of the Designer elements have a Type attribute. It specifies the type of the element and the class path, e.g. Base Types.Boolean or Message.Form_SupportCaseList.table_SupportCaseList_Item. You can change the type of an element as described below. Types of imported elements, e.g. from a connector, cannot be changed.
Specific Attributes
Depending on their type and extension, elements can have specific attributes. These specific attributes are listed where the related element is described:
Changing the Type of an Element
Select an element in the Service Panel to display the corresponding attributes in the Attributes panel. To change the type of an element, click Change type next to the type:

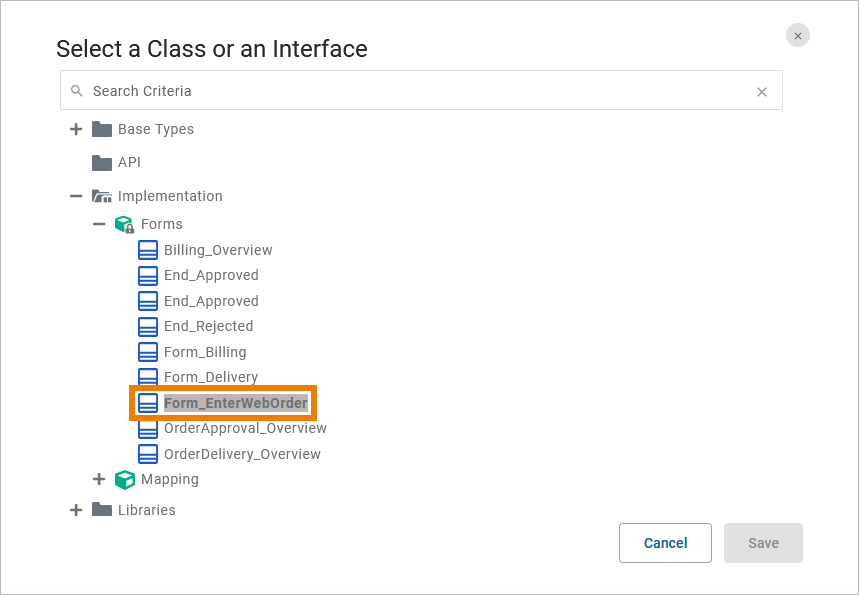
A dialog opens with the list of available types. The current type of the element is highlighted:
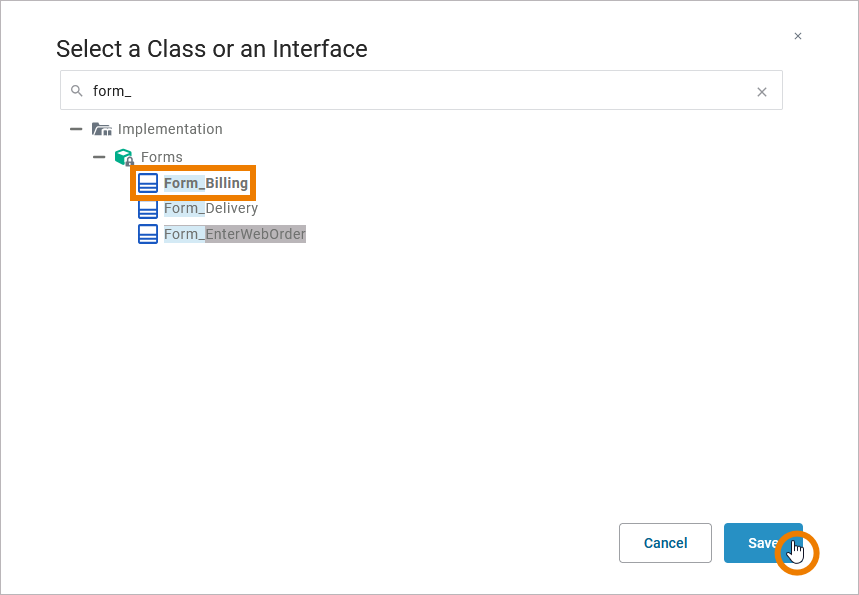
You can use the search function at the top of the dialog to find the desired type (here type IdeaCheck). As soon as you start typing, the list will be filtered accordingly:
Only types and root nodes that contain types are shown.
Select the desired type and click Save. The new type is displayed in the attributes panel:
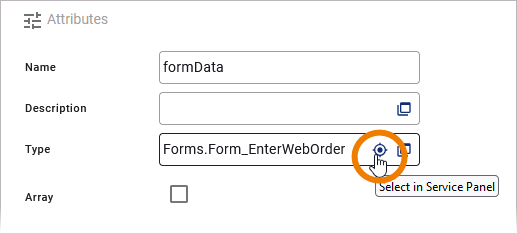
Jumping to the Type of an Element
Select an element in the Service panel to display the corresponding attributes in the Attributes panel. By clicking Select in Service Panel the focus jumps to the corresponding type in the service panel, and the related details are displayed in the Attributes panel:
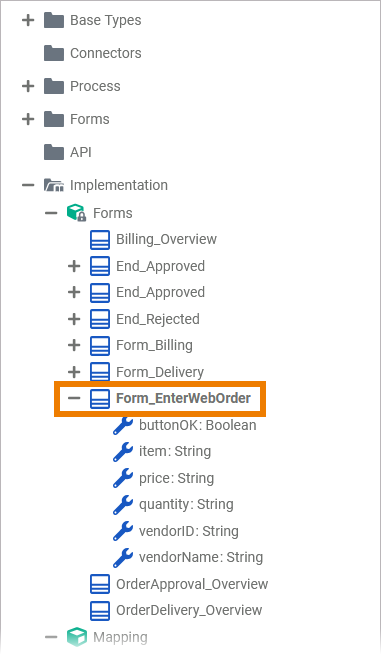
This option is especially useful for complex types to show their details.
The type is selected in the service panel. You can expand it to see its properties:
Defining a Variable as an Array
Use the attribute Array to define a variable as an array. If checkbox Array is not activated, the variable has a multiplicity of 0..1 (default):

Activate the checkbox to enable multiplicity:
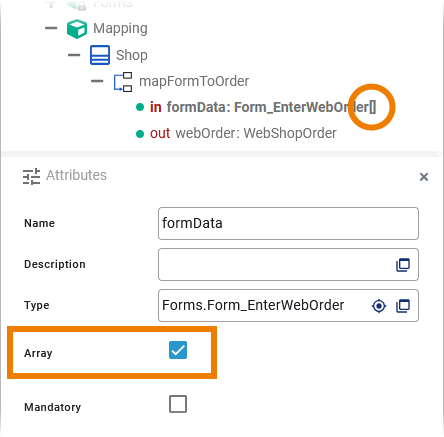
It is not possible to set default values for arrays. Therefore, the option to set a Default Value for the respective property disappears when the option Array is enabled.
Adding More Attributes via an Extension
To extend the set of available attributes, you can add one or more extensions to an element. This is possible for:
|
Location |
Element |
|---|---|
|
Data Model |
|
|
Activity Diagram |
|
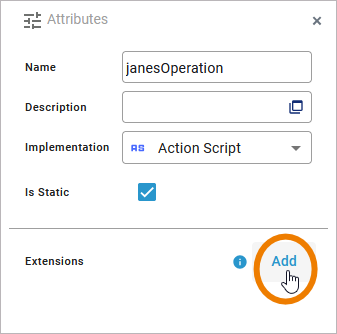
To add an extension to an element, click Add in Extensions line in the Attributes panel:
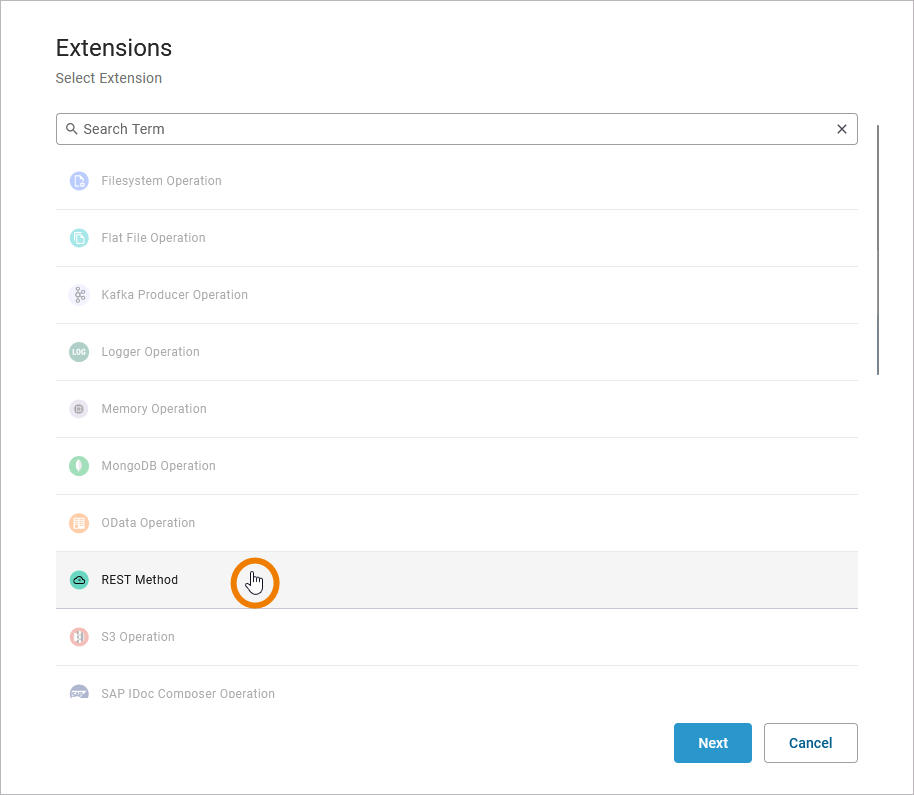
In the first window, select the extension you want to apply from the list of available extensions and click Next:
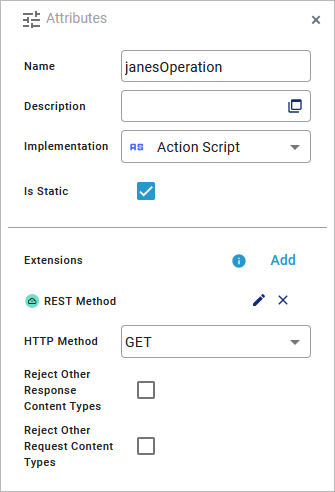
Use the options in the second window, to configure your extension:

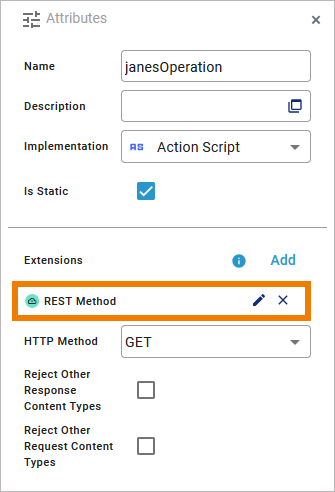
The applied extension is displayed in the Attributes panel:
You have two options for each extension:
-
Click the pencil on the right of the extension name to reopen the configuration window.
-
Click the X to delete the extension.
Confirm the removal of the extension with Delete or click Cancel to abort:

For more information on the additional attributes, refer to the documentation dedicated to the selected extension.