You can import a backup created by model export back into BPaaS. You have two possibilities to start an import:
Caution when importing projects
-
Each import overwrites the current model with the same name!
-
If you are not sure which development status a backup contains, it makes sense to export the current model before importing a backup copy.
-
Example: You save a model with several elements by exporting it. You then add the new elements A, B, C to this model in BPaaS. If you import the backup after this addition, the elements A, B, C will no longer exist!
Important Note for Transporting Apps with Roles
Roles are managed centrally in the administration. When transporting role-based models from one system to another (for example, from a test system to a production system), you must ensure that the roles are also imported to the relevant administration. Further information on this topic can be found in the Administration Guide > Reusing Central Roles.
Import in the Cockpit
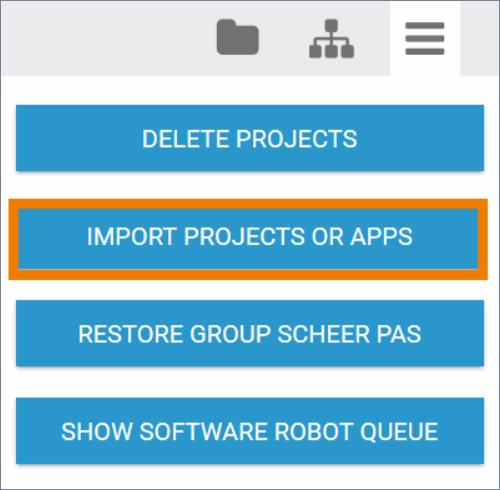
Exported apps or entire projects can be imported into the cockpit. Click on the button Import Projects or Apps in the Sidebar Additional Actions:
The import dialog opens in a separate pop-up window:
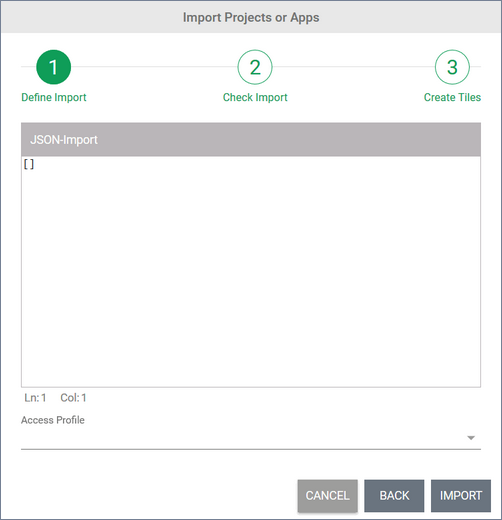
Step 1: Defining the Import
In the window JSON import, you have to add the project or app to be imported as a JSON object. You have two options to add the JSON object:
(1) If the object is available as JSON file on your desktop, drag and drop the .json file onto the JSON-Import field.

Use UTF-8 coded files.
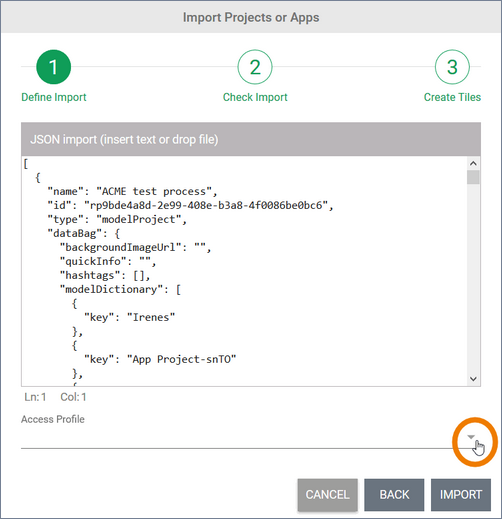
(2) Copy the content of an export window to your clipboard and paste it into the JSON import window. Now use the drop-down menu to select in which profile the import shall be saved:
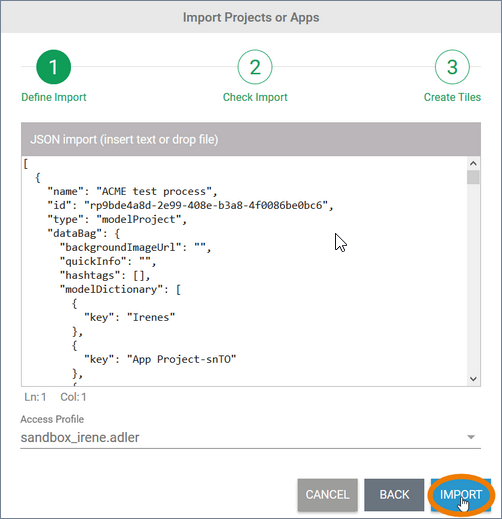
The Import button only activates once import object and profile are entered:
Step 2: Checking the Import
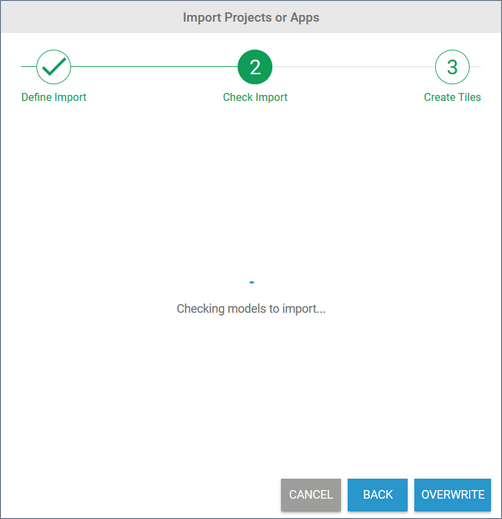
Once the import has started, all to be imported files will be initially analyzed to avoid duplicates:
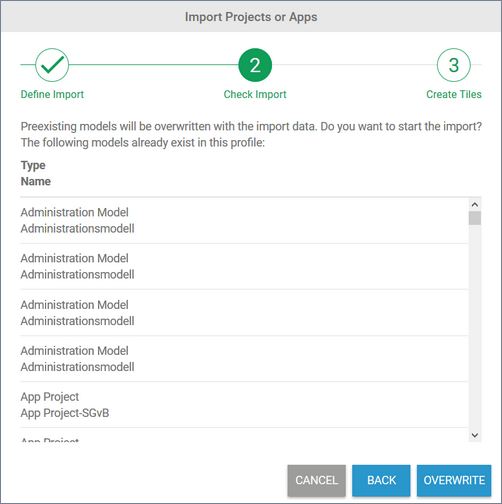
If the chosen profile already contains models with the same name, then these will be listed alongside their element type and element name. If you wish to continue your import, then these elements will be overwritten with your import elements. To continue, please click the button OVERWRITE. To discontinue click CANCEL. To change the import object, choose BACK to return to step 1:
Step 3: Creating Tiles
If no existing models are found or if - in step 2 - you have decided to overwrite, the import is executed. In step 3 you have to decide whether you want to create tiles for the imported models directly in the cockpit.
In the cockpit, tiles for projects and process apps can only be stored in a group. Therefore, if you want to create tiles, you have two options:
-
Creation of tiles in a new group
-
Creation of tiles in an existing group
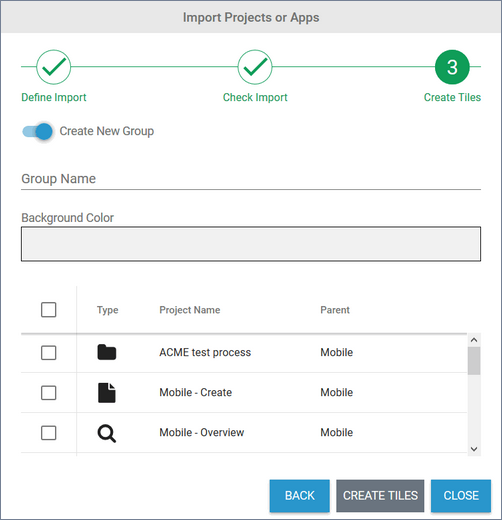
Creation of tiles in a new group
To create the tiles in a new group, use the button Create New Group. Then enter a name for the new group. You can also choose a background color:
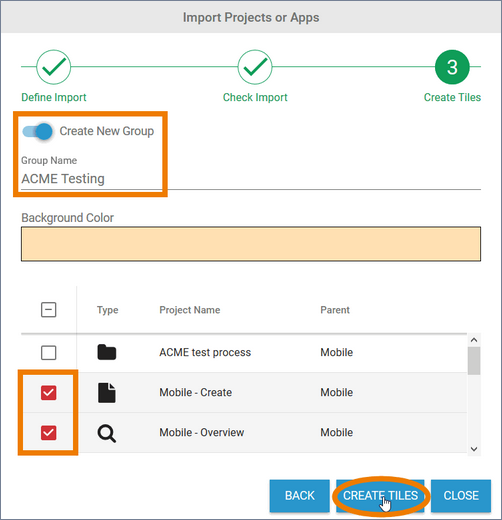
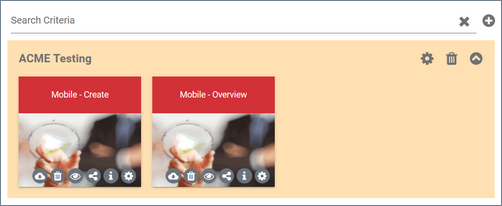
Select the elements for which you want to create tiles from the list below. Finish the process by clicking the Create Tiles button. The tiles for the selected elements are created within the new group:
Creation of tiles in an existing group
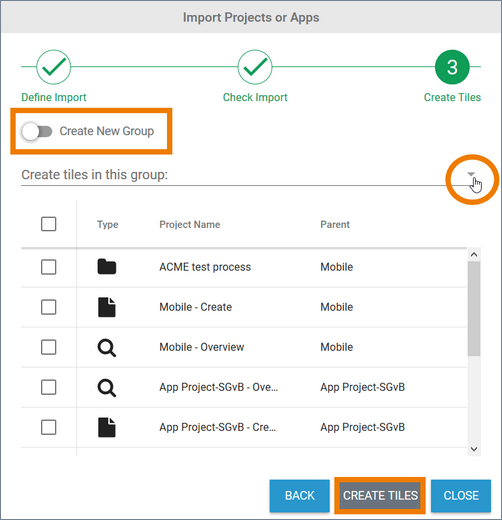
You can also create the tiles in an already existing group. To do so, deactivate the Create New Group button. Open the drowp-down list Create tiles in this group to select one of the existing groups. Select the elements for which you want to create tiles from the list below. Finish the process by clicking the Create Tiles button:
Completing the import without creating tiles
If you want to finish the import without creating tiles, click Close:
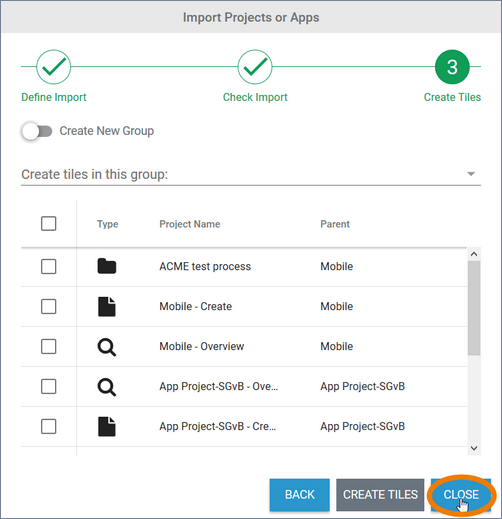
If you want to create tiles for the imported elements later, you can do this using the Sidebar New Elements or the Sidebar Tree.
Creation of tiles impossible
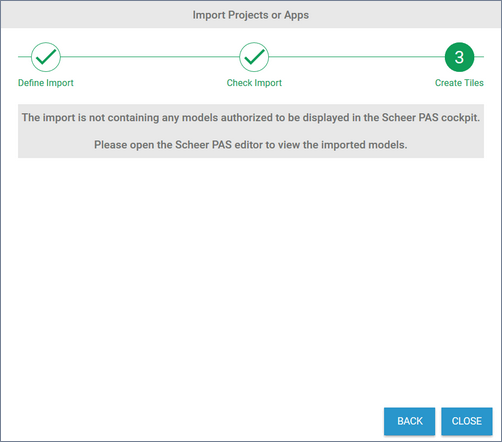
If the import file only contains Process App elements with activated option Hide in Cockpit, step 3 of the import cannot be executed. In that case, a corresponding message is displayed in the import window:
Import in the BPaaS Editor
Projects, app projects and forms can be imported directly into the BPaaS Editor. This applies to all levels of the editor. Open the project to which you want to import the backup copy. In our example, Irene Adler opens the project ACME Directory:

The project already contains two app projects:
-
Customer Database
-
Partners & Suppliers
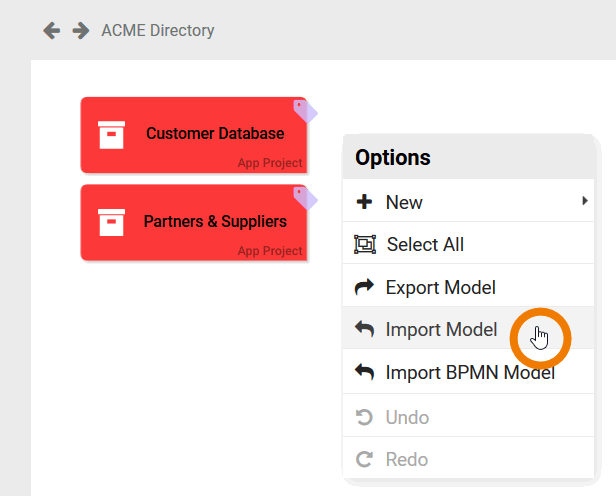
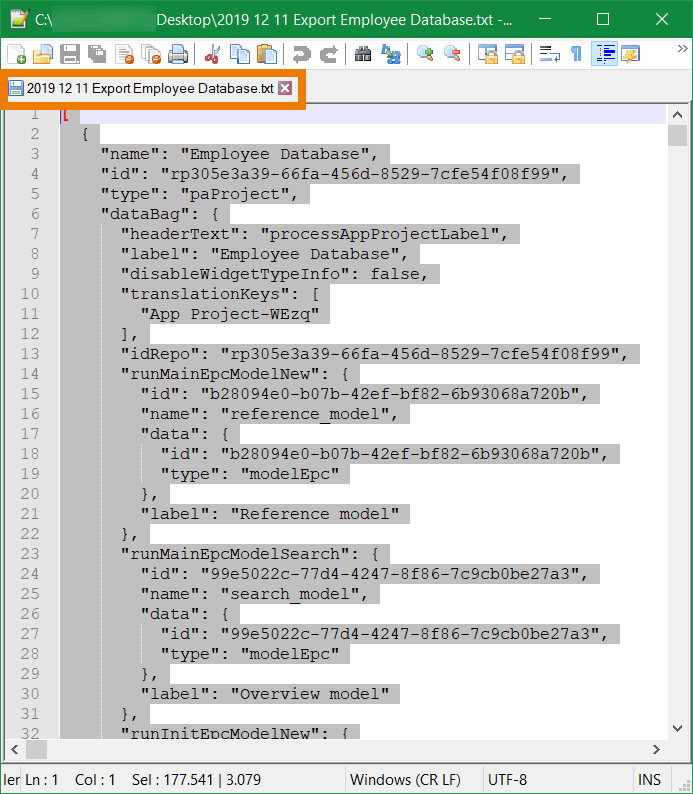
Now Irene wants to add the app project Employee Database that she has developed in her personal profile. She already exported the model Employee Database. In the Project Editor Irene opens the context menu (right-click on the empty workspace) and selects the option Import Model. Then Irene opens the export of the model in her text editor. She selects the whole content with CRTL+A and copies it to the clipboard with CTRL+C:
Irene switches back to the BPaaS Editor to paste the content of the clipboard to the import window (CTRL+V). She clicks on the button Analyze:
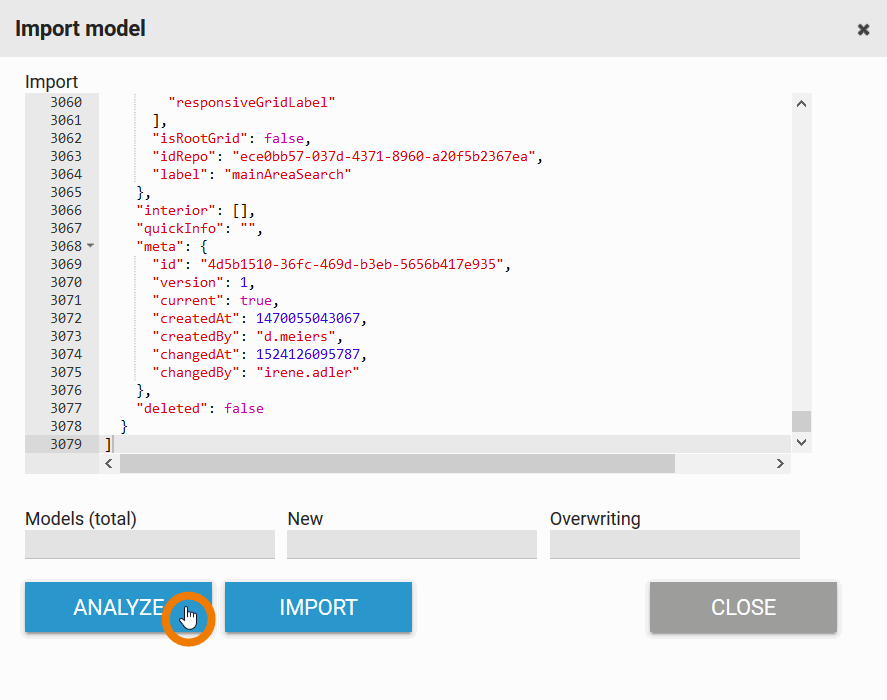
The following message appears for a short moment: Model import analysis started. Please wait.

The analysis is not mandatory to start the import. However, it gives you the assurance that the import file is at least formally correct. If the import file is incomplete or incorrect, a warning message appears.
The result of the analysis is shown below the coding window. The number of models contained in the import file is indicated: Models (total). During the analysis, the system checks whether models with the same ID already exist in BPaaS.
In addition to the total number of import models you can find the following information:
-
New: Specifies the number of models from the import that are not yet included in the current model.
-
Overwriting: Indicates the number of models that are already available and will therefore be overwritten during the import.
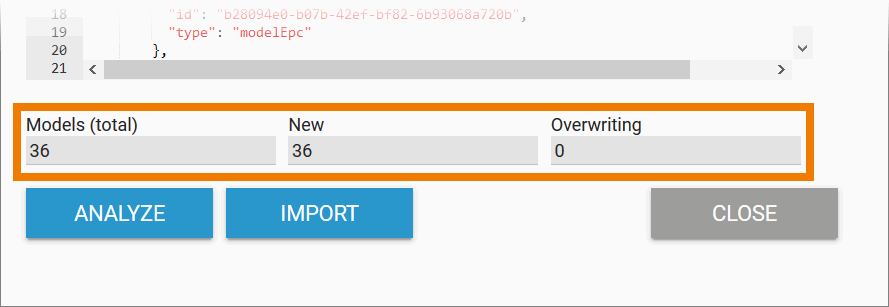
Since Irene's import file contains a completely new model, no content is overwritten. She starts the Import:
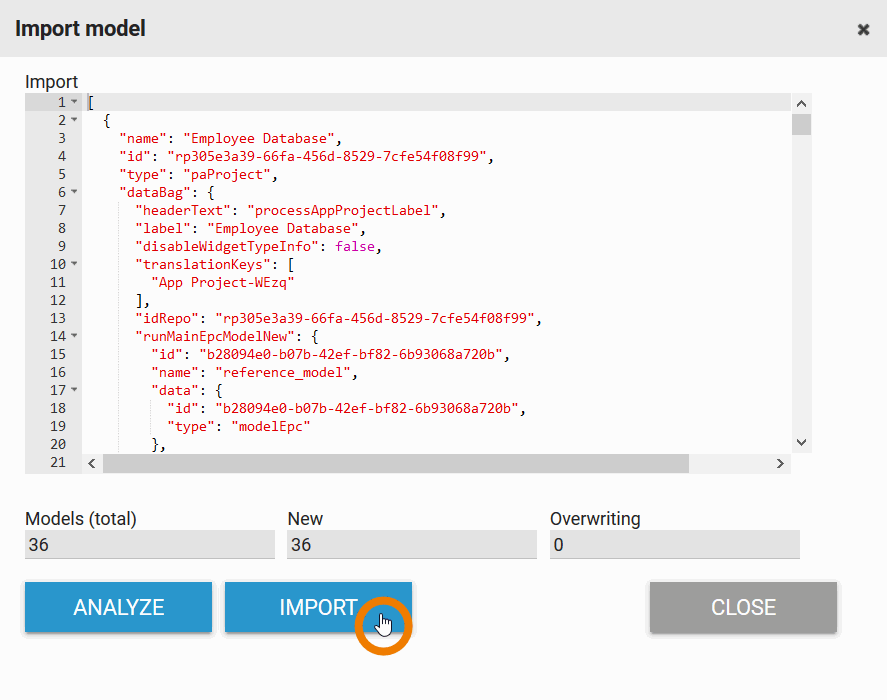
The following message appears for a short moment:
-
Model import started. Please wait.

If the import is completed without errors, the following message appears:
-
Import was successful.

Formally incorrect import files cannot be imported. In this case, the following message appears:
-
Model import was not successful.
After a short moment the corresponding status messages disappears and the imported is displayed again. Irene leaves the import editor by clicking the Close button:
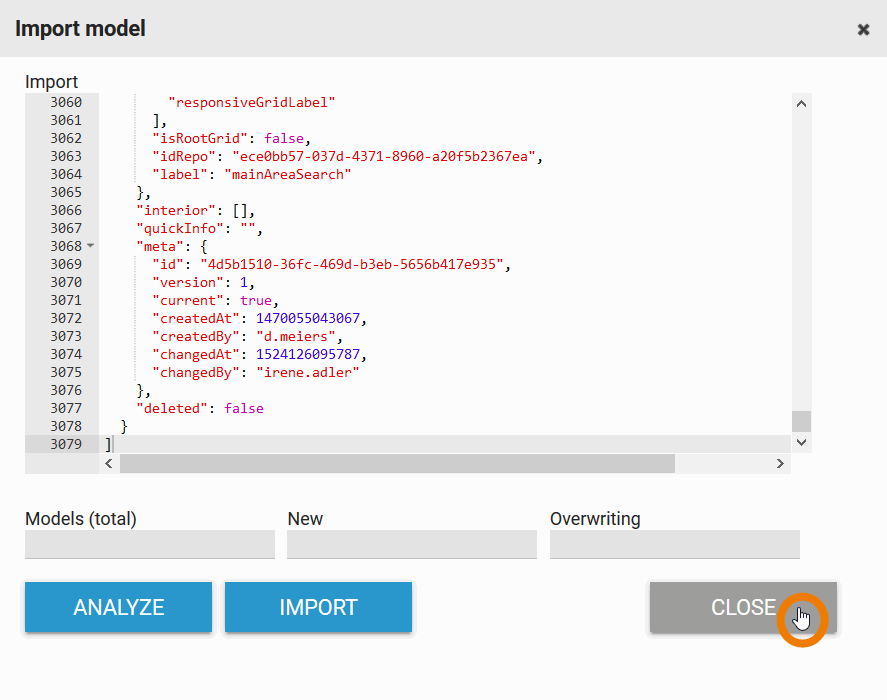
If you are importing a model that is not yet present in your profile, you can find the import exclusively via the search in the navigation bar. To access the model, drag it from the search hit list to the editor's work area. This is the only way to create the corresponding element on the workspace. Further details can be found on page Using Imported Models.
