Within the Analyzer, all service definitions are stored to so called “Builder projects”. To be able to work with the Analyzer, you need to create a Builder project first to store your test data.
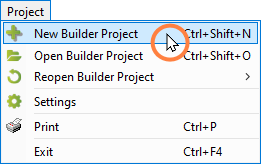
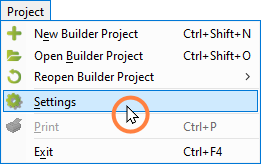
Click Project > New Builder Project
Enter a Project Name for your project and optionally an Author and a Project Description:
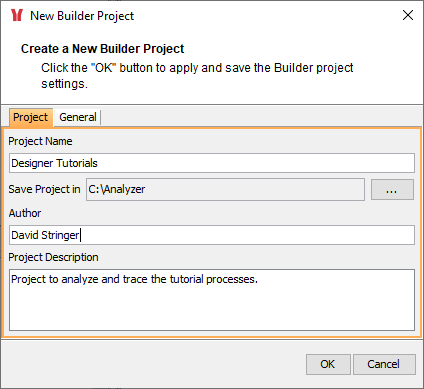
The default path of the whole project (Save Project in) is based on your installation directory. You can store Builder projects at any location. To change the path, click ... .
By selecting Ignore Caught Errors you can specify whether the Analyzer should highlight caught errors in the UML view of a test. For more information on this, see Inspecting Errors:
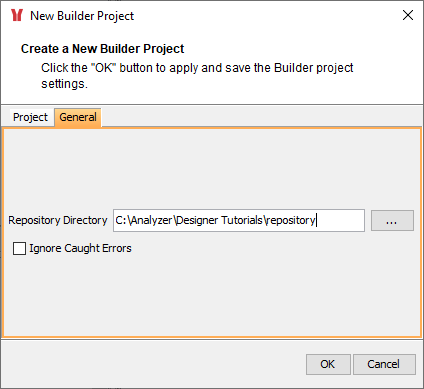
The option to specify a repository directory is not valid in Designer context.
You can create multiple Builder projects and switch between them.
Use Builder projects to group similar test scenarios.
The Analyzer remembers the last Builder project. The next time you open the Analyzer, the last opened project is loaded automatically.
To change this behavior, clear Project > Reopen Builder Project > Open Last Project On Startup.
Click OK to create the Builder project.
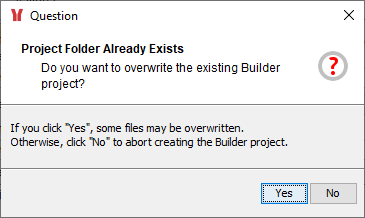
If a project with this name already exists, the Analyzer warns that some files will be overwritten.
-
Click Yes to store the new project anyway and overwrite the existing project.
-
Click No to cancel the process.
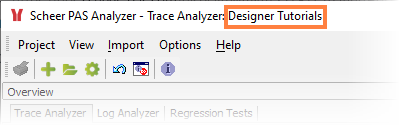
The name of the Builder project is displayed in the Analyzer window title:
Changing the Builder Project Settings
Select Settings from the Projects menu to change the Builder project settings:
The same window opens as explained above. You can change the settings there:
Related Content
Related Documentation: