|
Element |
|
|---|---|
|
Description |
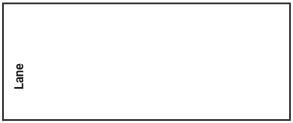
Use the lane element to design role-based processes. Assign one or multiple roles to a lane element and model all the steps that the assigned role(s) has/have to perform within that lane. You can work with single lanes or with a main lane. Refer to Modeling Roles and Using a Main Lane for more details about the differences. |
|
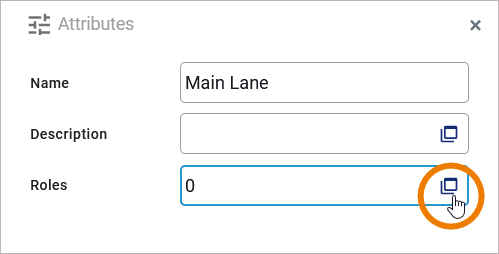
Attributes |
|
|
Execution |
None. |
|
Editing and Styling |
|
How to Use the Role Editor
When you click Roles in the attributes panel, a separate editor will open where you can assign existing roles and create new ones:
In the role editor, you have two options:
-
You can add an already existing role.
-
You can create a new role.
If no roles are assigned to a lane, the process steps inside the lane can be executed by all users and a corresponding note is displayed.
Adding an Existing Role
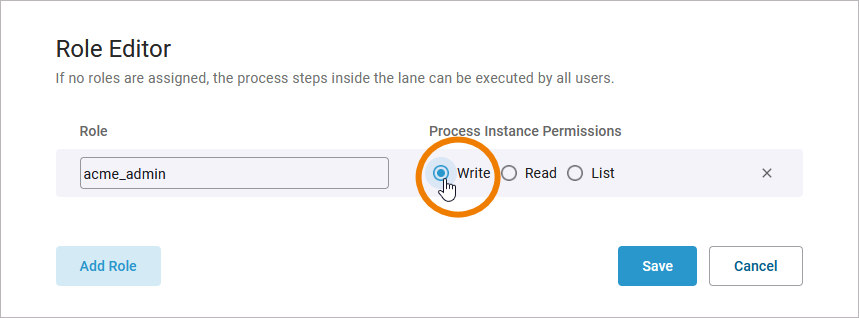
When you open the role editor, it already contains an empty line. Start typing the name of the role your are seaching for in field Role. The field has an autocomplete function. As soon as you start typing, a drop-down list is displayed containing all available roles that match your input:
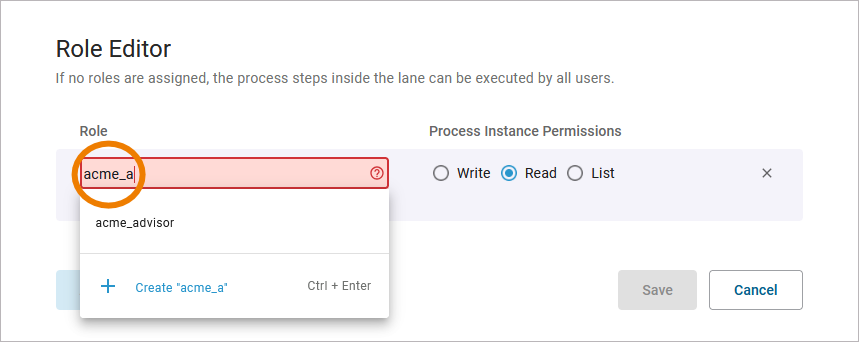
Select the role you want to use.
In the next step you need to assign the rights that grant the corresponding permissions to the role owner. Available options are:
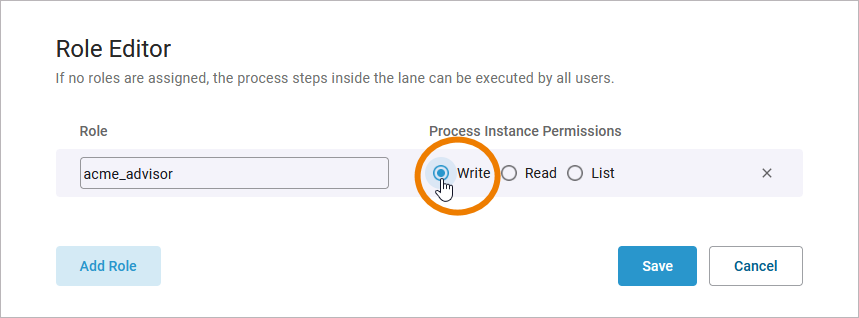
|
Write |
A user assigned this role has the following permissions for all process steps in the corresponding lane:
|
|---|---|
|
Read |
A user assigned this role has the following permissions for all process steps in the corresponding lane:
This right is assigned by default. |
|
List |
A user assigned this role has the following permissions for all process steps in the corresponding lane:
|
Expert Advice
If you want to prevent a user from viewing the instance list at all, assign roles for the instance list. Refer to The Role Concept of the Instance List for more information.
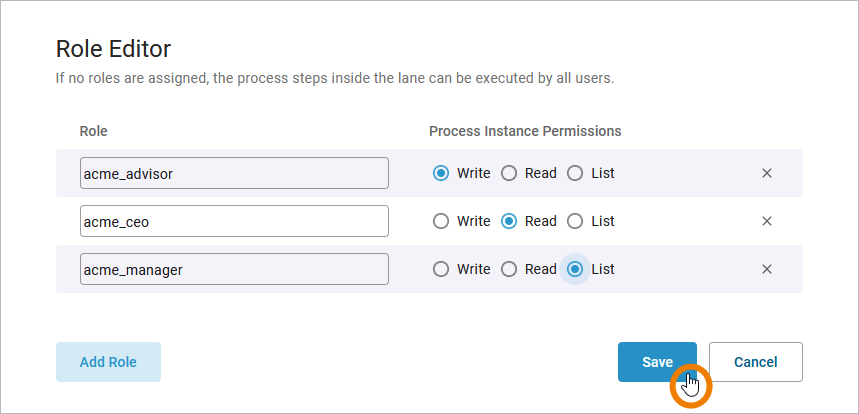
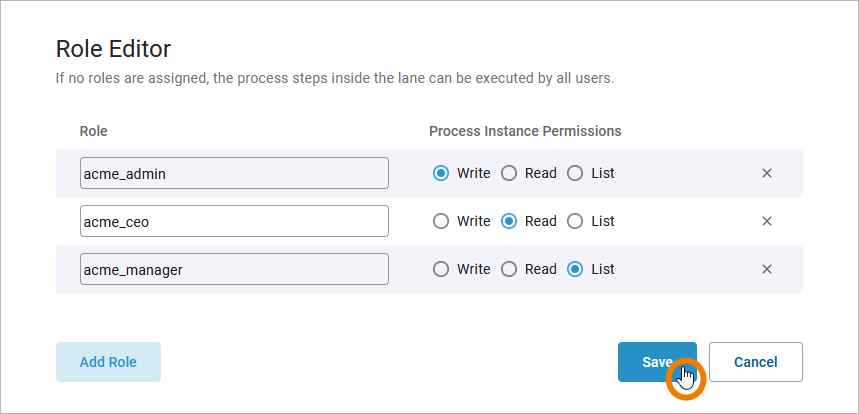
You can continue to add further roles (or create new ones, see below) as multiple roles can be assigned to one lane. When you have finished, save your changes to apply them to the lane:
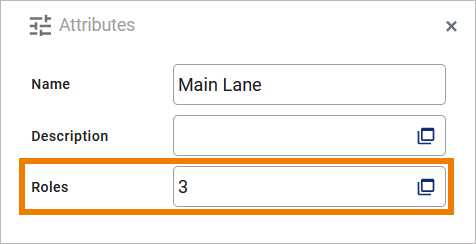
The number of roles assigned to a lane is displayed in the attributes panel:

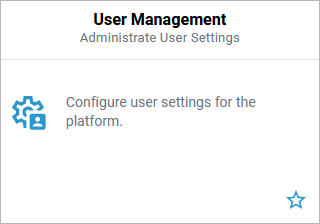
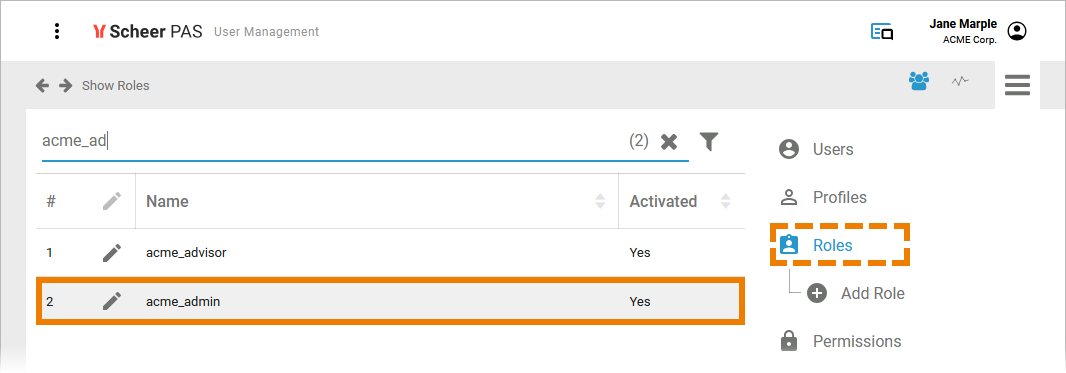
You have to open the user management, to assign a role to users:
For a detailed description on how to assign roles to users, refer to Assigning Roles.
Refer to Managing Roles in the Administration Guide for further information about role management.
Creating a New Role
When you start typing the name of the role you are looking for, a drop-down list appears with all available roles that match your entry. If no 100% match is found for your entry, the option Create appears in the selection list:
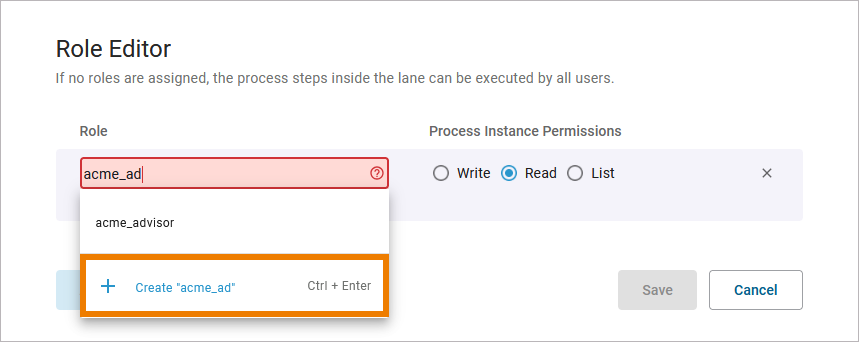
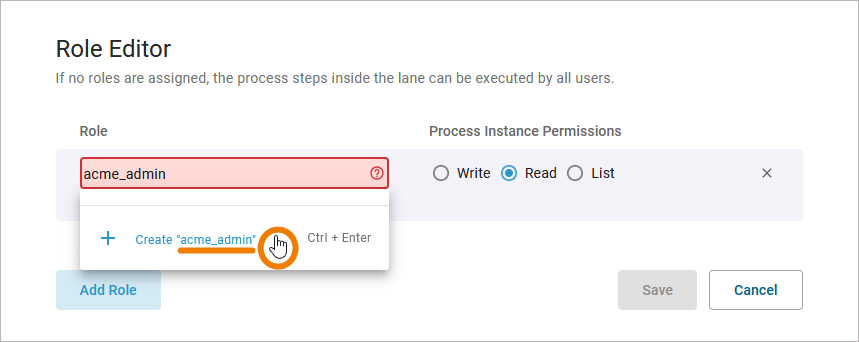
If you want to create a new role, first enter the full name of the new role before selecting Create. The name that appears next to Create will be used for the new role:
The new role is now added to the role editor and you can apply the necessary role rights:
Available options are:
|
Write |
A user assigned this role has the following permissions for all process steps in the corresponding lane:
|
|---|---|
|
Read |
A user assigned this role has the following permissions for all process steps in the corresponding lane:
This right is assigned by default. |
|
List |
A user assigned this role has the following permissions for all process steps in the corresponding lane:
|
Expert Advice
If you want to prevent a user from viewing the instance list at all, assign roles for the instance list. Refer to The Role Concept of the Instance List for more information.
You can continue to create further roles (or add already existing ones) in the role editor now as multiple roles can be assigned to one lane. When you have finished, save your changes to apply them to the lane:
Only when you click Save will new roles actually be created and saved in user management and assigned to the current lane.
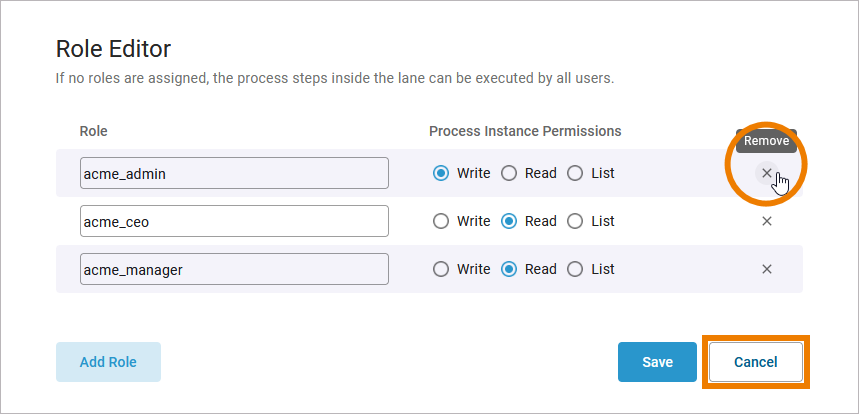
If you want to cancel the creation of a new role, you have two options:
-
You can delete the entry in the role editor.
-
You can exit the role editor by clicking Cancel.
Please note: If you select Cancel, all changes in the role editor will be lost.
The number of roles assigned to a lane is displayed in the attributes panel:
The new role has also been added to the user management. You have to open the user management, to assign the new role to users (refer to Assigning Roles for details):
Refer to Managing Roles in the Administration Guide for further information about role management.
Idea_Management_Example
Click here to download a simple example model that shows what you can do with Lanes and Forms in Scheer PAS Designer. It also contains a configured instance list and shows the usage of trigger events.
Related Content
Related Pages: