The simplest conceivable variant of asynchronous REST communication consists of transferring data to another service without waiting for feedback and without error handling, a so-called “Fire and Forget” scenario.
Simple Service Call
In our example case, one service wants to send data to a receiving service that will process it. The calling service does not wait for a response and has no error handling implemented.
Service_Communication_Async
This example shows asynchronous communication between two services via REST:
To execute an asynchronous service call according to our example service, proceed as follows:
Step 1: Preparing the Receiving Service
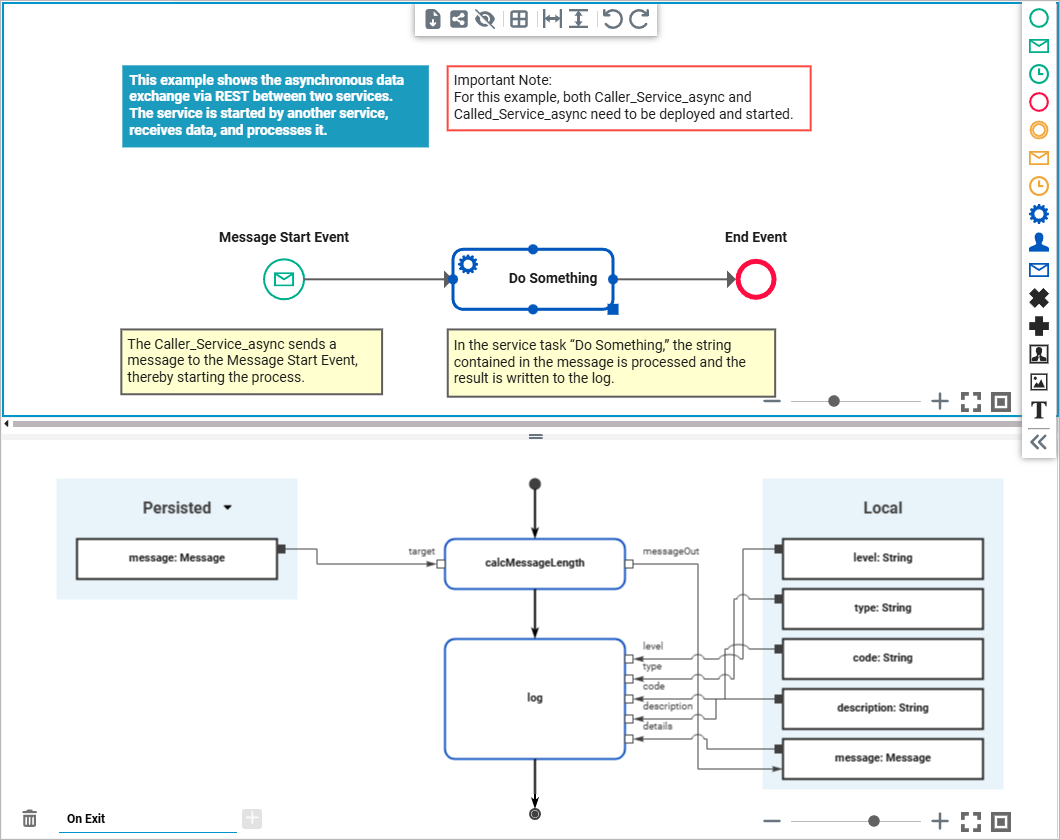
In order for your service to be started by receiving a message, it must contain a Message Start Event. The type of the message parameter specifies which data is passed to the service. Consider which properties should be sent by the calling service.
In our example, the Caller_Service_async passes a message with a string that was previously entered via a UI. The Called_Service_async adds the information how many characters this string contains and writes it into the service log. This is represented by the class Message that contains one property of type string and one of type integer. Once you have deployed the receiving service, you can download its OpenAPI descriptor in the next step.
Each deployed service has a REST interface that can be used to trigger processes, get process IDs and more. For more information refer to: xUML Service Interface
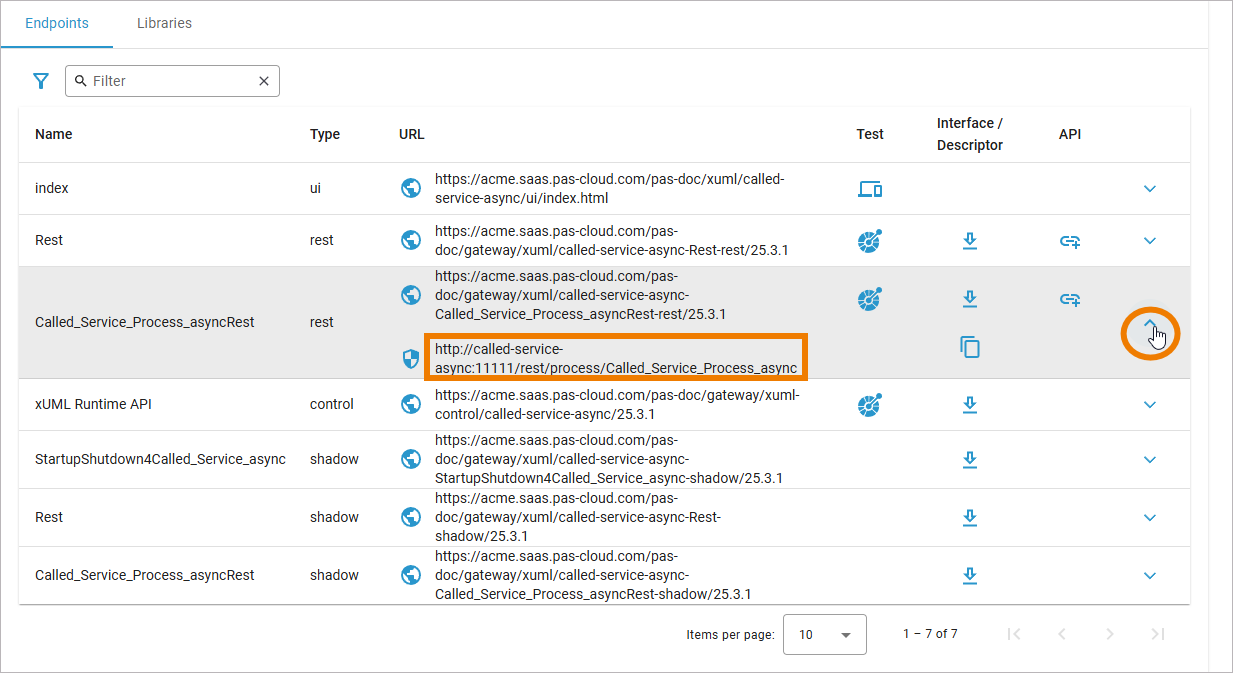
Step 2: Downloading the OpenAPI Descriptor
After having deployed the receiving service, open the service in the administration and download the OpenAPI descriptor (a YAML file). The correct descriptor is of type rest and contains the service name + the suffix Rest.

Step 3: Implementing the Service Call
Import this YAML file to create a connector within the calling service. In the Connectors folder, locate the POST function of the Message Start Event of the receiving service and drag it into the execution diagram. Then, add the REST Adapter extension and choose the appropriate alias. You will also find the Message class to be used for the input in the imported connector.
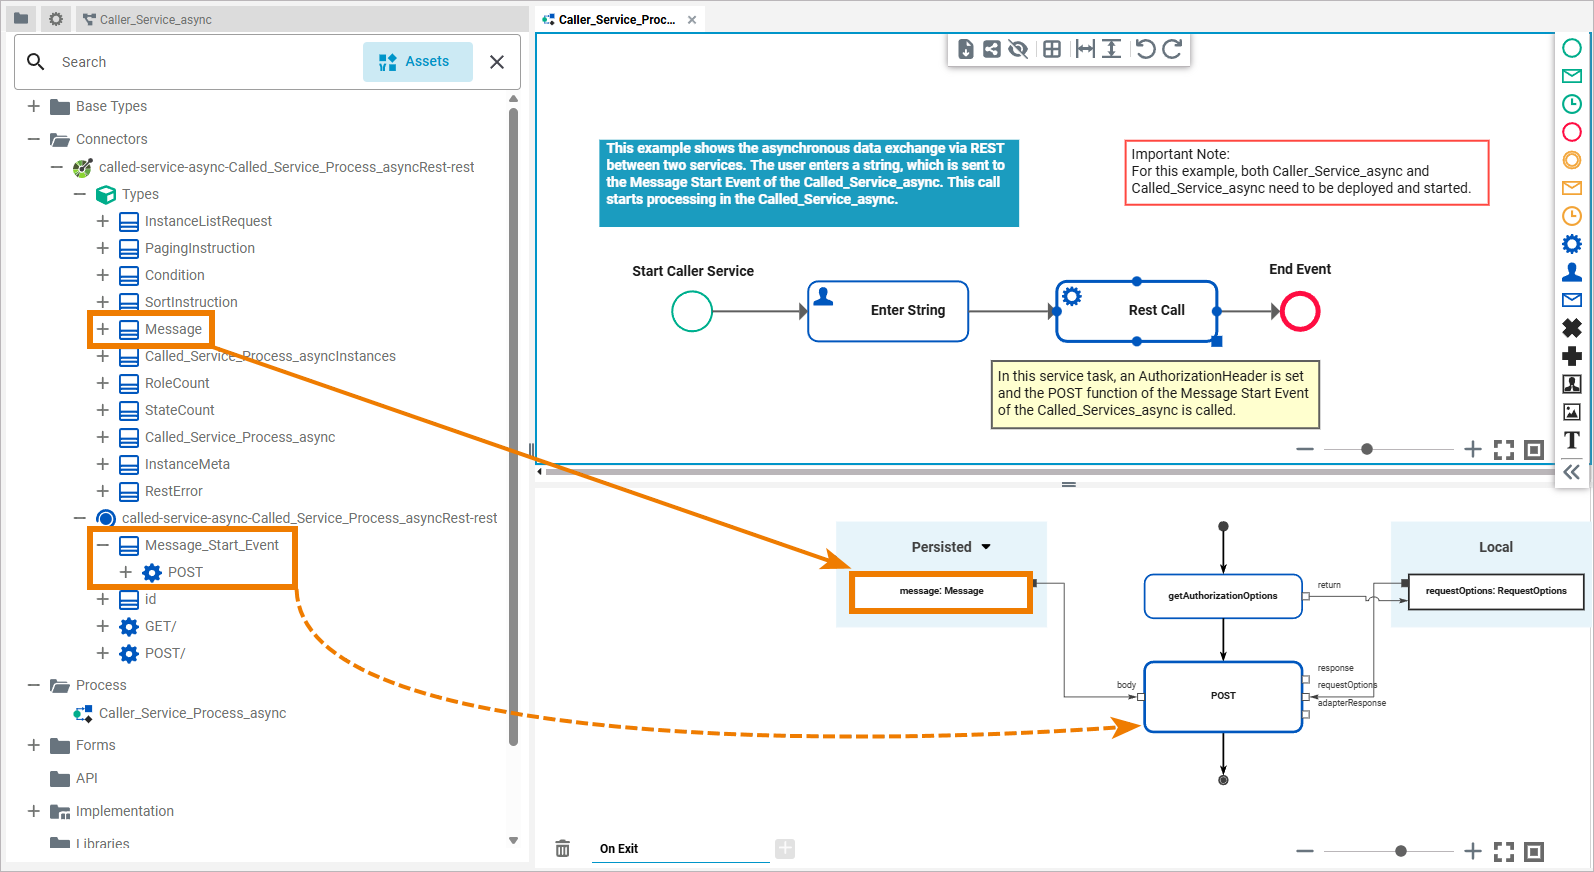
In order for the Message Start Event call to work, you need to authenticate with the PAS platform. To do so, you need to set the necessary request options to the POST REST call (refer to Setting REST Request Options in the Designer Guide for details). You can do that by using the PAS platform standard operation getAuthorizationOptions() that provides the necessary authentication headers. You can find this operation in Base Types.PAS_Platform.Auth.AuthService. Drag & drop the operation to the first position in the operations flow.
The operation returns an instance of the RequestOptions class, with authentication header already set (contains a valid service account token). You can use the result directly as input for REST adapter calls to authenticate at the internal PAS platform services.
Expert Advice
For better debugging and error handling, we recommend implementing backend operations such as REST calls in a separate service task. They can also be executed in a user task, but this is not recommended.
Refer to Error Handling of Root State Machine for more information about this topic.
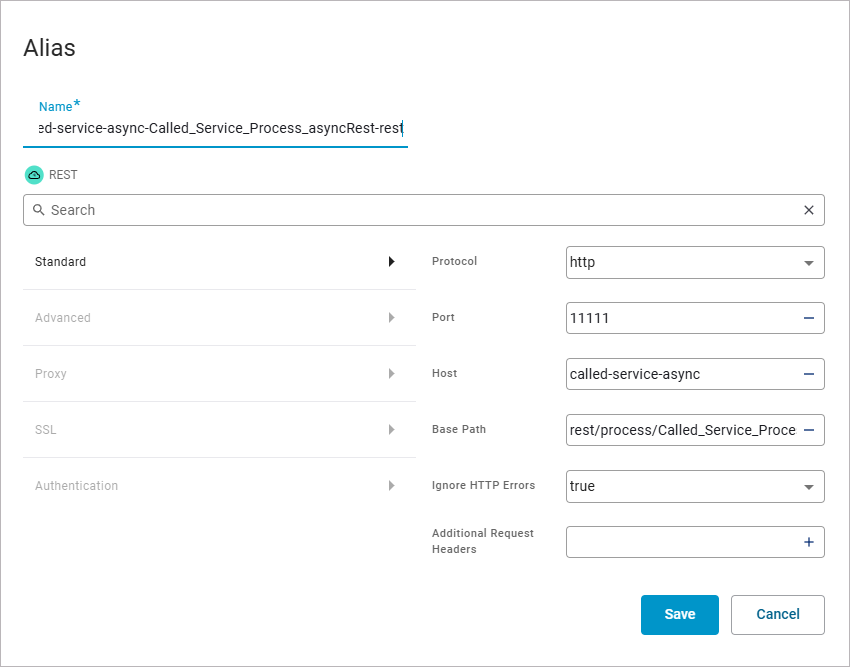
To successfully call the receiving service, you must first configure the alias correctly. You can find the necessary data in the service details in PAS Administration:
|
Data in Administration |
Alias in Designer |
|---|---|
|
|
Step 4: Executing the Service
Once you have modeled and deployed the calling service, you can execute it.
In our example service you can now enter a string via the UI of the Caller_Service_async. This is sent to the Message Start Event of the Called_Service_async via the POST function, thereby starting it. The Called_Service_async processes the string and outputs the result of the processing via the service log.
After successful execution, you will find the entry with the transferred string and the string length specification in the log of the Called_Service_async.
Error Handling
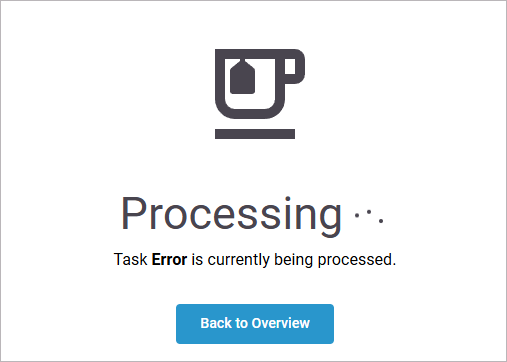
As mentioned at the beginning, this is a “Fire and Forget” scenario. In distributed systems, service calls can fail for many reasons, such as temporary network issues, timeouts, or unavailable endpoints. If the requested service is not available, the process encounters an error and the request cannot be executed.
If the Called_Service_async is unavailable, you see an error message after submitting the form:
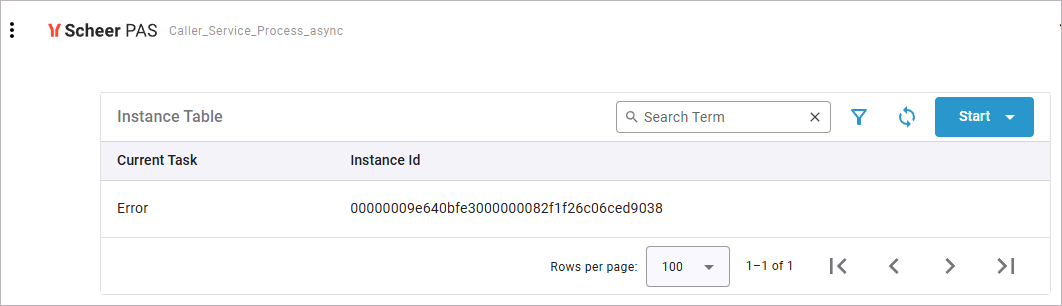
The erroneous execution is also listed in the instance list:
You can use the retry function of the root state machine to prevent this error. Refer to Using the Retry Function for Service Calls for details.
For more information about the error handling of the root state machine, refer to Error Handling of Root State Machine.
Related Content
Related Documentation: