Follow Our Example User Story
In addition to the standard information items Current Task and Instance Id, David wants to display some more information items in the instance list:
-
vendor name
-
item
-
quantity
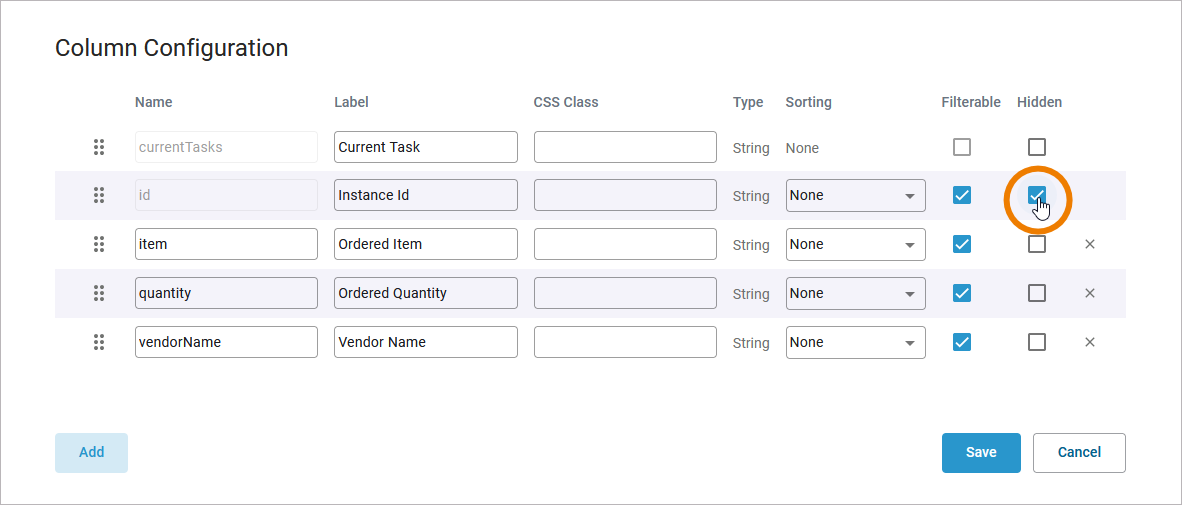
He also does not want the Instance Id to be displayed.
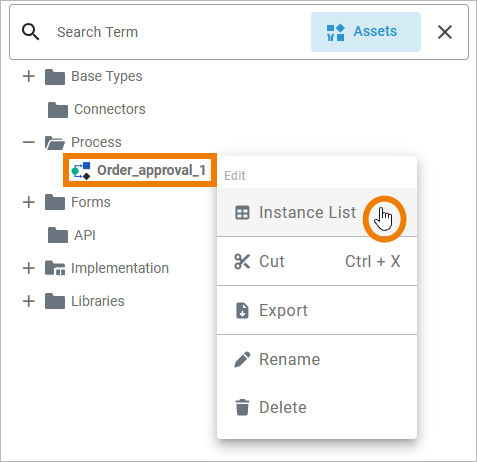
To configure the instance list, open the context menu of the BPMN model Order_approval_1 and select option Edit > Instance List:
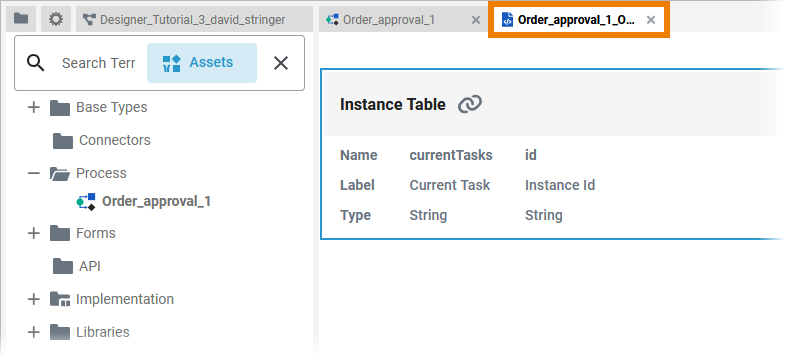
The instance table opens in a new tab:
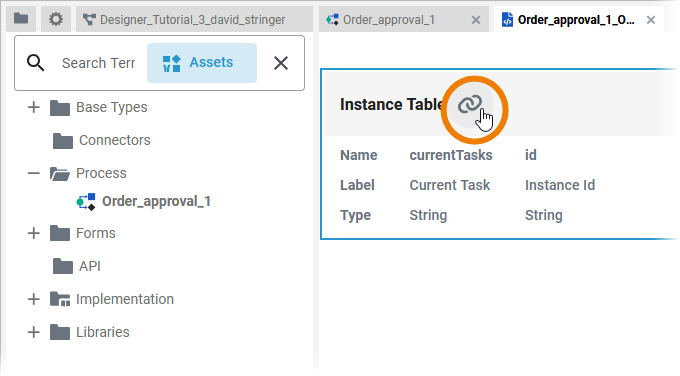
Click Open configuration in the table view to open the instance list:
The Column Configuration editor opens:
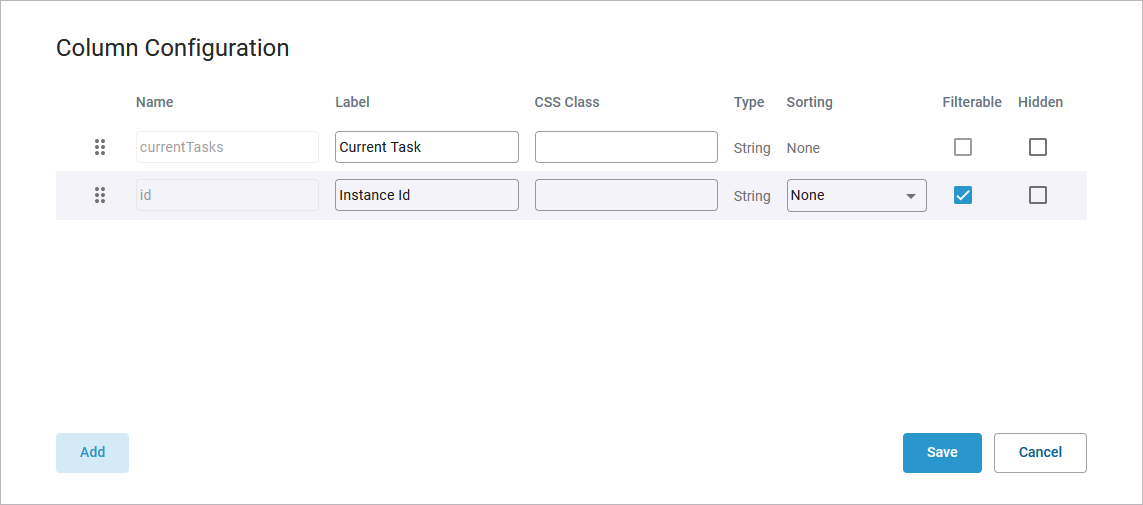
Use option Add to create three additional columns for the instance list. Enter name and label of the persisted variables to be added in the corresponding fields as follows:
|
Name |
Label |
|---|---|
|
vendorName |
Vendor Name |
|
quantity |
Ordered Quantity |
|
item |
Ordered Item |
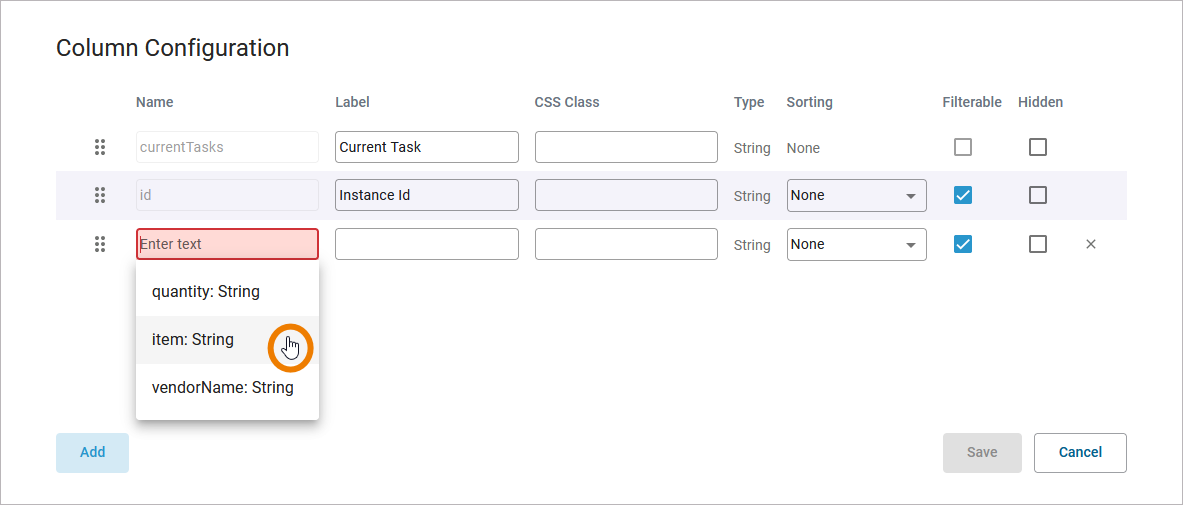
Since you do not want to show the id, select option Hidden for this entry:
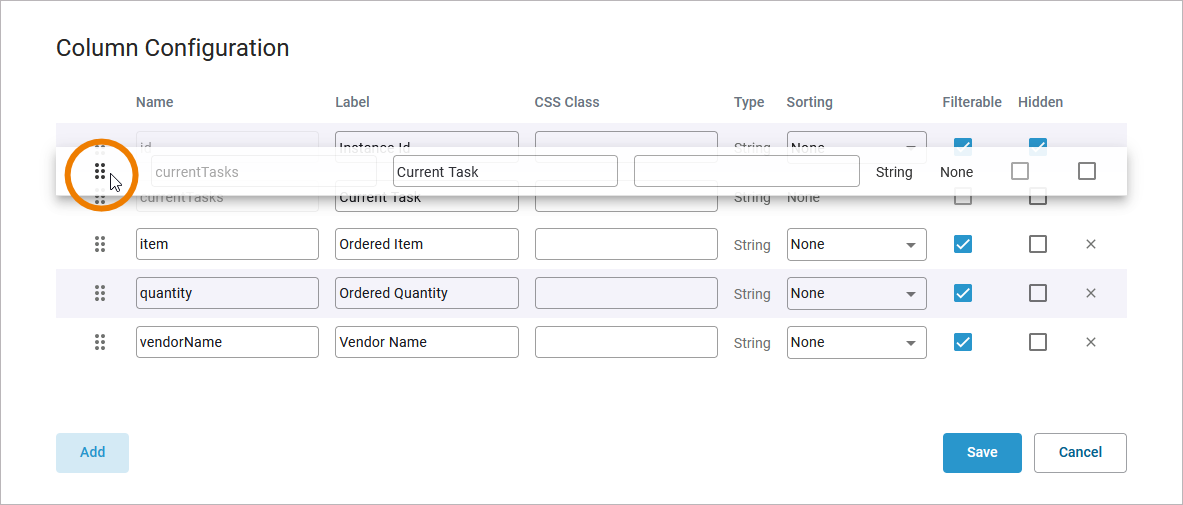
Now you can rearrange the order in which the content should be displayed in the instance list. You want to display the content of the instance list in the following order:
-
Quantity
-
Item
-
Vendor Name
-
Current Task
Use the drag handle in front of each row to change the current order:
Confirm your changes with Save:
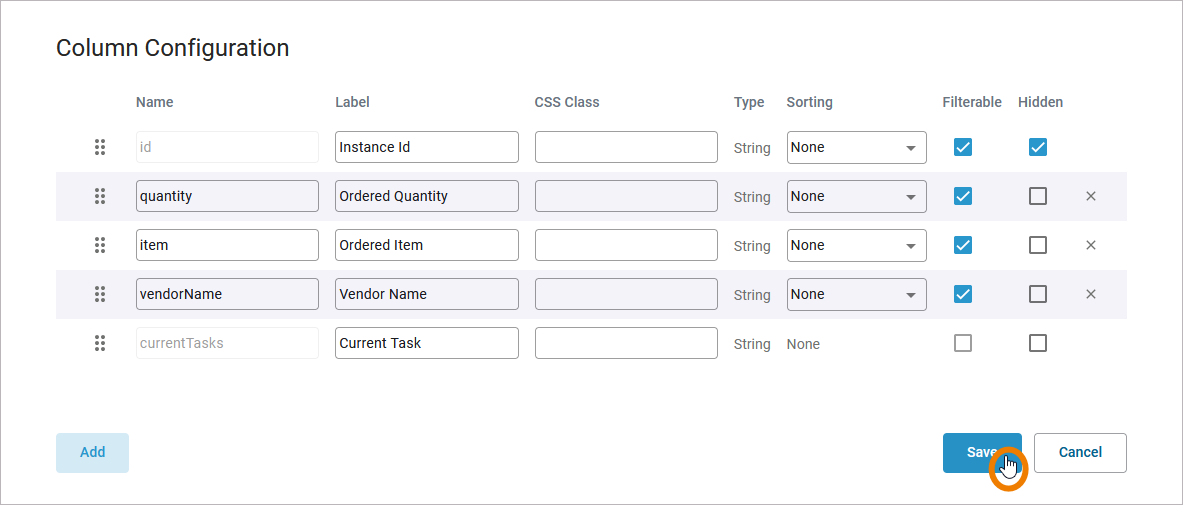
You will see the result of your configuration of the instance list later on.
Curious about more details?
In this step got to know the instance list and its configuration options. Have a look into our Designer Guide if you are interested in more detailed information:
-
If you want to learn more about the instance list, refer to chapter Running Designer Applications.
-
For more information on the column configuration editor in general, e.g. an explanation of all buttons and fields within the editor, refer to Configuring the Instance List.
