In the AI tutorial, we want to focus on the work involved in setting up and using an AI agent. Therefore, we will start the tutorial with a service in which the basic elements of the service like process, forms and mappings have already been created.
Importing the Service Template
To start with the tutorial, download the service template here: AIAgent_Tutorial_StartService.
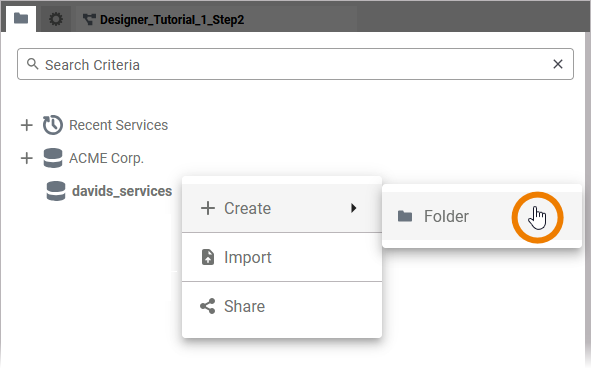
Create a new folder in your personal profile, e.g. AI Tutorial:
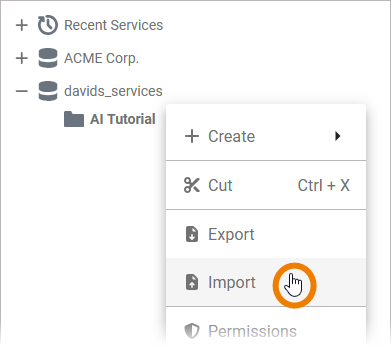
Import the zip folder of the AIAgent_Tutorial_StartService into your new folder:
To avoid naming conflicts with others doing the tutorial, append your user name to the service name: AI_Tutorial_1_david_stringer.
Open the service and inspect the service structure in the service panel (on top left of the editor, refer to Service Panel in the Designer guide for more information).
If you've done everything correctly, it should contain the following elements:
-
In folder Process: a process Insurance_Case_Process
-
In folder Forms: a form Form_CaseOverview and a form Form_Case_Request
-
In folder Implementation: a package Service containing the following classes:
-
AgentResponse
-
CaseRequest
-
Cases
-
FormMapping
-
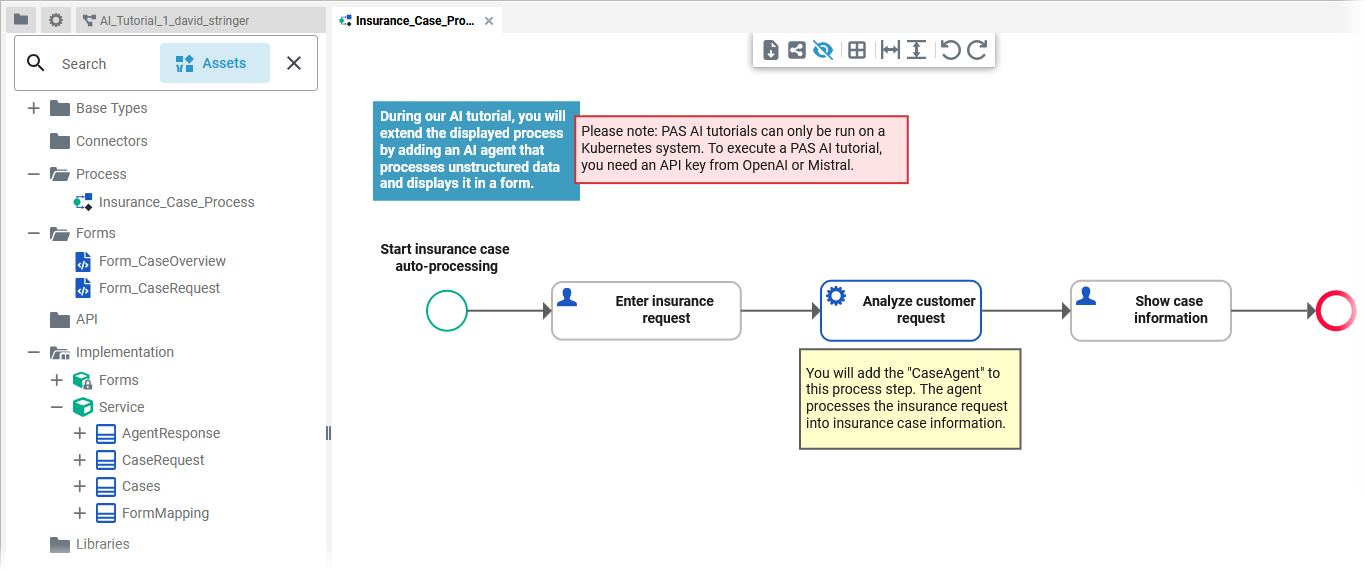
Before expanding the process with an AI agent, let's first take a look at the process itself:

|
Process Step |
Description |
|---|---|
|
Enter insurance request |
The customer enters his insurance request in the Form_CaseRequest, submitting a subject and a more detailed text explaining his claim (the entries in this form correspond to the emails from the user story). |
|
Analyze customer request |
The AI agent, that you are going to create during this tutorial, will process the insurance request into insurance case information. |
|
Show case information |
The processed data, that is relevant for the insurance employee, is shown in Form_CaseOverview. |
After this overview of the process, you are now ready to start with Step 1: Creating the AI Agent.
Related Content
Related Documentation: