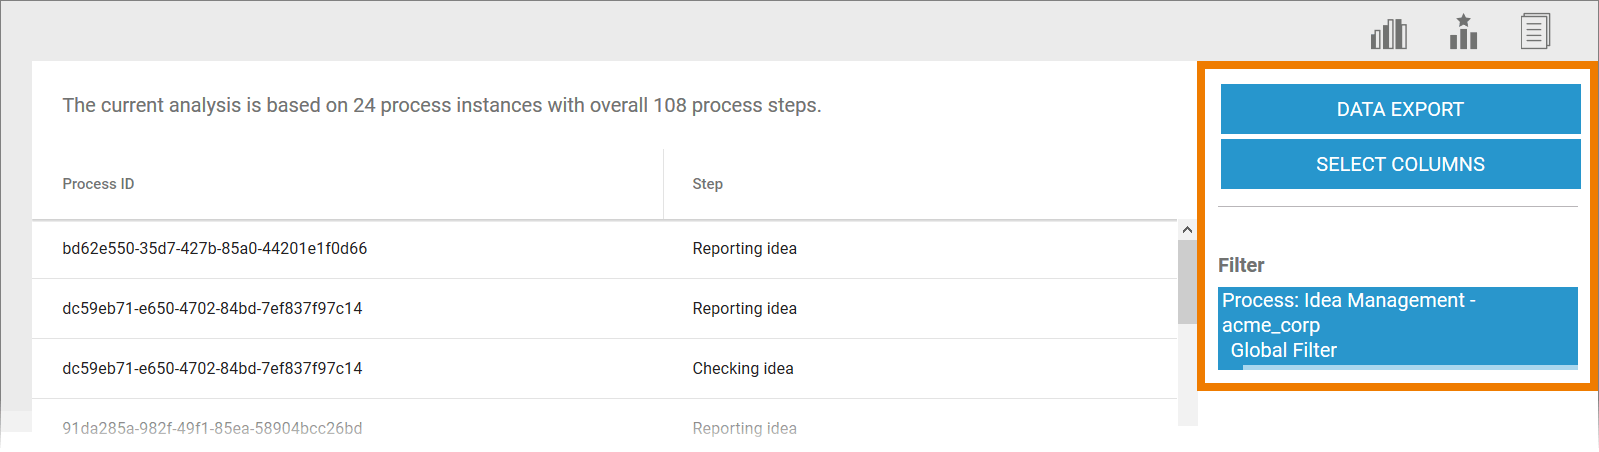
Users can configure the instance list using the buttons in the sidebar:
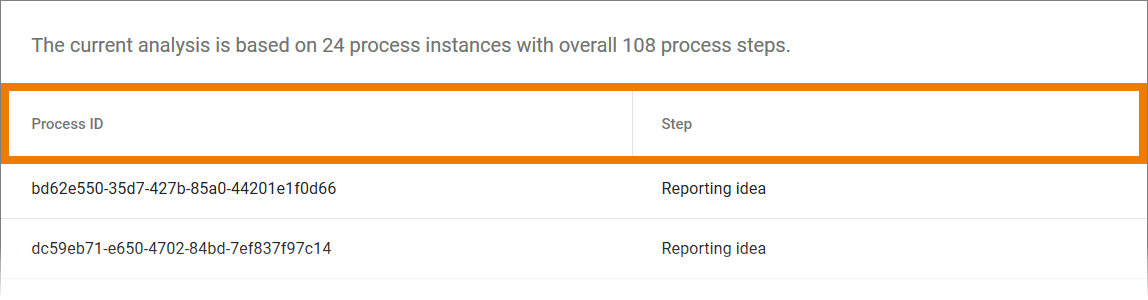
To enable identification of individual instances, the process ID is always specified as a column. The second standard column is a result of the axis allocation of the analysis:
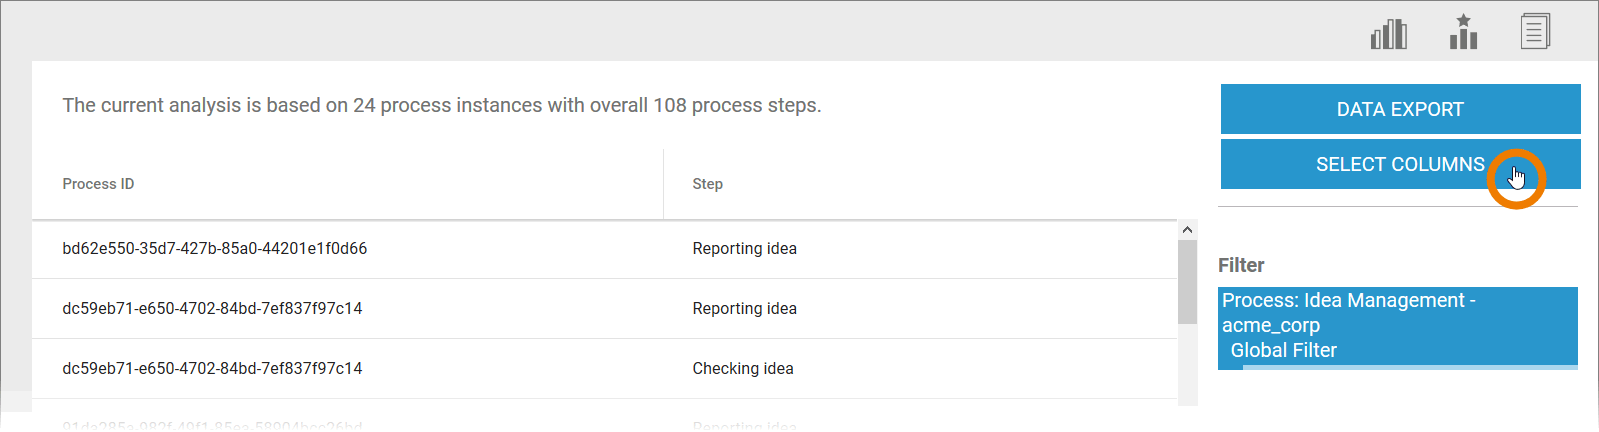
Adapting the Column Selection
You can adapt the columns of the instance list. Use option Select Columns in the sidebar:
To enable identification of individual instances, the process ID is always specified as a column. Other features can be chosen freely by the user.
In the Select Columns dialog, select the values that you want to use as a column:
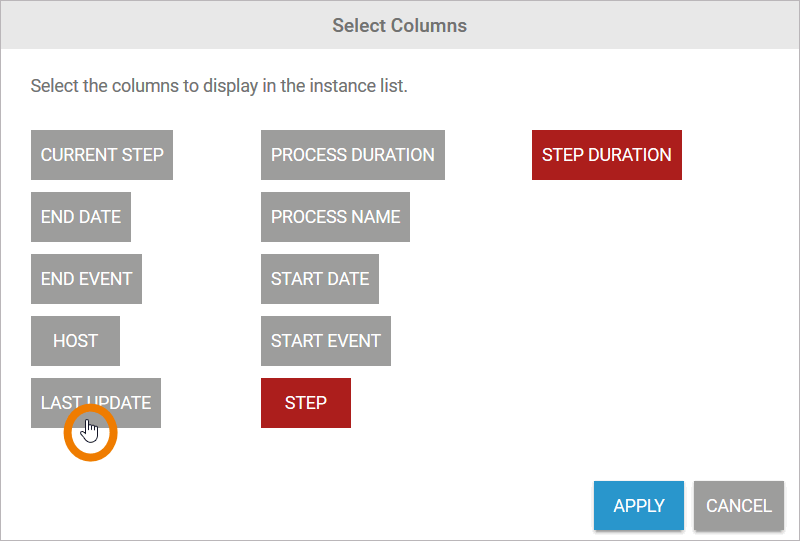
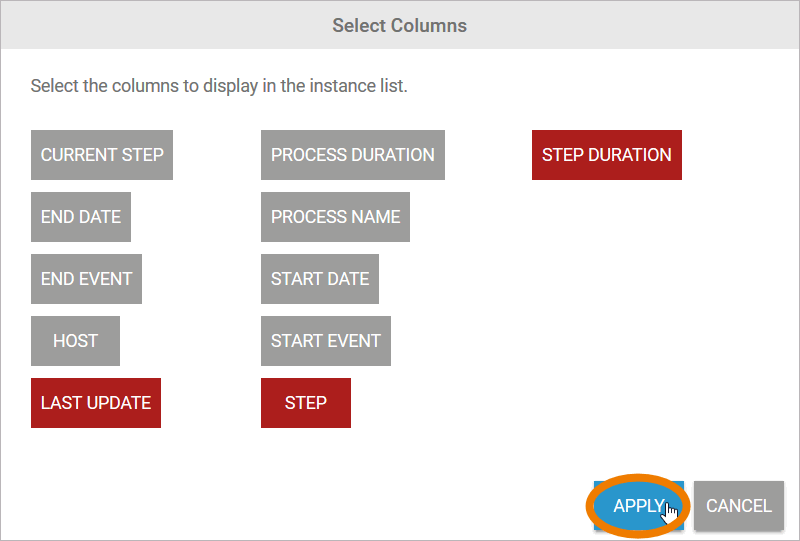
The selected column contents are highlighted in color. Click Apply to adopt the selection and reconfigure the instance list:
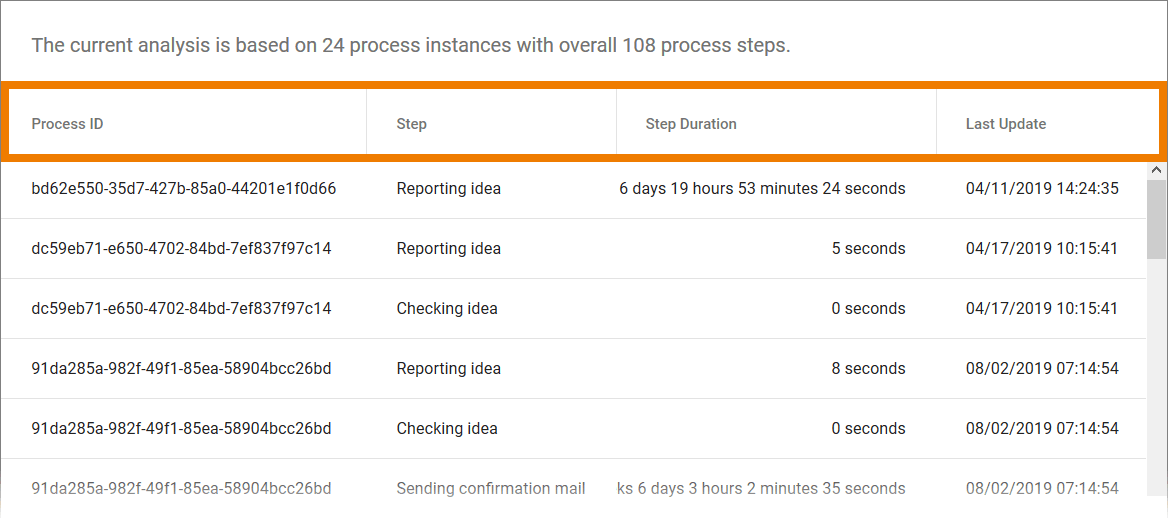
The selected columns are added to the instance list:
You can adjust the column size by moving the tab:

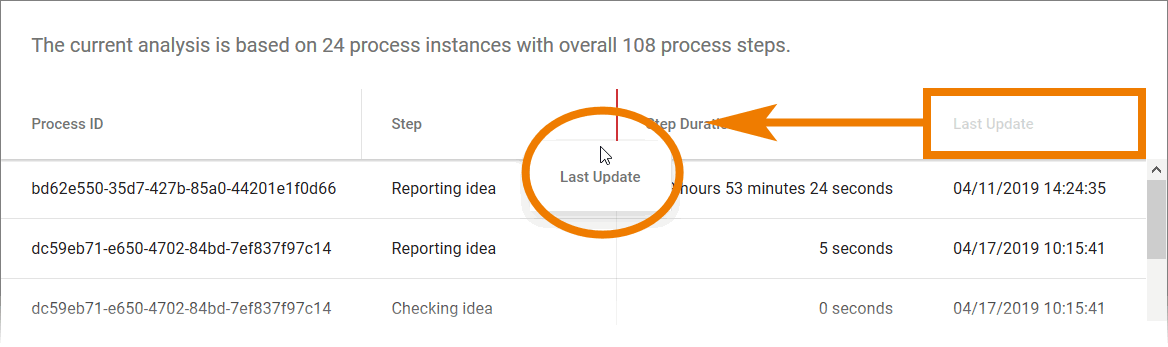
You can change the column order by moving an entire tab to a new position:
Filtering the Instance List
Use option Filter in the sidebar to set a filter for the instance table:
An instance table filter does not affect the underlying analysis. If you exit the instance table, the filter is discarded.
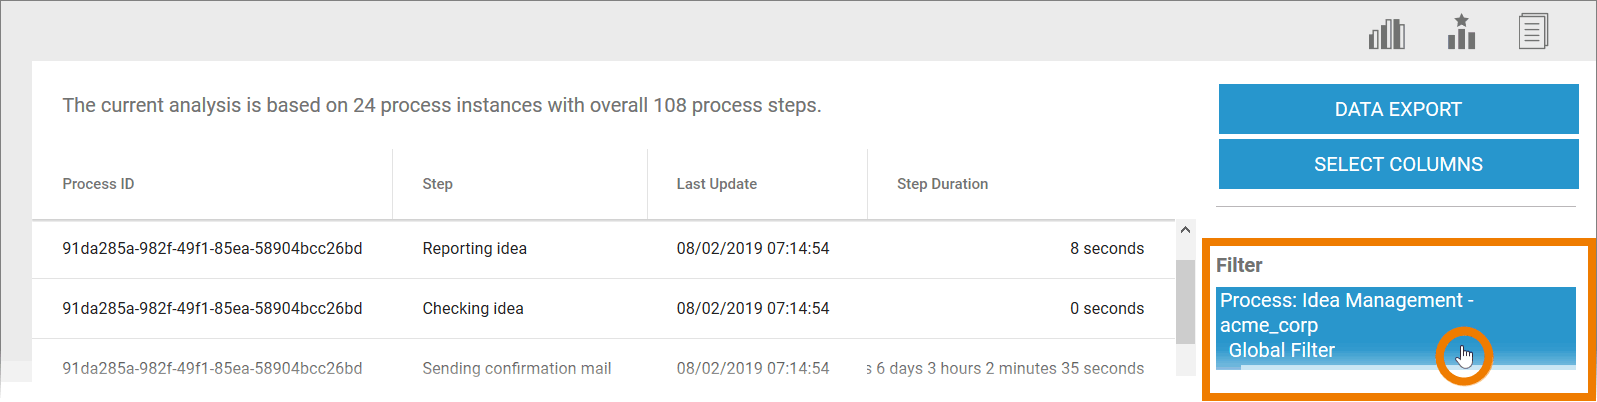
If you have already set a filter for the underlying analysis, this filter will also be applied initially to the instance table:
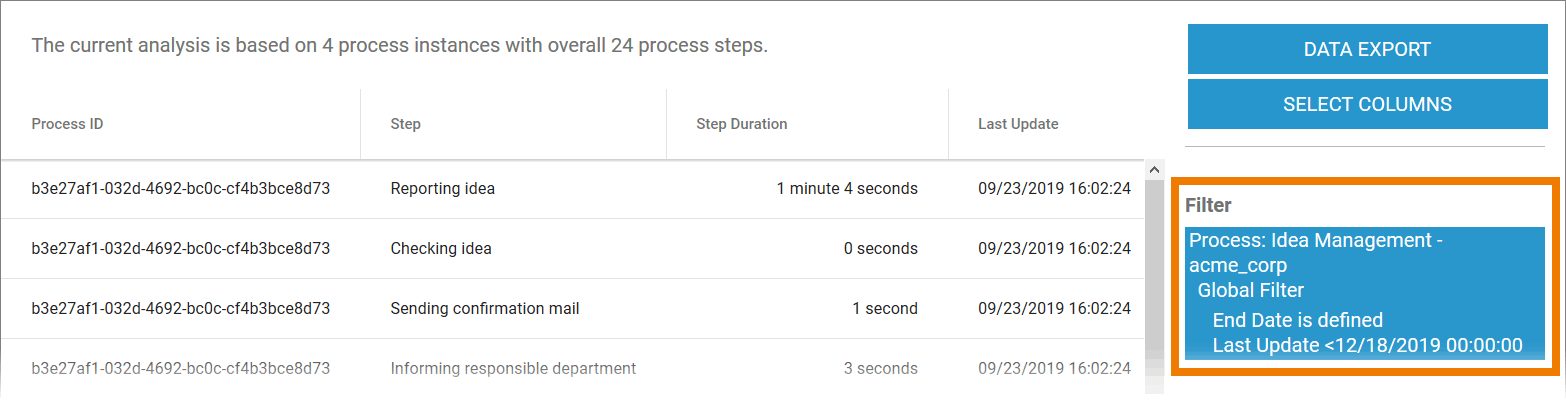
If various measure-specific filters are used in the analysis (refer to Configuring Filters), these are stored for the instance list:
An existing filter that has been changed for the instance table does not affect the underlying analysis. If you exit the instance table, the original filter remains saved in the analysis.
To define a new filter or to change an existing filter, click on the filter display in the sidebar:
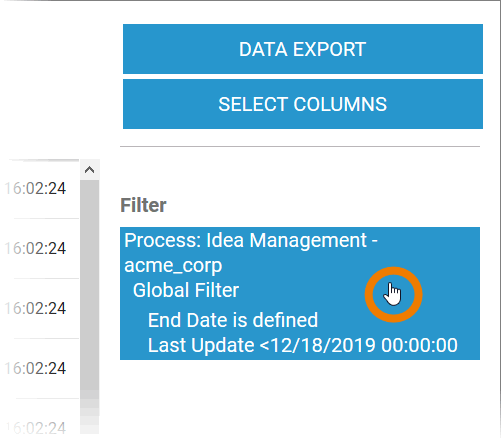
The filter settings open in a separate dialog. To create a new filter, select option Applying the following filter. An instance filter is configured in accordance with the same principle as the creation of an analysis filter:
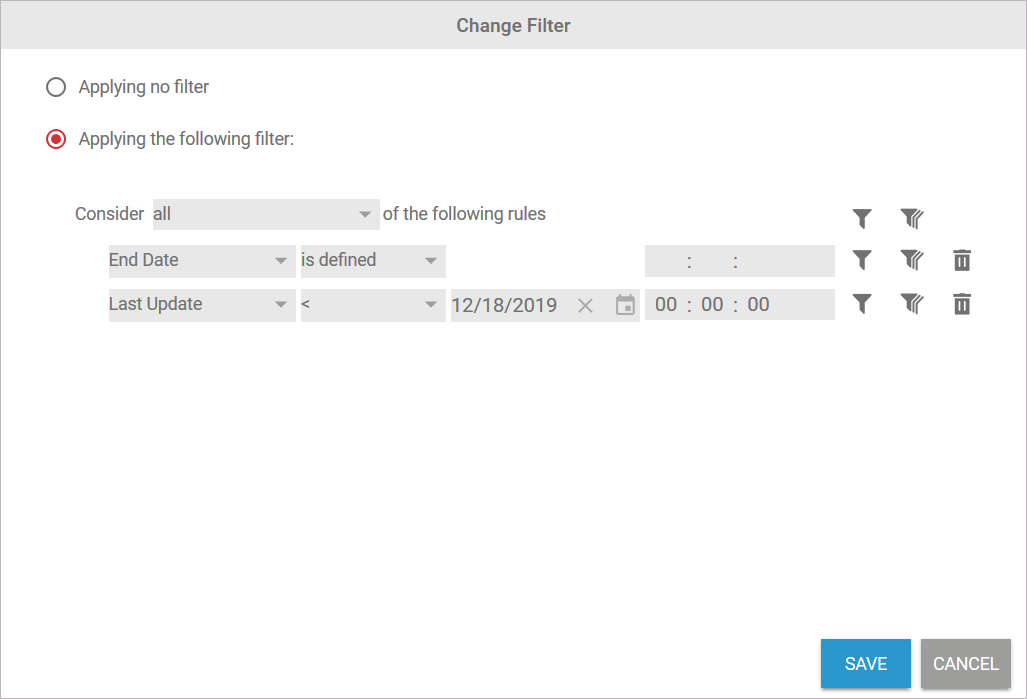
Refer to Configuring Filters for detailed information about all filter settings.
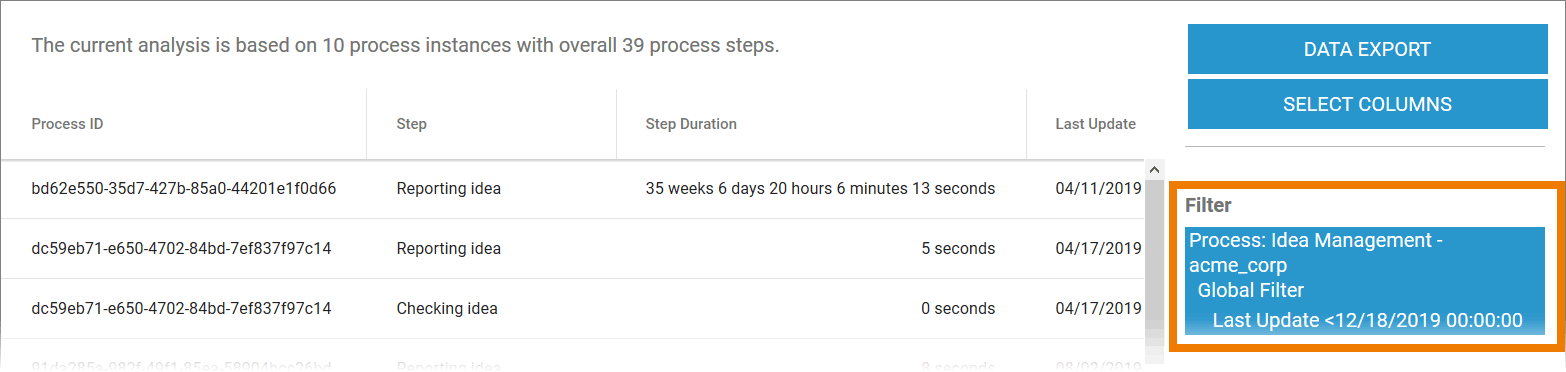
You can create as many filters as you wish. Filters can also be nested to any depth you require. Save the entries to apply the filter to the instance list:
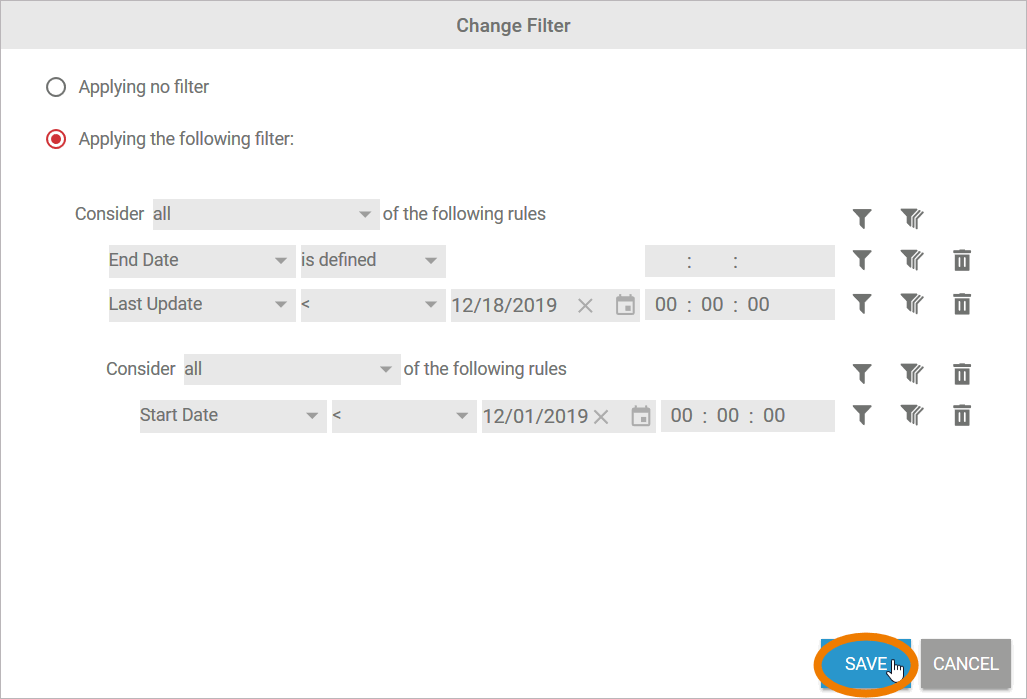
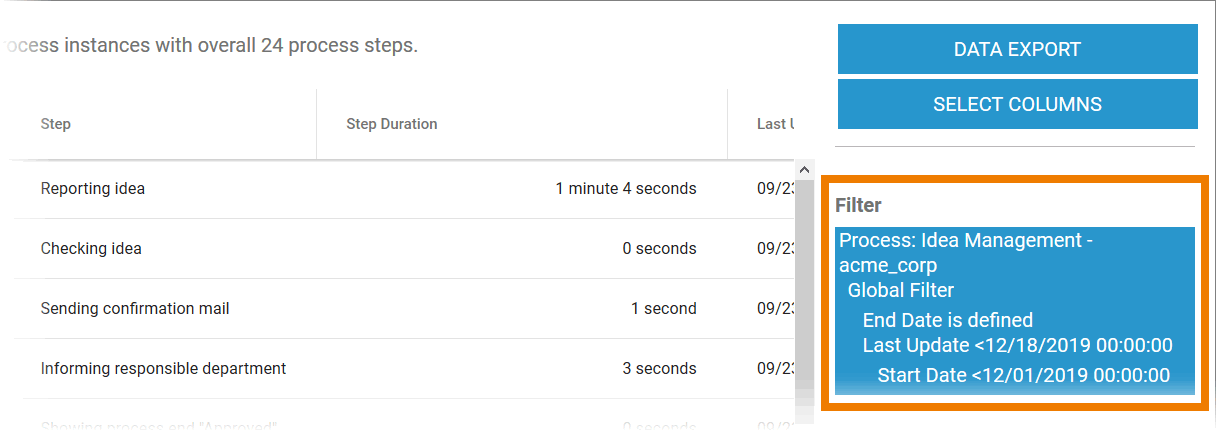
The filter is applied to the instance list. The filter settings are shown in the sidebar:
Sorting the Instance List
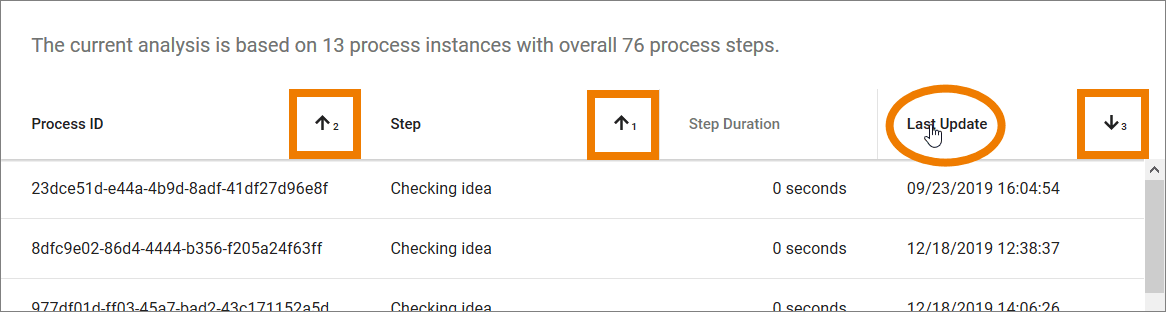
You can also ssort the contents of the instance list. Click the column you want to sort by:
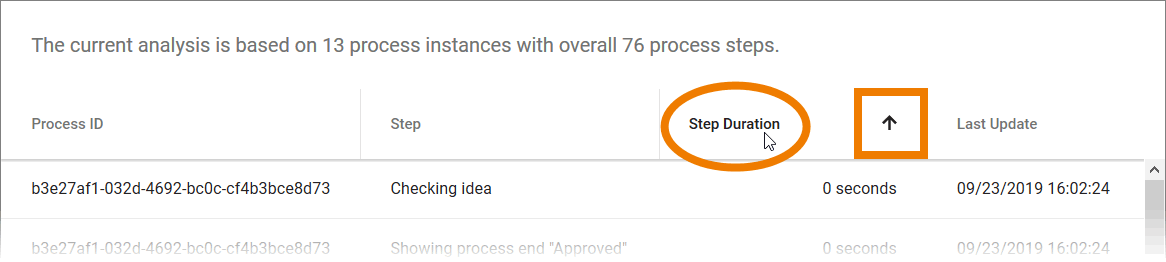
The instances are sorted according to the selected column. In addition an arrow appears in the top column, indicating whether the data has been sorted in an ascending or descending order. Change the direction by clicking again.
Multi-level sorting is also possible. Select the column by which you wish to sort first and then click on another column while holding down the Shift key. The sorting order is identified by the corresponding numbering of the columns: