- Created by Annegret Bernhardt, last modified on Jan 04, 2024
| The execution pane is the place where you make your model executable. |
You need to perform two steps to implement executional parts to your model:
- Provide all necessary data types and operations for the implementation of your process. These types and operations reside in the Service panel of the BPMN editor.
- You can use the Base Types that are provided with the Designer.
- You can create other necessary types yourself in the Implementation section.
Refer to Modeling Data Mapping for further information. - You can import a library that provides additional types and operations.
Refer to Designer Administration > Libraries for further information.
- In the second step, select data types and operations from the Service panel, and add them to your process at the right places.
- How this is done will be explained in this chapter.
Customizing the Execution Pane
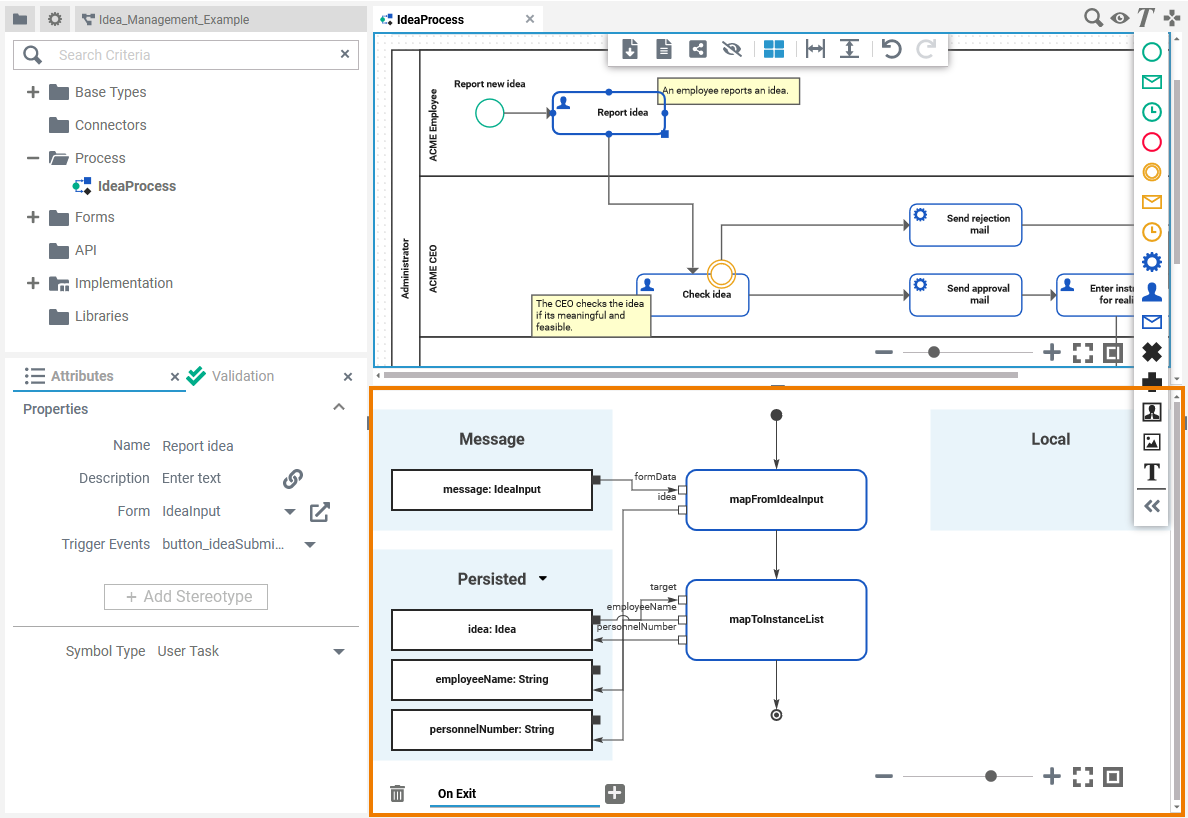
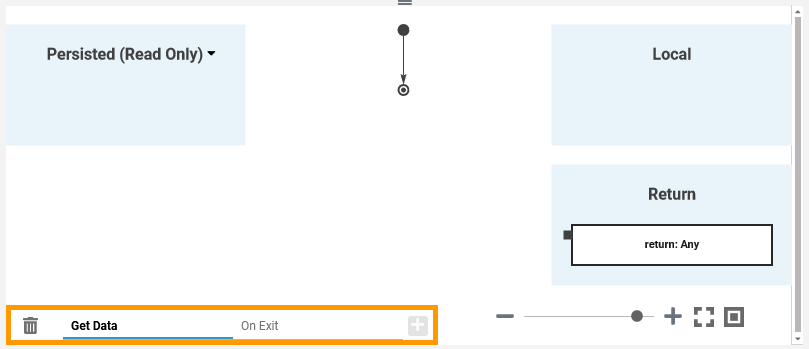
| You have several options to adjust the diagram pane. When you open the pane for the first time, the default view is displayed:
Refer to Customizing Editors and Panels for detailed information about panel management in general. |
Modeling on the Execution Pane
While modeling, some general functionalities help you to browse through your model, and to adjust your working location within the model. Refer to Customizing Editors and Panels for more details.
Adding an Execution Model
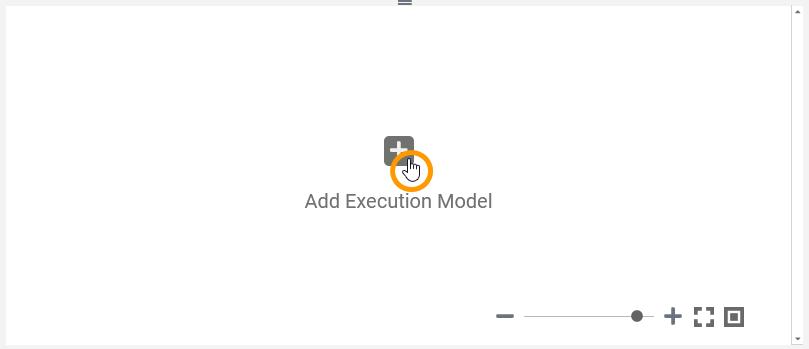
| For some BPMN elements, the execution model is initially created during element creation. For others, you have to add the execution model manually (see Modeling Execution > Execution Pane Contents for detailed information). Click the |
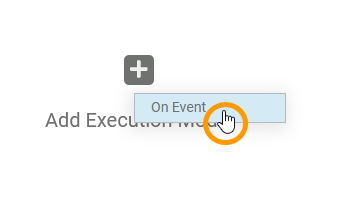
| Depending on the BPMN element, the available execution model or models are shown. Select the one you want to add. Possible options:
|
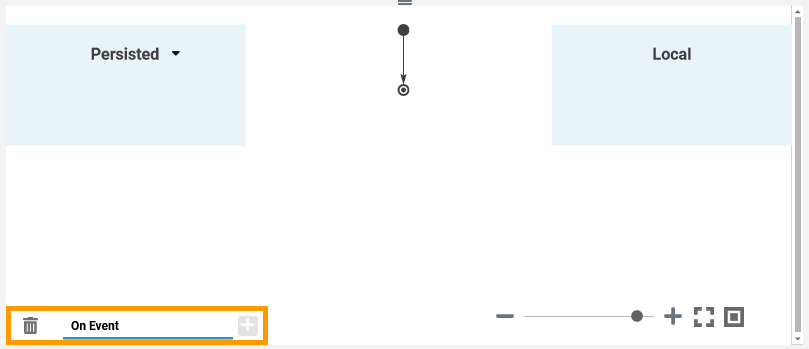
| An empty execution model is added in the execution pane and a tab with the model name is displayed in the lower left corner. |
| If a |
| If multiple models have been added to an element, multiple tabs are displayed in the execution pane. Click on a tab to switch between the model content. In the default Look & Feel:
The color of the tabs can be changed in the Designer Administration > Look & Feel. |
| Click the trash icon |
Adding Content to an Execution Model
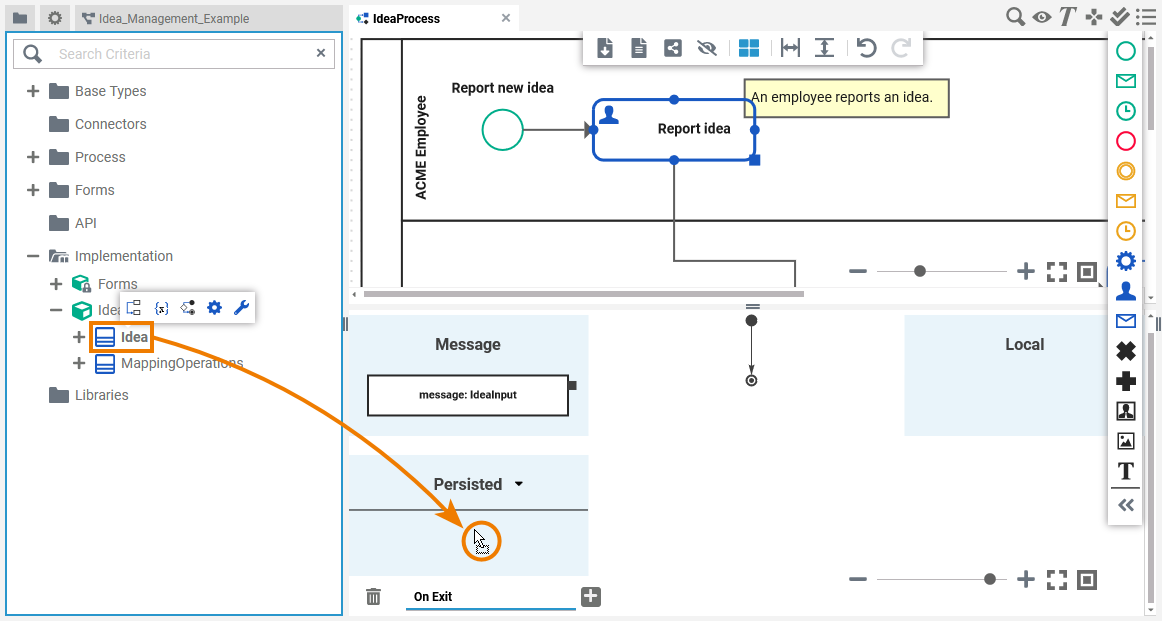
| Adding content to an execution model is simple: Just drag & drop the elements you want to use from the service panel to the execution pane. Two different kinds of elements can be added to the pane:
|
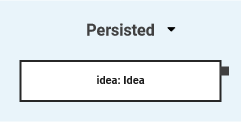
| You can add variables when dragging out a class ( For detailed information see Adding Variables and Persisting Data. |
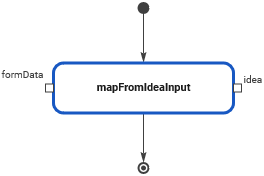
| You can add an operation call when dragging out an operation ( For detailed information see Adding Operation Calls. |
Some execution models have already some parameters added.
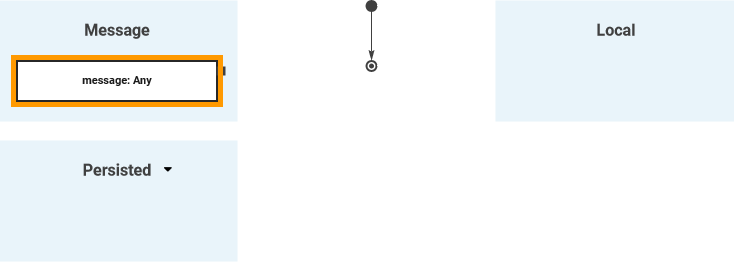
| A section Message containing the incoming message parameter is displayed for all BPMN elements that provide a message. |
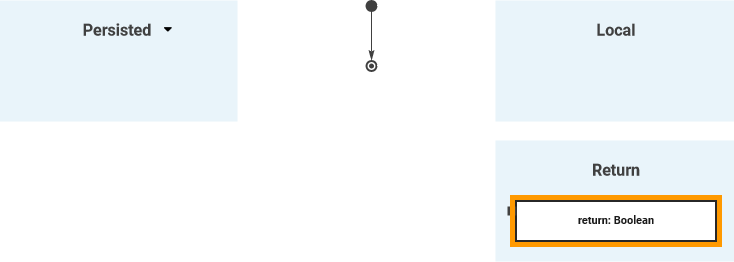
| A section Return contains the return parameter if the related BPMN element provides a return value. |
See Modeling Execution for an overview on the sections in the BPMN editor.
The Context Menus of the Execution Editor
Two different context menus support the user on the execution pane:
Elements Context Menu
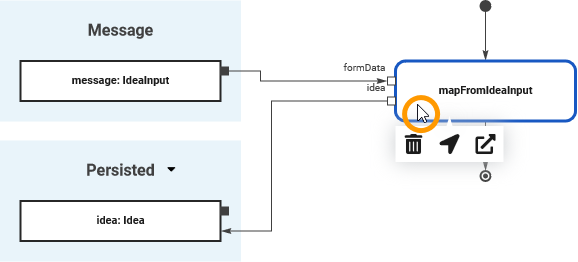
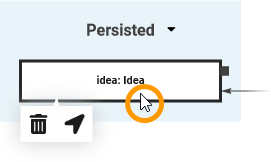
| If you right click on an element, the context menu opens. The following options are available:
| ||||||||
| You can use the elements context menu on all elements on the execution pane. |
Execution Pane Context Menu
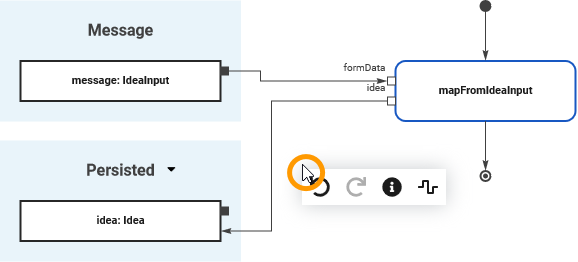 | A right click on the execution pane itself opens another context menu including the following options:
|
Shortcuts
You can also use the following shortcuts on the execution pane. The operations are applied to the currently selected element. The following list of shortcurts can be searched. Enter your search term in the Global Filter field.
Oops, it seems that you need to place a table or a macro generating a table within the Table Filter macro.
The table is being loaded. Please wait for a bit ...
| Shortcuts | Description |
|---|---|
| Ctrl + 1, 2, 3 ... 9 | Opens the tab corresponding to the chosen number. The first nine opened models are offered for activation. Press a number to activate the corresponding model and bring it to the foreground. |
| Ctrl + D | Closes the active model window. |
| Ctrl + Mouse Wheel | Reduces (scrolling down) or enlarges (scrolling up) the zoom factor of the model. |
| Ctrl + Shift + D | Closes all tabs and switches to explorer tab. |
| Ctrl + Y | Repeats editing steps that have been undone. |
| Ctrl + Z | Undoes previous editing steps. |
| Del | Press Del to delete an element from the pane. |
| Esc | Pressing the Esc key aborts the following processes:
|
| Mouse Wheel | Moves the model up or down. |
| Shift + Page down | Switches to the next tab from left to right. |
| Shift + Page up | Switches to the next tab from right to left. |
