Adding Variables to the Execution Pane
You need to perform two steps to implement executional parts to your model:
- Provide all necessary data types and operations for the implementation of your process. These types and operations reside in the Service panel of the BPMN editor.
- You can use the Base Types that are provided with the Designer.
- You can create other necessary types yourself in the Implementation section.
Refer to Modeling Data Mapping for further information. - You can import a library that provides additional types and operations.
Refer to Designer Administration > Libraries for further information.
- In the second step, select data types and operations from the Service panel, and add them to your process at the right places.
- How this is done will be explained in this chapter.
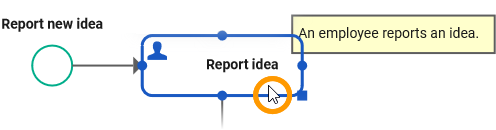
Select BPMN Element
| To add executional parts to a BPMN element, you must first select the BPMN element on the diagram pane to which you want to add the execution. |
| The execution pane displays the related execution model. If there is no execution model in place, you need to create a new execution model (see Working with the Execution Editor > Adding an Execution Model for details). |
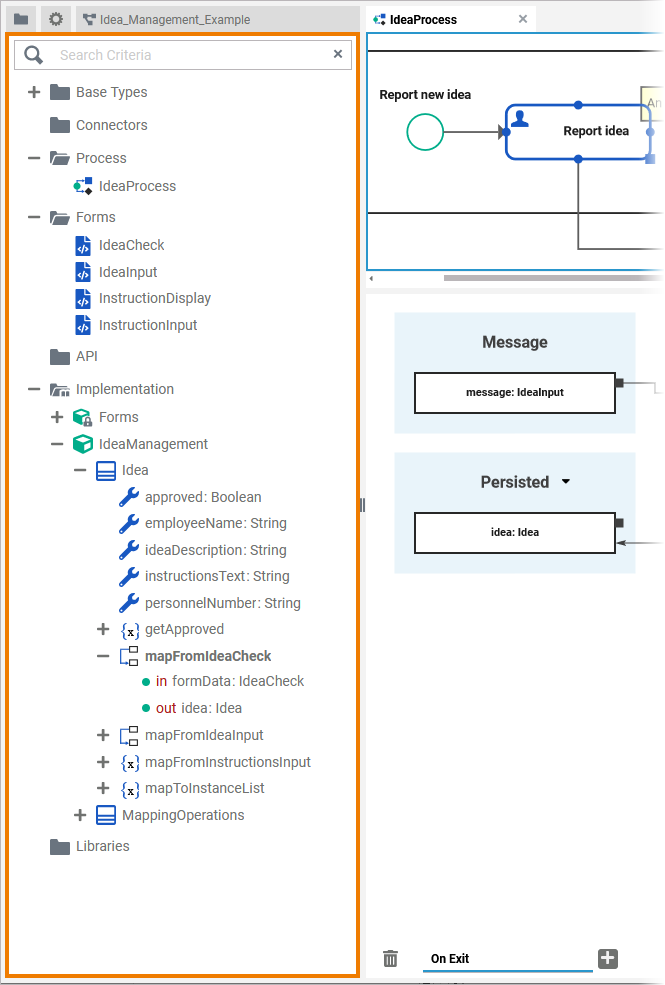
Select Type
Next, you need to select the type of the new variable.
| Go to the Service panel. Types are available from
|
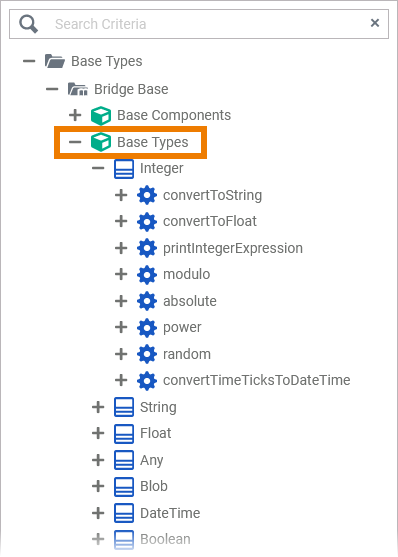
| The Designer provides all necessary base types in a Bridge Base standard library. This library is available in all services and cannot be removed. It contains the following xUML base types:
Most of these base types are only able to hold one single piece of information, like text in a string, true or false in a boolean, or binary data in a blob. Refer to Available Base Types for more information on the xUML base types. If you want to associate several bits of information, you have to define a complex type that combines a number of independent base types and possibly other complex types. Such complex types are modeled as classes. To use your own types, you can
How to upload your own libraries is explained on Designer Administration > Libraries. |
Drag Type to Execution Pane
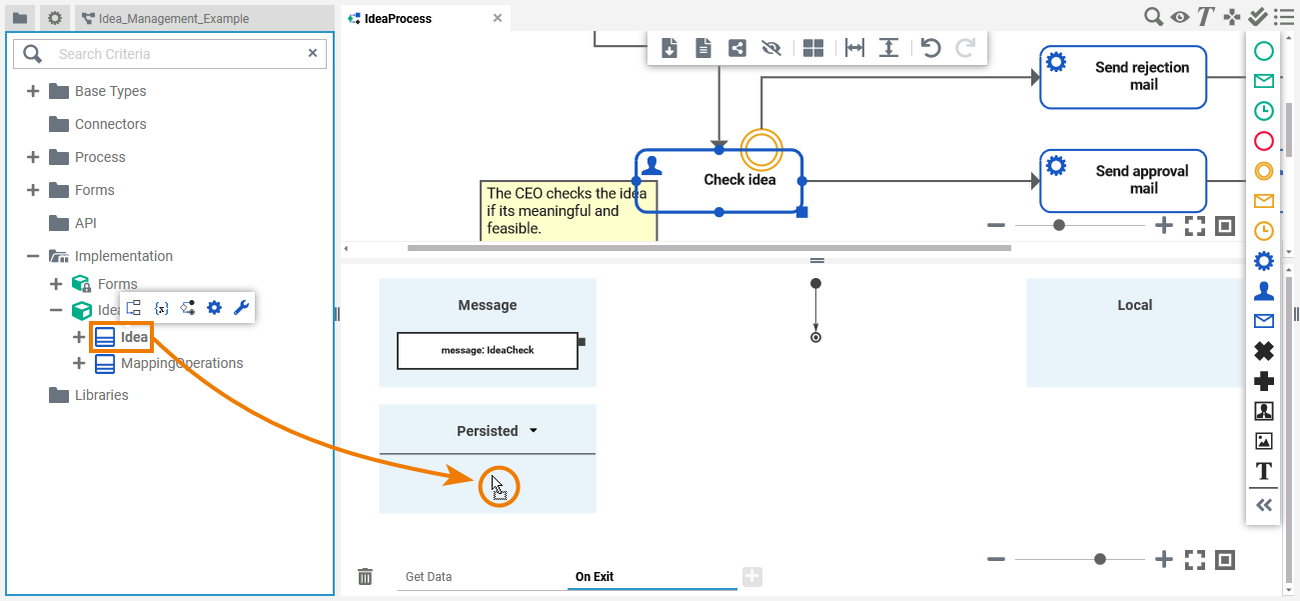
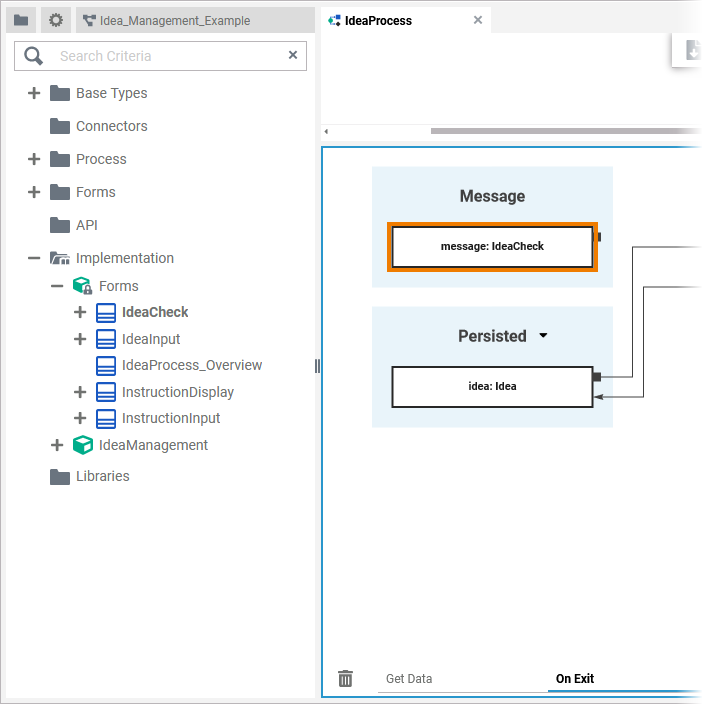
| To add a variable to the execution, simply drag the selected type to the execution pane and drop it to a target area. You can cancel this procedure by pressing Esc or dropping the element outside the execution pane. |
 | You can drop the type to different targets:
By dropping a type on an existing variable, you can change the type of the variable (see Changing the Type further below). |
Changing a Variable
Changing the Multiplicity
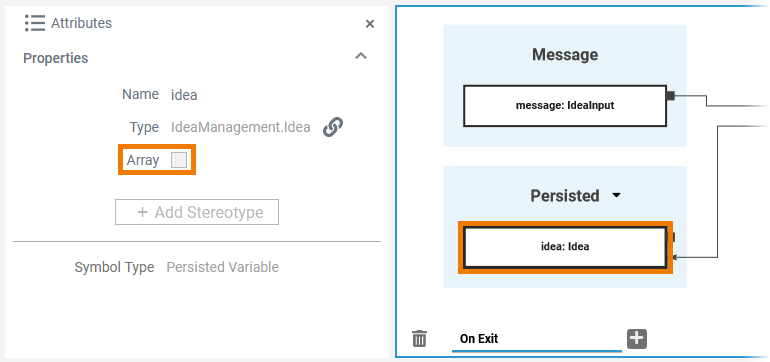
As per default, variables are created with multiplicity 0..1 but you can change this in the attributes of the variable.
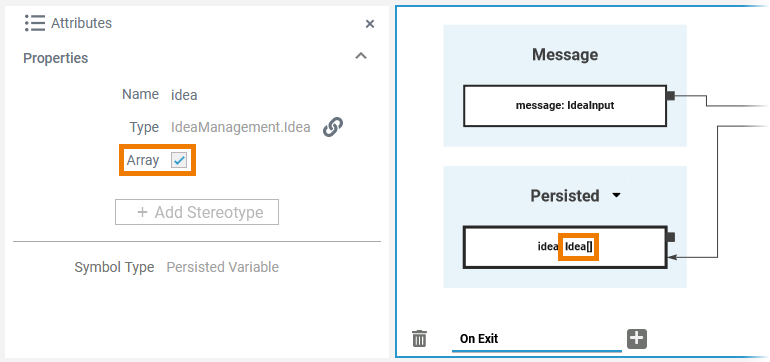
| Open the attributes panel for the variable in question. To change the multiplicity to 0..*, activate checkbox Array. |
| The element type on the pane now is extended by a pair of square brackets to indicate the new multiplicity. |
Changing the Type
You can change the type of any variable and there are different ways to do so.
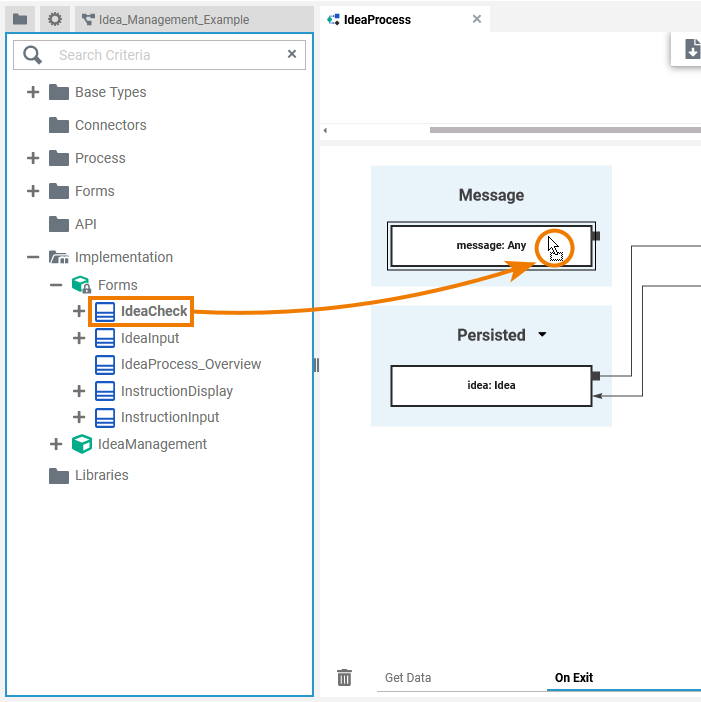
| Using Drag & DropYou can change the type of a variable by dragging a type from your library and dropping it on the variable itself. Example: |
| After having dropped the type on the variable, the new type is displayed. Example: |
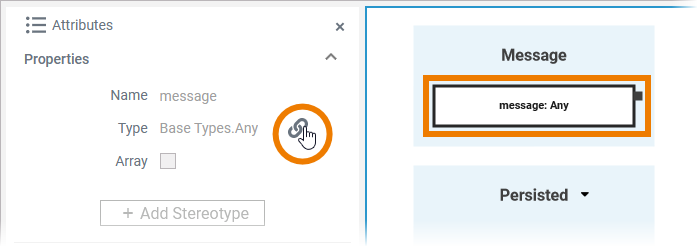
| Using the Type Selection DialogYou can use the Type Selection dialog to change the type of a variable. Click on the variable you want to adapt and open the attributes panel. Use icon |
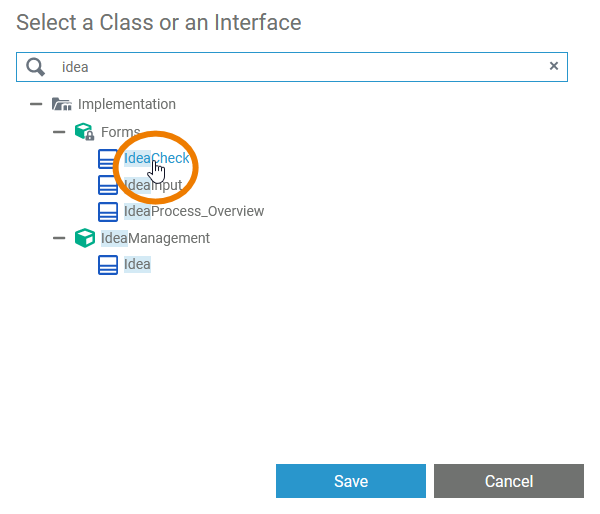
| Use the search box on top to find the type you are looking for. Click on the type you want to apply. Then click Save. |
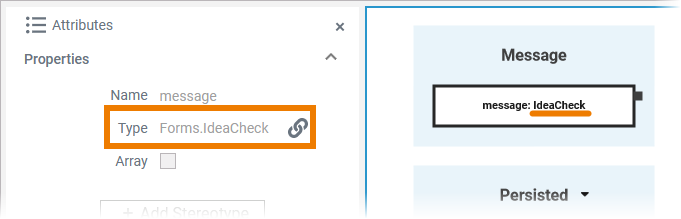
| The dialog closes and the selected type is applied to the variable. |
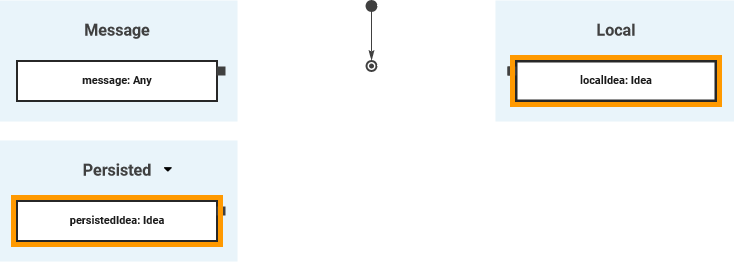
Changing the Scope
It is also possible to change the scope for a variable. You can drag & drop variables:
- From Local to Persisted
- From Persisted to Local
- From Message to Persisted or Local
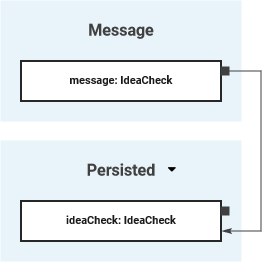
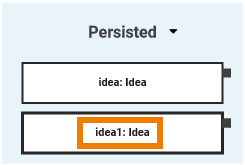
| Local to Persisted:
|
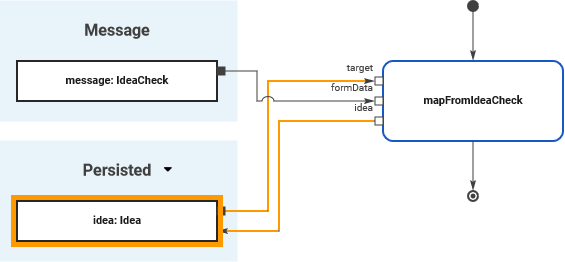
| Persisted to Local:
|
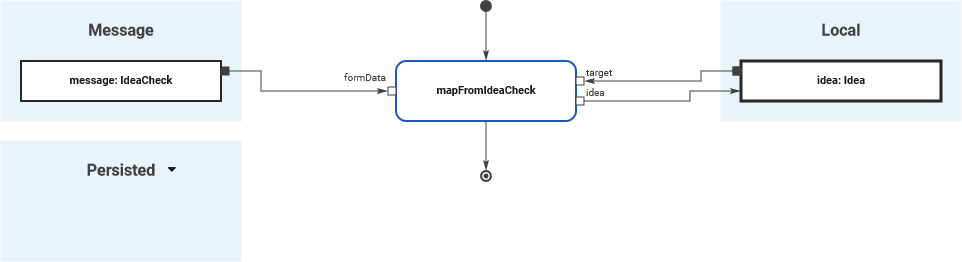
| Message to Persisted or Local:
|


Special Case: Adding Persisted Variables
For detailed information see page Persisting Data.
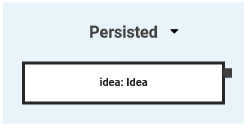
| By creating variables as Persisted, they are usable in all executions throughout the BPMN model. |
| To use a persisted variable, click the |
| The variable is added to the execution pane. |
| Once a variable is defined as to be persisted, it is available in all executions throughout the BPMN model. |

Overview
Content Tools