You can use the export function to save your developments. The scope of the model export depends on whether you start the export at the top level of the editor, for example after calling the project tile, or in an editor on a lower level. In this way, you can export a specific app project, EPC model or form to keep the export file small. The export includes all levels including the one from which the export is started.
You can export entire projects and process apps also directly from the cockpit ( BPaaS 17.3 ).
To save and open the code of exported models, you need a text editor on your computer, for example Windows Editor, Notepad++, ... .
Important Note for Transporting Apps with Roles Roles are managed centrally in the administration. When transporting role-based models from one system to another (for example, from a test system to a production system), you must ensure that the roles are also imported to the relevant administration. Further information on this topic can be found in the Administration Guide > Reusing Central Roles.
Exporting from the Cockpit
You can export entire projects and process apps directly from the cockpit.
| To open the export dialog, click on the icon In our example, Irene Adler opens the project ACME Bidding Process. |
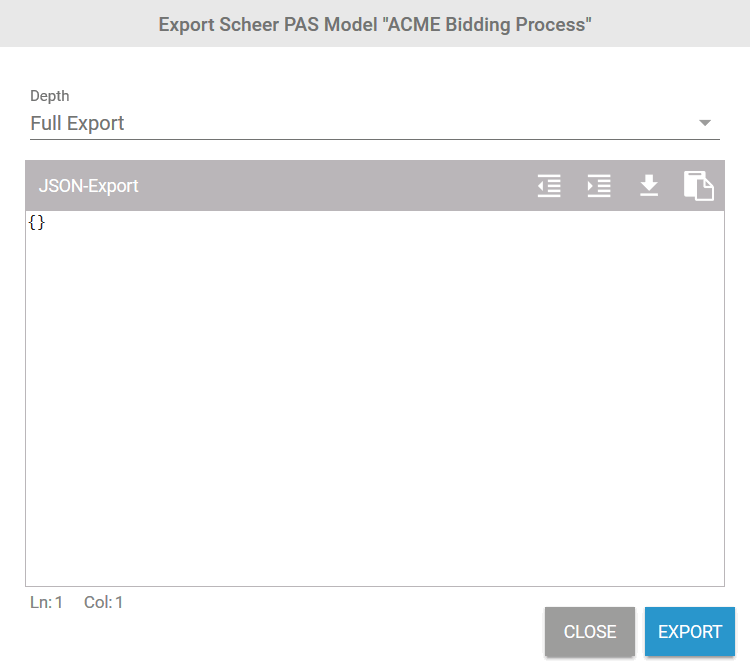
| The export dialog is displayed in a separate pop-up window. |
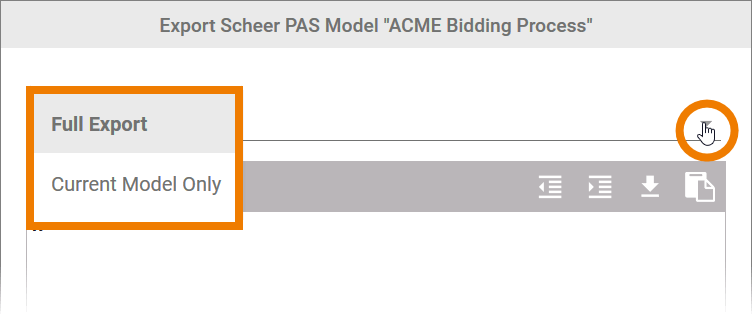
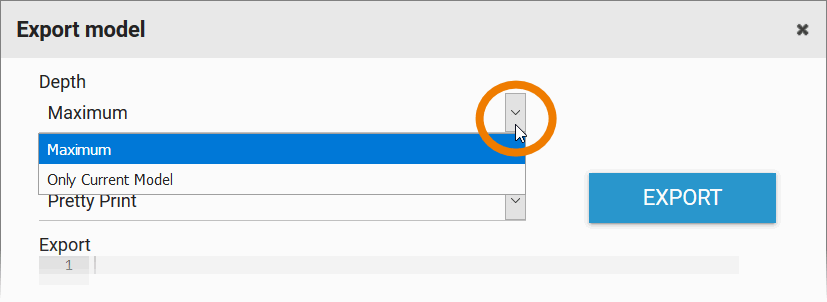
| Irene opens the Depth drop-down list to select the depth of her export. She has the choice between two options:
The differences between the available options are explained in more detail in section Export Options. |
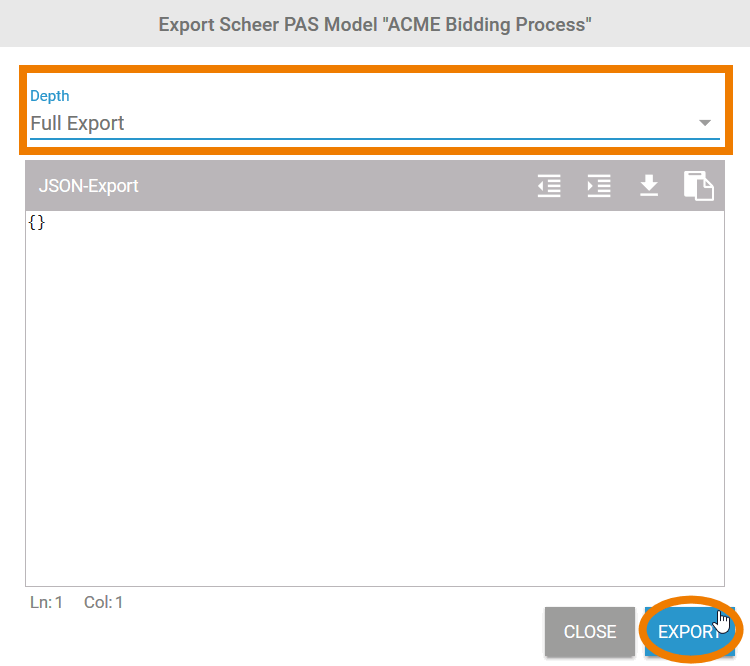
| Then she starts the export by clicking the Export button. |
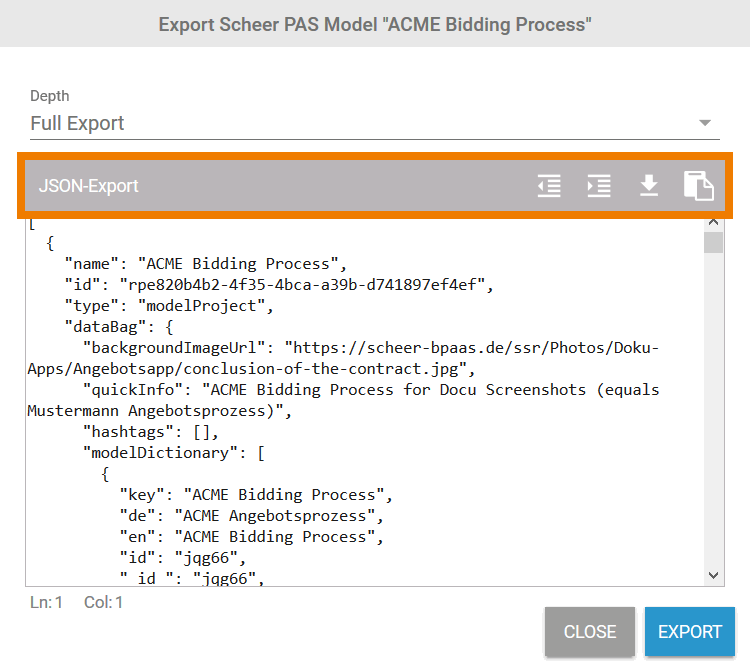
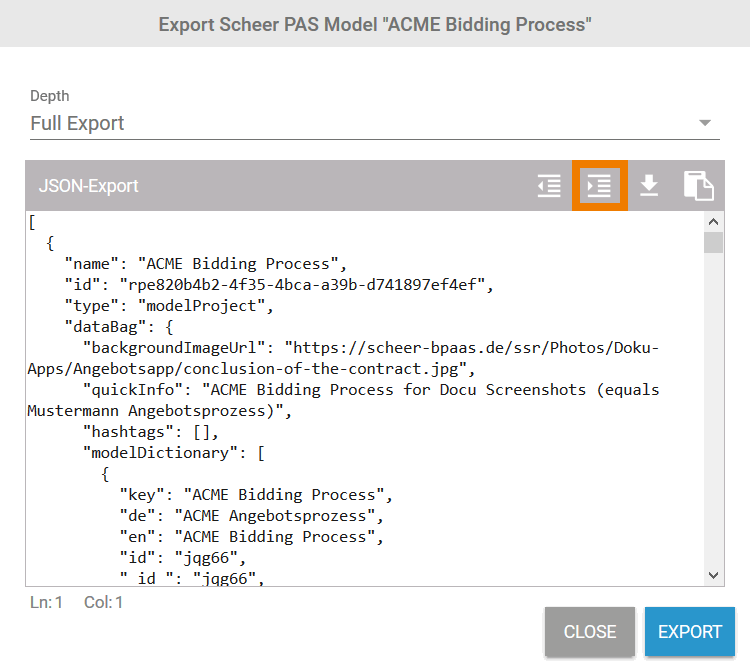
| The code of the selected model is displayed in the editor. Irene can call up further functions via the grey menu bar. For the display options she has the choice between:
The following options are available for saving the export:
The differences between the available options are explained in more detail in section Export Options. |
| The default setting is formatted layout. The code is displayed in readable format. |
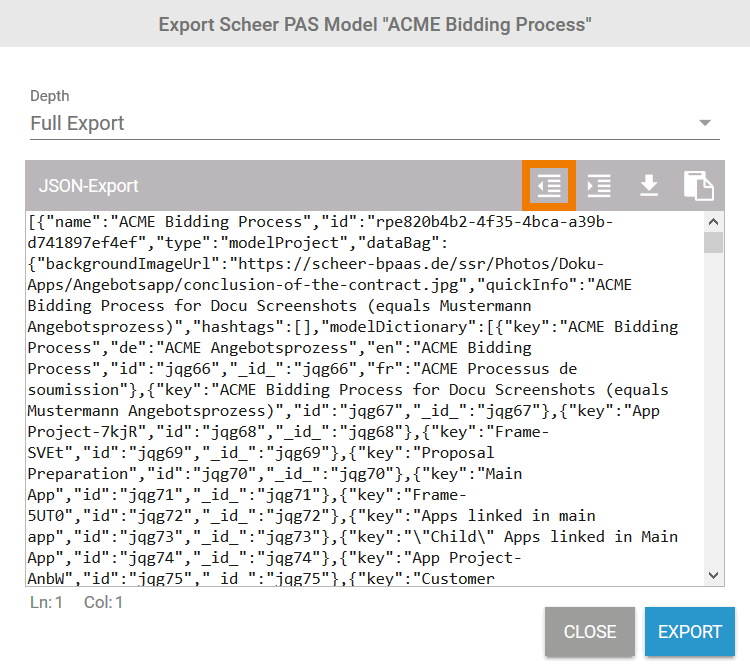
| If you want to export the code in a space-saving way, select the option Condensed Layout. The code is displayed in a single line. For large models, several MB of memory can be saved compared to the formatted export. The condensed layout is mainly used by developers. |
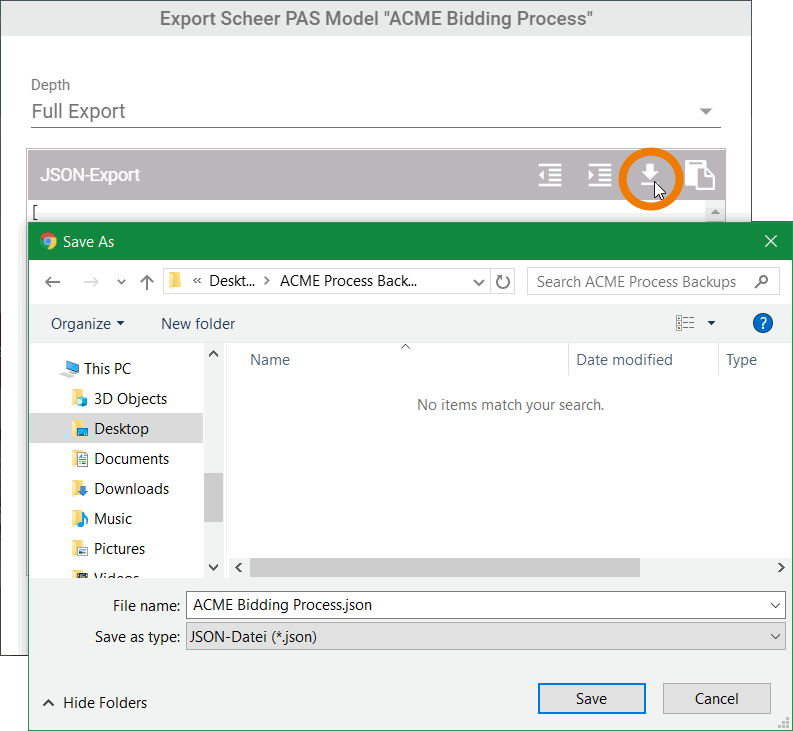
| Irene wants to save the code directly as a file, so she uses the button It opens the Save As dialog of Irene's computer and she can select the storage location. |
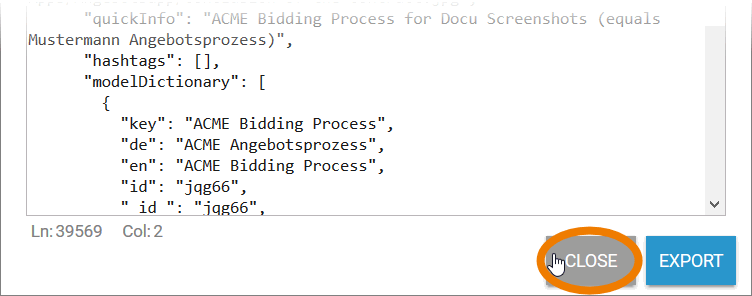
| The export file is saved on Irene's computer. Now she is able to open the file with a text editor, for example Windows Editor or Notepad++. |
| You could also copy the content of the export editor and paste it to a text editor.
You can now paste the contents of the clipboard into a document of your choice (CTRL+V). |
| Irene has saved her export, so she clicks the Close button to exit the export dialog. |


Exporting from the BPaaS Editor
Projects, EPC models, app projects and even individual forms can be exported directly from of the BPaaS Editor.
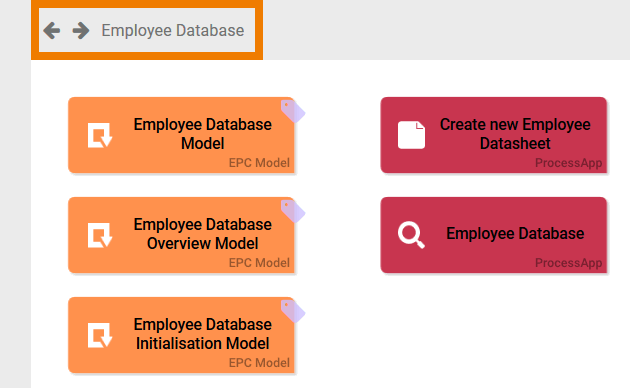
| Open the model you want to export. In our example, Irene Adler opens the app project Employee Database. |
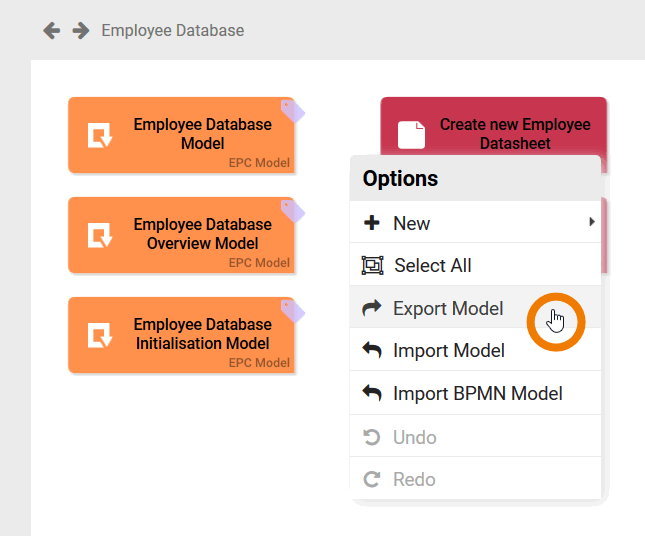
| In the Project Editor Irene opens the context menu (right-click on the work area) and selects the option Export Model. |
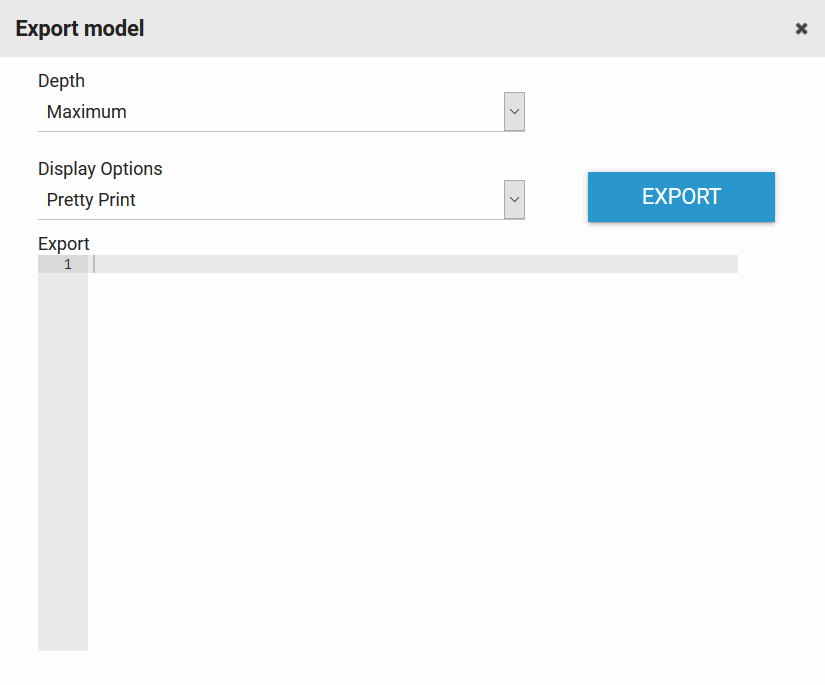
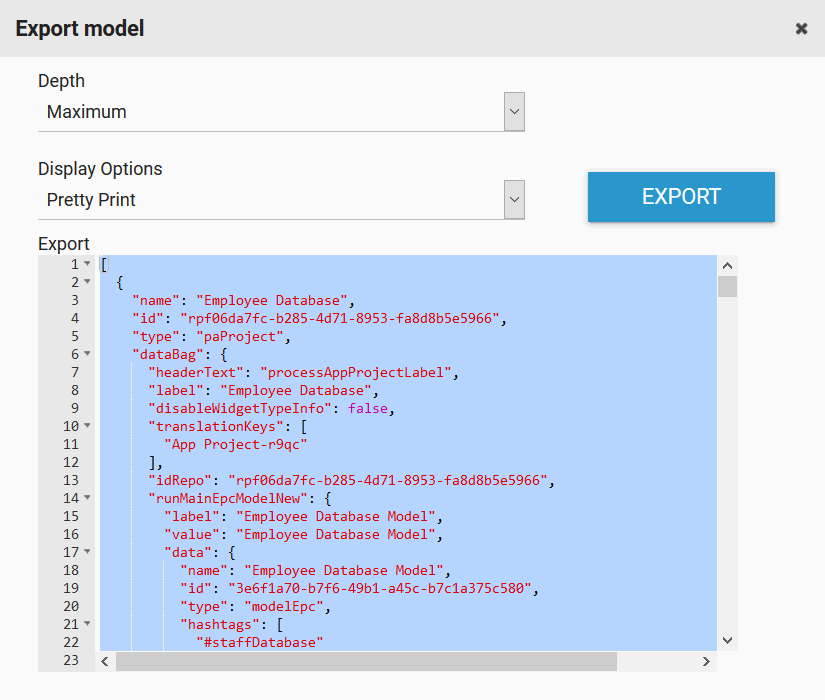
| The export dialog is displayed in a separate pop-up window. |
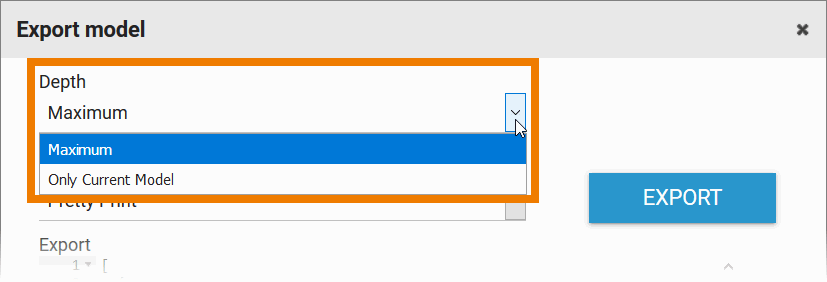
| Irene opens the Depth drop-down list to select the depth of her export. She has the choice between two options:
The differences between the available options are explained in more detail in section Export Options. |
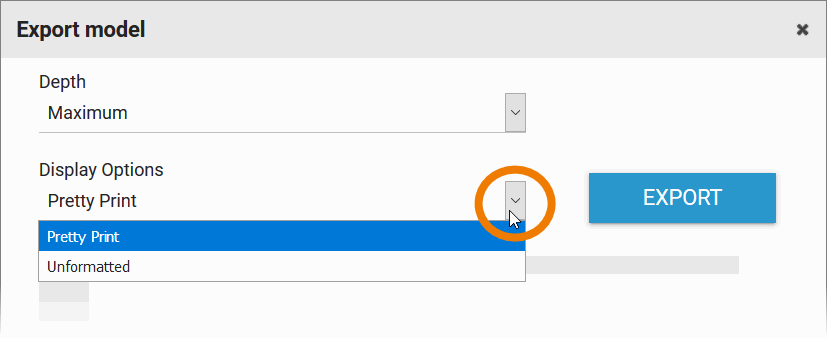
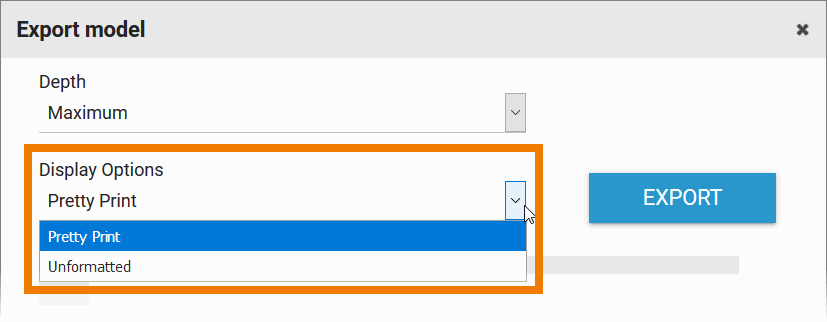
| Then Irene opens the Display Options drop-down list to choose the display of the export. She has the choice between two options:
The differences between the available options are explained in more detail in section Export Options. |
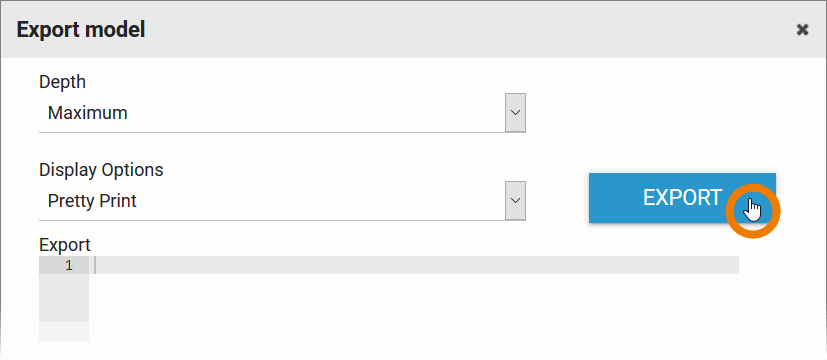
| It is recommended not to change the default export options. Irene keeps the default settings and starts the model export by clicking on the button Export. |
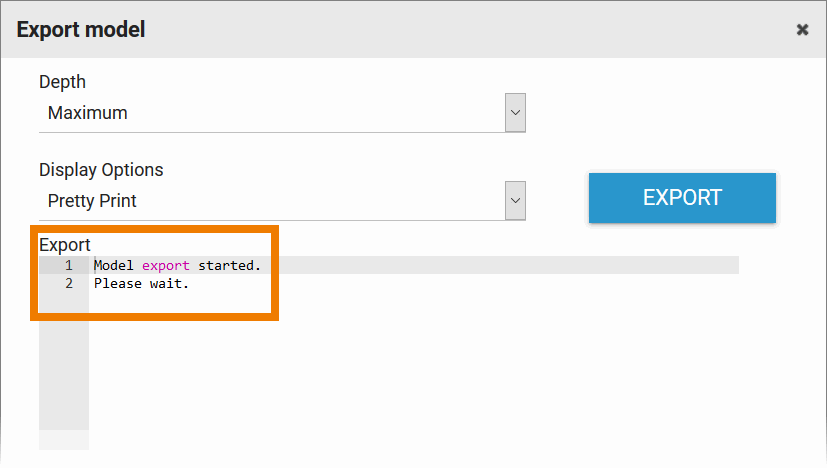
| The following message appears for a short moment:
|
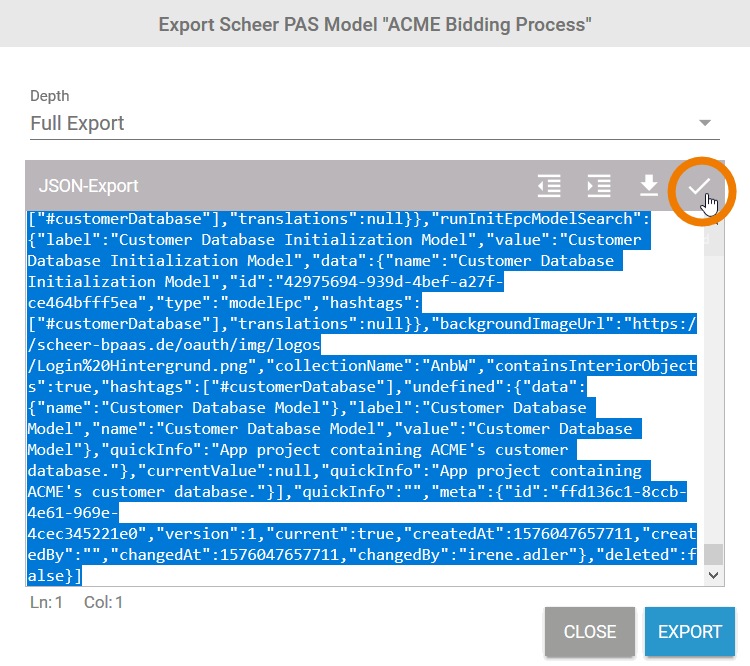
| After successful export, the result is displayed in the export window. Irene selects the whole content window with CTRL+A and copies it to the clipboard with CTRL+C. |
| Irene opens her text editor (Notepad++) and uses CTRL+V to paste the content of the clipboard to a new file. Then she saves the file on her computer. Irene has now created a backup copy of her app project. The content of the export is JSON (JavaScript Object Notation). Instead of the file extension *.json, you can also use *.txt to save the export. To get a full backup of your Scheer PAS BPaaS content, repeat the previous steps for each of your projects. |

Export Options
In the export editor you will find the two options Depth and Display Options.
Depth | |
|
It is recommended that you keep the default. The option Only Current Model is mainly used by developers. |
| Display Options | |
|
The condensed layout is mainly used by developers. |
On this Page:
Related Documentation:
Overview
Content Tools