A process app offers two basic functionalities: The creation of instances and the overview of all already created instances, which can be searched via filters. When creating an app project, the corresponding start links Process App - Create and Process App - Overview are automatically created.
The creation of new instances can be started in different ways:
- Using a tile in the cockpit.
- Using the element Process App - Create.
- Using the button New in the overview form.
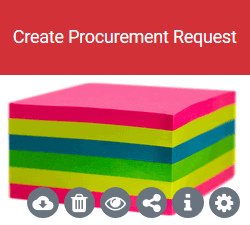
Creating an Instance Using a Tile
| Using a start tile in the cockpit is the fastest way to create an instance. A list of the available start links is displayed in the sidebar of the cockpit. To create a start tile in the cockpit, drag the required start link Process App - Create to the cockpit. A click on the tile starts the process app directly, the (first) form is called and is ready for input. |
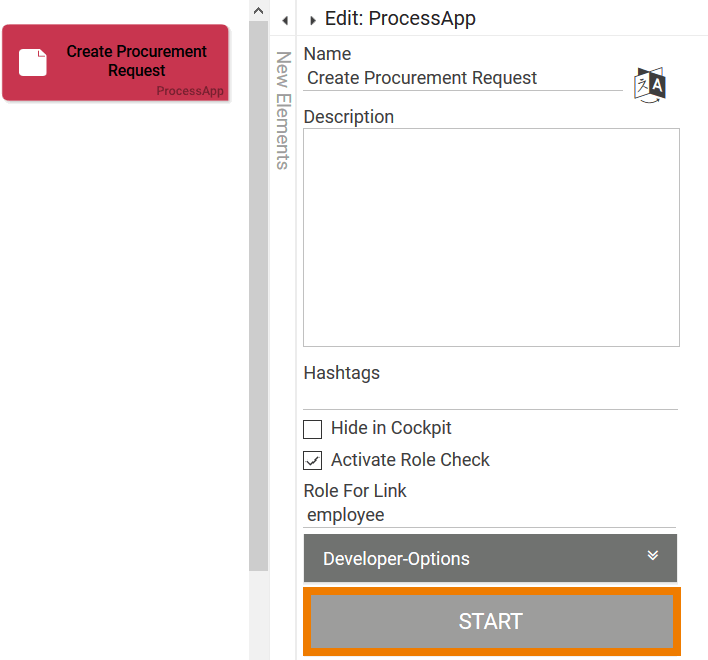
Creating an Instance Using the Start Link "Create"
| PAS design users can also call up an app via the Process App - Create element:
|
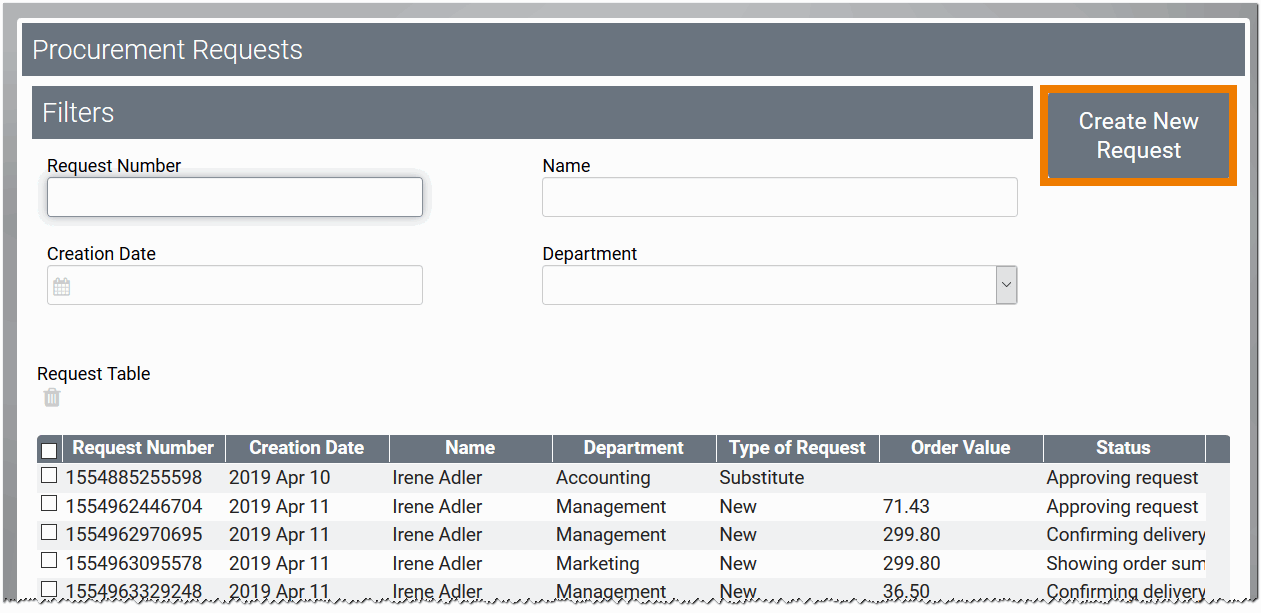
Creating an Instance from the Overview Form
| The third way to create new instances is via the corresponding overview. The start link Process App - Overview is normally used to search the overview table of all instances. However, it is possible that the instance you are looking for does not yet exist and you want to create it directly. In that case, you don't have to leave the overview: Each overview form automatically contains a button New (which can be deleted or renamed from the form by a PAS design user). The button in the overview form opens the corresponding input form directly and allows you to enter data. |
Creating new Instances
As soon as the process app has been started, the assigned EPC is run through. Depending on the process step and role, the forms are displayed and the user can enter the required data.
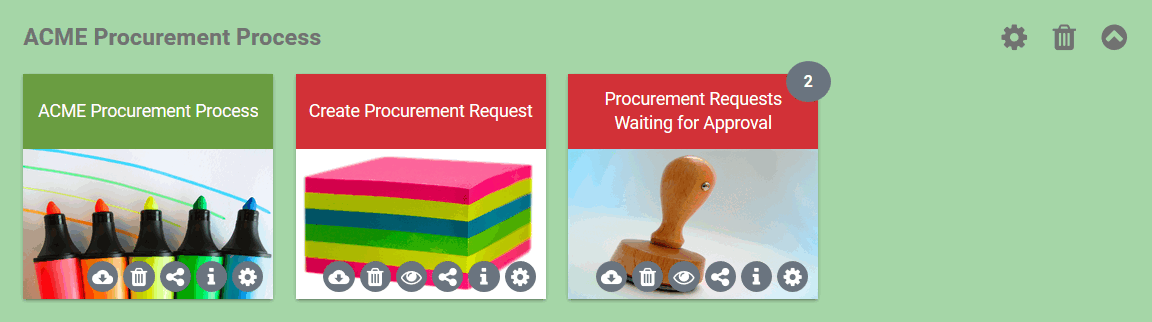
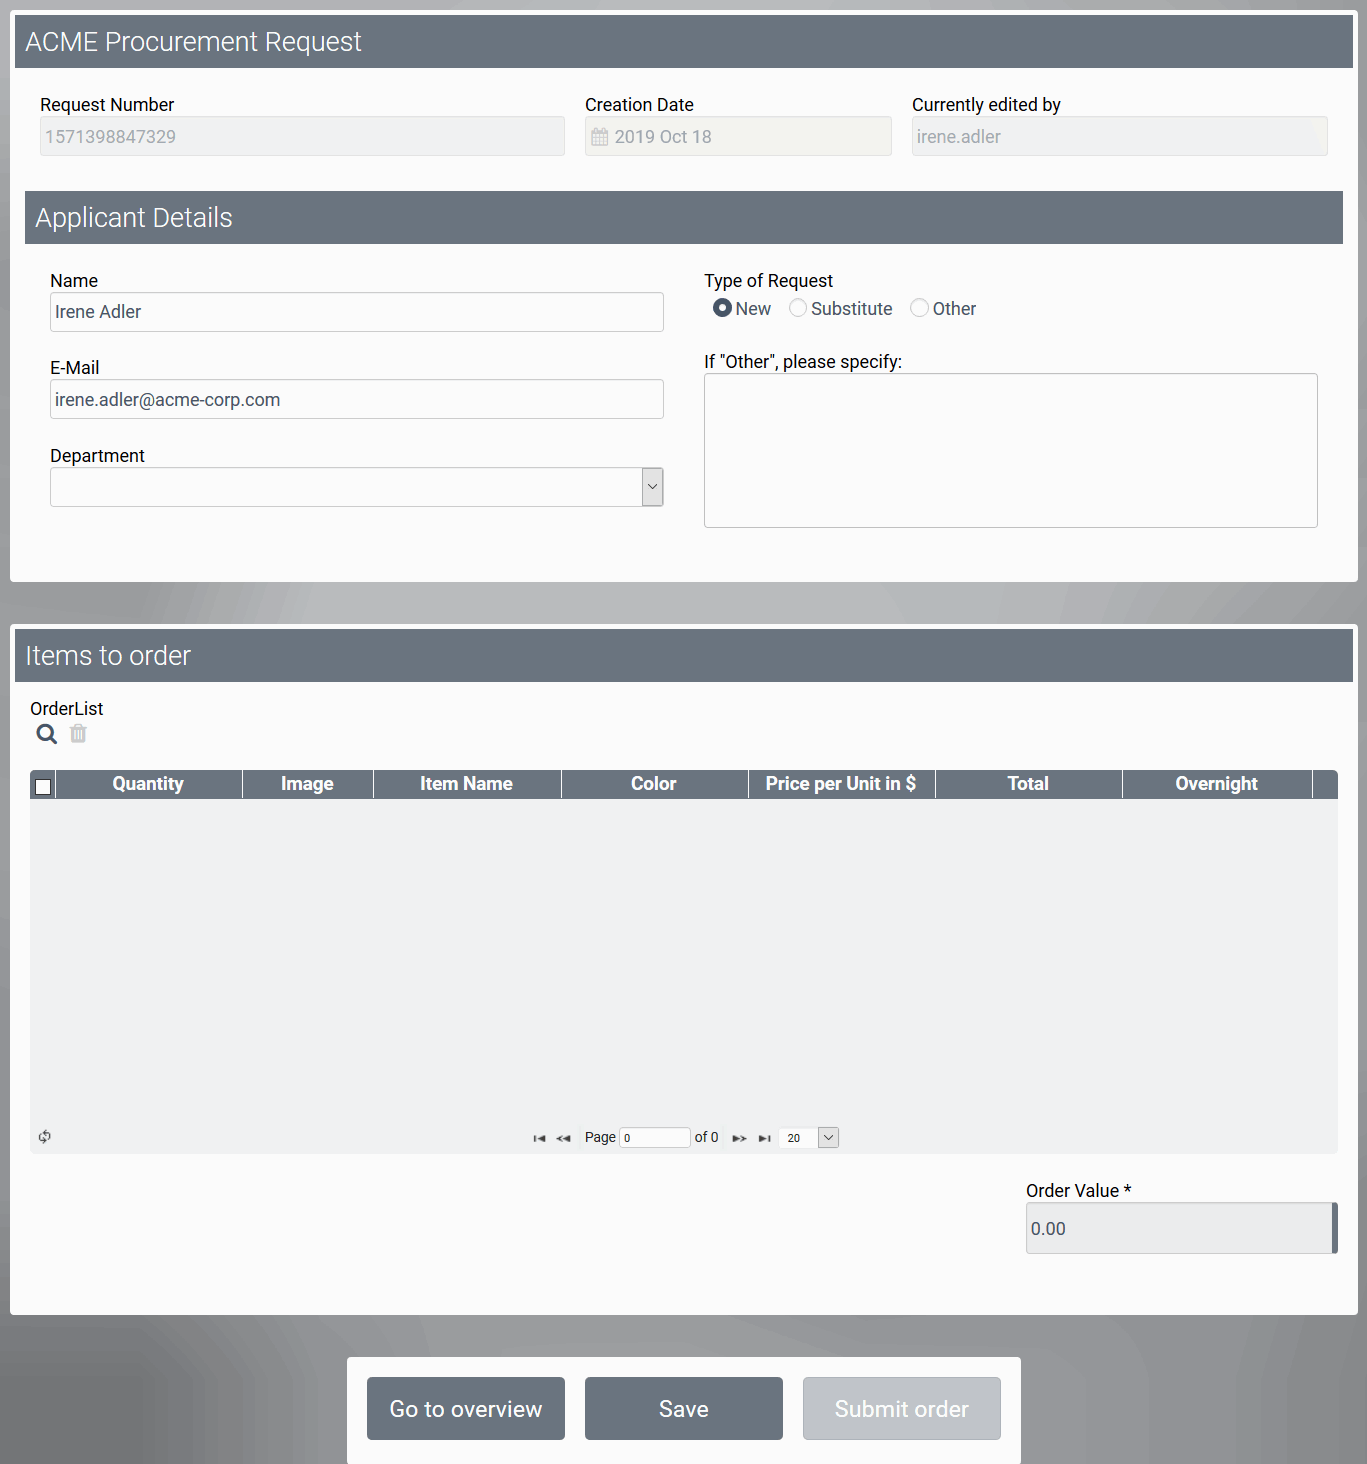
Example: The ACME Procurement Process
ACME Corp. uses the app project Procurement to manage its internal demand for office supplies.
| Employees who want to order office supplies use the tile Create Procurement Request to submit a procurement request. In the application form, users can select the required materials from a catalog. Once the data has been saved, the request is forwarded to purchasing. If the purchase order exceeds a specified budget, the request is first sent to the head of accounting, who must approve it. In the Cockpit, two quick start tiles are created:
|
| If an employee wants to submit a procurement request, he or she clicks on the tile Create Procurement Request to open the corresponding form. Once the employee has completed the required entries, he or she can submit the order. This operation creates the new instance. |
On this Page:
Related Pages:
Related Documentation:
Overview
Content Tools