Saving Instances
When an app is executed, data records are generated. We call these datasets instances. This data is managed in a so-called container. During the runtime of an app, the data is available in the container, but is not permanently stored there.
In order to save this volatile data permanently, it must be stored in your client database. An individual client is set up for each BPaaS customer, in which his databases are also located. Only the customer's data is stored here.
Scheer PAS BPaaS processes a workflow in the same way as an assembly line. Further information can be found on page The Container Principle.
Saving Values in the Container
The value of a form field is in any case saved in the container. Therefore all values of the container are temporarily available during the runtime of the app. If the values are not saved to the database as well, the container values are lost after the process ends. Each form field offers the option Save Value in Instance. Activate this option if you want to save the value of the field permanently in the database once the form is completed and saved. The values of a form field are also saved in container if the option Save Value in Instance remains deactivated. Since container values are only available temporarily, you need to save an instance to store it permanently in the database. This can be done either via a preconfigured Save button or programmatically. 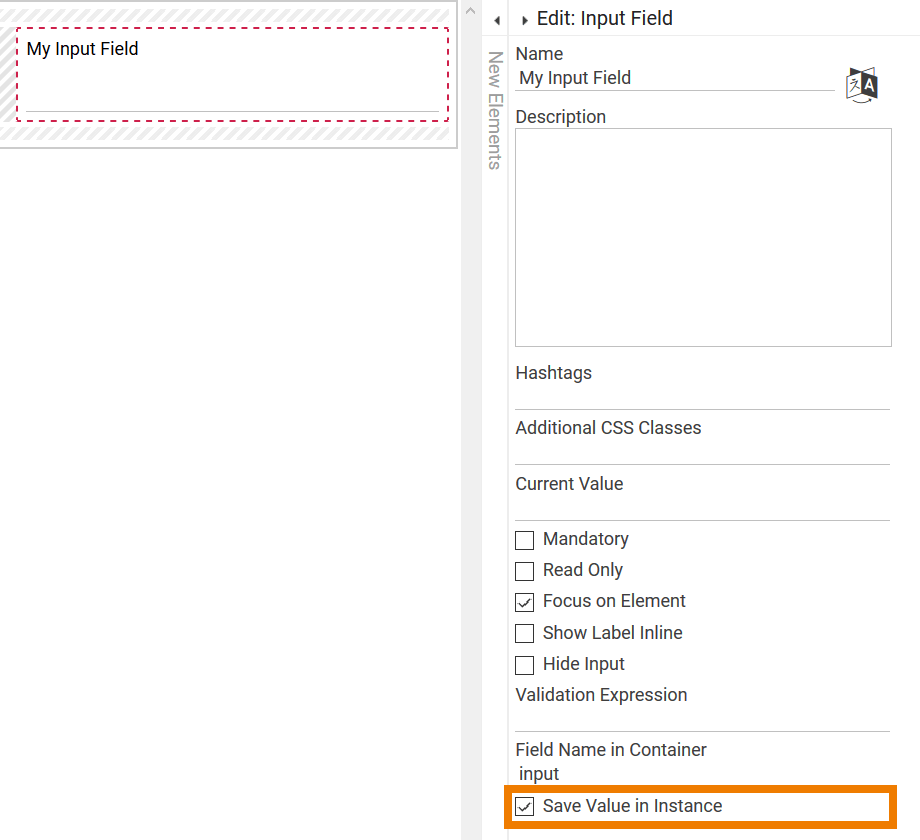
Additional information can be found at Saving in the Database.
Each form element is saved to the database by a unique, technical key. Generally an element is saved in the container by its name. This may however not always be desirable, since it could for example lead to doubling. Therefore form elements contain the additional option to insert a separate Field Name in Container. You can find the field Field Name in Container in the Edit Sidebar of a form element. Here you can enter a key different from the element's name by which the values will be saved in the container. If a Field Name in Container is defined, you always need to use the Field Name in Container instead of the element's name to enable access to the corresponding data. Inserting a Field Name in Container is especially useful if the element's name is very long, contains special characters or spaces. Using a shorter Field Name in Container makes it much easier to reference the value, for example in Worker coding. The content of the Field Name in Container is a JSON dot notation, therefore hierarchic in its structure. This means: Using dots in the Field Name in Container creates substructures. Example: Creating a section with substructures Invoice.Date Creates the substructure Date which itself can contain complex data or primitive data types. The Field Name in Container is a technical identifier often used for additional coding. Therefore the Field Name in Container should not contain any spaces, special cases or umlauts. Make sure that an element's key is always unique. If multiple fields are named alike or were assigned the same Field Name in Container, errors will occur during app execution. Example: One element - various names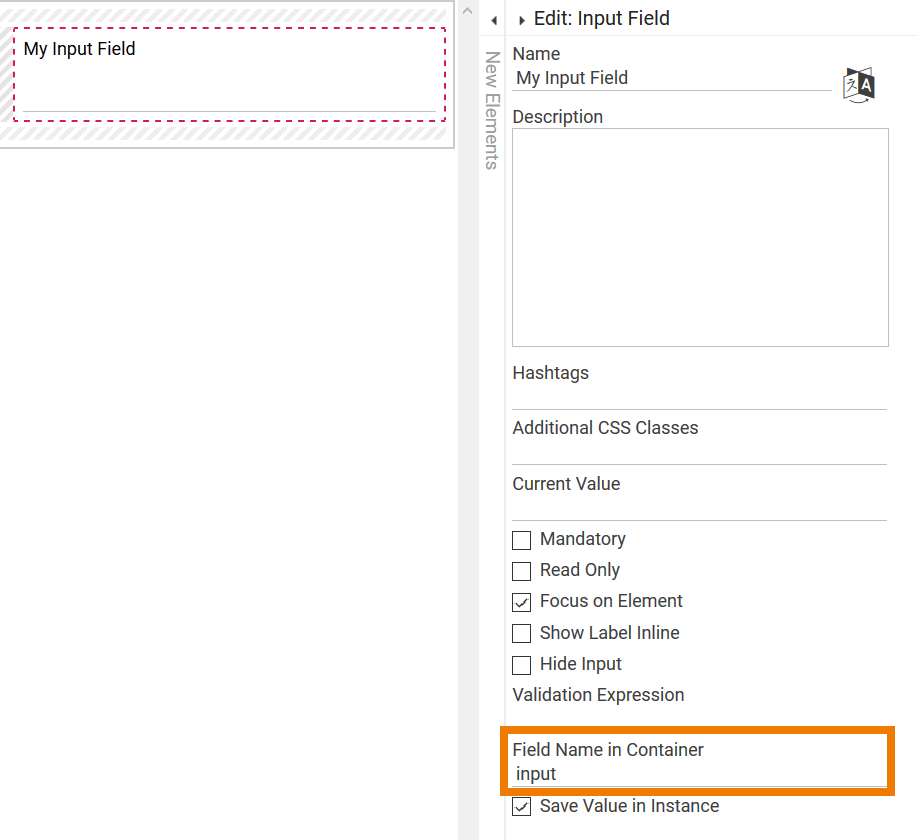
Field Name in Container Possible Content Invoice Creates a section Invoice in the container which can contain complex data or primitive data types. Invoice.Number Creates the substructure Number which itself can contain complex data or primitive data types. 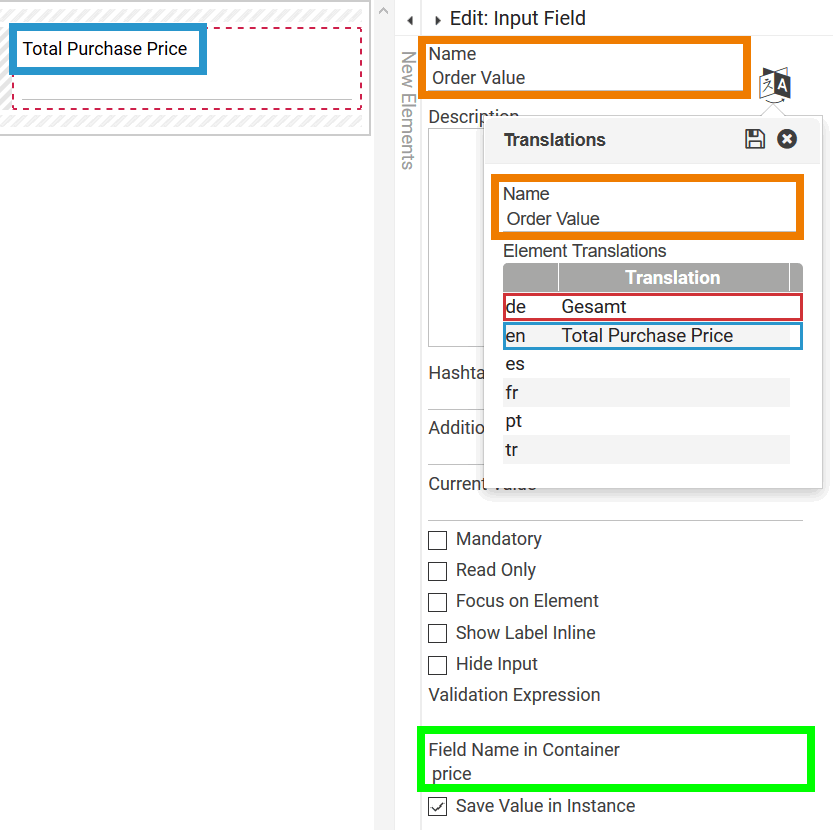
Saving in the Database
In order for instances to be stored permanently in the client database, two conditions must be met:
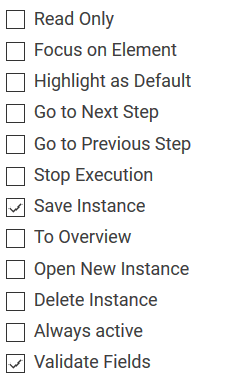
- Your form must contain a Button with the Save Instance option selected, so that saving can be triggered when leaving the form (see Configuring Buttons).
- The form field option Save Value in Instance must be activated.
When you exit a process app, the saved data will be preserved in the database and you can continue working with it at a later time. The simplest example is the overview of all instances: If you call the overview after restarting the app, the saved data is displayed in the instance table.
Configuring Buttons
Instances can only be saved permanently if the form contains a button to save instances.
Beim Speichern wird immer eine Rollenprüfung durchgeführt.
Buttons are not only important for saving instances. Buttons are also necessary to exit a form or to move the process to the next step. When a new form is created, three default buttons are already available:

The default buttons are configured differently:
| Button | Activated Button Options | Description |
|---|---|---|
 |
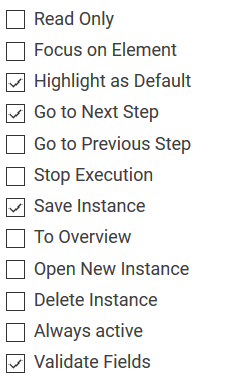
| Next The following default options have been assigned to the Next button:
One click on this button saves the form entries and progresses the instance to the next process step. If form elements were provided with regular expressions, then an additional check for entry validity is issued. Further information about the use of regular expressions can be found on page Validating Form Fields. |
 |
| Save The default settings for the Save button are:
Use this button to safe your input. If form elements were provided with regular expressions, then an additional check for entry validity is issued. Further information about the use of regular expressions can be found on page Validating Form Fields. |
 |
| Go to Overview The default setting for the Go to Overview button is:
With a click on this button the user is transferred from the current form to the coresponding overview. Form input will not be saved. |

All configuration options are explained in detail at page Form Elements > Button.
Deleting Instances
Deleting instances contradicts the principle that Scheer PAS BPaaS is your process memory - and therefore does not forget. So, instances stored in the database cannot be deleted. However, you can deactivate them. This is possible for individual instances or entire collections of instances.
Deleting Individual Instances
| Deleting Instances using a Button | |
|---|---|
| You can assign the option Delete Instance to the form element Button. If a button is equipped with this option, the dialog shown in the screenshot appears when a user clicks the button. The instance in question is marked as deleted as soon as the user confirms the dialog with Delete. The data record can then no longer be found in the search overview. |
Deleting Instances from an Instance Table | |
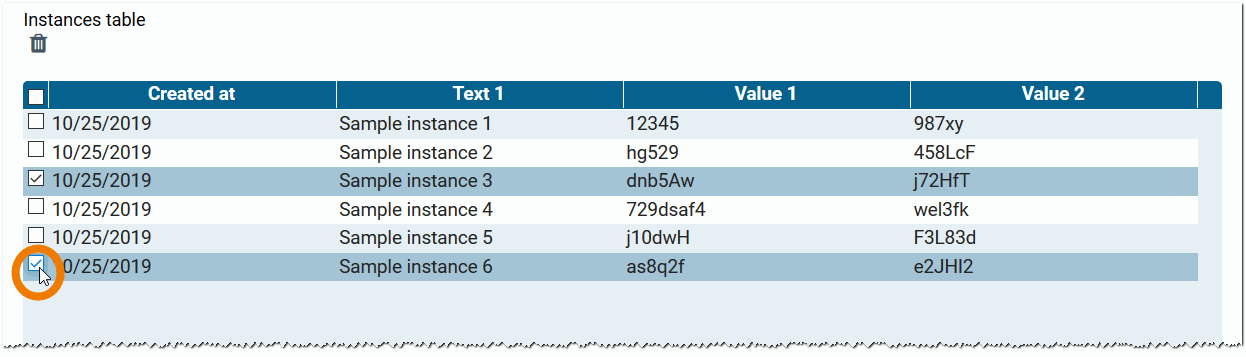
| You can also delete individual instances using the Instance Table in the app's overview. Each instance table has the option Display Button 'Delete'. If you activate this option for an instance table, a trash can is displayed during execution. In addition, a column with checkboxes is added to the front of the table. |
| You can now select individual instances using the checkboxes. Clicking the checkbox in the top row will select all instances of the currently displayed table page. |
| Click the trash can - the dialog Delete Instances appears. |
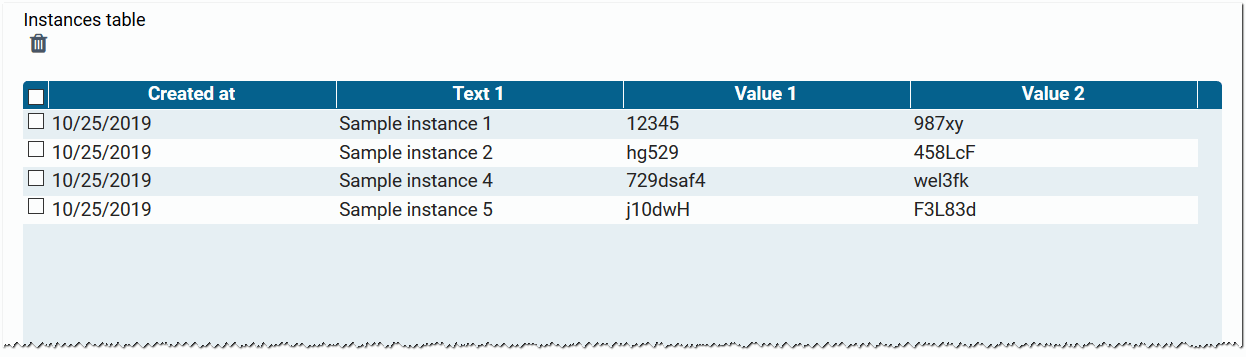
| Once you confirm with Delete, the marked instances are removed from the table. |


Data records "deleted" by button or instance table are not removed from the database, but archived there.
Deleting a Collection of Instances
Instances can also be deactivated en bloc. For example, after a test phase you may want to remove the whole test data from the overview table to clear the app for the productive data. In that case, you can just change the Collection Name in the properties of the app project.
 | The collection name is the key under which the whole dataset is stored in the database. You will find the Collection Name in the properties of the element App Project. During the creation of an app project a default collection name is set. The instances of the app will be stored in the database under this namespace. However, the name of the collection can be changed at any time. Changing the Collection Name results in a new database area being assigned. The instance table in the overview is therefore initially empty, the data is "deleted". If the collection name is reset to the old value, the old instances also appear again in the overview. So the instances are not really deleted from the database - the user simply has no further access to the corresponding database area in which the instances are located. |
On this Page:
Related Pages:
Related Documentation:
Overview
Content Tools