You create new projects using the New Elements Sidebar. You can also create links to external Internet pages as tiles using the sidebar.
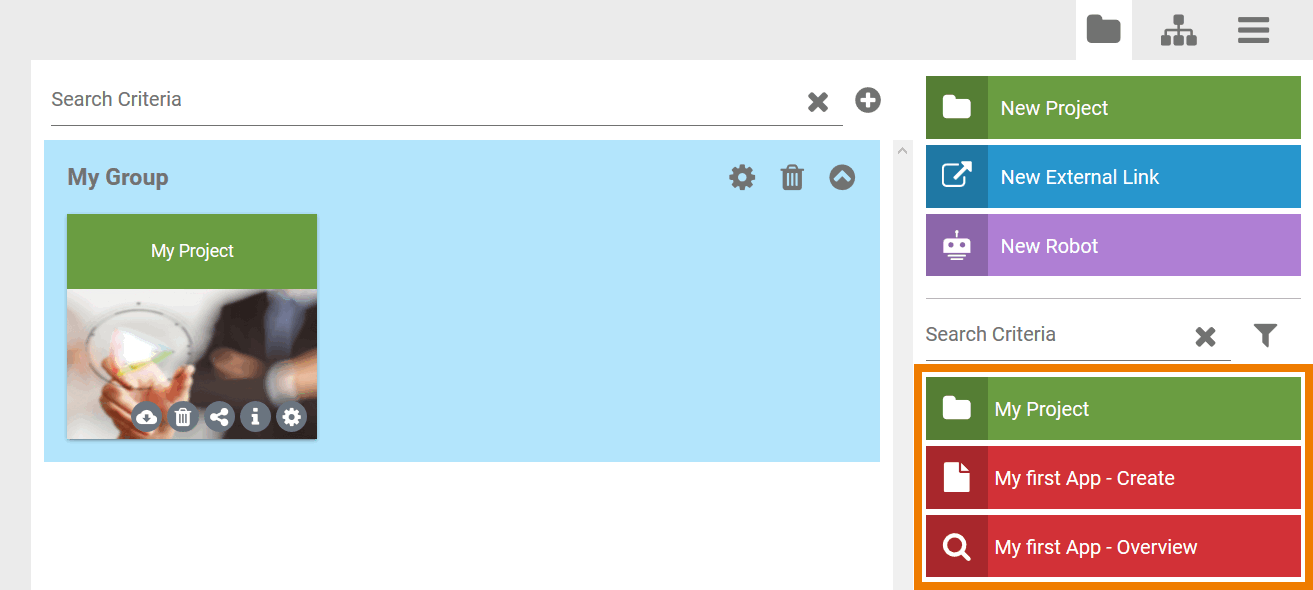
The sidebar is also your "table of contents": For each project and Process App (Create and Overview), start links are automatically created in the sidebar. Click on the links to open the respective project or app. You can also use the start links to create corresponding tiles in the cockpit (for further information about tiles see page The Content Area).
Start links to Process Apps are not displayed in the cockpit if you activated the element option Hide in Cockpit. In this case, the link appears neither in the New Elements Sidebar nor in the Hierarchy Sidebar. As a result, users are not able to create tiles for this element.
Start Links
| Use the icon The following objects are displayed directly below the button:
The robot element is only displayed if the user is enabled for Scheer PAS RPA. For more information on using the robot functionality, refer to the Scheer PAS RPA Guide. The start links for already created projects and Process Apps can be found below the filter. |
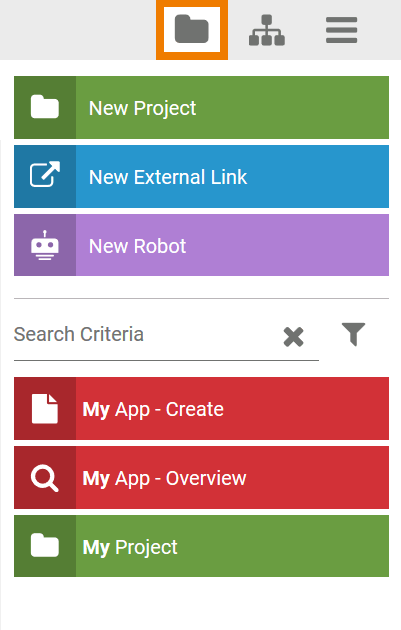
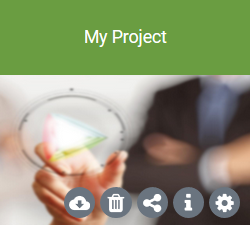
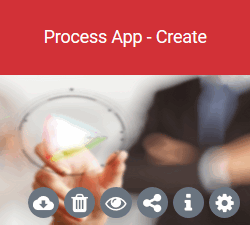
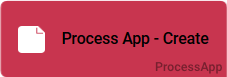
You recognize the type of a start link by its color and the indicator in front of the link. This icon can also be found in the corresponding project element that is created and edited within the project:
| Element | Indicator | Start Link | Tile | EPC Element |
|---|---|---|---|---|
| Project |
|
|
| - - - |
| Process App - Create |
|
|
|
|
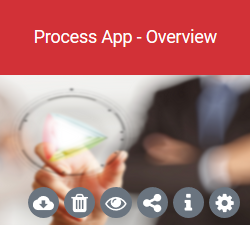
| Process App - Overview |
|
|
|
|
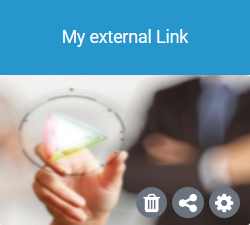
External Link |
| - - - |
| - - - |


Filter
The more projects and apps you create, the longer the list of start links in the sidebar becomes. The New Elements Sidebar has two filters to help you keep an overview at all times.
Filter | Usage |
|---|---|
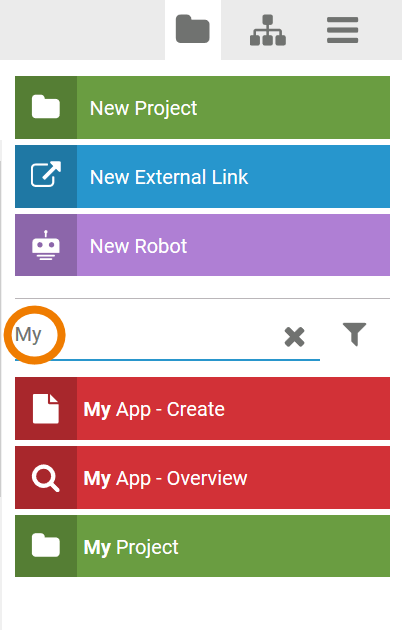
| Overwrite the placeholder Search Criteria with your search term to filter the list of start links by name. As soon as you start typing, the sidebar shows all start links that match your input:
|
| Use the profile filter to display only start links from selected user profiles:
|
| By default the elements of all profiles are displayed. If a profile filter has been set, this is indicated by the color of the filter button in the sidebar: The filter button is displayed in orange until the profile filter is reset or the cockpit is reloaded. |


PAS design users will see start links for projects and Process Apps in the sidebar while PAS execution users only see start links for Process Apps.
Creating Tiles
Create new tiles by dragging the objects from the sidebar into the cockpit.
PAS design users are allowed to create project, app and link tiles. PAS execution users are only authorized to create app tiles and tiles for external links.
Creating a Project
| Drag the green link New Project to the content area of the cockpit. |
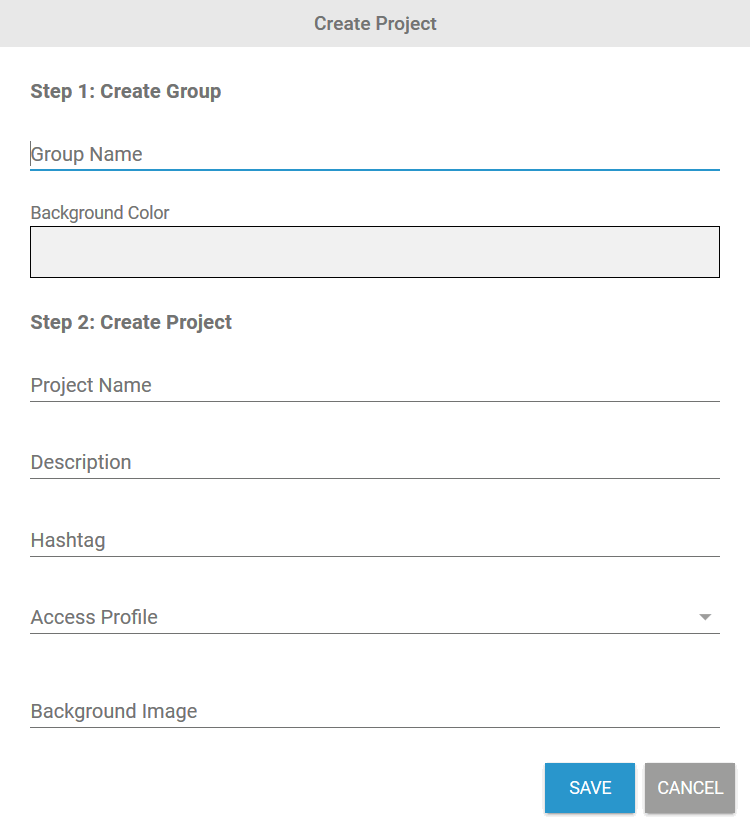
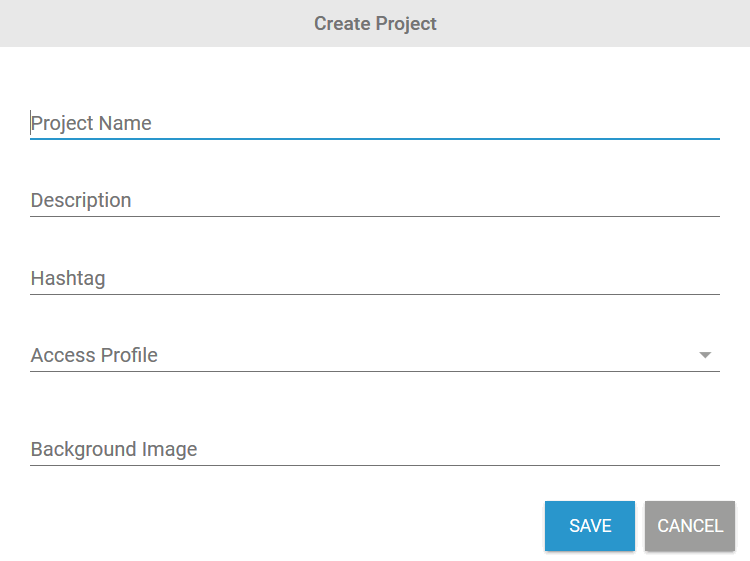
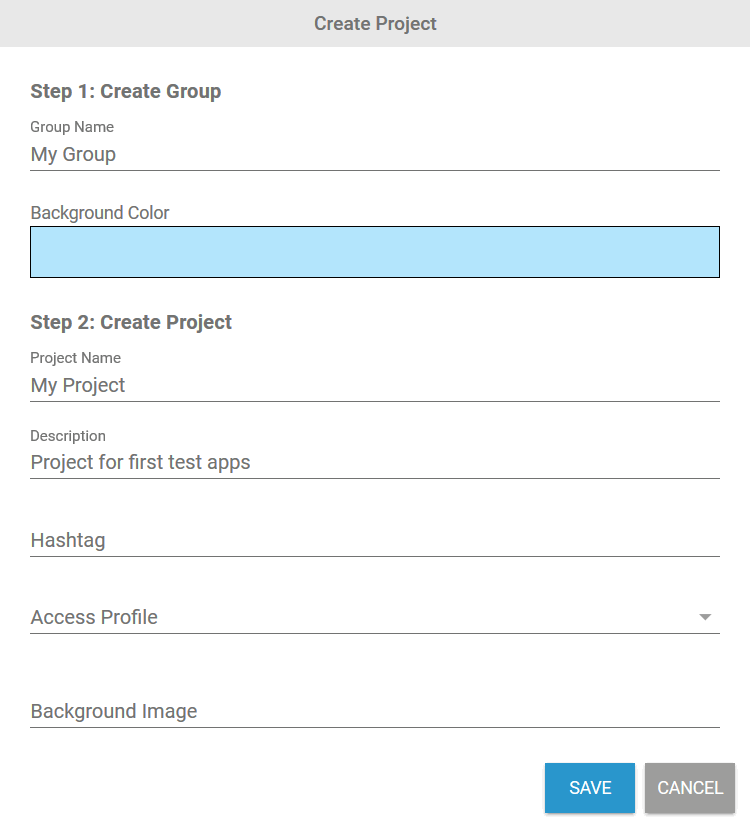
| The project wizard supports you in creating a new project. It opens in a separate pop-up window. Projects can only be stored in groups. If you drag a new project onto the empty workspace, not only the project is created, but also an associated group. |
| If the new project is dragged into an existing group, the wizard shows less options. |
| Group Settings
Project Settings
|
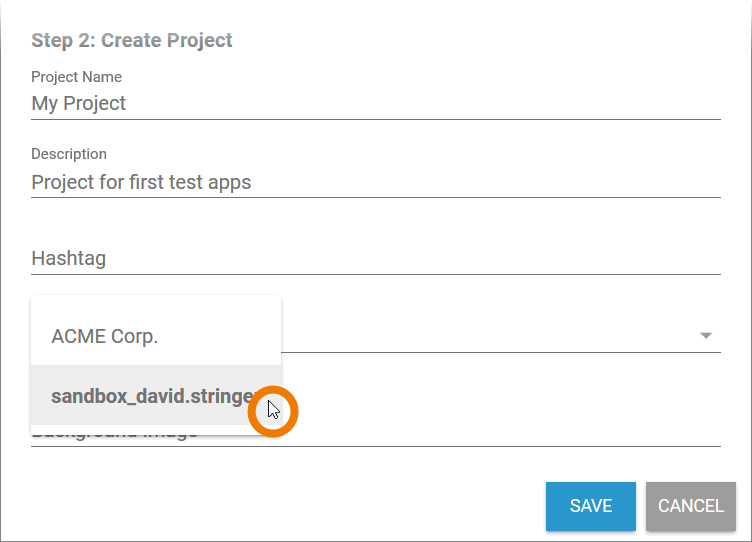
| Before you save the new project, you need to select the profile in which the project is to be saved.
The system administrator stores a namespace for a profile. The namespace is used to find the stored objects in the database. The purpose of profiles is to separate data sets from each other. Users are assigned different profiles depending on their area of responsibility. Administrators can find more information on this topic in the Administration Guide. |
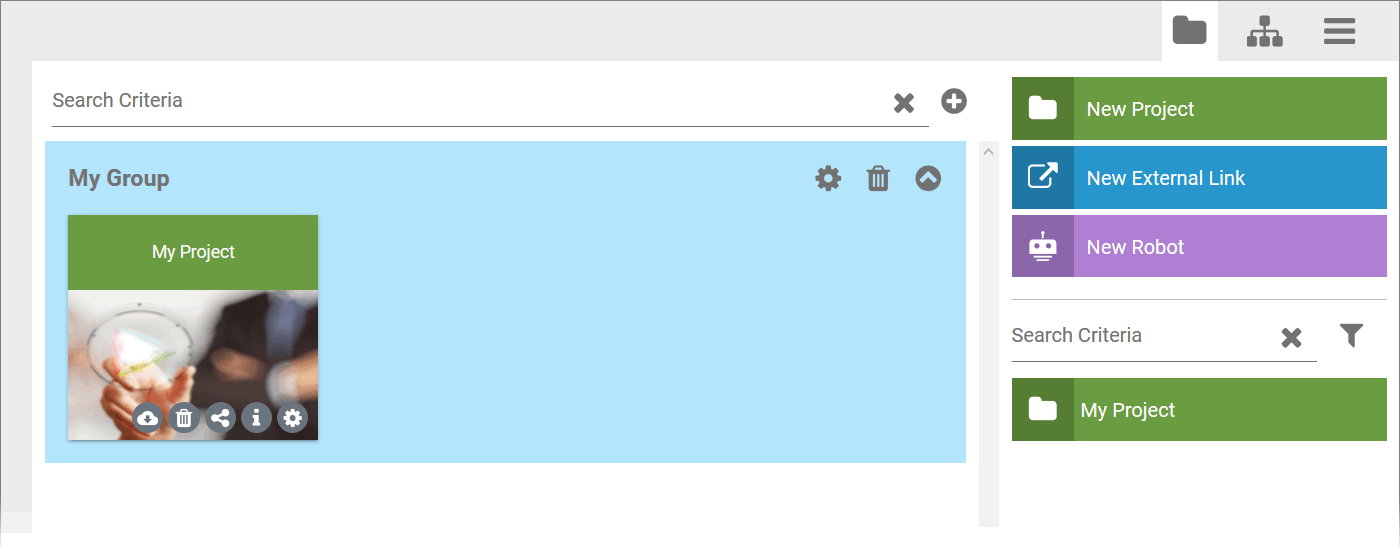
| The new project is displayed in the content area of the cockpit within the newly created group. A start link for the project is also created in the sidebar. You can open the project by clicking on the tile or on the link in the sidebar. The options available within a project are described in the chapter Working with BPaaS Editor. The configuration options of tiles are explained in detail on the page The Content Area. |

To delete projects, you need to open the Additional Actions Sidebar.
Creating an External Link
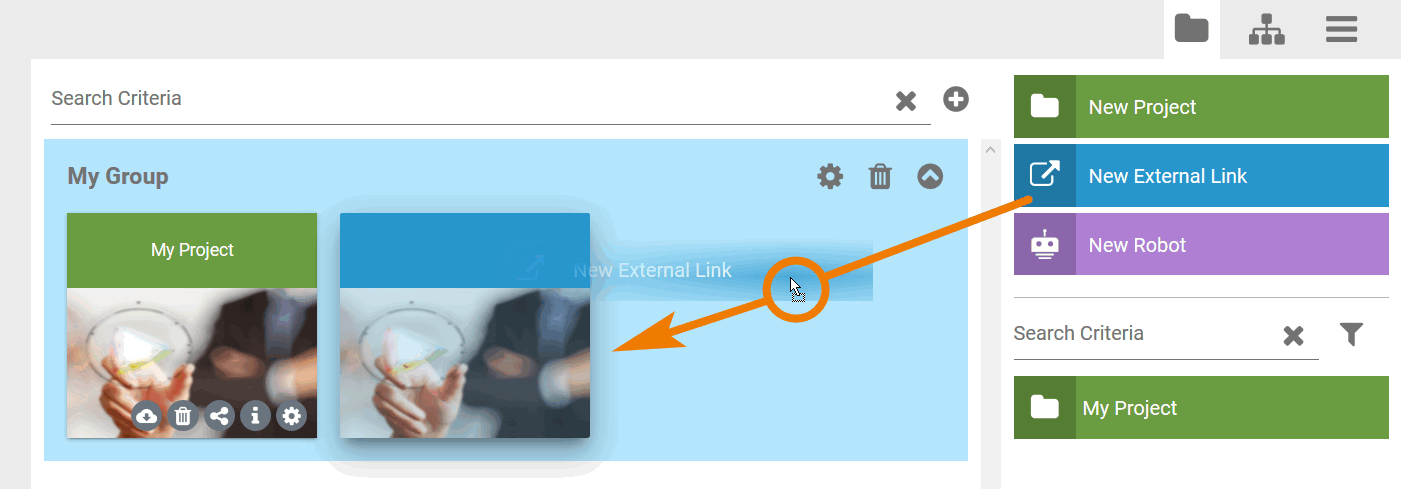
| Creating an external link works in the same way as creating a project. Drag the blue link New External Link into a group. |
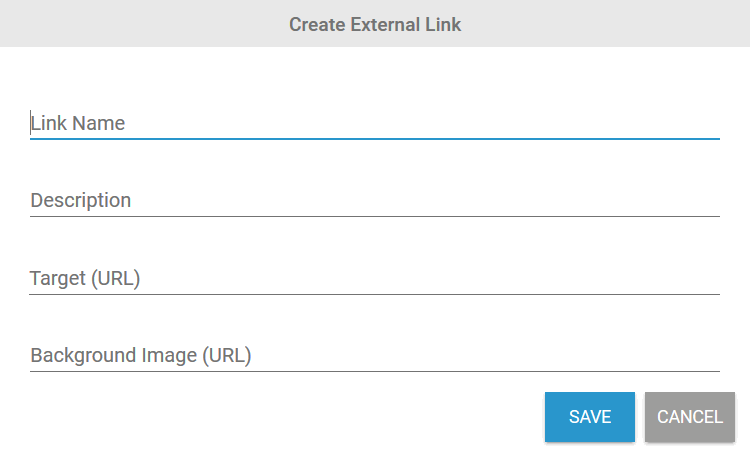
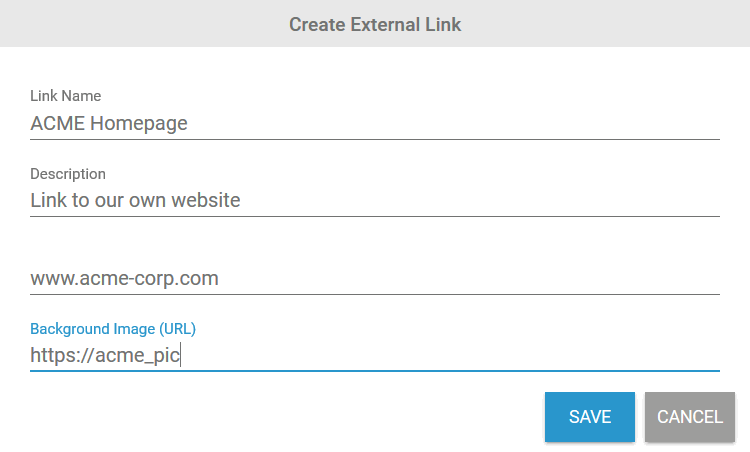
| The link wizard supports you in creating the external link. It opens in a separate pop-up window. |
|
|
| The tile for the external link is displayed in the group. A click on the tile opens the linked website. Please note: No start link is created in the sidebar for external links. The configuration options of tiles are explained in detail on the page The Content Area. |

Creating a Robot Tile
All functionalities of Scheer PAS RPA, including the creation of robot tiles, are explained in the Robotic Process Automation Guide.
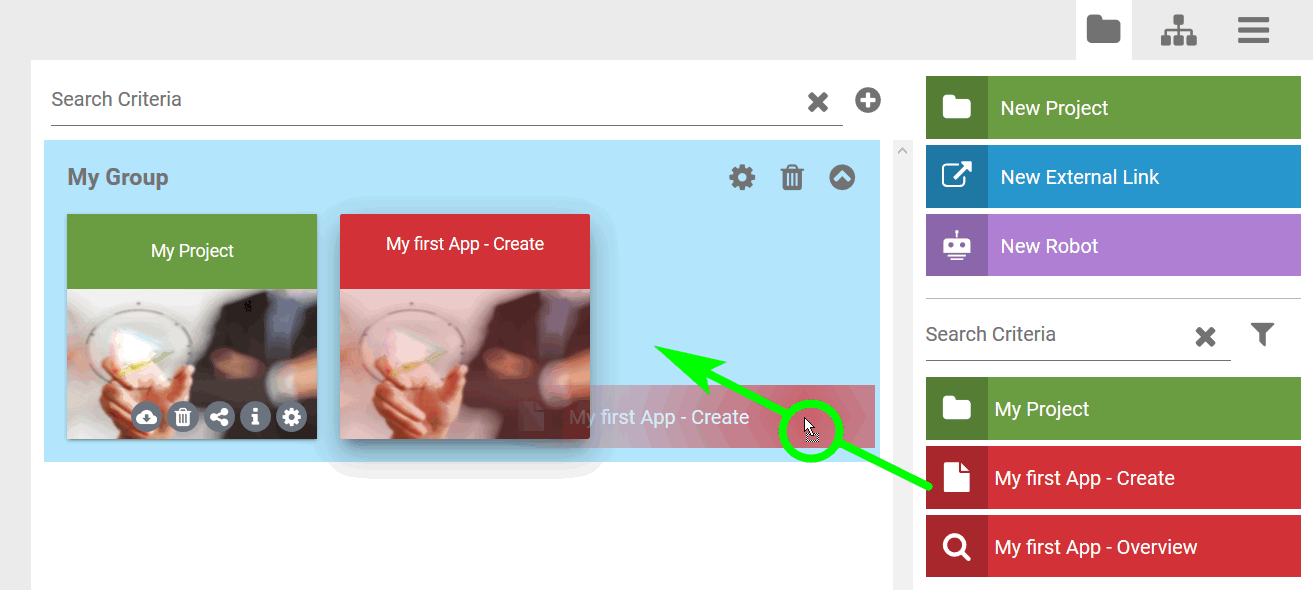
Creating a Tile Using a Start Link
| You can also use the start links displayed in the New Elements Sidebar to create tiles. For each Project, Process App - Create and Process App - Overview element corresponding start links are displayed in the sidebar. |
| To create a tile, just drag the corresponding start link into a group or onto the content area. |
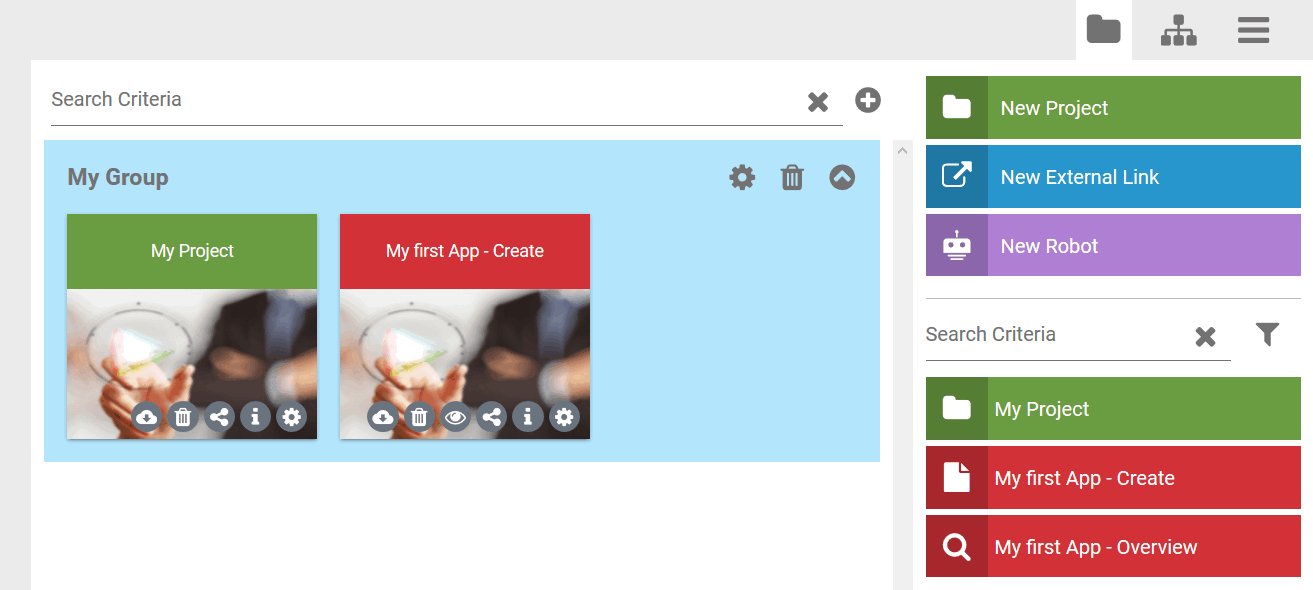
| The tile is created in the group, the start link is still present in the sidebar. The configuration options of tiles are explained in detail on the page The Content Area. |
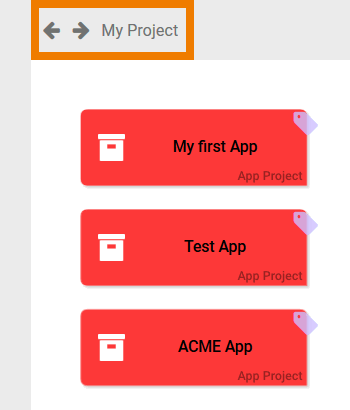
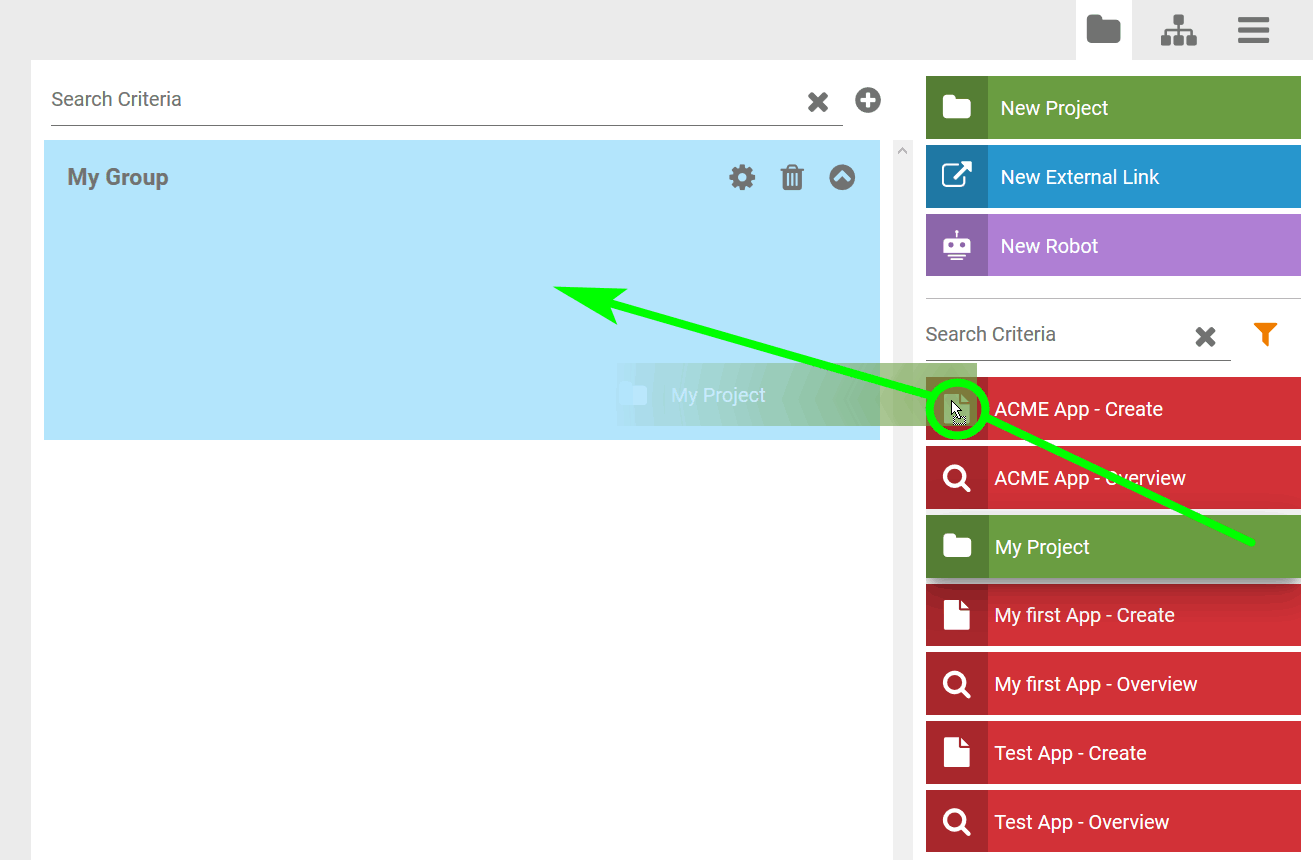
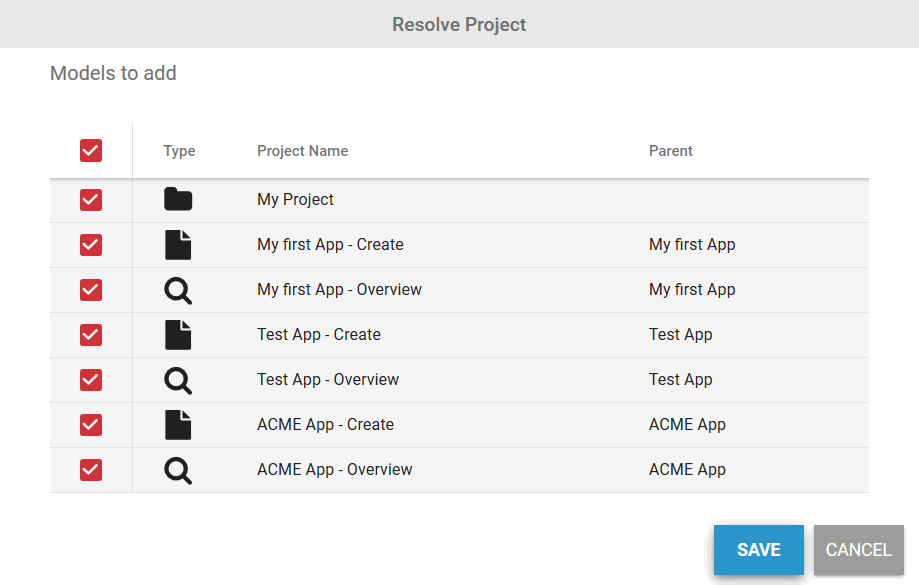
Creating Tiles for a Complete Project
| A project can contain several Process Apps. |
| If a project start link is dragged to the content area to create a tile, the user can decide which content he wants to display as tiles. |
| The dialog Resolve Project opens automatically displaying all available content within the project. All content is selected by default. |
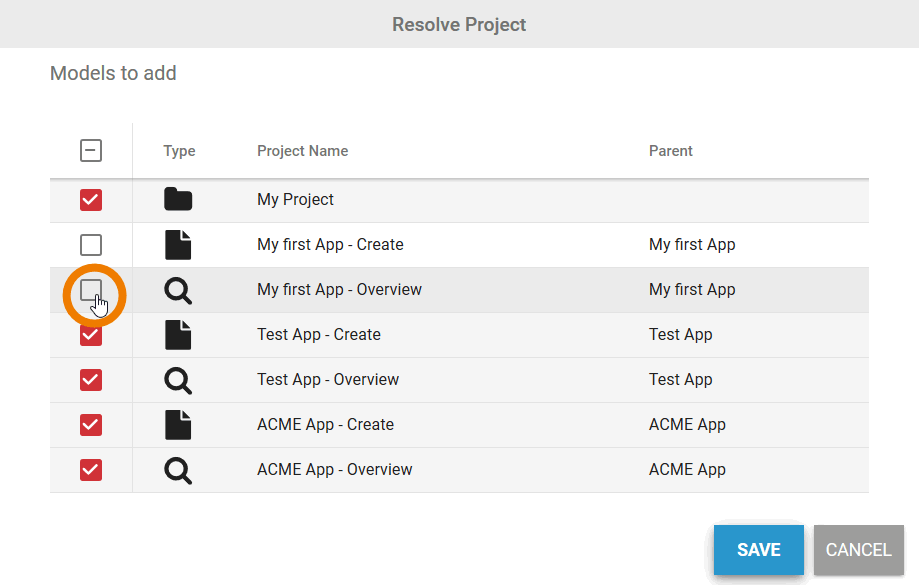
| Use the checkboxes to deselect the elements for which you do not want to create tiles. Then click Save. |
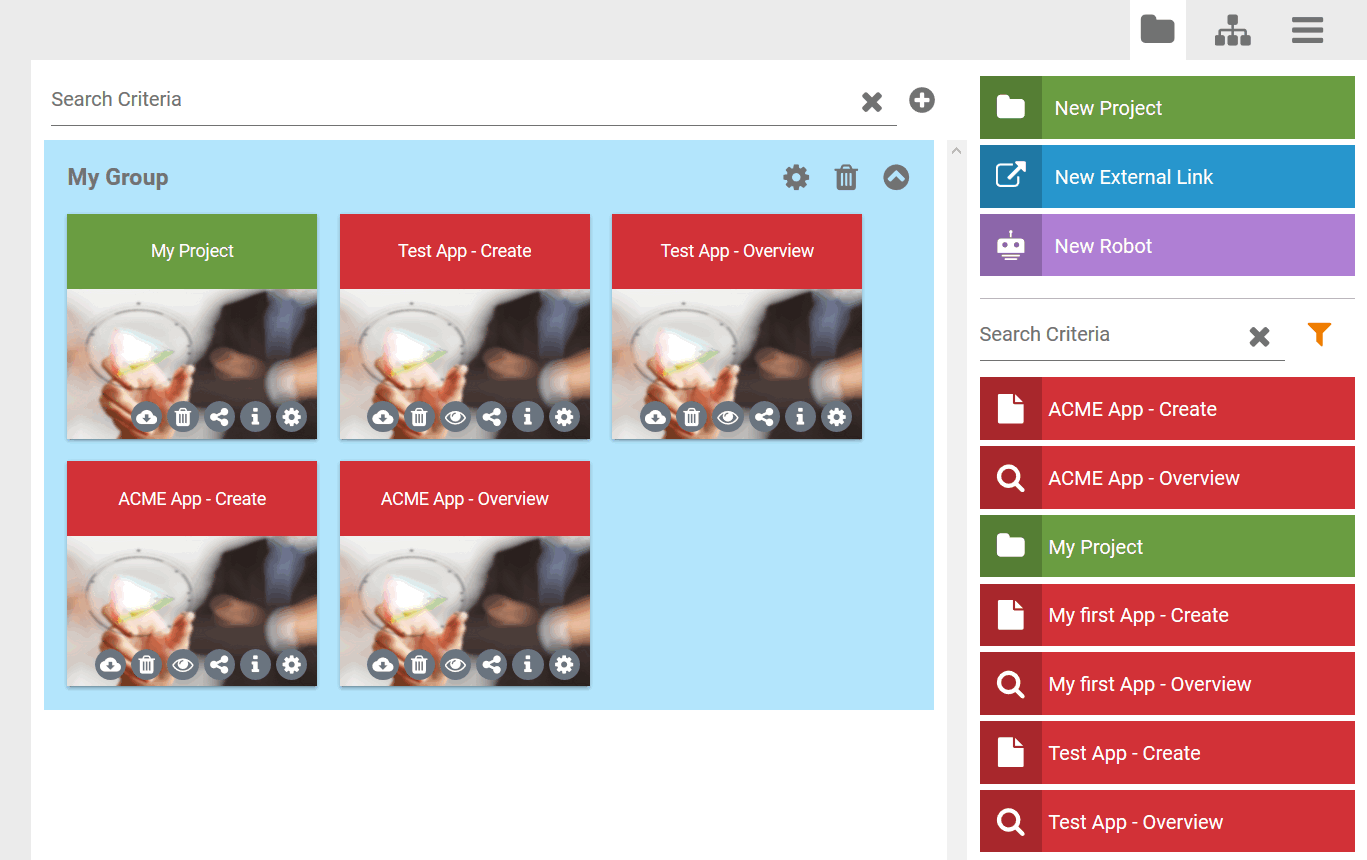
| Tiles are only created for the selected contents. The configuration options of tiles are explained in detail on the page The Content Area. |
On this Page:
Related Documentation:
Overview
Content Tools