You can edit the settings of existing profiles in the corresponding data sheet, for example to change the profiles' name or to assign more users. Display the list of profiles by choosing the Profiles menu in the sidebar. The profile list shows all profiles and its content is loading dynamically if you scroll down. Filter the list by using the filter bar.
Individual write permissions can be granted or denied for profiles with namespace. See page Edit a User for information on how to grant write permissions on profiles.
Editing Profile Data
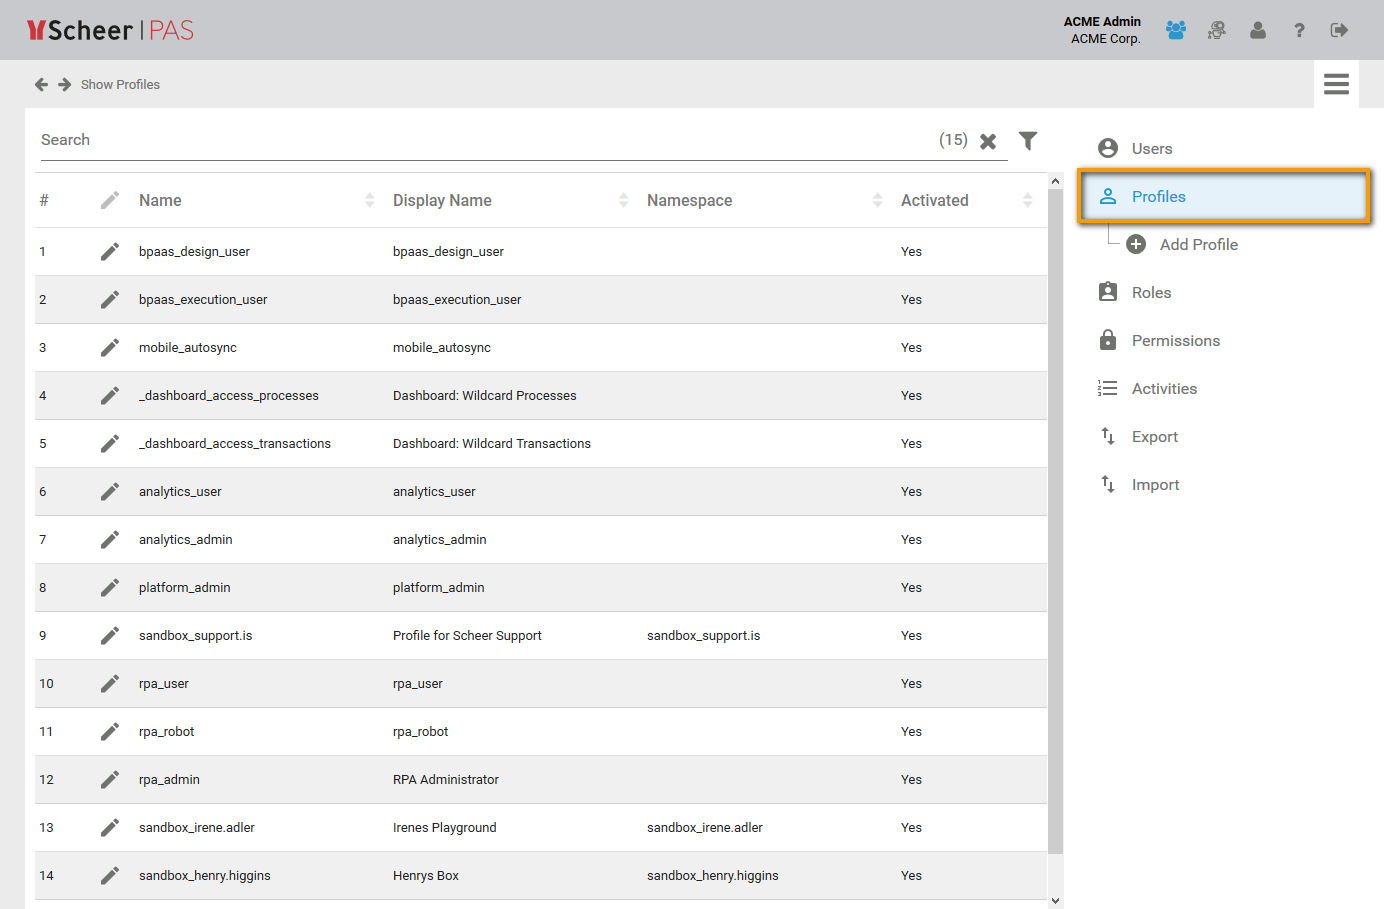
Display the list of profiles by selecting menu Profiles in the sidebar:
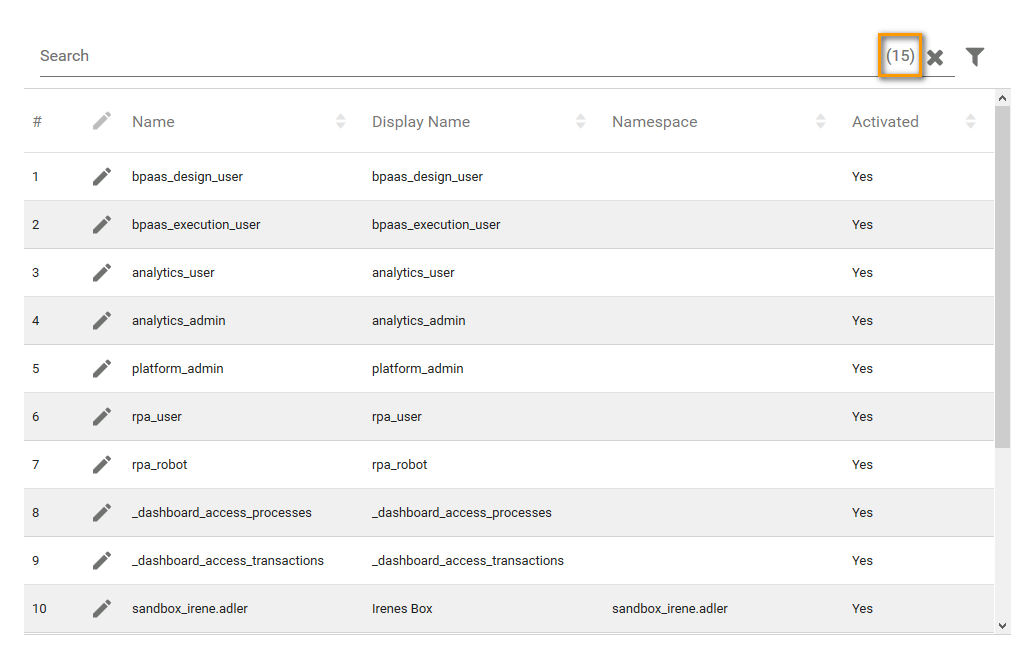
The total number of profiles is displayed at the right side of the filter bar. If a filter is set, the number of filter results is shown here:
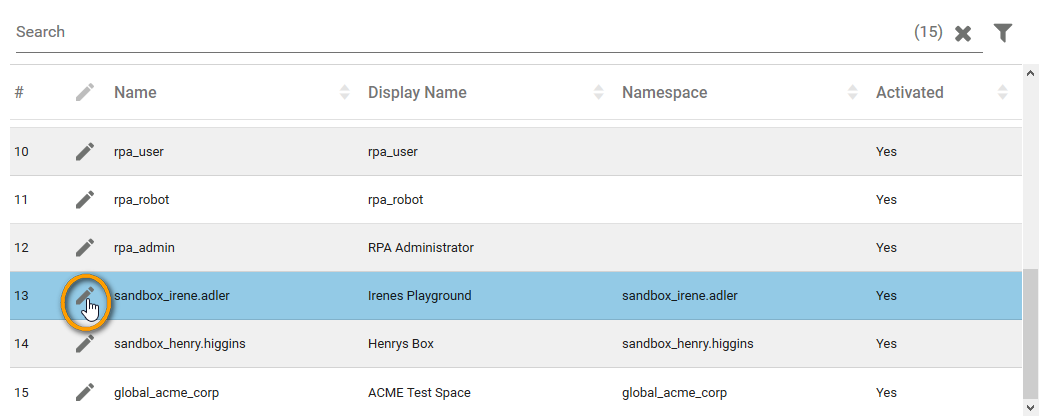
Click the  icon to open the corresponding profile data sheet:
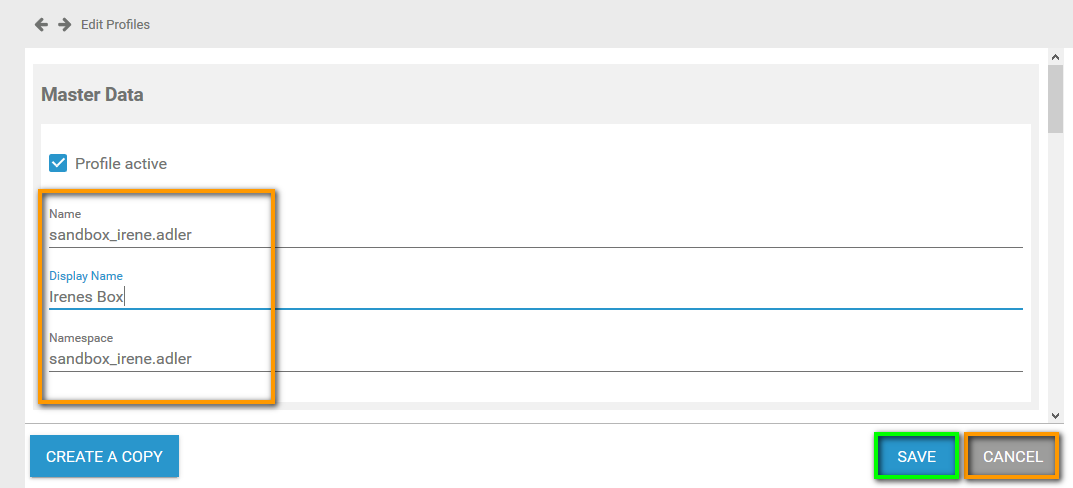
Changing the Profile's Name
Overwrite the content in the Name field to change the identifier of the profile. You can also change the Display Name and the Namespace:
Avoid changes to the namespace. If you change the namespace of a profile, the data stored in the previous namespace is not accessible in the profile any more.
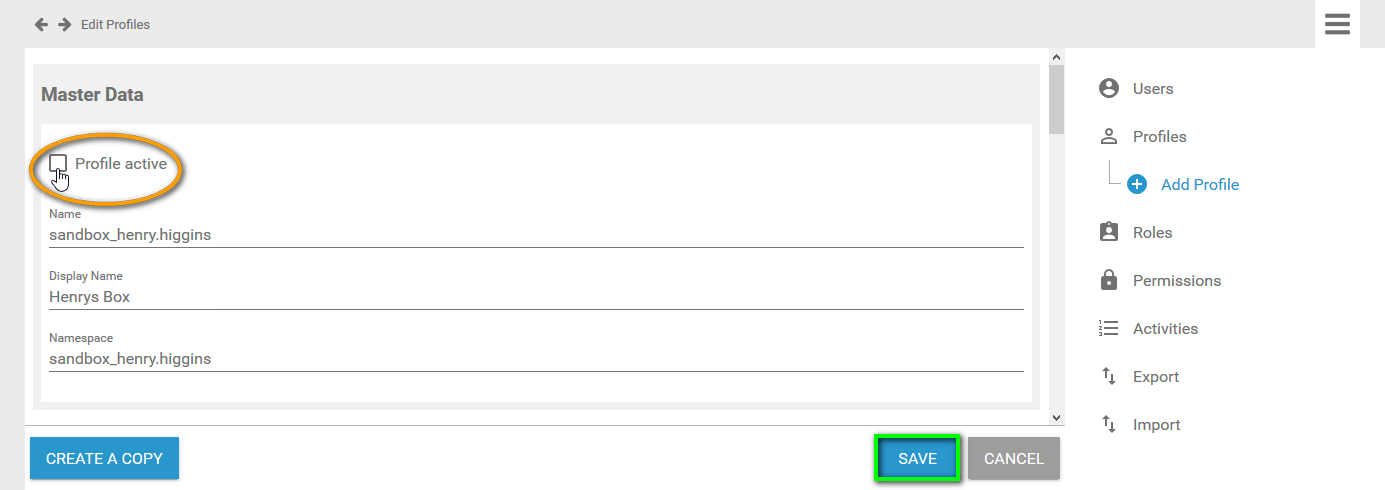
Click Save to store your modifications, use Cancel to close the data sheet without saving.
The message Successfully saved! appears and the list of profiles is displayed in the content area:
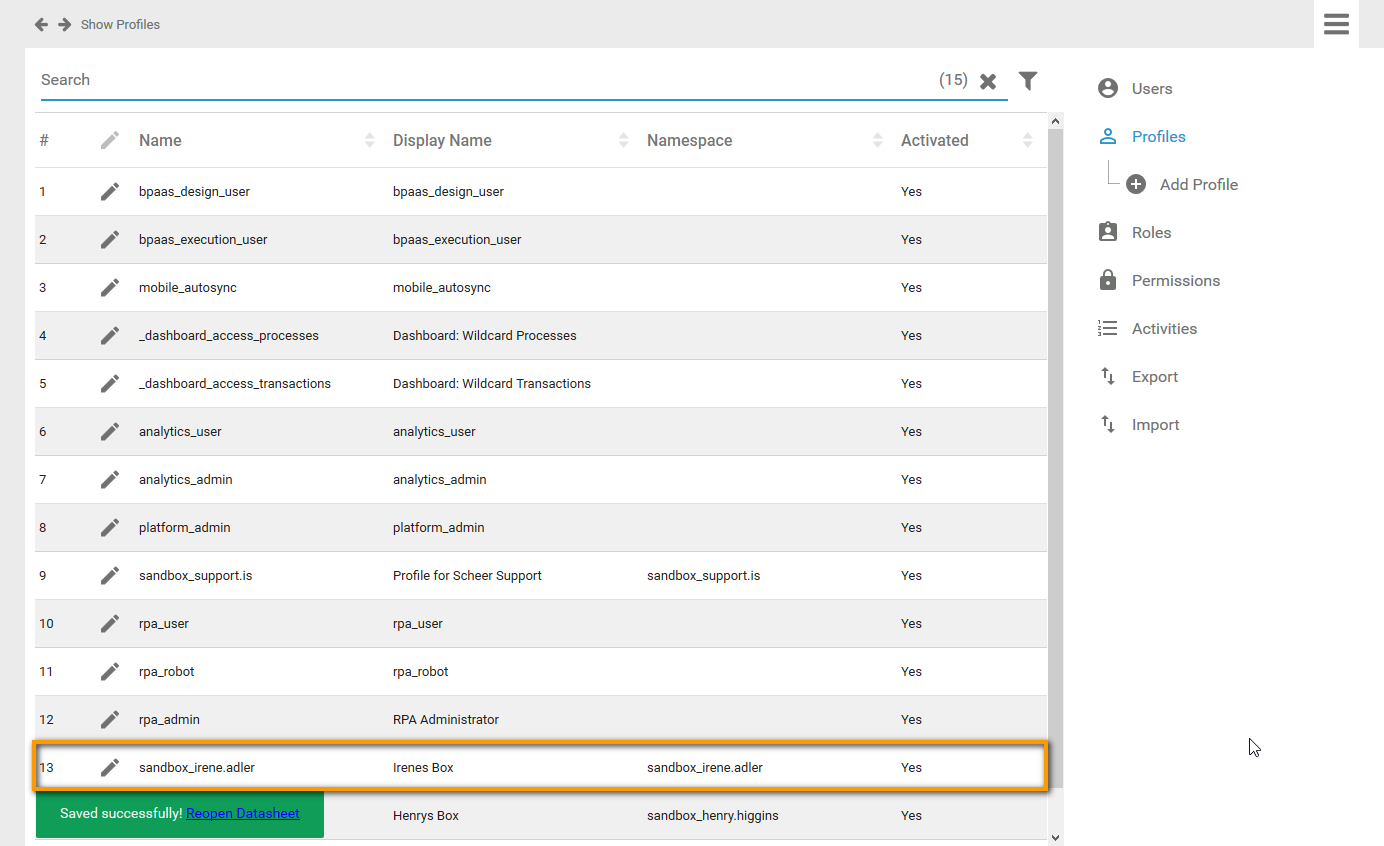
You can use the link from the success message to reopen the data sheet.
Deactivating a Profile
You can also disable a profile. Inactive profiles will still be displayed in the list of profiles and you can still assign them to users. But an inactive profile will not be displayed in the business system anymore.
If you want to disable a profile, open the profiles data sheet. Untick checkbox Profile active in the Master Data section and Save your modification:
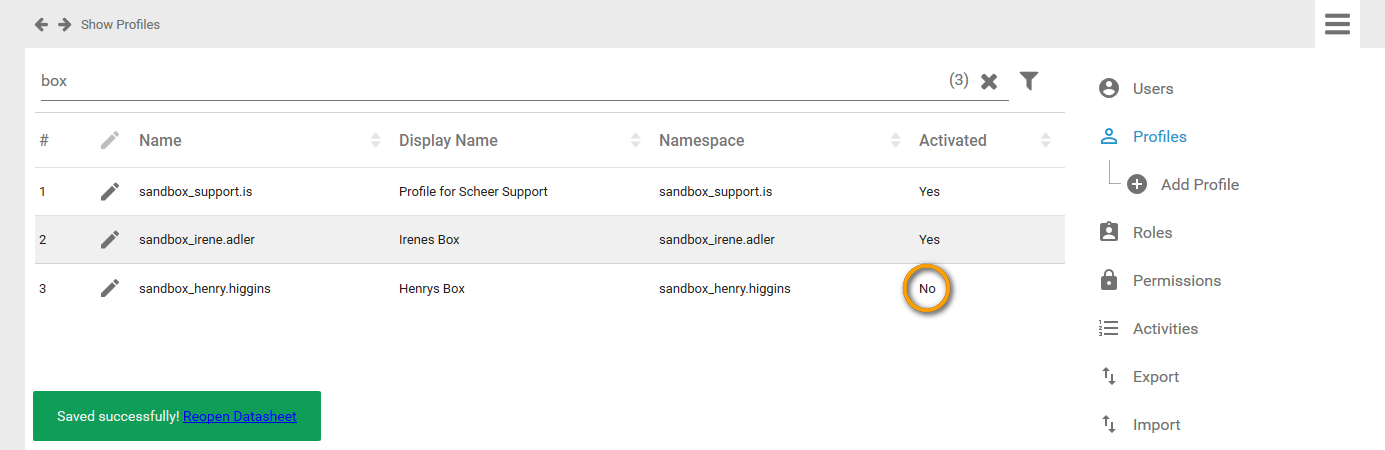
The profile data sheet closes and a message Saved successfully! is displayed. You can use the link from the success message to reopen the data sheet. In the content area the list of profiles is displayed and the modified profile shows the information No in column Activated:
Even if inactive, the profile appears in the Profiles section of a user data sheet:
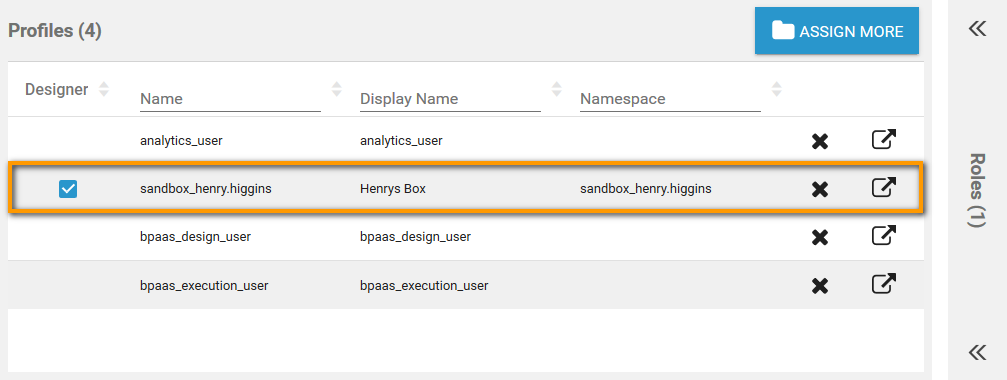
You will still be able to assign it to a user:
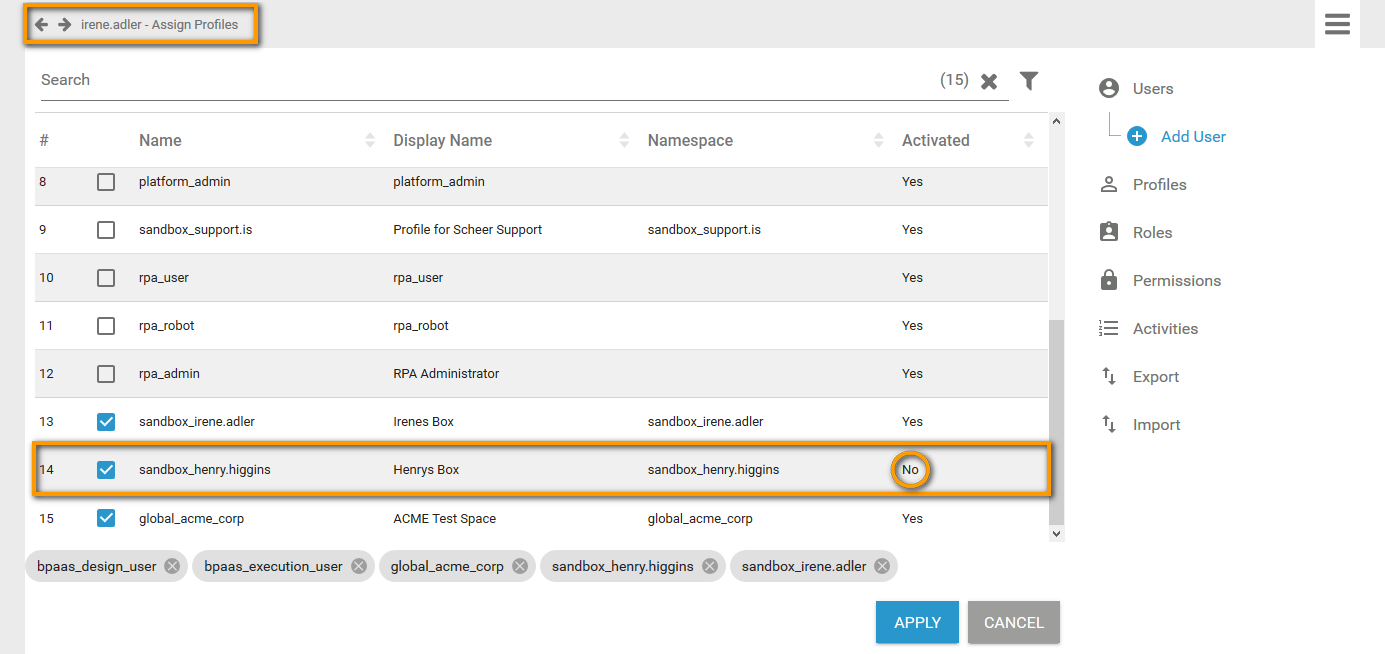
Inactive profiles will not be displayed in the business system anymore.
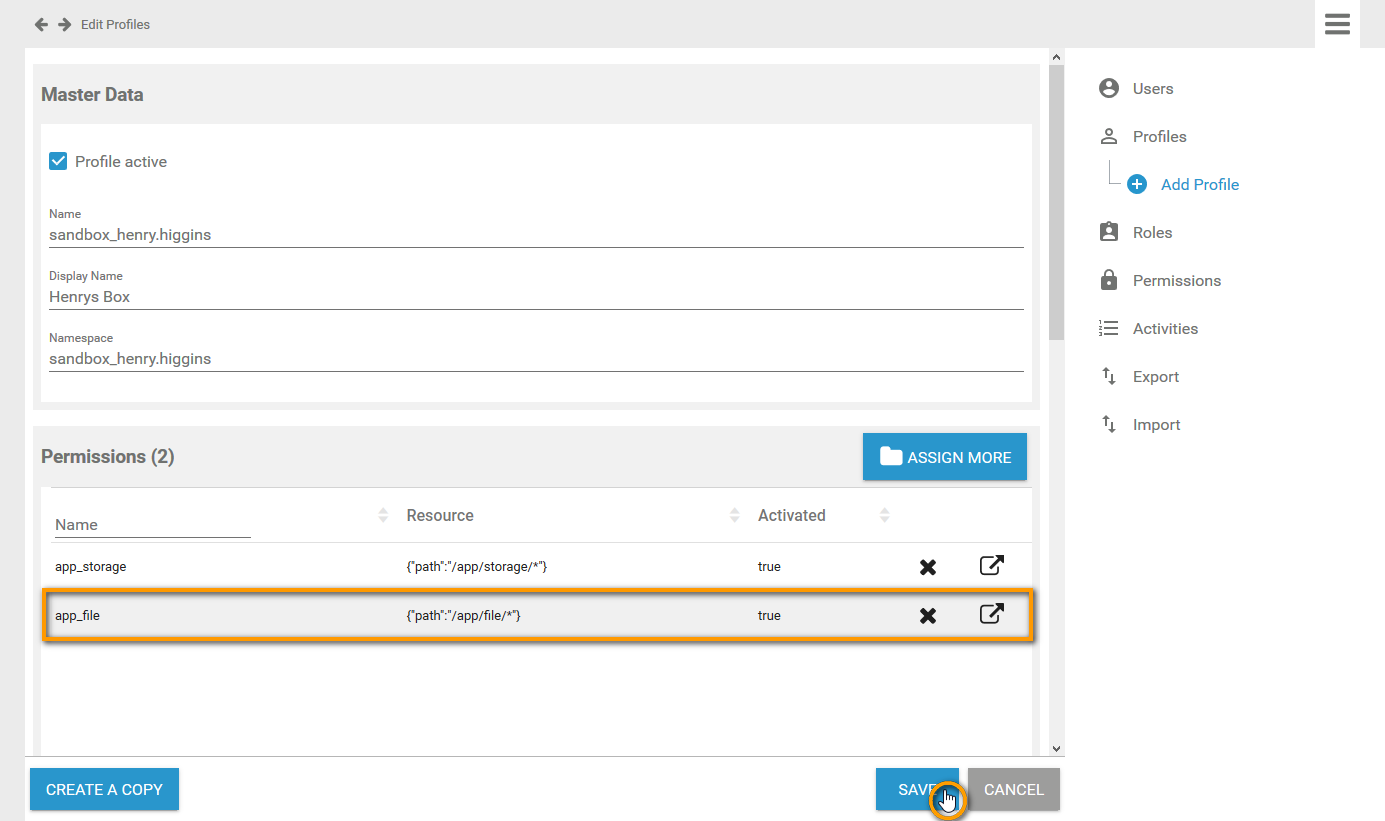
Managing Permissions
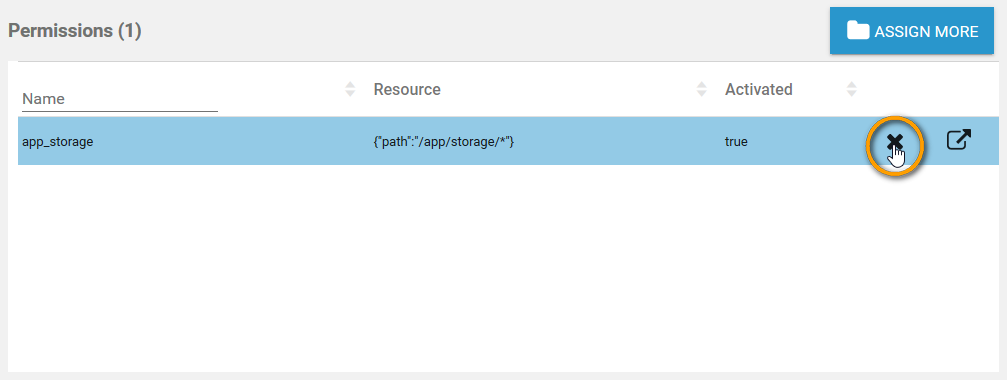
The second section of a profile data sheet shows the permissions that are currently assigned to the profile. Go to this section to delete, assign or rework permissions.
Deleting Permissions
You can delete already assigned permissions by using the  icon. Access to the corresponding URL will then be removed from the profile.
Adding Permissions
If you want to add permissions to a profile, click the Assign More button:

A list of available permissions will open. In the footer you will find the permissions that have already been assigned to this profile:
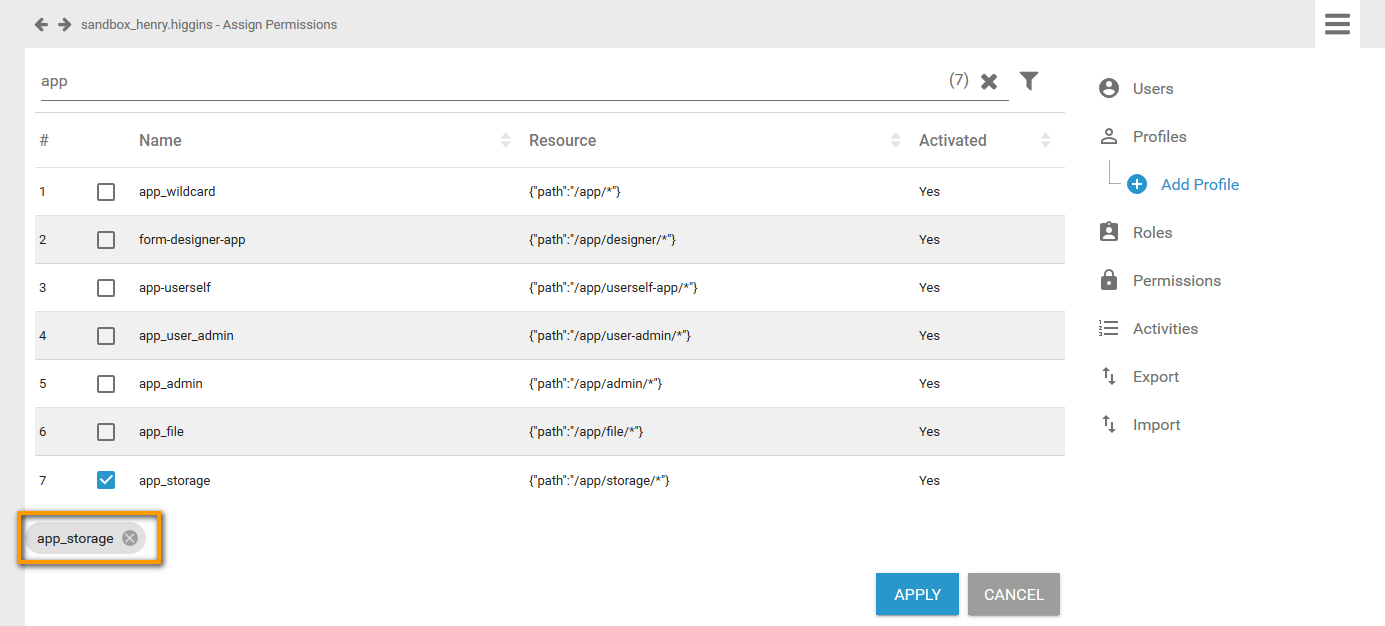
Tick checkboxes to assign further permissions. Your choice will be added to the footer. Click Apply to assign the chosen permissions to the profile. Click the Cancel button to discard your choice:
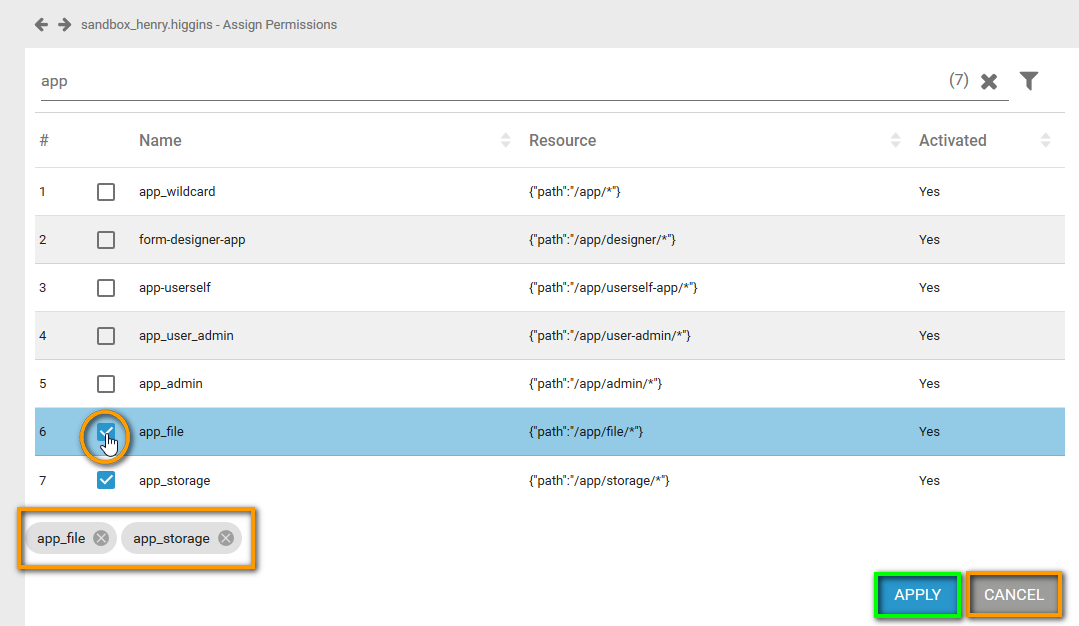
The chosen permissions are added to the permissions section of the profile data sheet. Click Save to apply the modifications. If you leave the data sheet by clicking Cancel, all modifications are discarded:
Editing Permissions
Administrators can also use the permissions section to switch directly to the corresponding data sheet to edit a permission. To do so, click the  icon:
icon:

The corresponding permission data sheet will open and you can edit the permissions data:
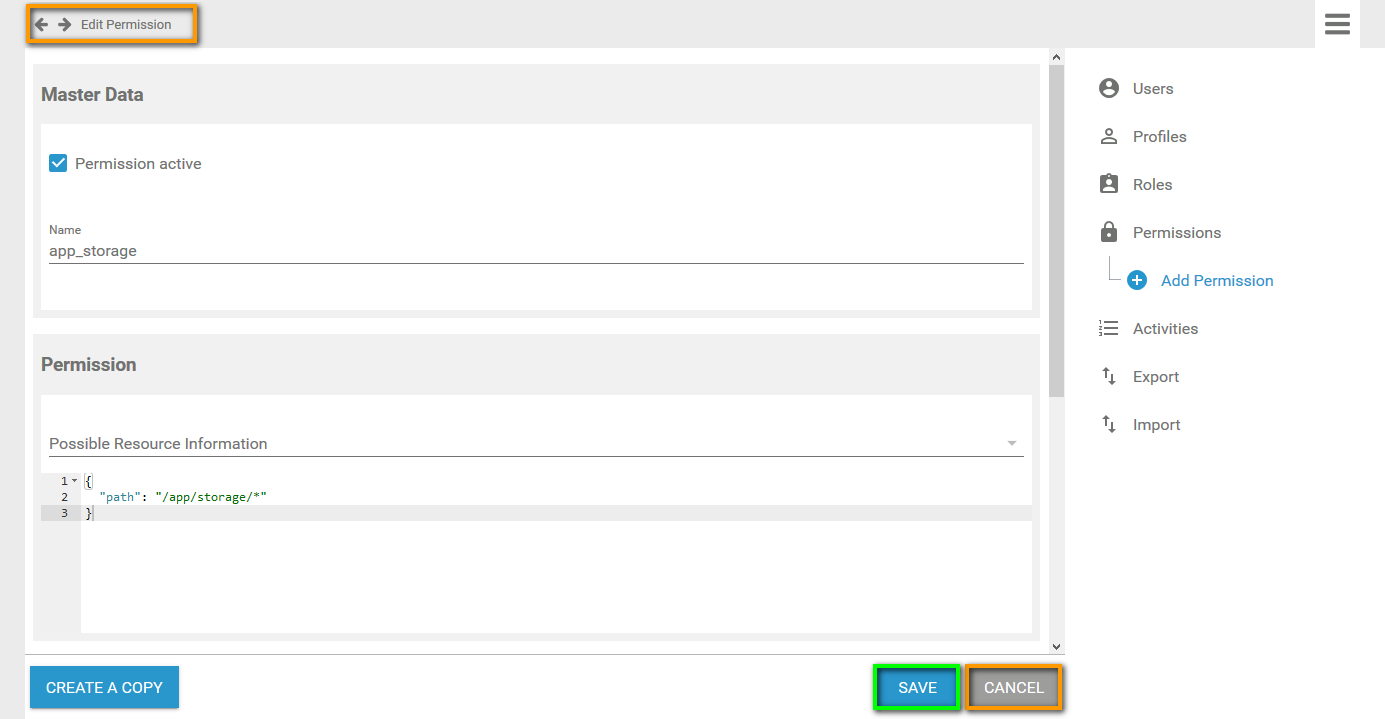
Do not change or create permissions without any knowledge of JSON.
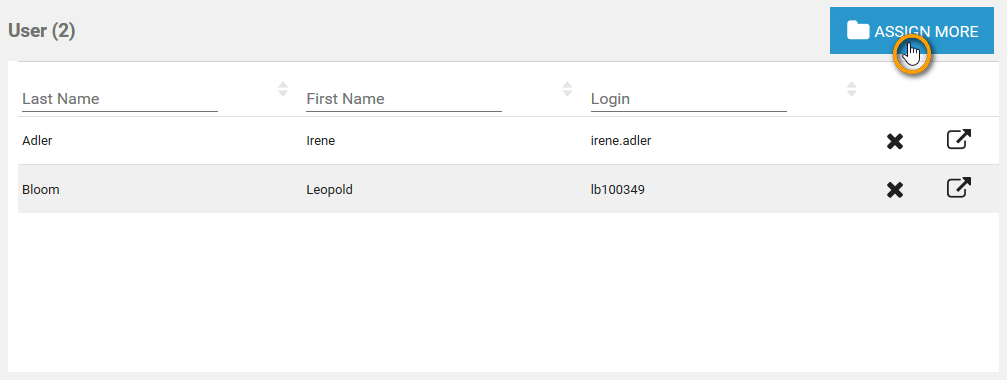
Managing Users
The third section of a profile data sheet shows the users that are currently assigned to the profile. Go to this section to delete, assign or rework users.
Deleting Users
You can delete already assigned users by using the icon. The user will then be removed from the profile.

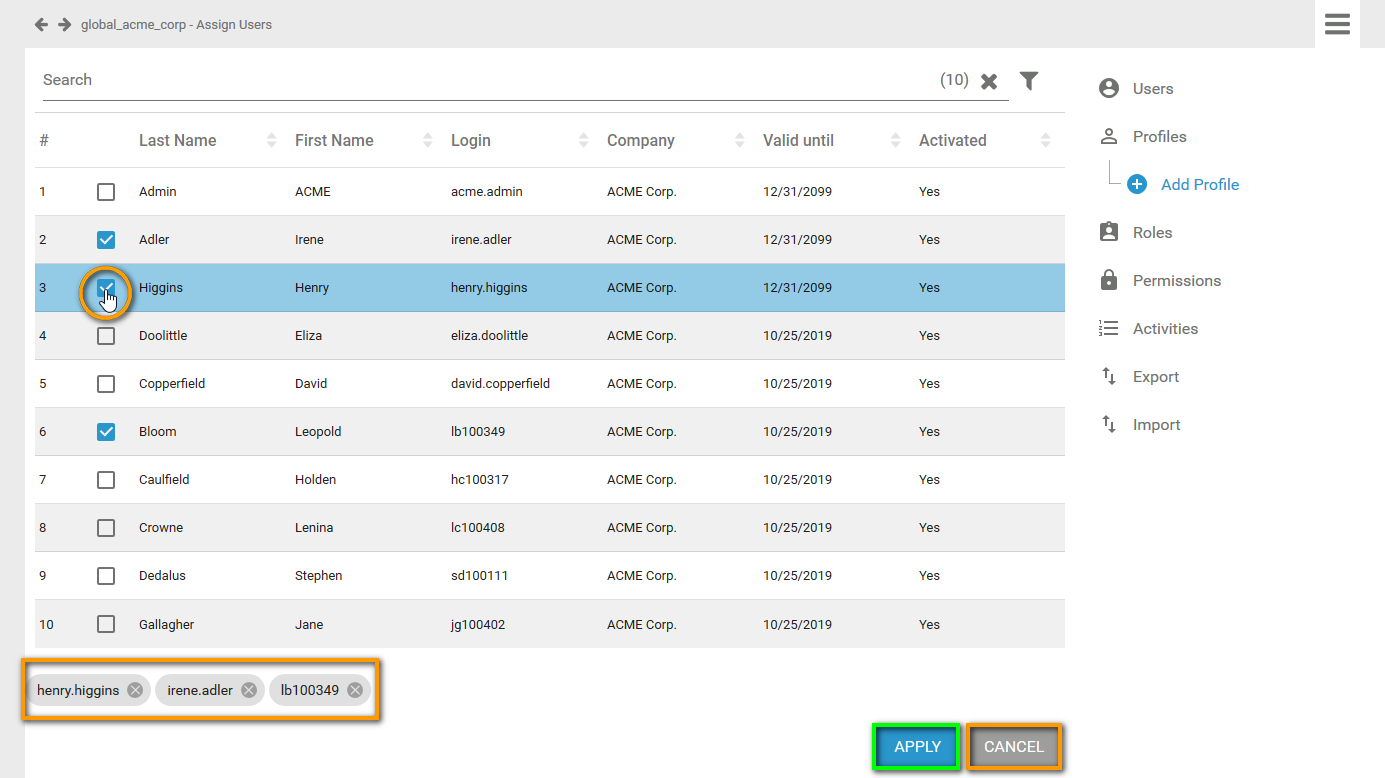
Adding Users
If you want to add users to a role, click the Assign More button:
The list of available users will open. In the footer you will find the users that have already been assigned to this profile:
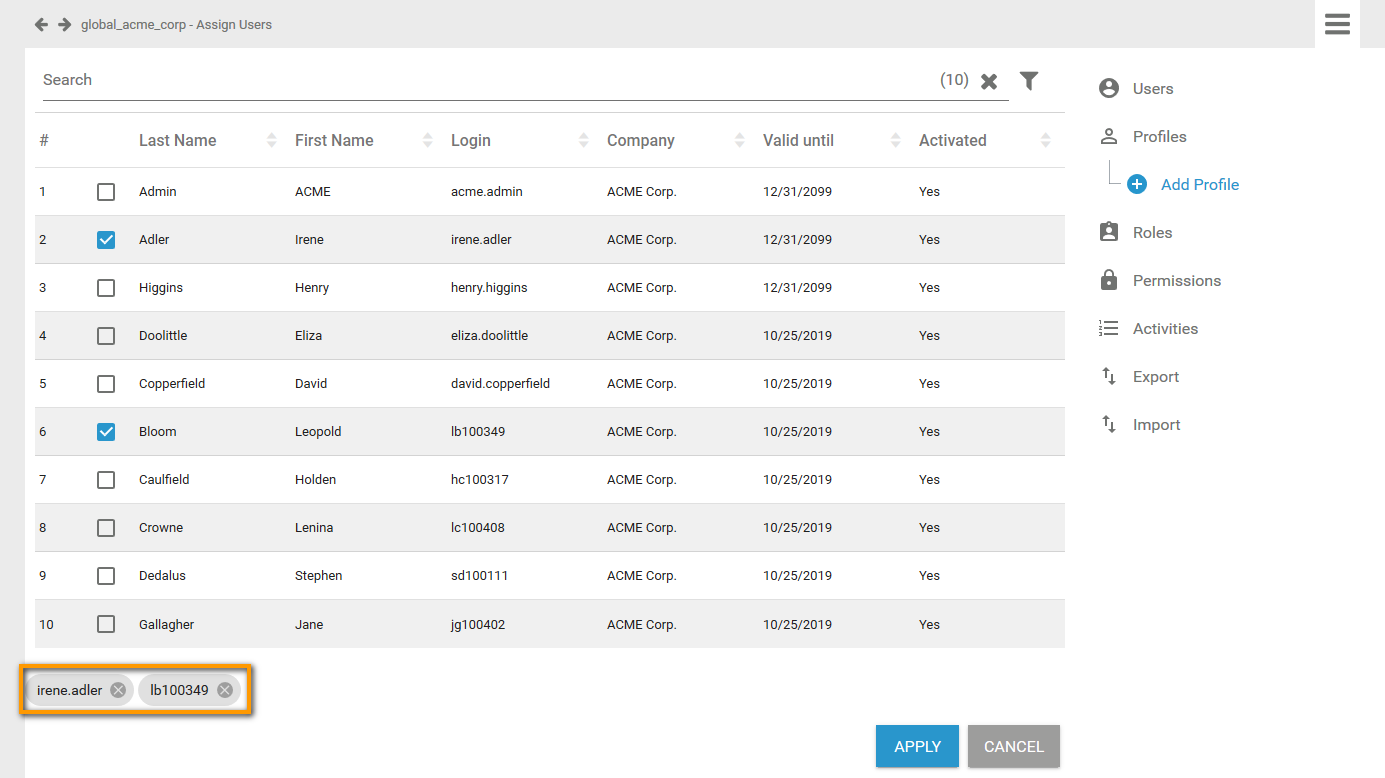
Tick checkboxes to assign further users. Your choice will be added to the footer. Click Apply to assign the chosen users to the profile. Click the Cancel button to discard your choice:
The chosen users are added to the User section of the profile data sheet. Click Save to apply the modifications. If you leave the data sheet by clicking Cancel, all modifications are discarded:

Editing Users
Administrators can also use the User section to switch directly to the corresponding data sheet to edit a user. To do so, click the icon:
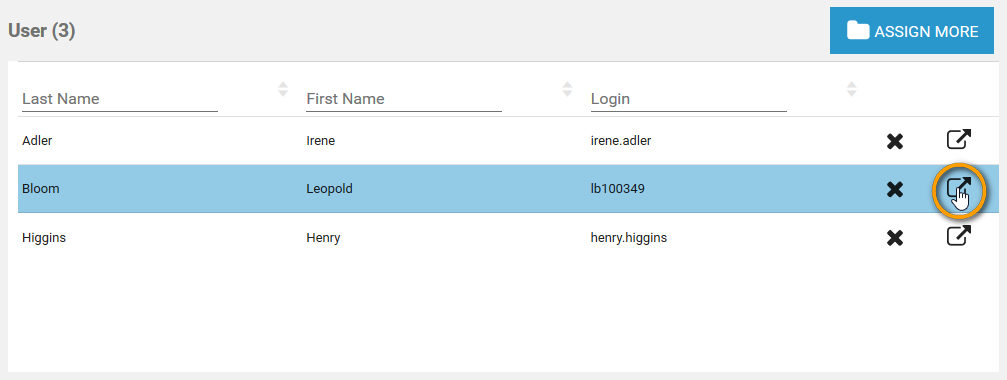
The corresponding user data sheet will open and you can edit the user data:

Managing Translations
The profile's name inserted in section Master Data is a technical name for the role. In section Translations you can insert display names for the role in German, English and French:
![]()
The names saved here will be shown in Scheer PAS BPaaS according to the language selected for the BPaaS user interface:
![]()
On this Page:
Related Pages:
Overview
Content Tools