adding_a_role
Used on:
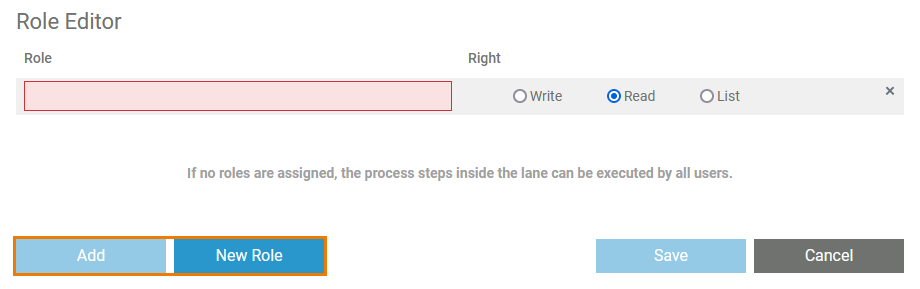
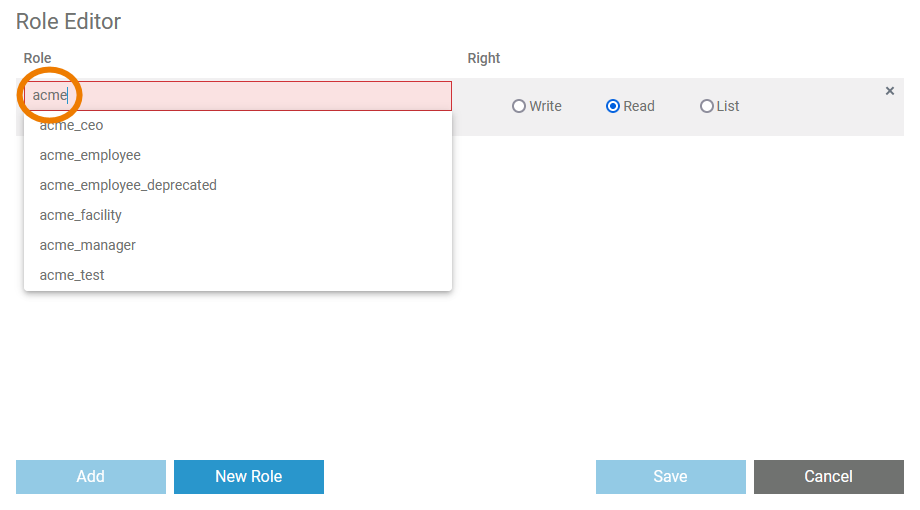 | If you open the role editor, it contains an empty line already. Start typing the name of the role your are seaching for in field Role. The field has an autocomplete function: As soon as you start inserting, a drop-down list is displayed containing all available roles that match your input. Select the role you want to use. | ||||||||
 | In the next step you need to assign the rights that will be granted to the role owner. Available options are:
| ||||||||
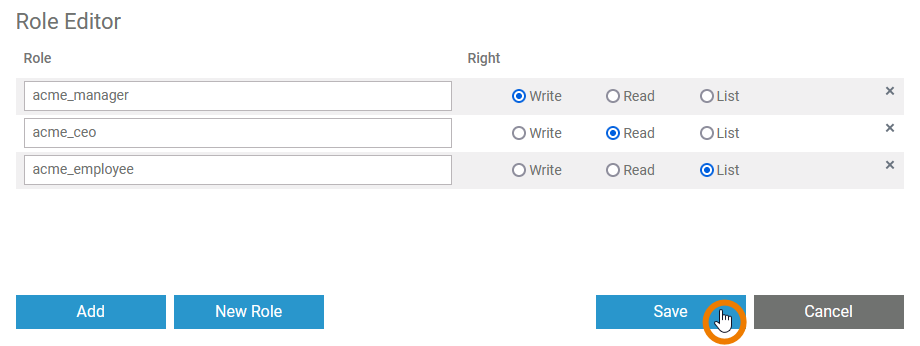 | You can continue to add further roles (or create new ones) as multiple roles can be assigned to one lane. When you have finished, save your changes to apply them to the lane. | ||||||||
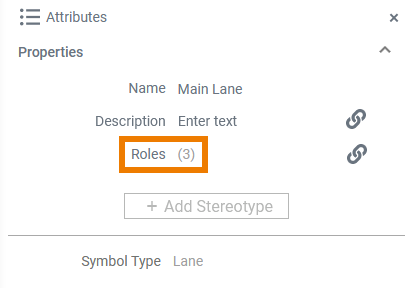 | The number of roles assigned to a lane is displayed in the attributes panel. | ||||||||
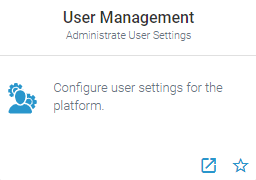 | You have to open the user management, to assign the new role to users. Go to the Administration Guide > Managing Roles for further information about role management. |
create_connector
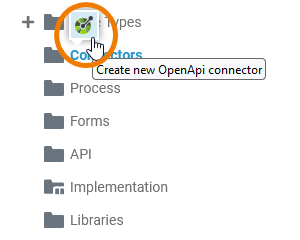
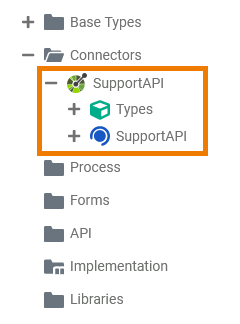
| Hover with your mouse over the Connectors tree node in the service panel. Click the pencil icon to create a new connector. |
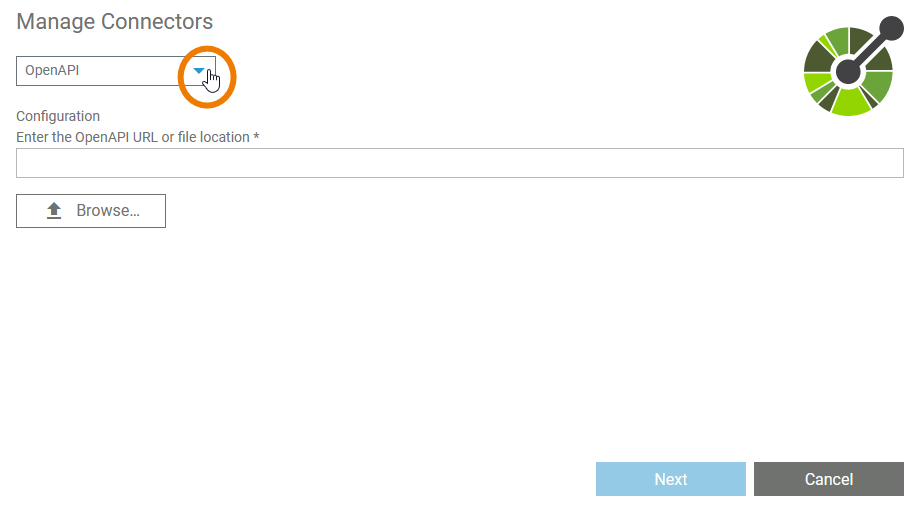 | The Manage Connectors dialog is displayed. Select a type of connector from the dropdown list. |
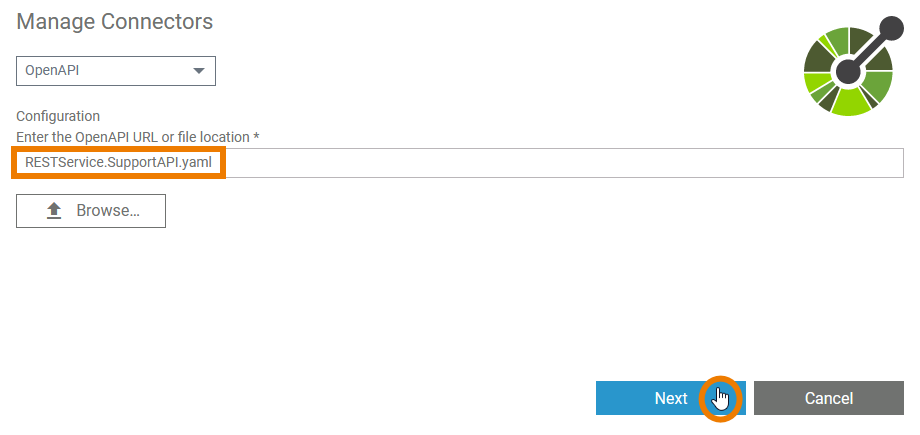
| Configure the connector in the Configuration section, e.g. OpenAPI connectors can be configured by simply importing a YAML description file. Find more information about adapters and their related connector configuration on Adapters pp. |
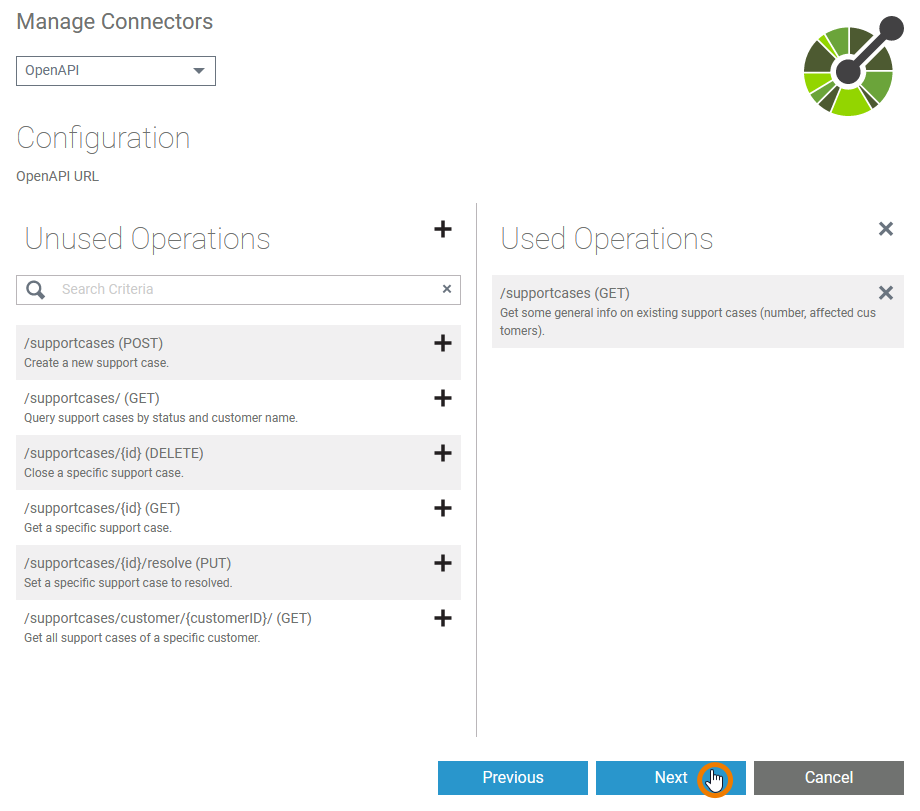 | When everything is configured to your needs, click Save. |
| The connector, his types and interfaces, have been added to your service with the given configuration. |
creating_a_role
Used on:
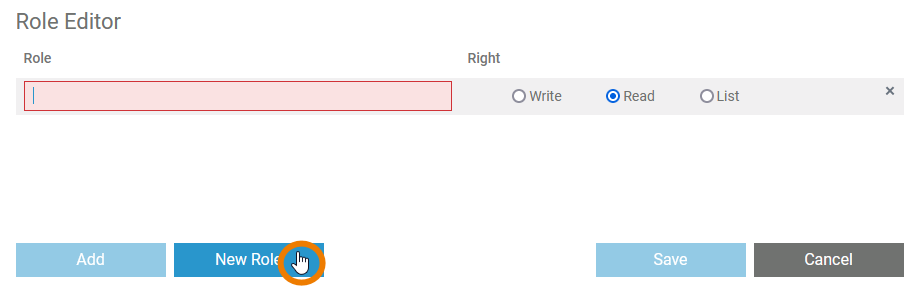 | Click button New Role to create a new role and assign it to the lane element. | ||||||||
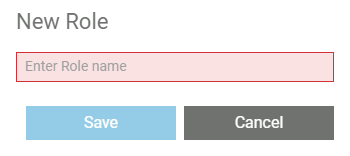 | Enter the name of the new role in the pop-up window. The input is mandatory. | ||||||||
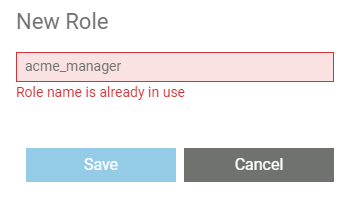 | If the role name is already in use, you will not be able to save. | ||||||||
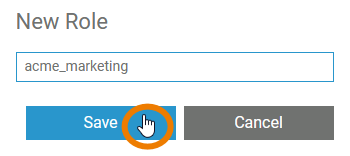 | Save to create the role. | ||||||||
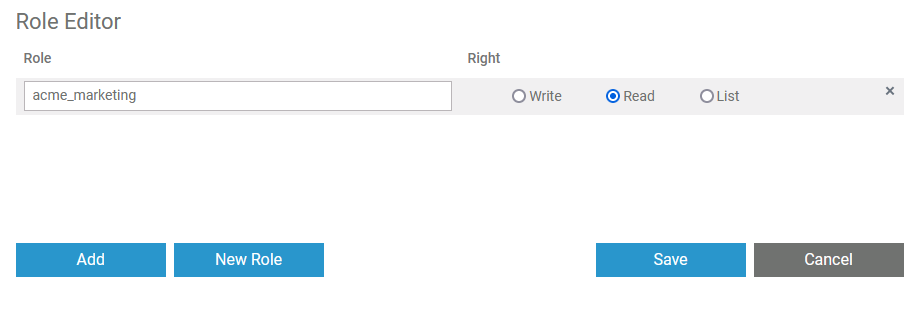 | The new role is now added to the role editor and assigned to the current lane. | ||||||||
 | In the next step you need to assign the rights that will be granted to the role owner. Available options are:
| ||||||||
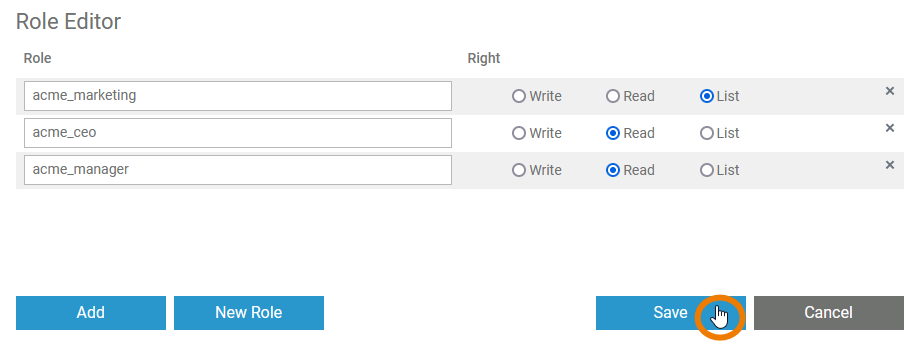 | You can continue to create further roles (or add already existing ones) as multiple roles can be assigned to one lane. When you have finished, save your changes to apply them to the lane. | ||||||||
| The number of roles assigned to a lane is displayed in the attributes panel. | ||||||||
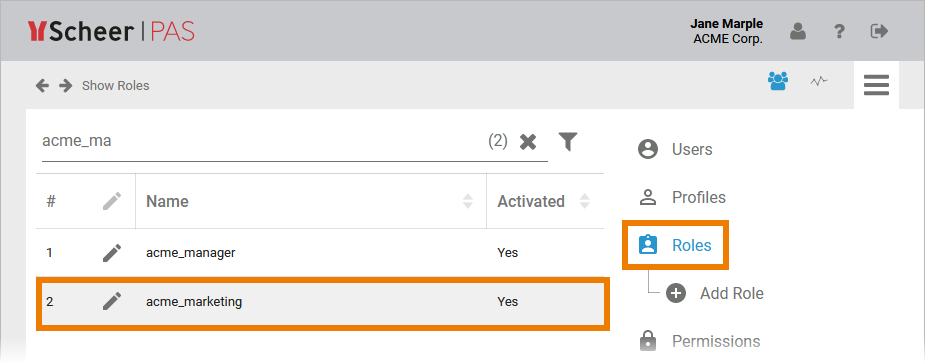 | The new role has also been added to the user management. Go to the Administration Guide > Managing Roles for further information about role management. |
cutting_and_pasting_explorer
If you want to use an element at a different position in the tree, select the context menu option Cut Item. | |
Open the context menu of the element in which you want to insert the cut element and choose Paste Item. The option Paste Item is only enabled if the elements to be inserted fit into the tree hierarchy. Pasting elements is only possible in the same namespace. | |
 | The element is now displayed on its new place in the tree. |
field_config_editor
Used on:
If you click icon Use the editor to add and manage the content of your element: Use the Add button to insert new rows. You can enter the options for this element as value pairs. When entering value pairs, always the first value (Value) is saved as key in the data container. The second value (Label) is used as notification to the user. The label is displayed in the form. Enter a Value for your element option. It is not possible to assign the same value to different labels. the Field Configuration editor opens:
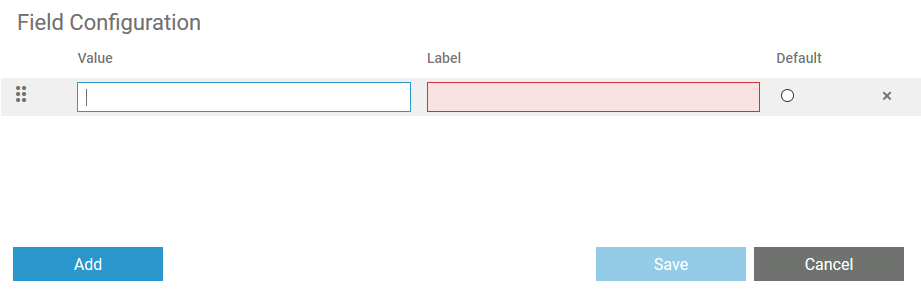
Option Description 

Use icon Drag to change the order of the rows.
Value pairs may also contain numbers, so that a user can chose a text option, but in the background a calculation is carried out.
Enter a Label for your element option. The label is displayed in the form. 
Click on this icon to set the option as default. 
Use this icon to delete the option. 
Use the Save button to save your changes. 
Use the Cancel button to discard your changes.
how_to_use_the_timer
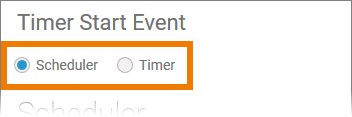 | ||||||||||||||||||||||||||||
 | Scheduler Use the scheduler if you want to define a pattern for your Timer Start Event, for example to start the model every monday, every hour etc.
| |||||||||||||||||||||||||||
 | Timer Select the timer if you want to define a cycle for example to start the model after one week, after two hours etc.
| |||||||||||||||||||||||||||
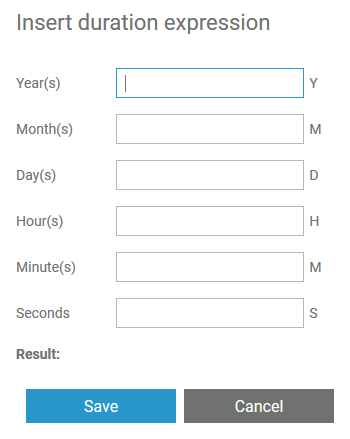 | Duration Expression Wizard The settings Repeat Interval and First Occurrence contain the icon Click the icon to open a wizard that supports you to define the necessary duration expression. | |||||||||||||||||||||||||||
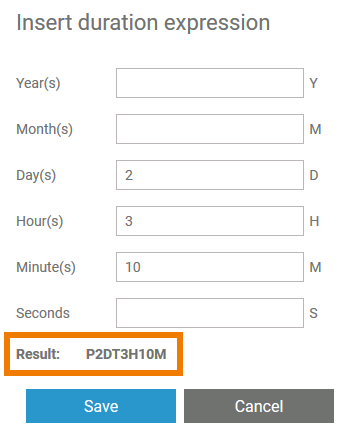 | Insert positive integers in the desired fields. The result is shown below. Click Save to close the wizard. | |||||||||||||||||||||||||||
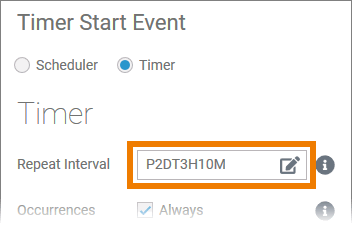 | The duration expression is displayed in the corresponding field. Once you are familiar with the notation of the duration expression, you can also insert it directly in the field. |
lane_handling
Used on:
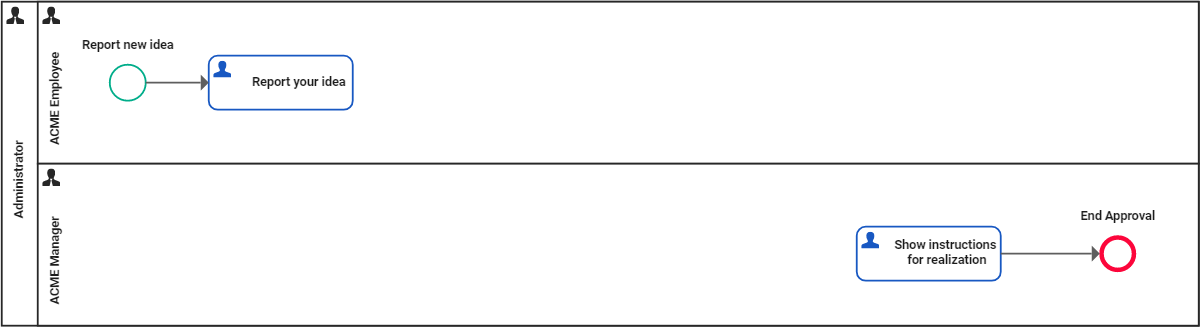
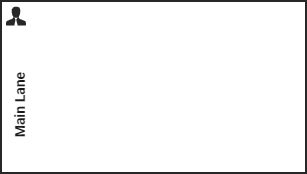 | For a role-based process model, you need at least one main lane. You can then add sublanes. |
 | To create sublanes, drag the next lane elements onto the header of the main lane element. Drop the new element on the border of an existing lane to position the new sublane. To create a sublane within a sublane, you can drag the element onto the body of an existing lane.
Click the image to see an animated version.
|
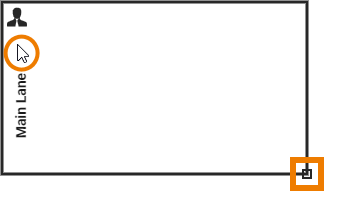 | To activate the lane element, click its border or icon/header. If the element is active, an indicator is displayed in the lower right corner and the border of the element is thicker. |
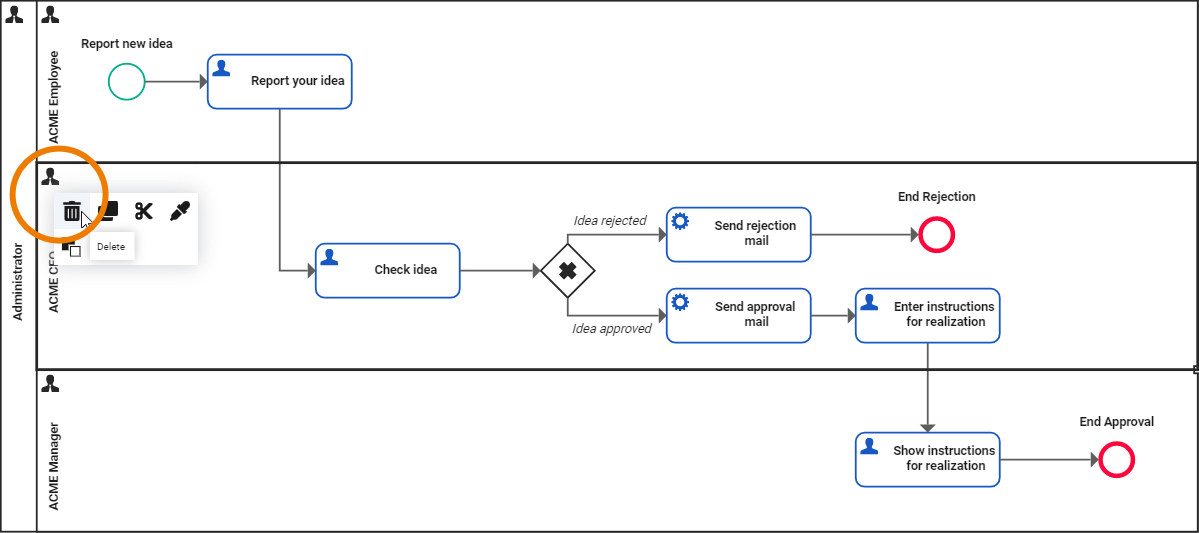
Before Deletion: After Deletion: | Deletion Behavior of Lane Elements If you delete a lane element, it is erased from your work area including all content ! |
open_role_editor
Used on:
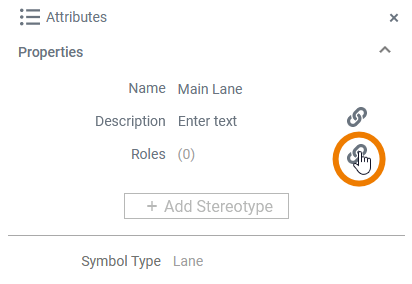 | If you click icon |
 | In the role editor, you have two options: |
On this Page:
Overview
Content Tools