The Attributes panel displays the settings of a selected BPMN element. You can use the panel to manage the element's attributes. You can also drag & drop attributes from the panel to the pane to display them in the diagram.
| If you use the panel preset, the attributes panel is displayed in the lower left corner. To return to the panel preset, go to the user preferences and use the button Reset Panels. Refer to Customizing Editors and Panels for detailed information about panel management in general. |
| The attributes of the BPMN model itself are shown if you click on the empty diagram pane. |
| The standard attributes for BPMN elements are:
Some elements contain additional attributes:
|

Creating an Attribute on the Diagram Pane
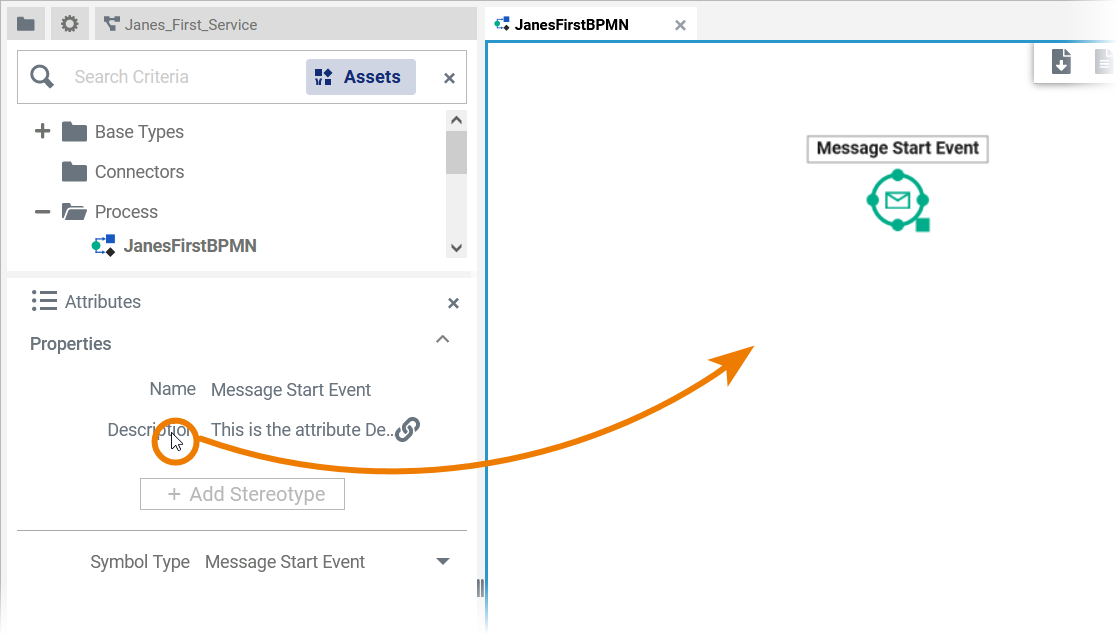
It is possible to display the attributes of a BPMN element on the diagram pane.
| Click on the name of the desired attribute and move it to the diagram pane using drag & drop. |
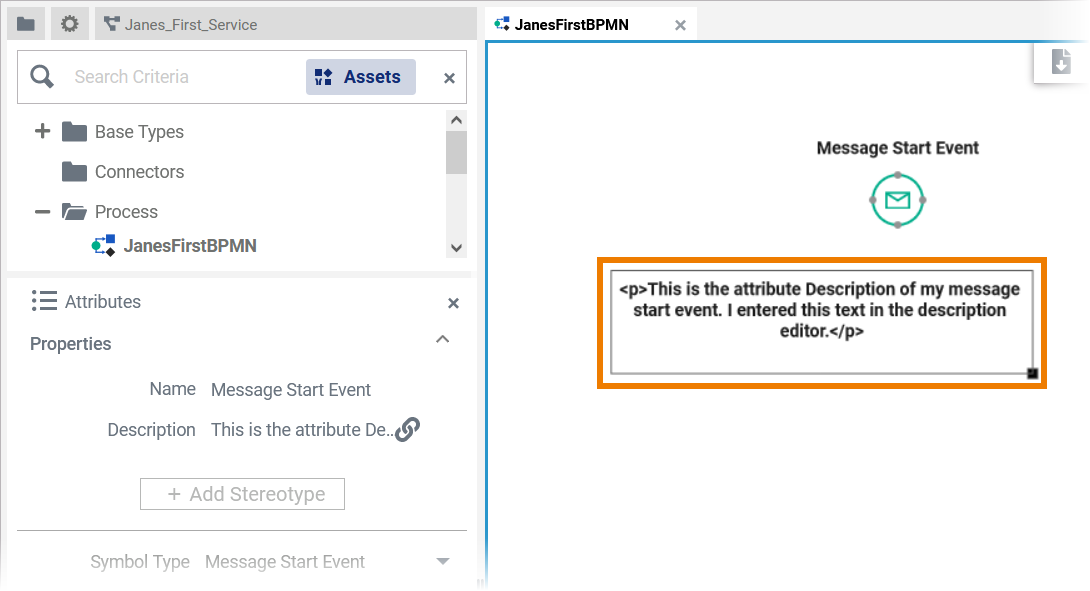
| The attribute is displayed on the pane. You can change the formatting of the display in the Styling panel. Go to page Styling BPMN Elements for detailed informations about the styling options for BPMN elements and attributes. |
Managing the Attributes' Content
In the attributes panel, all attributes of an element are displayed. Some standard attributes are used for all elements, while other attributes are only available for specific elements. Find below a list of all attributes.
Standard Attributes
| Attribute Name | Attribute View in Panel | Description | Availability |
|---|---|---|---|
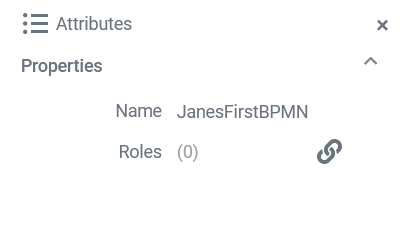
| Name |
| Click here to insert or change the Name of the related element. Generated elements (like e.g. message) cannot be renamed. |
|
| Description |
| If you want to insert a description for your element, click here to open a text editor where you can enter and format your text:
|
|
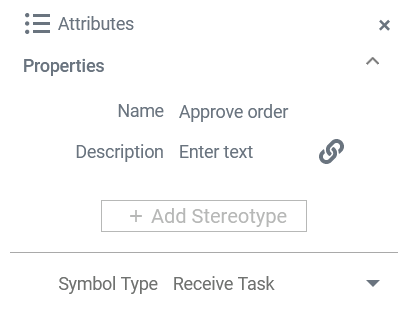
| Symbol Type |
| The attribute Symbol Type displays the type of the current element. Open the drop-down menu to change the symbol type. Possible options are the other BPMN element types of the same element category. When you change the symbol type of a BPMN element that already has an execution diagram associated with it, the following happens:
|
|

Additional Attributes
| Attribute Name | Attribute View in Panel | Description | Availability |
|---|---|---|---|
| Form |
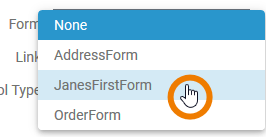
| Attribute Form is only available for the element User Task. Use the selection list to assign a form to the user task. All forms you have created within the same service are displayed in the list:
Once you have selected a form, an icon appears. It allows you to open the selected form directly:
Go to chapter Modeling Forms for further information about the creation of forms. | |
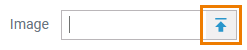
| Image |
| It is possible to create images on the diagram pane using the corresponding icon in the elements toolbar. Use the attribute Image to upload a picture into the empty frame or insert a link to an existing picture. | |
Roles |
| Attribute Roles is only available for the element Lane. Use this attribute to assign different roles to the lane. To do this, click the icon | |
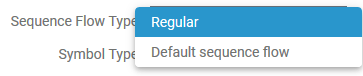
Sequence Flow Type |
| Attribute Sequence Flow Type is only available for the element Relation. Most relations can only be of regular type. In these cases the sequence flow type Regular is displayed in read-only mode. There is one exception for outgoing flows of exclusive gateways.
| |
Timeout |
| Attribute Timeout is only available for the Timer Event. To set the duration of the timer, the event should be trigged by a persisted property of type integer or datetime. You have two options to set the timeout in the attributes panel: | |
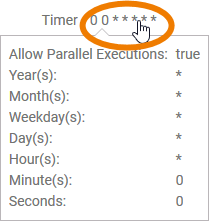
Timer |
| Attribute Timer is only available for the Timer Start Event. Hover over the timer settings to display a detailed settings view:
To define the timer settings, click | |
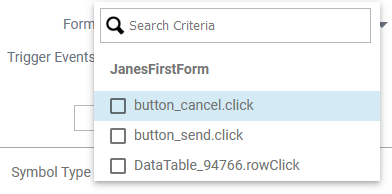
Trigger Events |
| Attribute Trigger Events is only available for the elements Message Event and Plain Event (as a boundary event) and for the element User Task. Use the selection list to assign which event triggers the default process flow of a BPMN process. The pop-up also contains a filter that you can use to search for a specific event:
|


How to Use the Scheduler/Timer
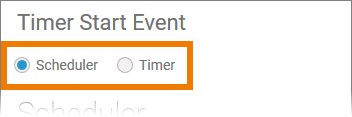 |
If you click option You have two options with different settings:
|
|||||||||||||||||||||||||||
 |
Scheduler Use the scheduler if you want to define a pattern for your Timer Start Event, for example to start the model every monday, every hour etc.
|
|||||||||||||||||||||||||||

|
Timer Select the timer if you want to define a cycle for example to start the model after one week, after two hours etc.
|
|||||||||||||||||||||||||||
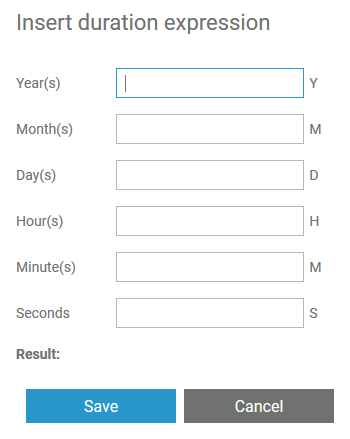 |
Duration Expression Wizard The settings Repeat Interval and First Occurrence contain the option Click this option to open a wizard that supports you to define the necessary duration expression. |
|||||||||||||||||||||||||||
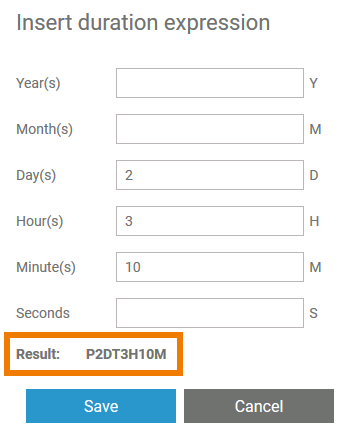 |
Insert positive integers in the desired fields. The result is shown below. Click Save to close the wizard. |
|||||||||||||||||||||||||||
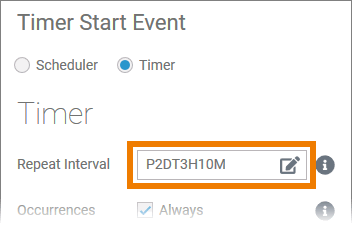 |
The duration expression is displayed in the corresponding field. Once you are familiar with the notation of the duration expression, you can also insert it directly in the field. |
On this Page:
Overview
Content Tools