Your app is ready to be executed. Open your Scheer PAS Cockpit.
Creating a new Instance
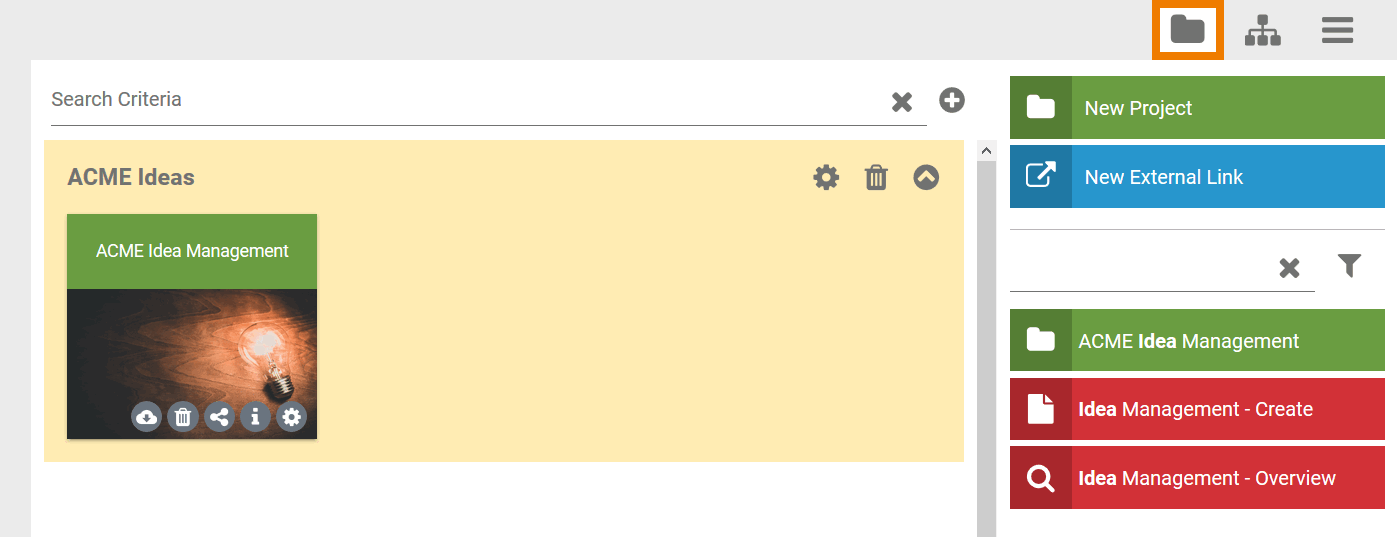
| In addition to the start link of project ACME Idea Management two new start links are now available:
To start the process app, you can directly use these links in the sidebar - or you create corresponding tiles on your cockpit. Since mobile start links are only executable on mobile devices they are not displayed in the cockpit. |
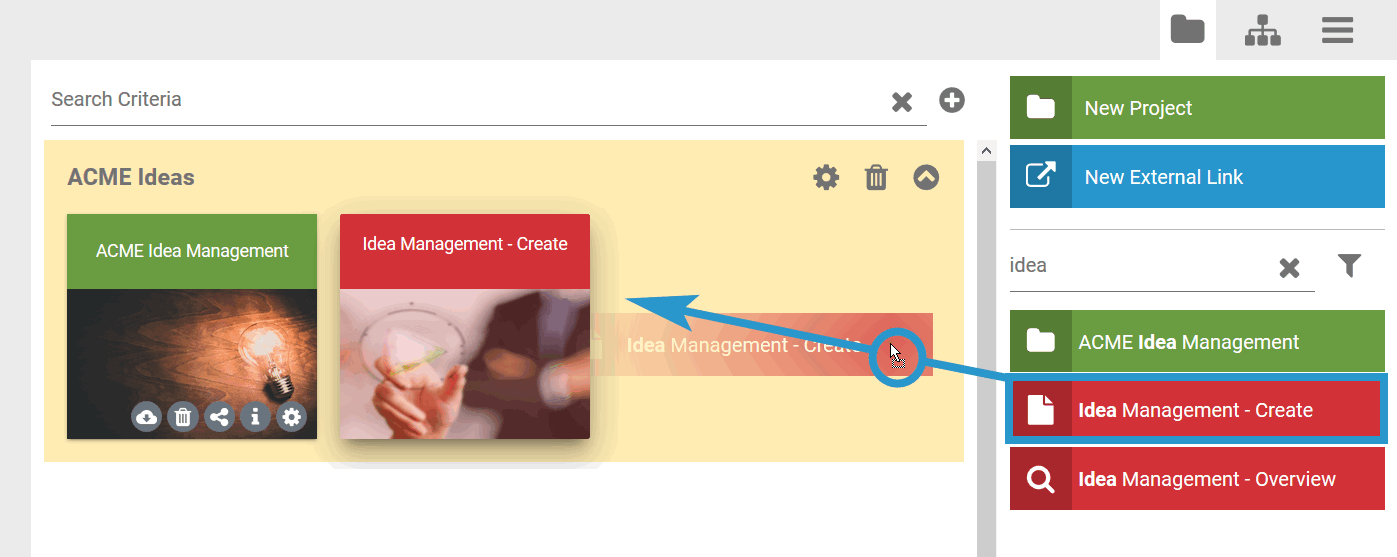
| Drag a start link from the sidebar and drop it in the group on the cockpit to create a tile. |
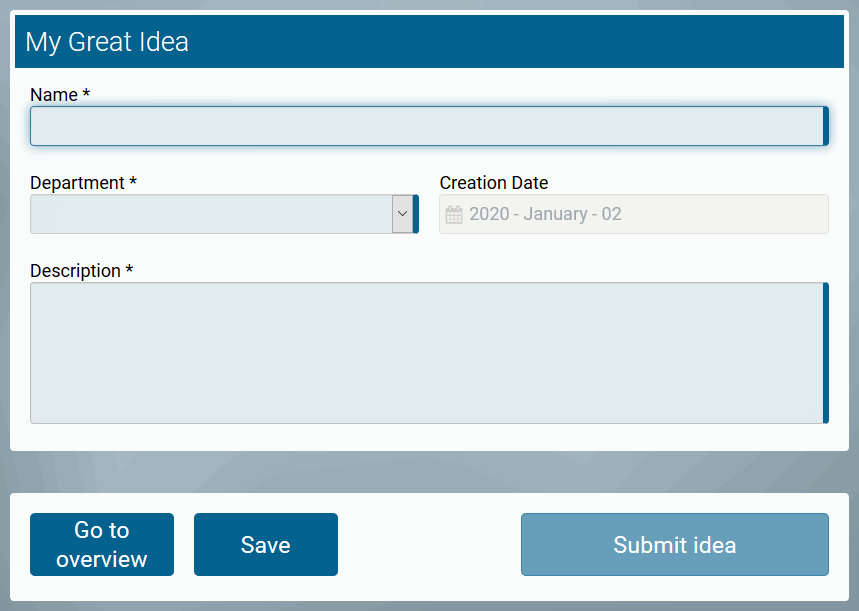
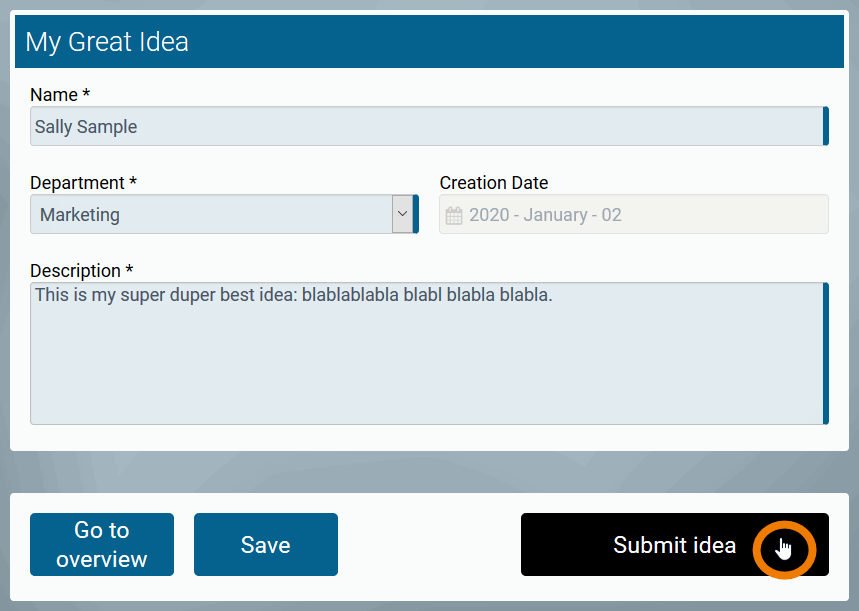
| If you click on the tile or the link, the corresponding form will open and you can enter data. Use the Create tile or link to open your first input form. By default, the template CSS Blue is assigned to the reference and the overview model of a newly created app project. |
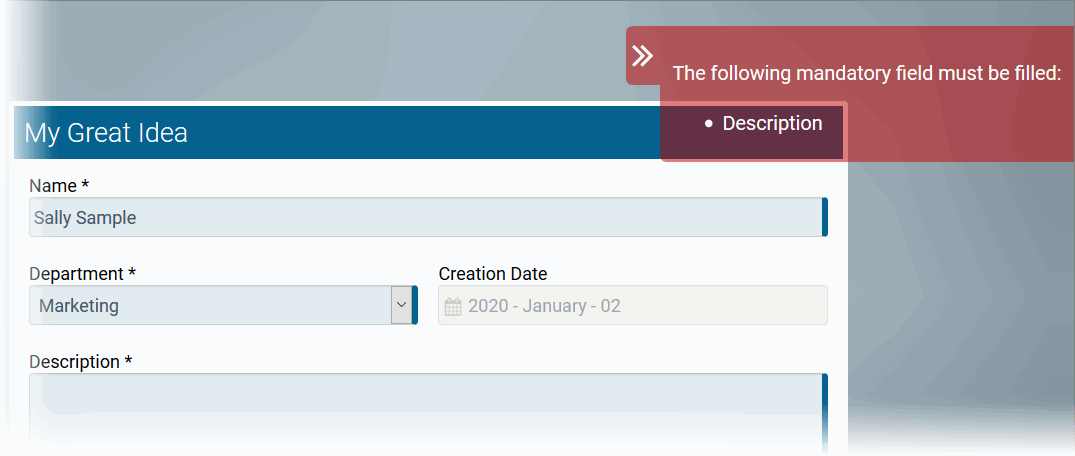
| Required fields will be checked. If they are not filled, a corresponding message will be displayed. |
| Click Next to switch to the next process step - and to your second input form. |
| Since the second process step is conntected to a mobile form, it is only executable on a mobile device with the Scheer PAS Mobile app. |

Mobile Execution
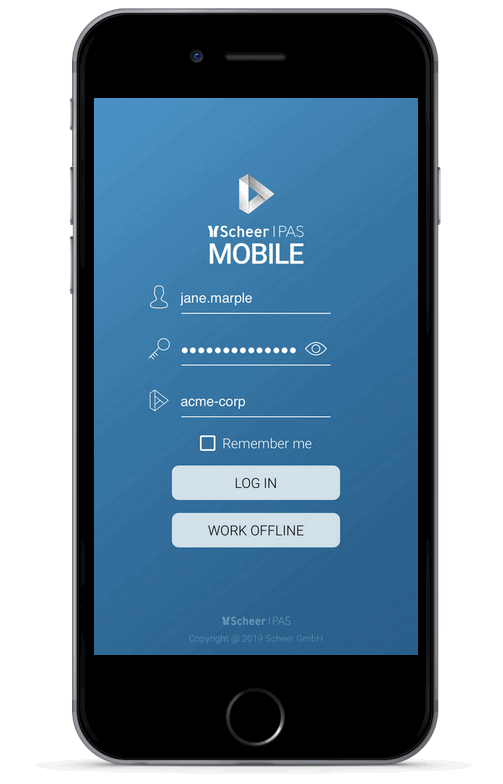
| Open the Scheer PAS Mobile app on your mobile device. For information on installing Scheer PAS Mobile visit the Mobile App Installation Guide. |
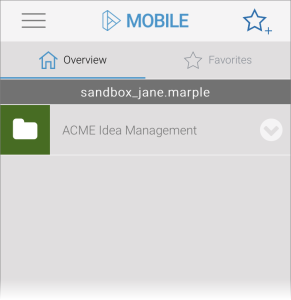
| The project ACME Idea Management is displayed on the start screen. Touch the project to open it. |
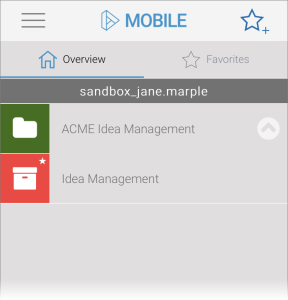
| Within a project, all app projects containing mobile forms are displayed. Tap on your app project Idea Management to open it. |
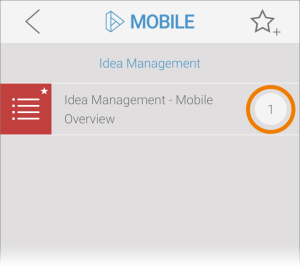
| Within the app project you will find the overview start link Idea Management - Mobile Overview. Since you already created one instance, the instance counter displays the number 1. |
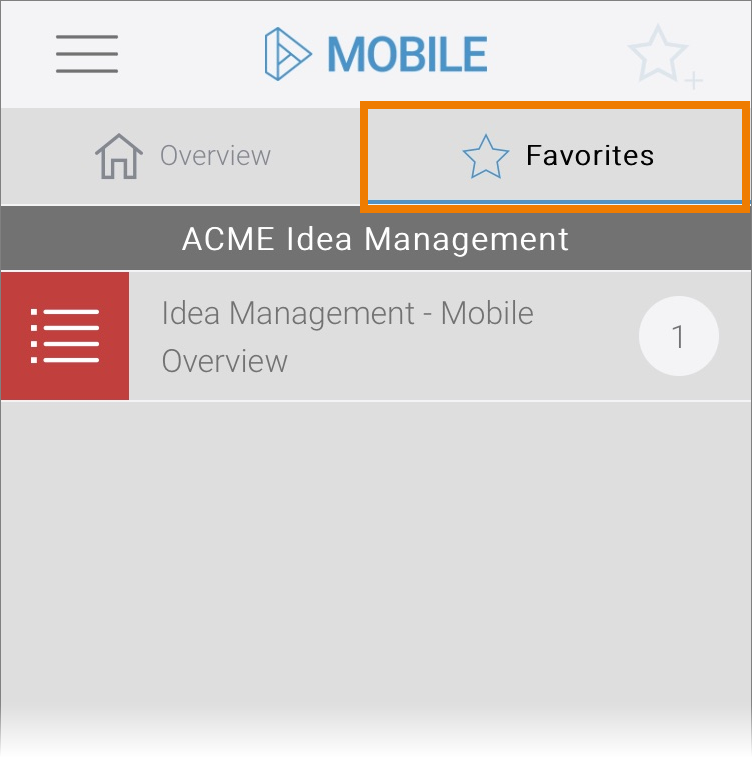
| As you activated the option Show as Favorite for the Idea Management - Mobile Overview, you have also direct access to the element by opening tab Favorites. Tap on the overview link. |
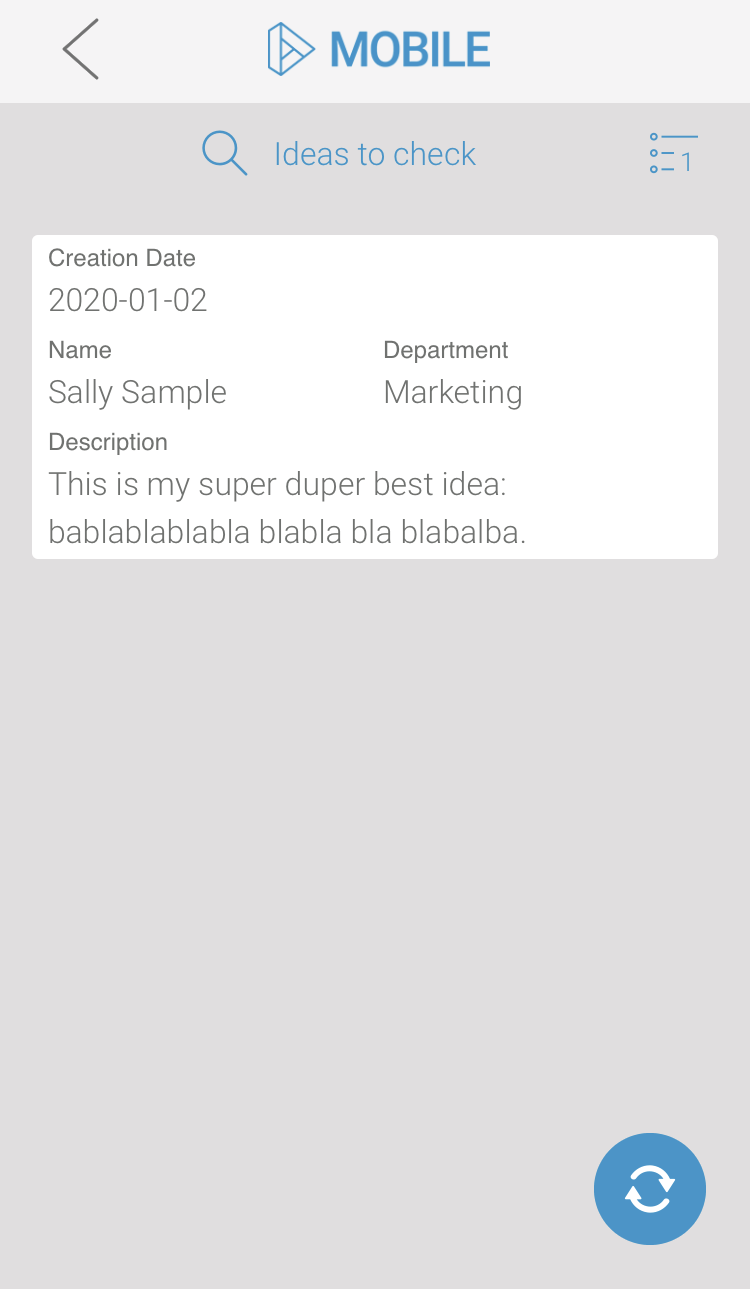
| Your instance is displayed in the overview. The data saved in the first (responsive) form is displayed as configured:
Tap on the instance. |
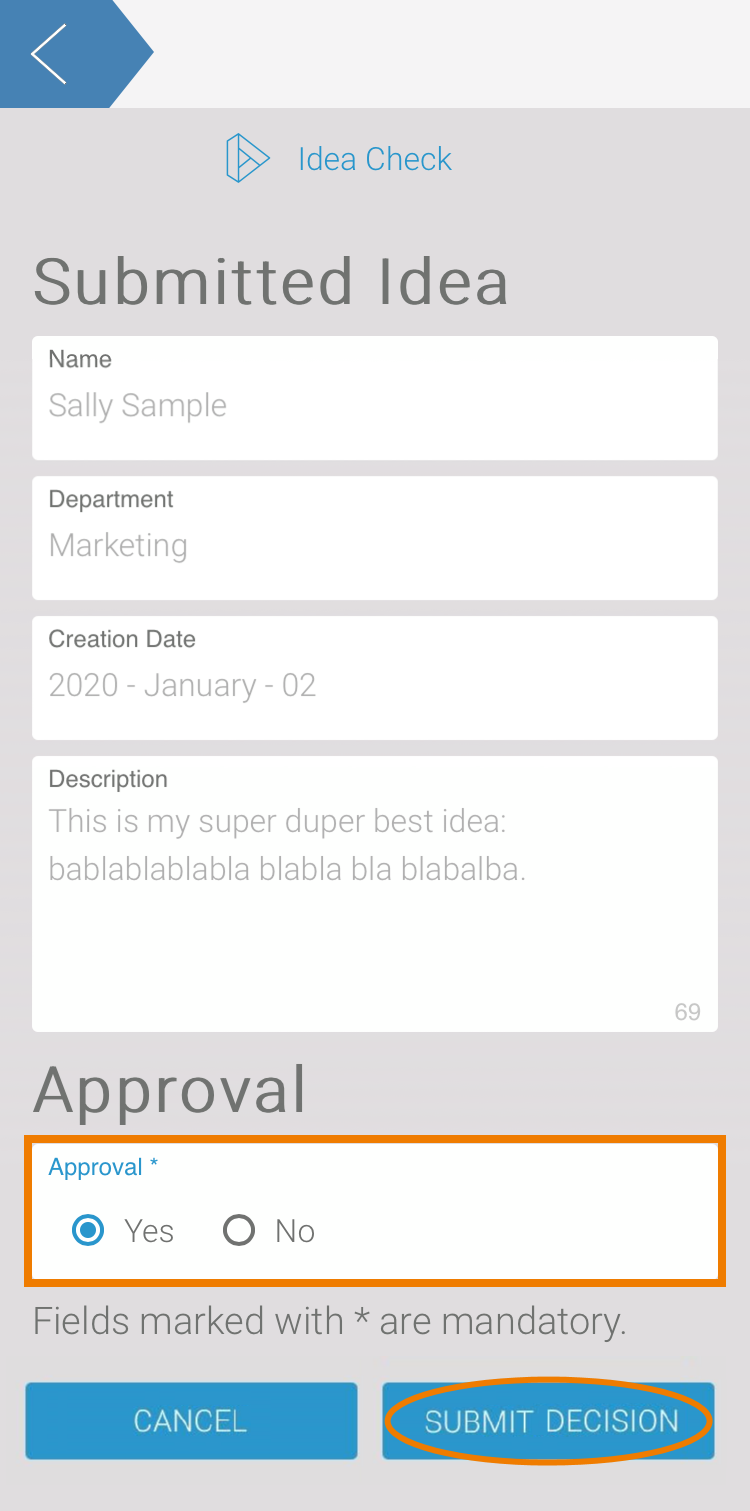
| The input form Idea Check opens. Approve the idea. |
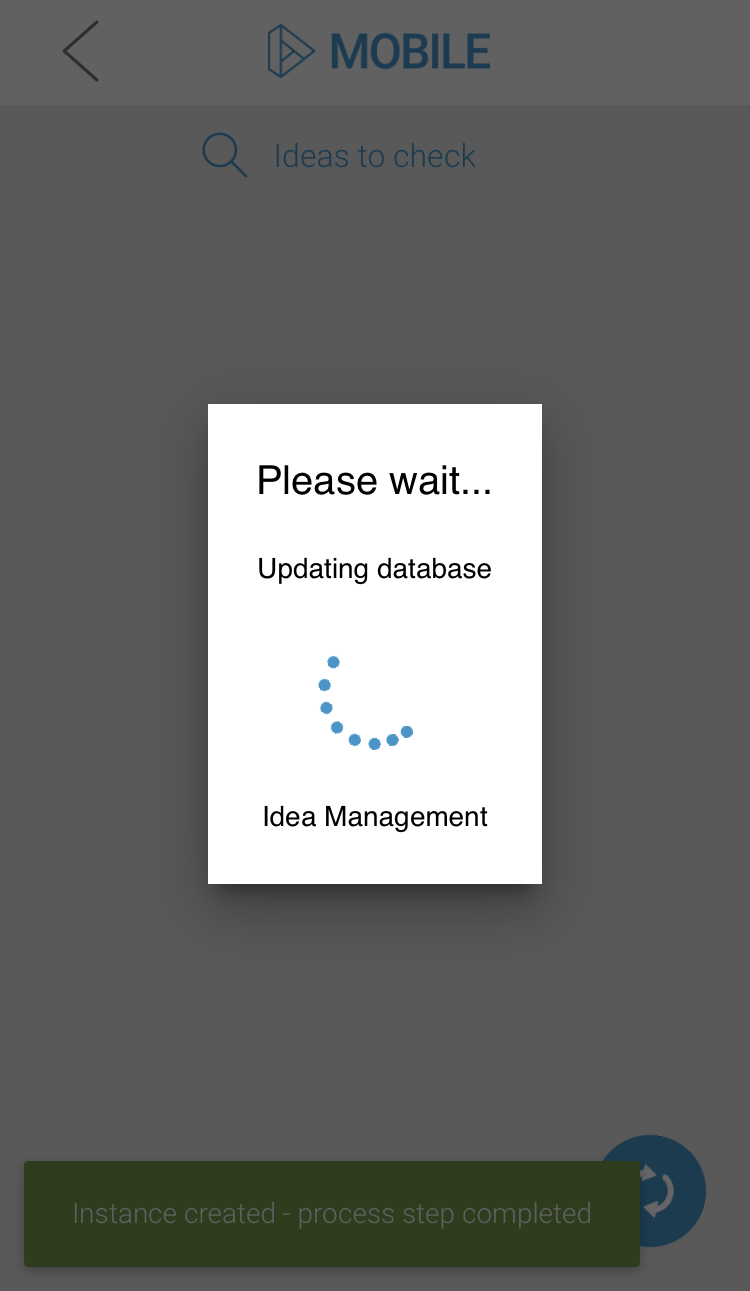
| Your input is saved, the instance is sent to the next process step which is indicated by the green toast message:
The data is uploaded. During the upload a corresponding message is displayed:
|
| After successful upload the overview is empty because there are currently no other instances in process step Check idea. Open your Scheer PAS Cockpit again. |
Finishing the Process
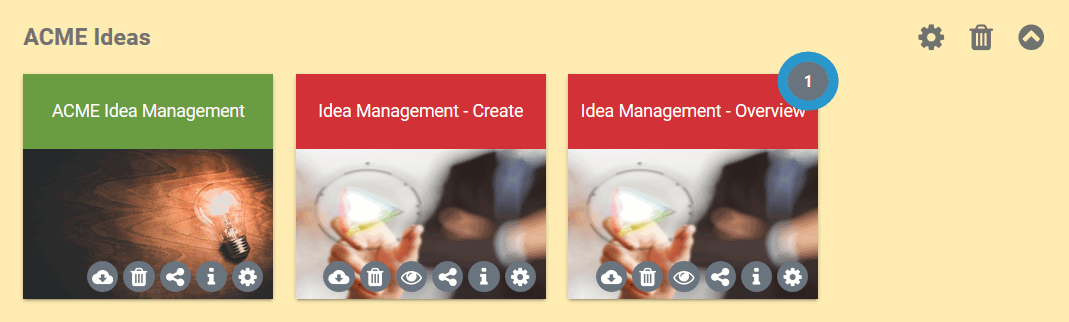
| The counter of the overview tile shows one available instance. Open the overview. |
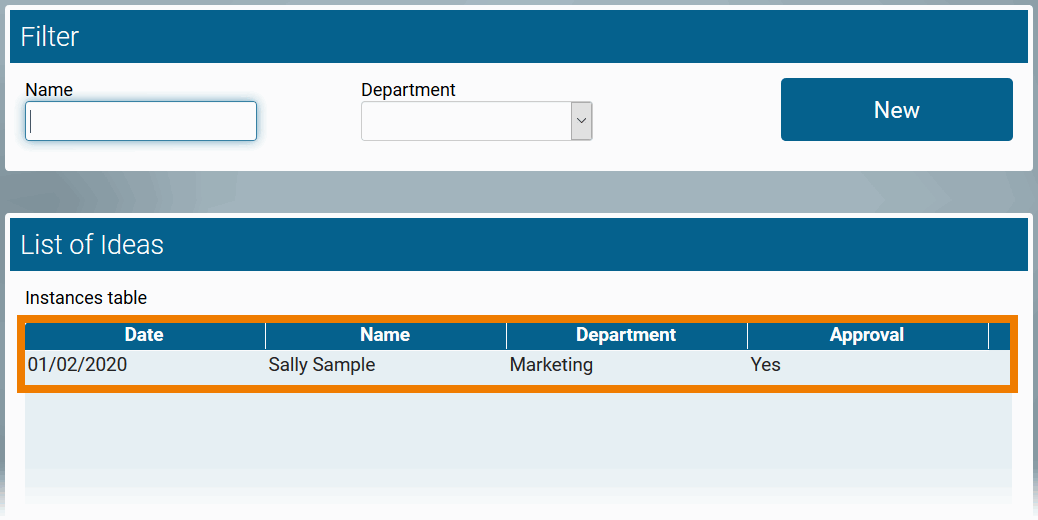
| The instance table displays the instance that you have just created and approved. Click on the displayed instance. |
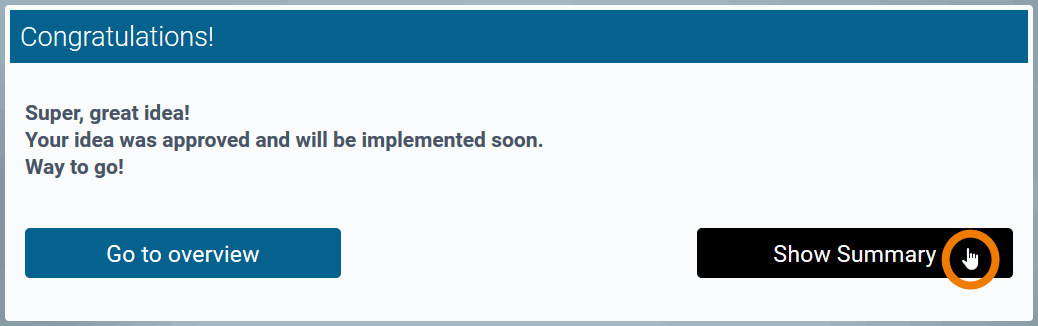
| The instance will open in the next process step. Since you approved the idea in the last process step, the Congratulations form will open. Click the Next button (Show Summary) to send the instance to the next process step. |
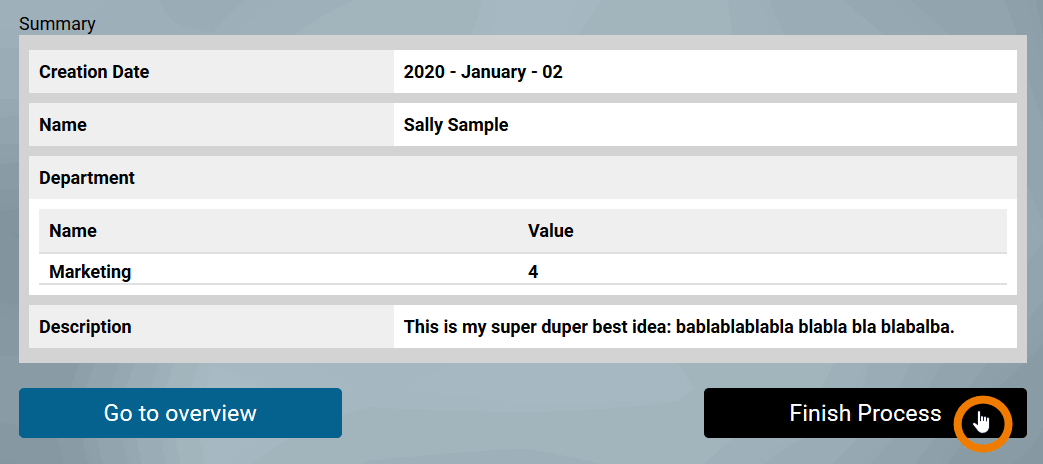
| The summary form opens displaying the instance data. Click the button Finish Process to send the data to the next process step. |
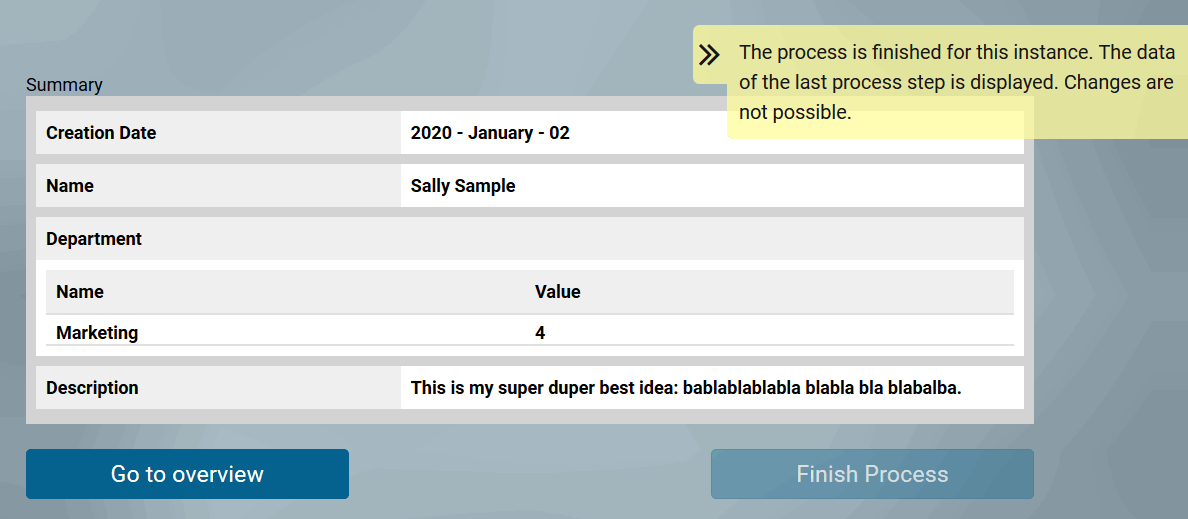
| Since the process step Display summary is the last process step, the data is now displayed in read-only mode and a corresponding message is shown. |
| You can create further instances now to check if the email message is sent if you reject an idea. Check also if the summary is displayed for rejected ideas. |

On this Page:
Related Documentation:
| Congratulations - you have done it! You have created your own executable Process App. |

Overview
Content Tools