xUML services that have been deployed from the Designer as a container are secured by default. However, these services are only usable internally and are not exposed to users outside the company. If you want to make them available to others, you can secure and publish them by creating a new API in API Management.
The following explanations apply to xUML services without user context (forms or role check).
Managing the Designer Service
|
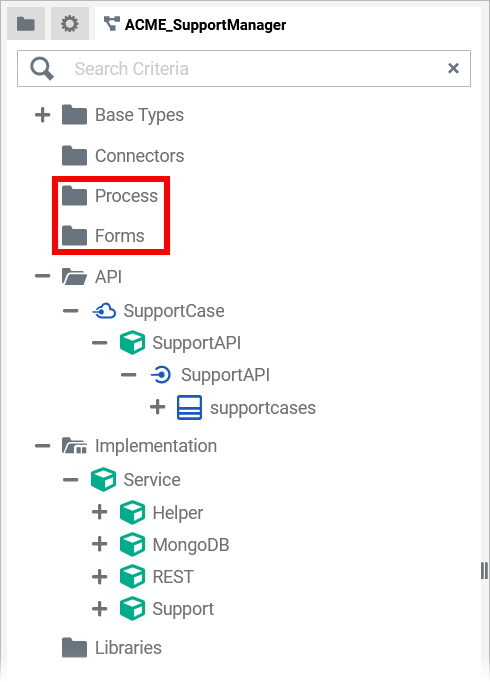
In the Designer, you have created a REST service that contains neither forms nor a process. Example: We use a REST service named SupportAPI that handles support cases which are stored to a MongoDB. |
|
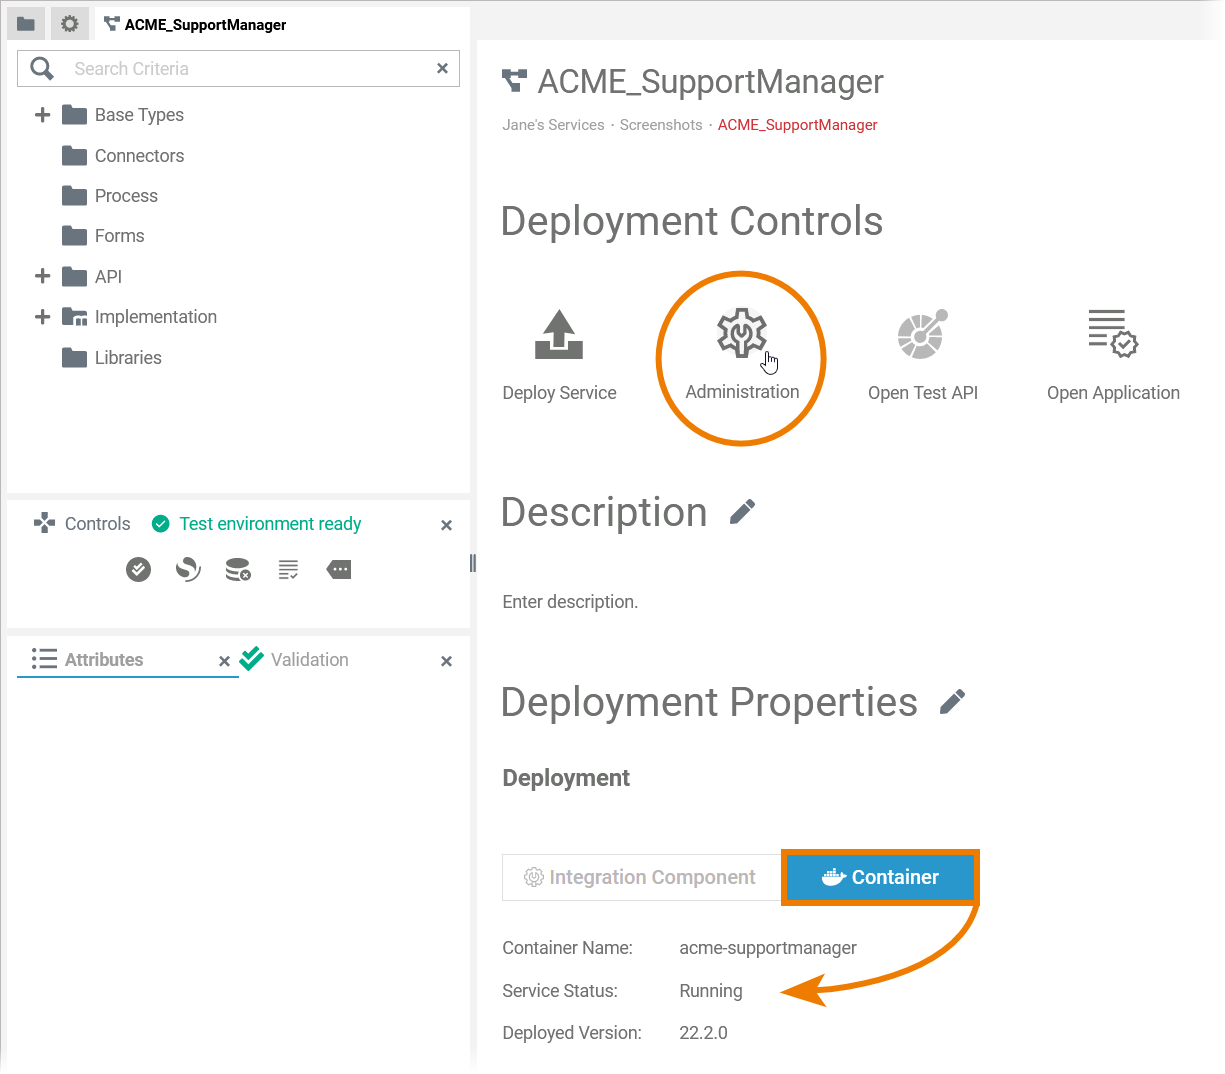
Choose the deployment target Container. From the Service details page, open the service in the PAS Administration.
|
In the Administration, you can access the service details, which also contain the information about the service endpoints that you need to create a new API. Use icon 

Creating the API
|
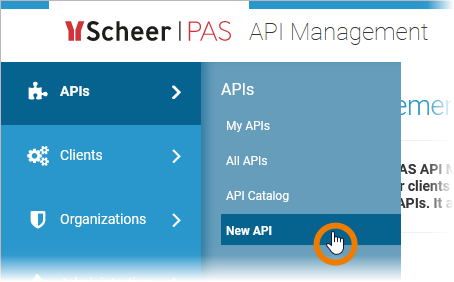
Open the API Management and select menu APIs > New API. |
|
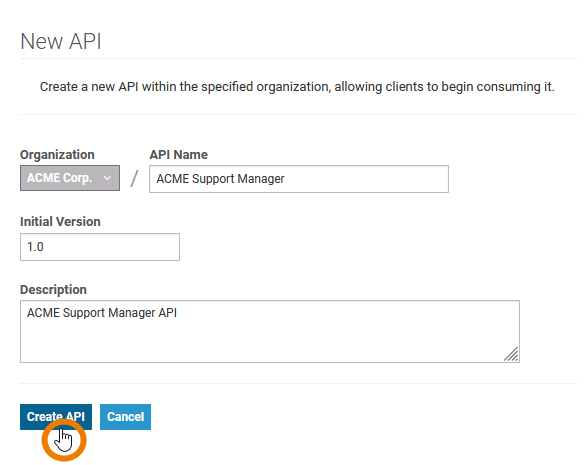
Enter a name and a description for the new API and create it. |
|
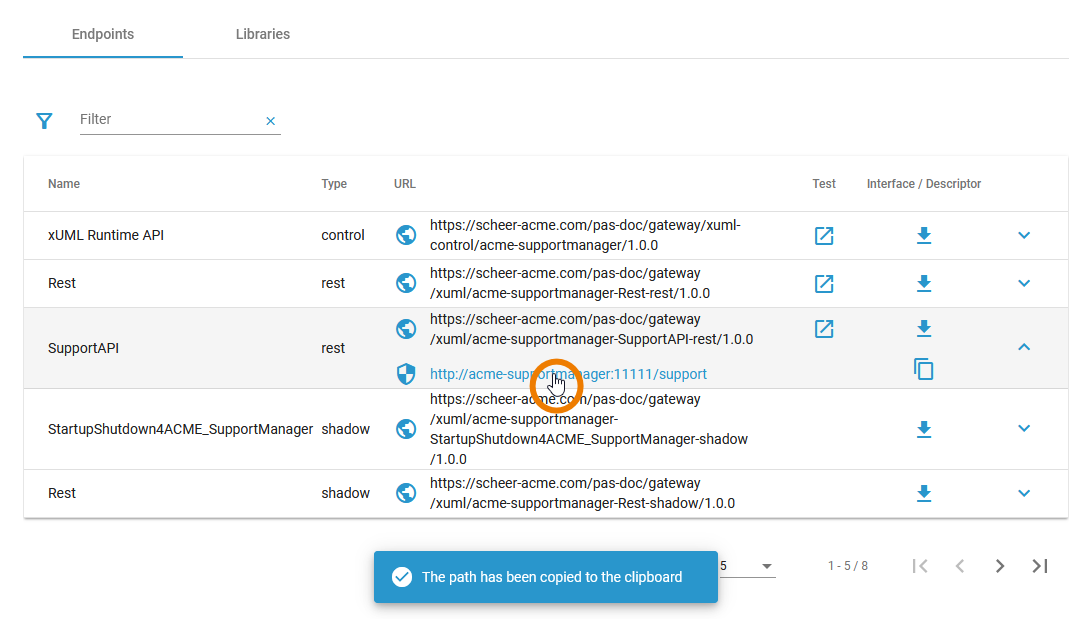
Now you need the information from the service details in the PAS Administration. To access the internal URL of your REST API, in our example SupportAPI in the Endpoints tab, you need to expand the entry (see above). Click on the (internal) URL to copy it to the clipboard.
|

|
Switch back to API Management and open tab Implementation of your new API. Paste the copied URL in field API Endpoint and click Save. |
|
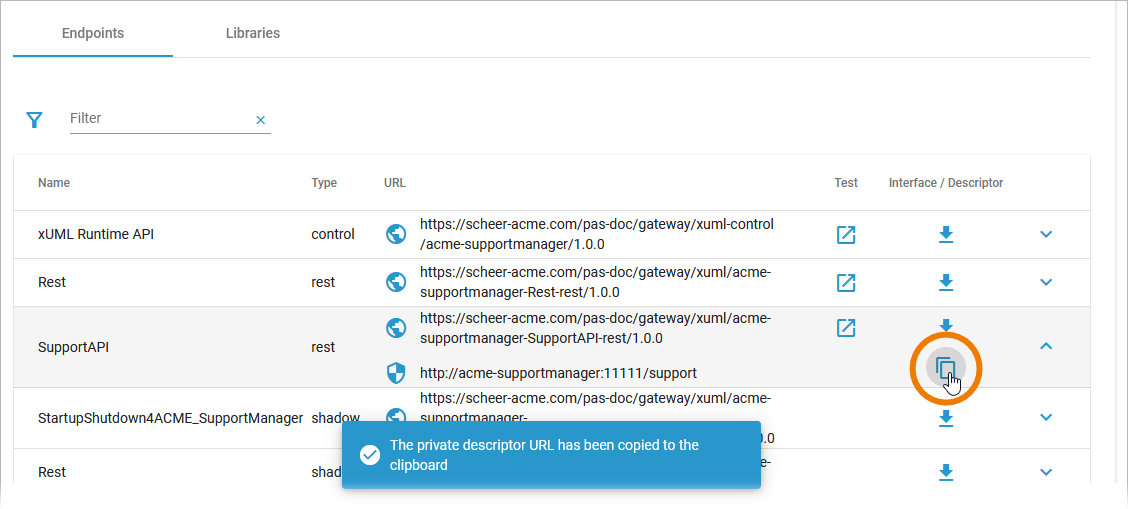
Open the Administration again and use icon |
|
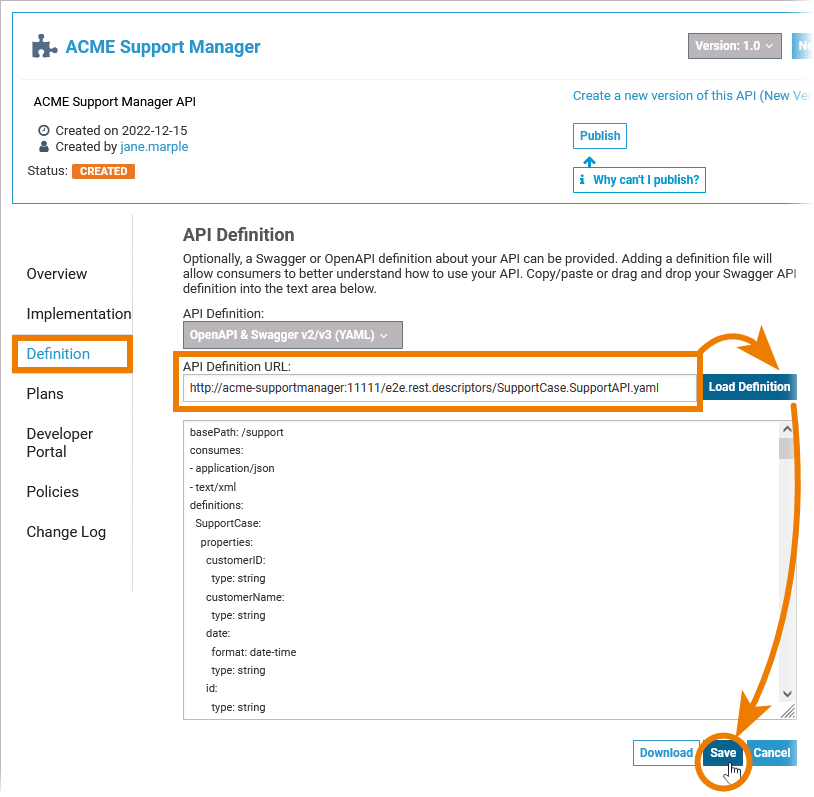
In API Management, open tab Definition of your API. Do the following:
|

Securing the API
You created a new API, because you want to secure your service. Therefore, you need to create some plans for your API now.
Example: Our example service handles support cases. The API should be usable by two groups of users:
-
Users with limited permissions who can only create support tickets.
-
Support administrators who can create and manage support tickets.
|
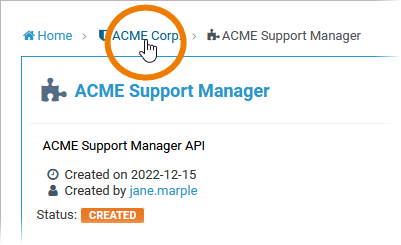
To create corresponding plans, open your organization. You can use the breadcrumb navigation on top of the API details page. |
|
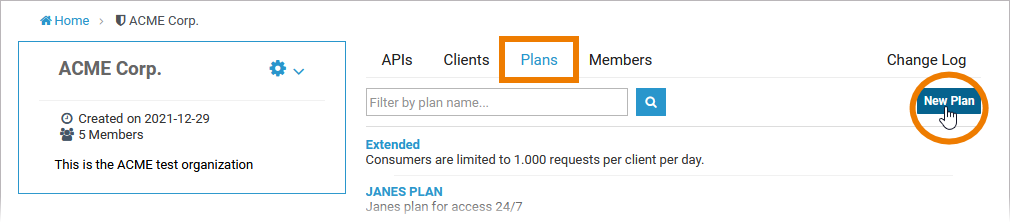
Open tab Plans and use button New Plan. |
|
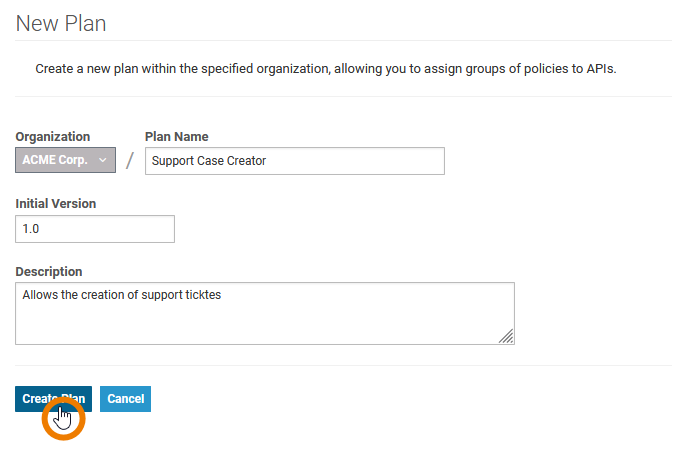
Enter a name for your plan and a useful description before you create it. Example: We create a plan for our first use case (users with limited permissions). |
|
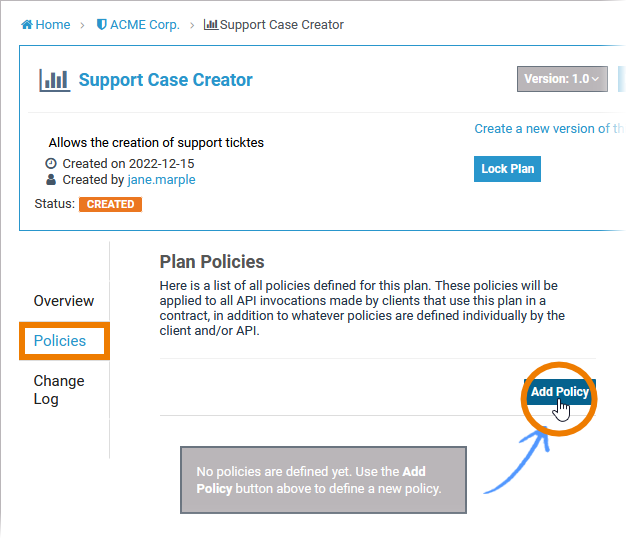
If you want to create plans for users with limited access, you have to assign appropriate policies. Expert Advice Go to page Policy Configuration for an overview on all policies supported by Scheer PAS API Management. Open tab Policies and click the Add Policy button. |
|
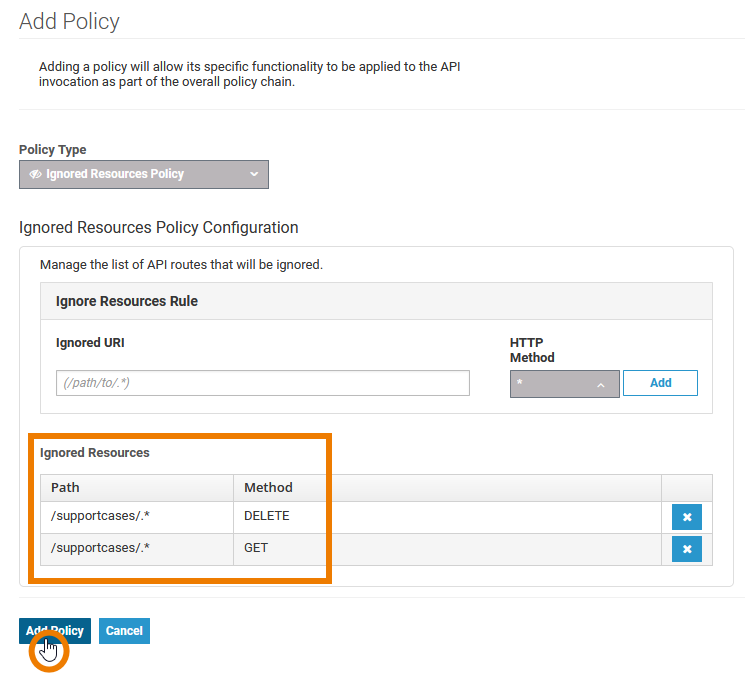
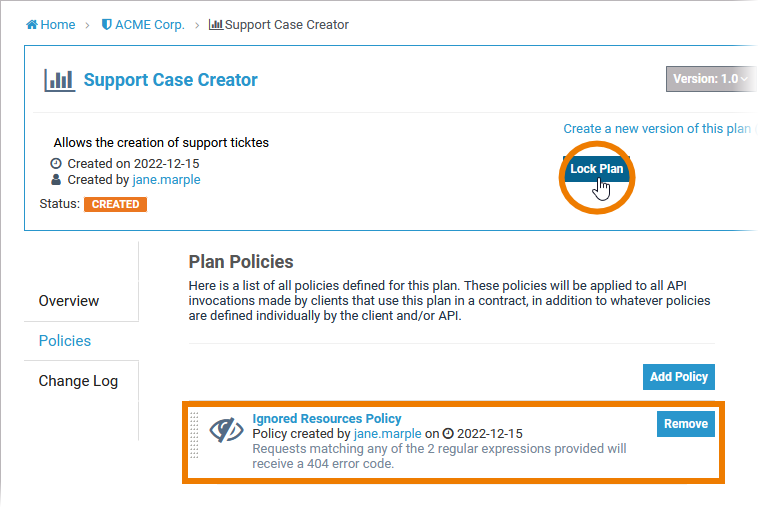
Select the Policy Type you want to assign and configure the policy according to your requirements. Example: We choose the Ignored Resources and configure it so that support case creators cannot receive or delete support requests. |
|
The policy is added to the plan, you are now able to lock it. Only locked plans can be used by APIs in the organization. Refer to Locking a Plan for more information. |
|
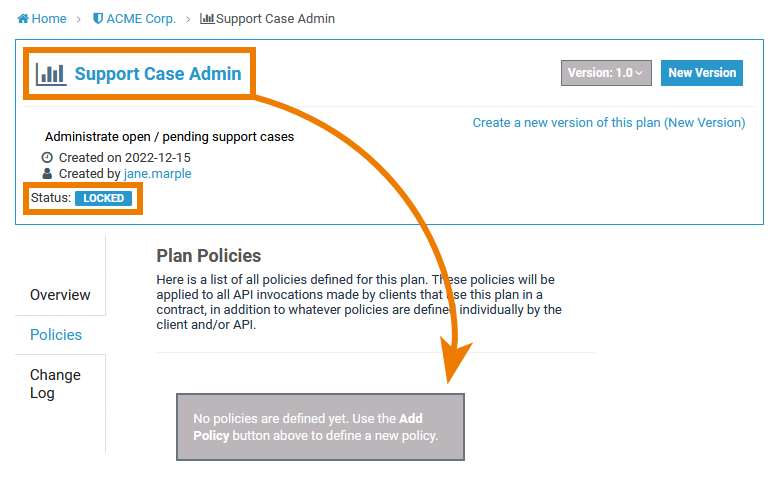
In the same way, we create a second plan for support case administrators. Administrators don't have any restrictions because they should be able to access all support tickets. Therefore, their plan has no policies assigned. |
|
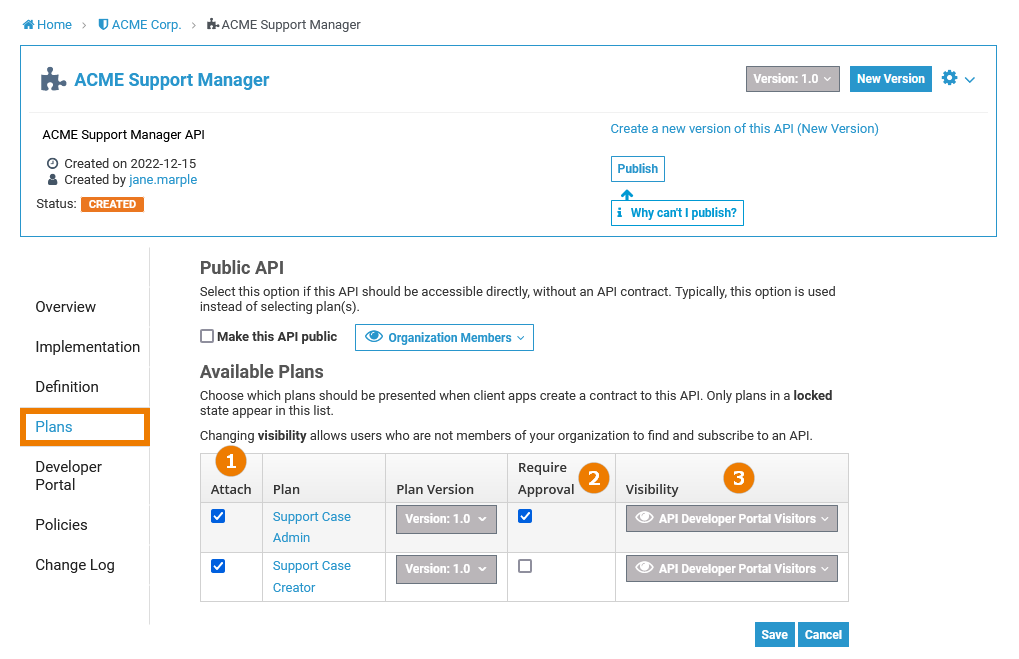
Go to the API details page again and open tab Plans. You have to do the following here:
Expert Advice Read more about the visibility concept on page The Concepts of API Management. Example:
|
|
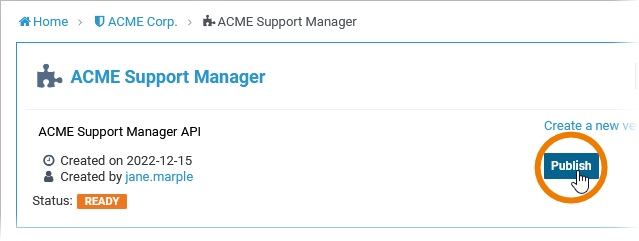
You have completed the necessary steps to secure the service and can now publish your API. |
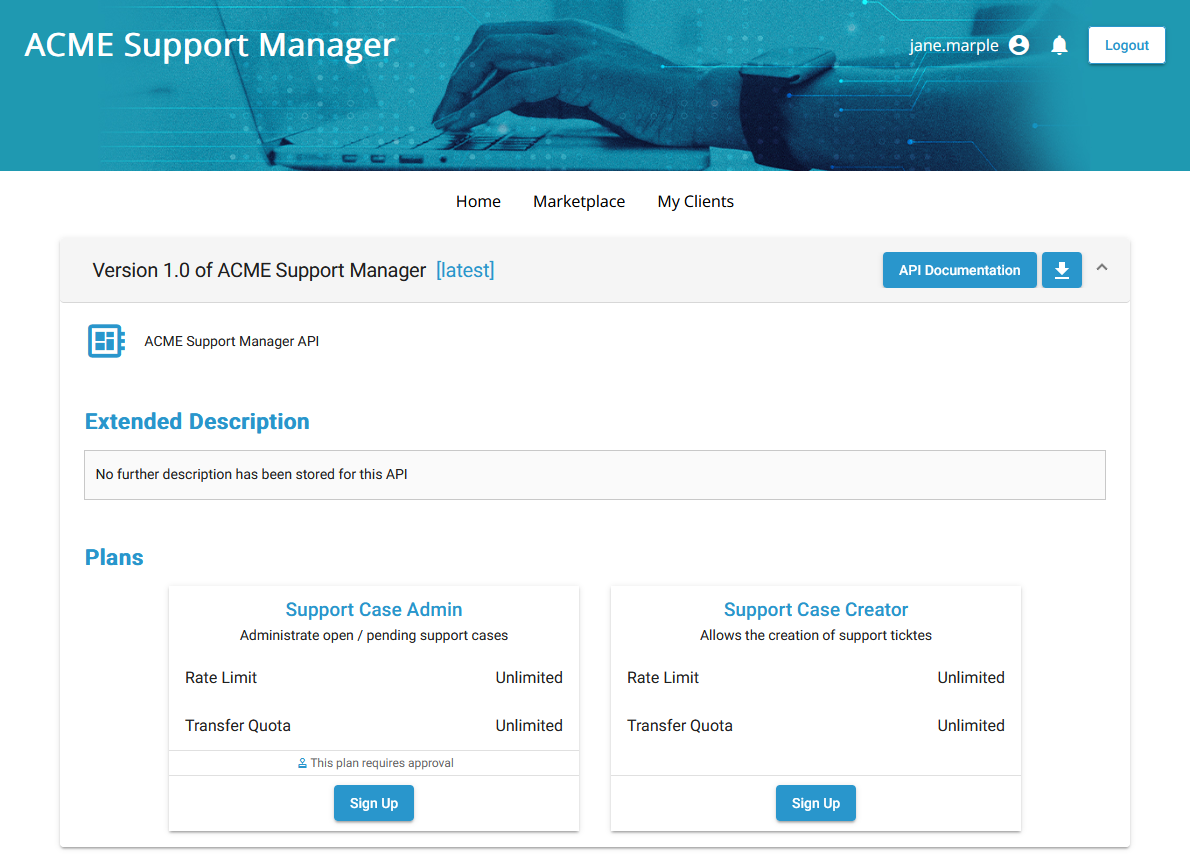
|
The API is available in the API Developer Portal. Users can now sign up for it. |