Exposing an API
PAS 22.1 The API Developer Portal was created to make your APIs publicly available so that your customers and their developers can easily use them. All APIs created in API Management are exposed to the portal, but you determine yourself which user groups should be able to see them by defining its visibility.
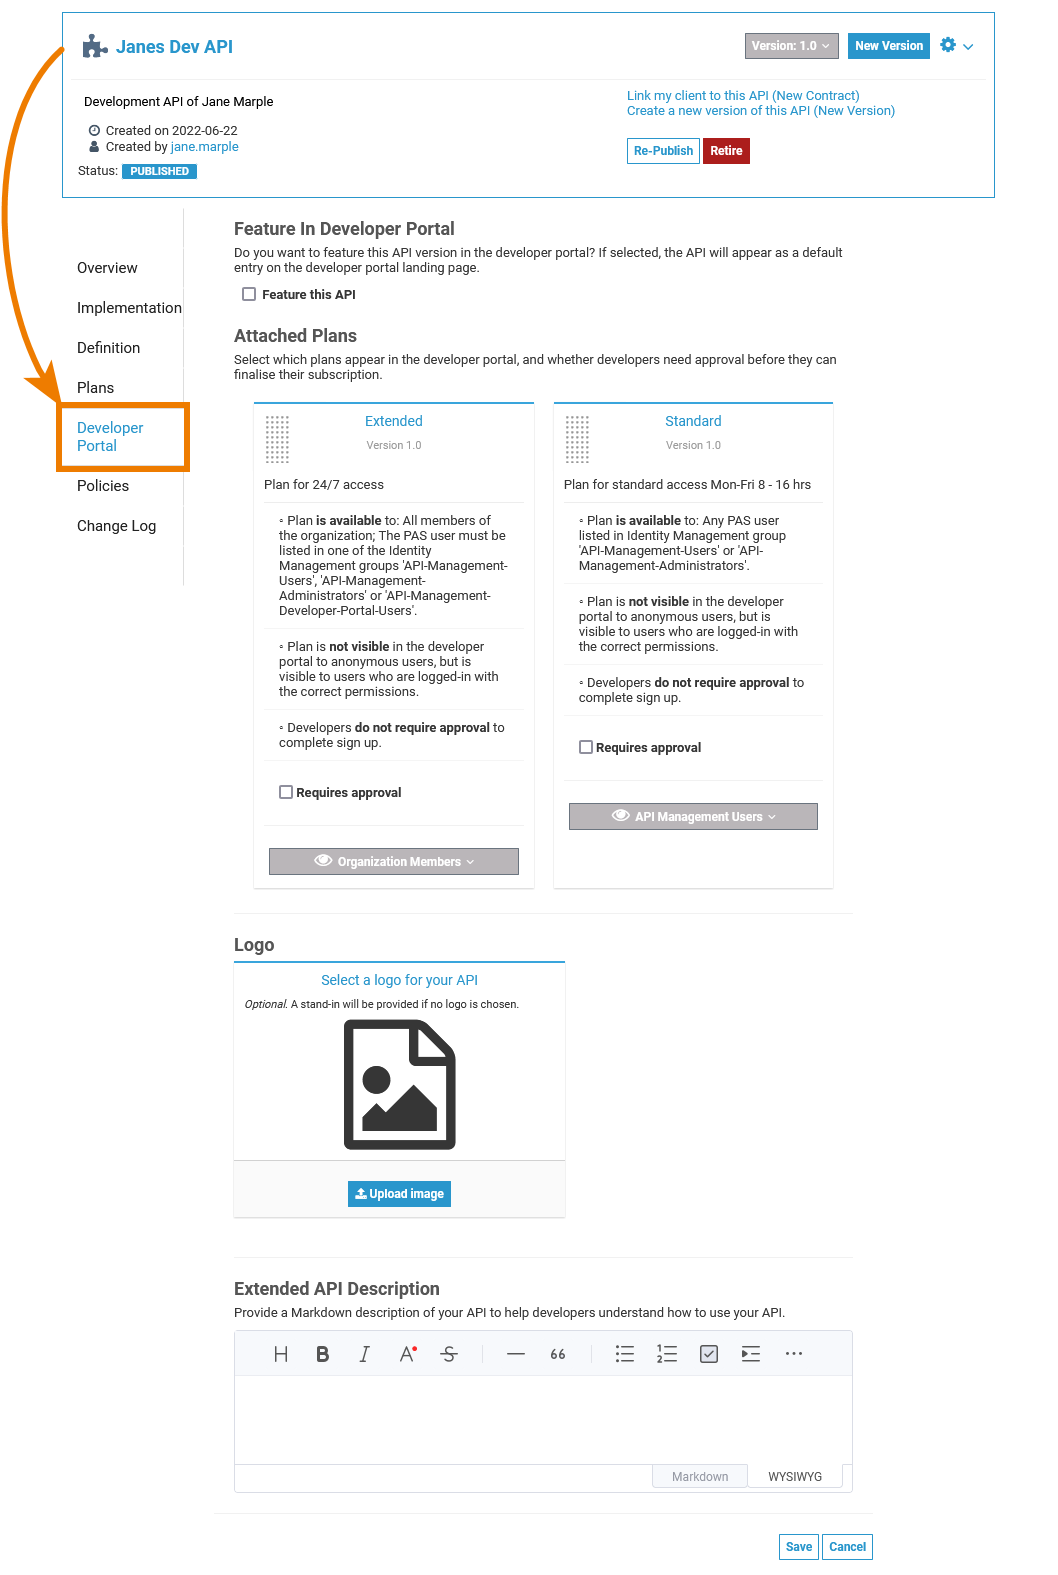
Open the API details page and click on tab Developer Portal to display various options to influence the appearance of the API in the Developer Portal:
- Feature in Developer Portal
- Attached Plans
- Logo
- Extended API Description
Feature in Developer Portal
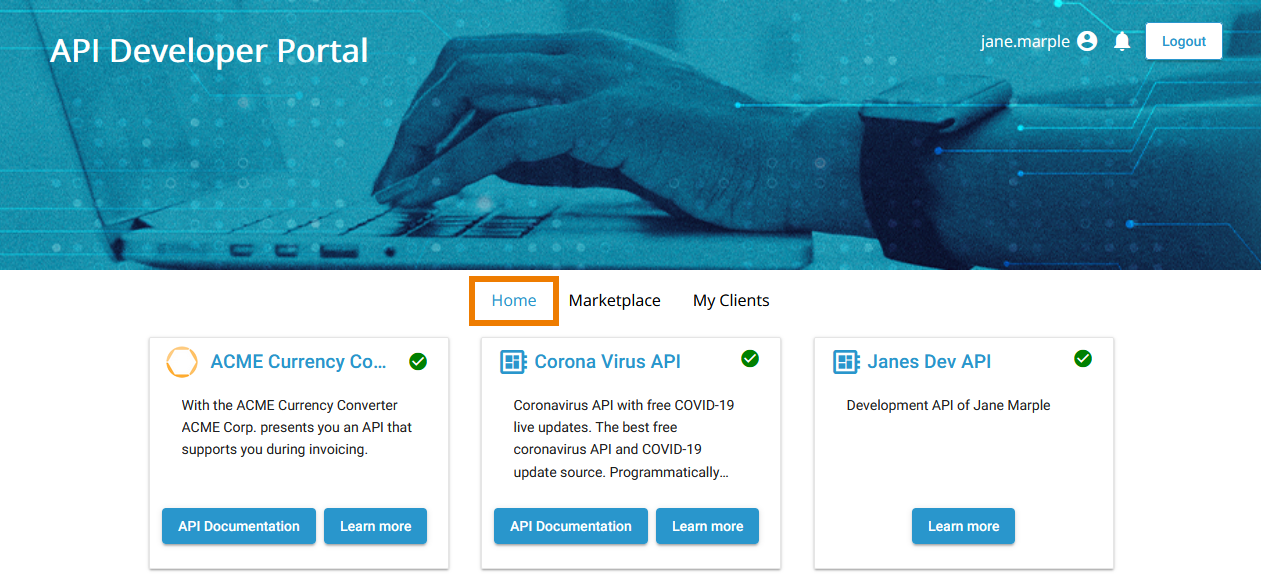
The Developer Portal contains different tabs, among others the Developer Portal landing page (Home) and the tab Marketplace. The Marketplace tab displays all exposed APIs, while tab Home displays only the APIs that should be highlighted.
If you want to highlight your API, activate the checkbox Feature this API:

Click Save to publish the changes to the Developer Portal. The API will now be displayed directly on the landing page:
Attached Plans
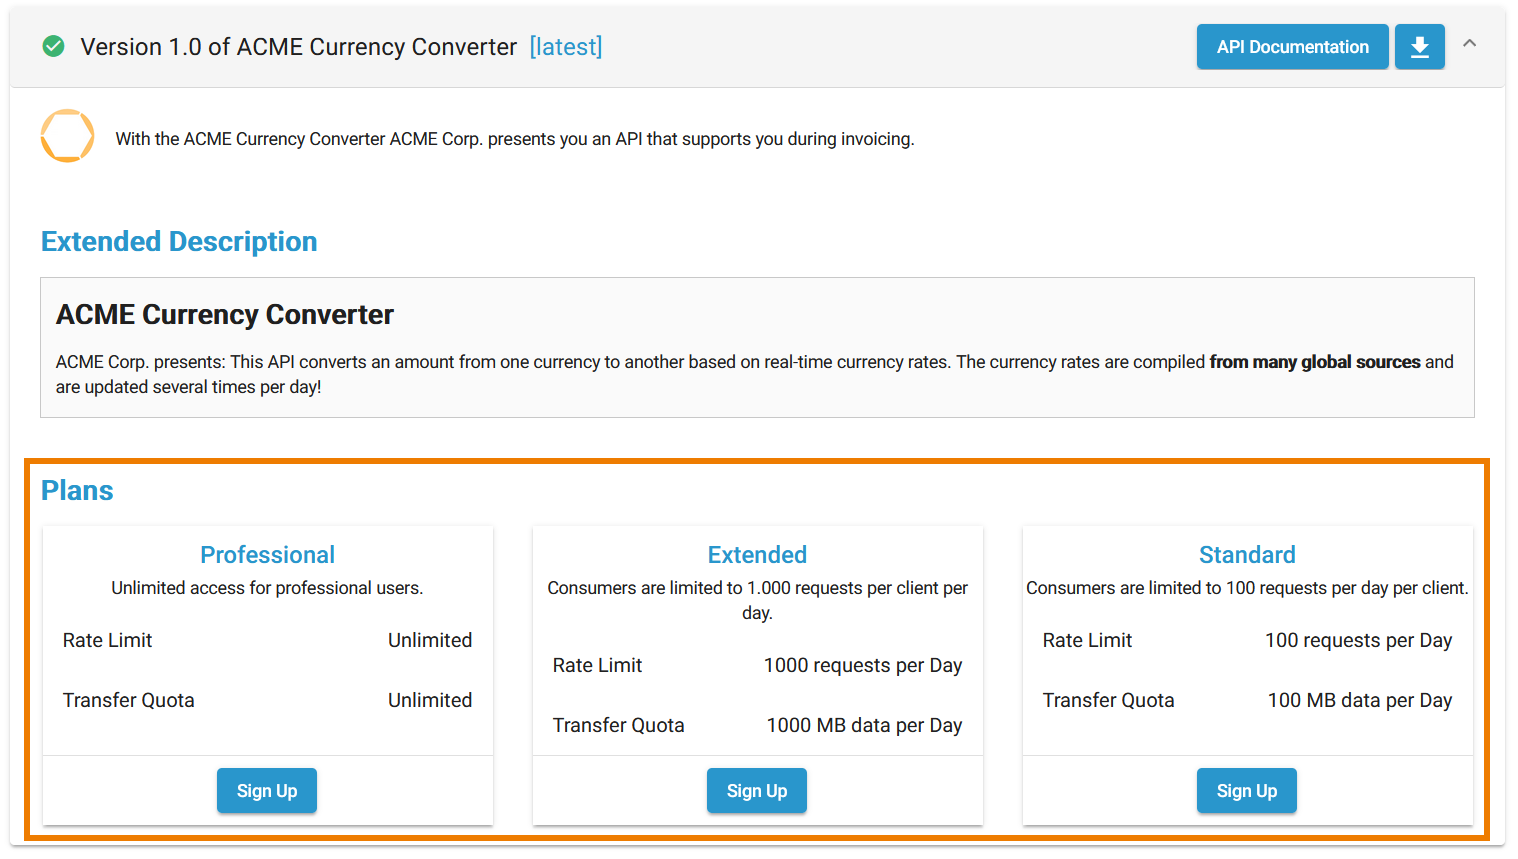
Private APIs are consumed through a plan - and every Private API can have several plans. In the API settings tab Plans you can define, which plans should be visible in the Developer Portal - and if their usage requires special approval.
Visibility and Approval
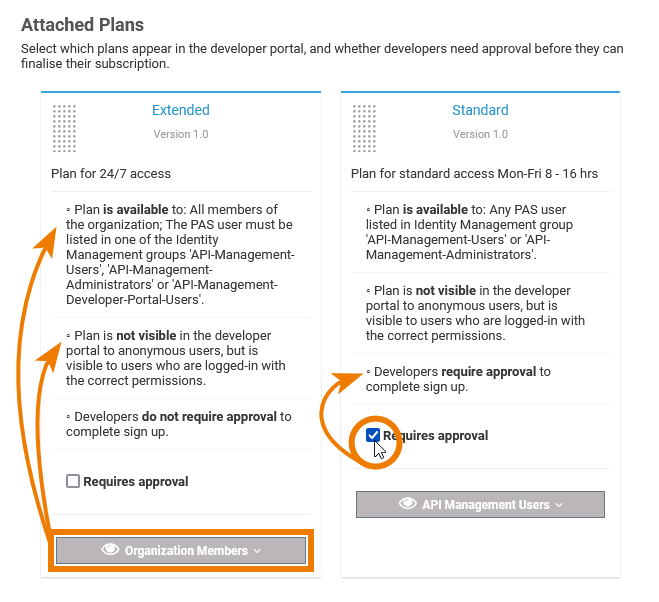
Section Attached Plans in tab Developer Portal displays all plans that have been assigned to the API. For each plan, you can now manage visibility and specify whether the plan should require approval:
| Option | Description |
|---|---|
| Requires approval | Activate this checkbox if you want the developer to ask for permission before he can use the API. |
| Visibility | Use the drop-down list to define which user group can browse the API and the corresponding plan. This affects the view in the API Management itself as well as in the API Developer Portal:
For detailed information about the visibility concept, refer to The Concepts of API Management. |
Sorting
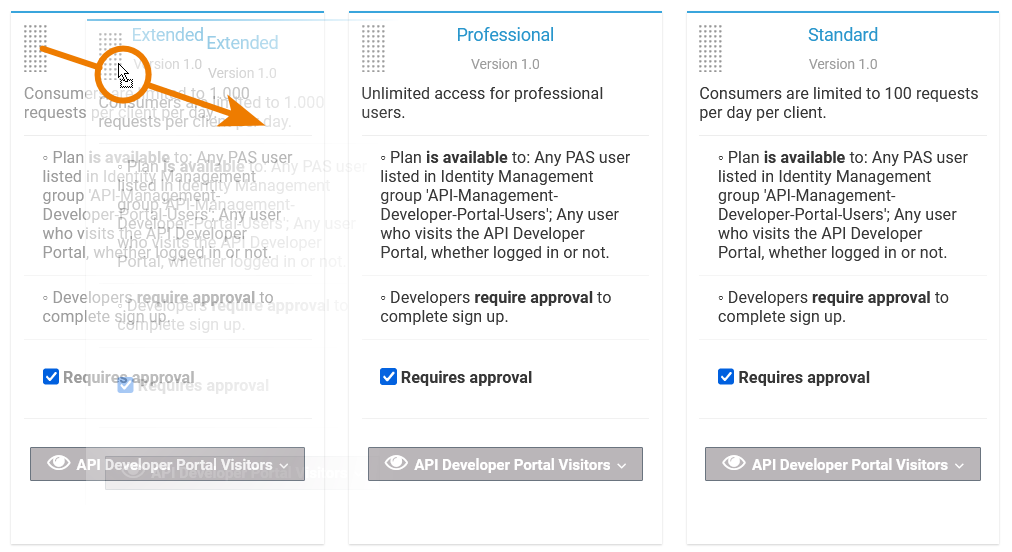
| You can also sort the displayed plans to define the order in which the plans are displayed in the API Developer Portal. Use the handle in the upper left corner of a plan tile... |
| ... to change the sorting of the plans. |
| In the API Developer Portal, the plans are displayed in your defined order. |
Logo
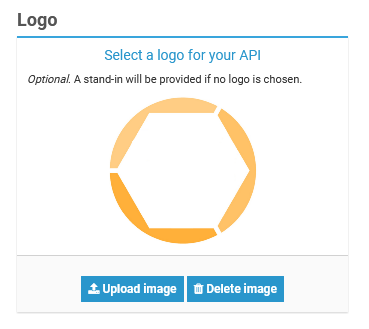
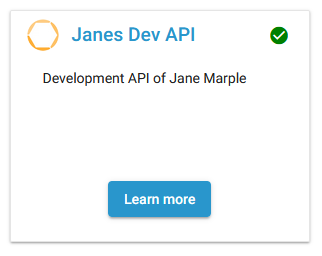
In the Developer Portal, your API is displayed as a tile. Section Select a logo for your API allows you to upload a logo or picture for your API that will be displayed within in the tile.
| Click Upload image to select an image or a logo from your environment. After a successful upload, use the Save button in tab Developer Portal if you want to keep the image. Use the Delete image button to cancel the action. |
| In the Developer Portal, the picture will be displayed in the upper left corner of the API tile. |
Extended API Description
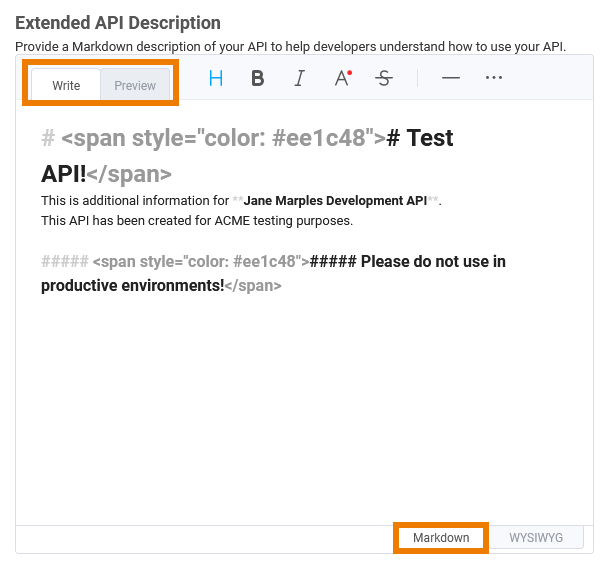
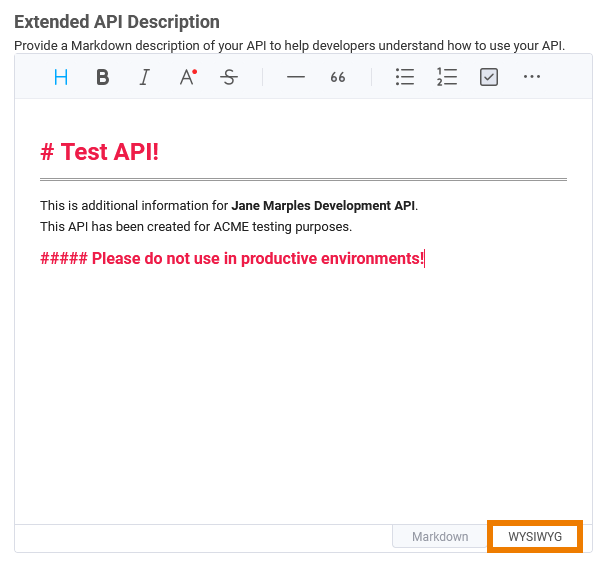
Sometimes you want to provide additional information for your API. Section Extended API Description contains an editor where you can add additional text. The editor comes with two different options.
Markdown View (containing a Preview tab)
Text Editor
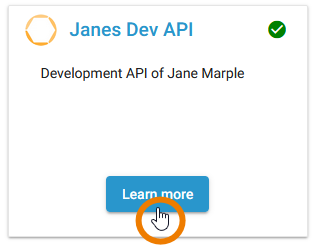
The API tile in the Developer Portal contains the button Learn more. Click this button to open the API details.
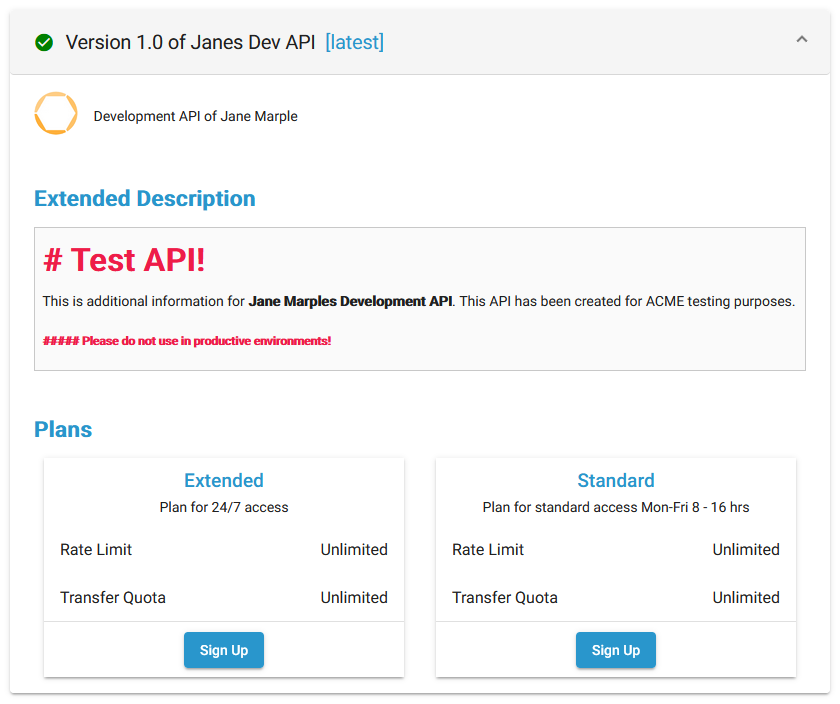
In this view, your text is displayed as Extended Description.
