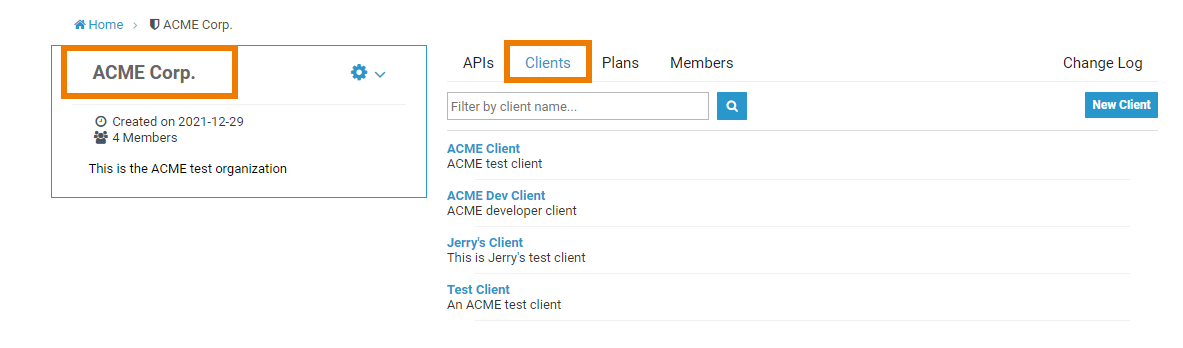
Clients must exist within the context of an organization. You can display the list of existing clients for an organization by navigating to the Clients tab for that organization on its details page:
You can also display all clients belonging to one of your organizations by choosing the option Clients > My Clients in the sidebar menu:
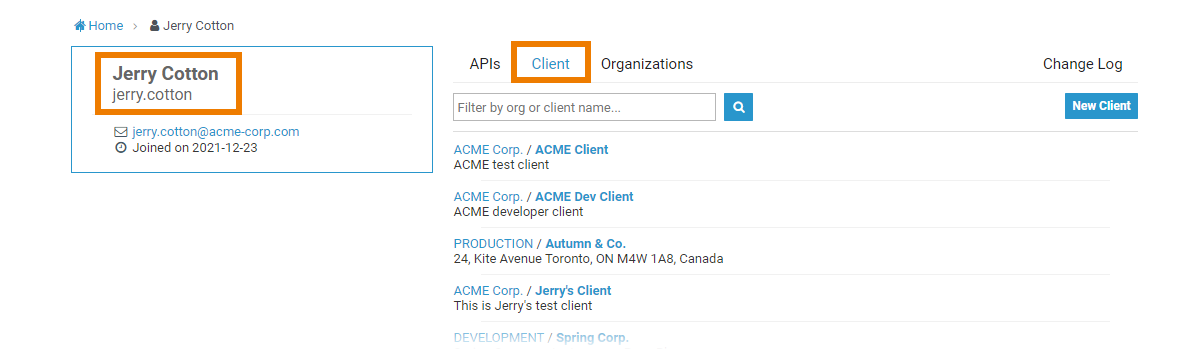
If you want to edit API Management elements, you need to access them via the My... menu items (refer to The API Management User Interface).
Click on the name of a client to open its details page:
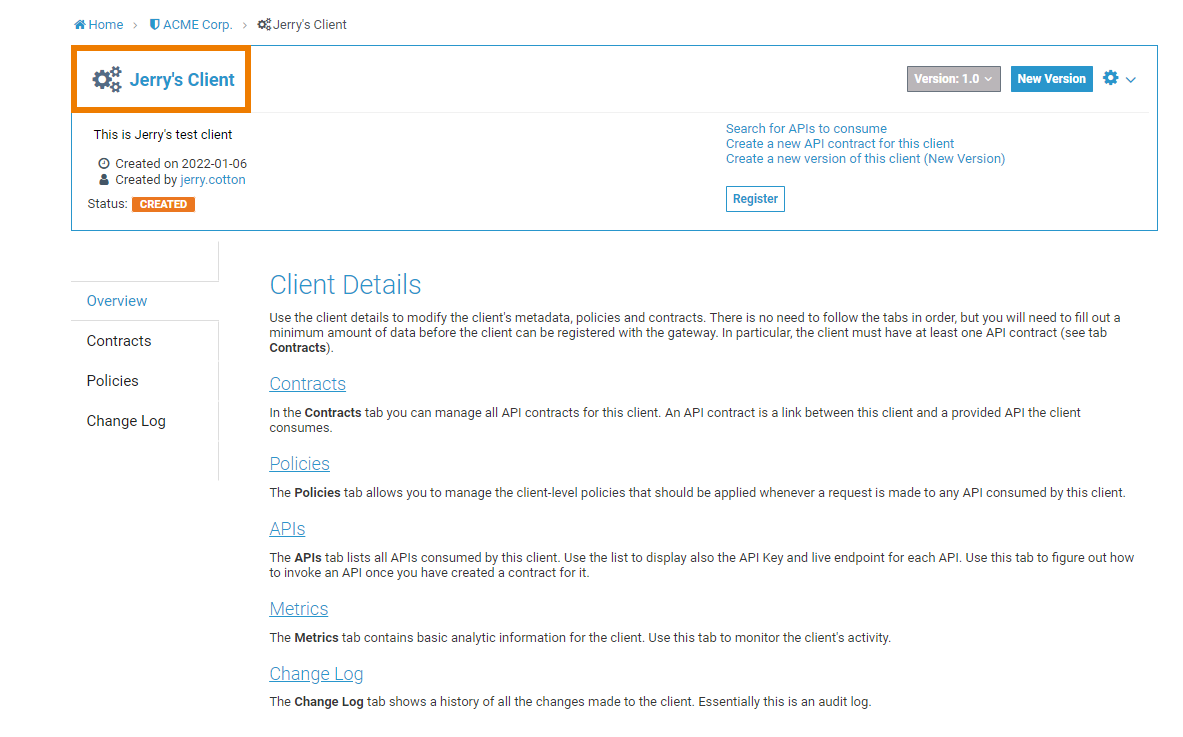
Use the Client Details page to modify the client's meta data, policies and contacts. Once you have fully configured the client, don't forget to register it (see Registering a Client).
Before the client is registered with the runtime gateway, it is not possible to make requests to backend APIs on behalf of that client.
Basic Settings
The basic settings of a client are displayed in the frame on top:

If a client is registered, more options appear:

|
|


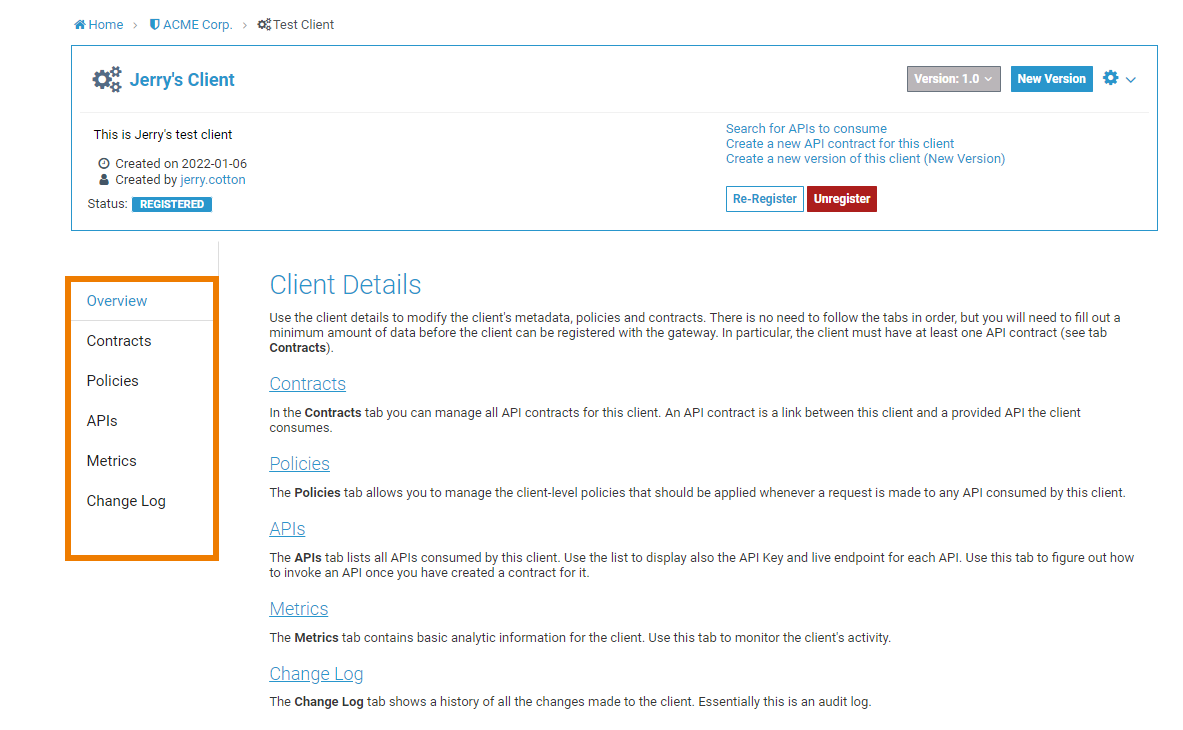
Client Details
Underneath the basic settings of the client its details can be configured. You will have to enter a minimum amount of data before the client can be registered with the gateway. In particular, the client must have at least one API contract (see tab Contracts).
Use the tabs on the left side of the page or the links on the overview page to navigate to the different details:
-
Overview
-
Contracts
-
Policies
-
Change Log
If a client has been registered, the detail list is extended by more options:
-
APIs
-
Metrics
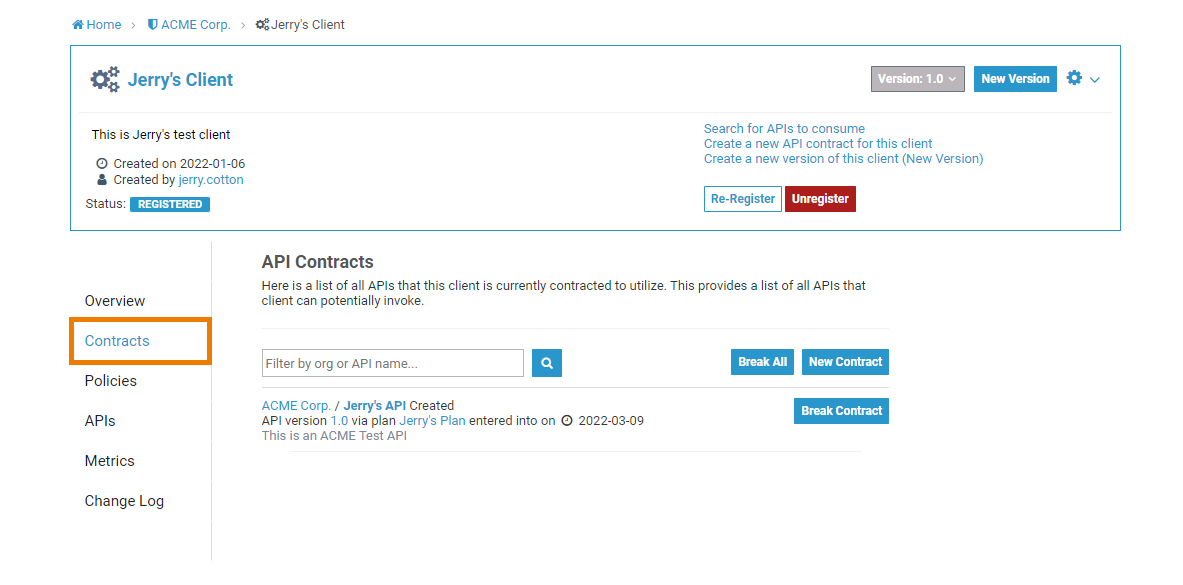
Contracts
The Contracts tab is where you can manage all of the API contracts for this client. An API contract is simply a link between this client and a provided API this client consumes. Open tab Contracts to see a list of all APIs this client is currently contracted to utilize:
|
Option |
Description |
|---|---|
|
API Search |
Use the API Search to filter the list of APIs by organization or API name. |
|
New Contract |
Click the New Contract button to create a new contract for this client. |
|
Break Contract |
The button Break Contract is displayed for every API in the list. Use it to delete the link between the corresponding API and this client. |
|
Break All |
If you want to delete all contracts of this client, use the button Break All. As this will erase all contracts, you will have to confirm a deletion dialog. |
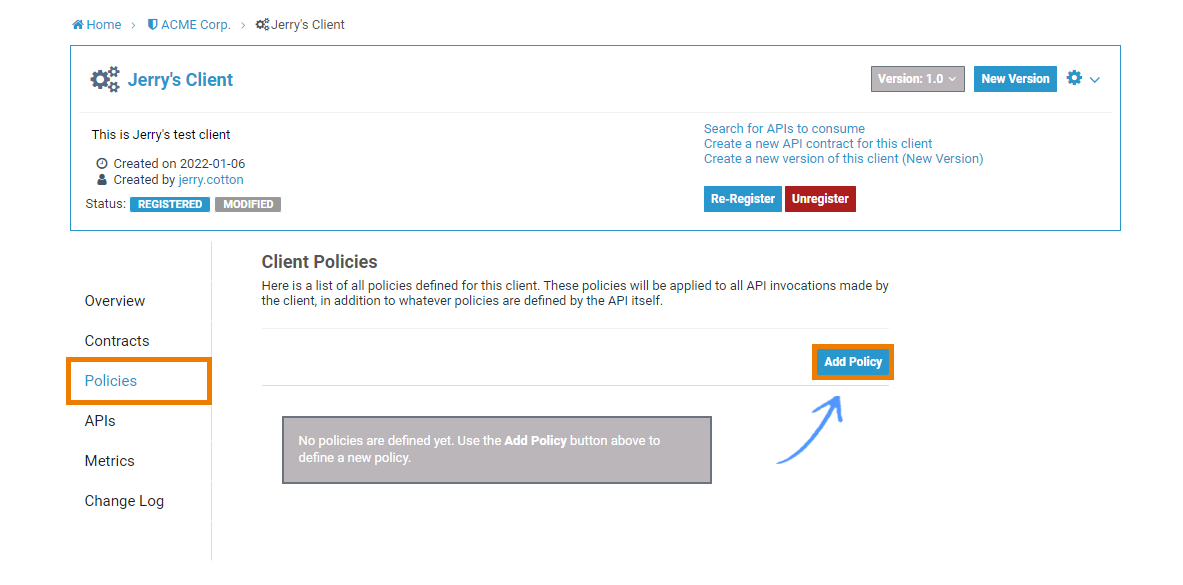
Policies
Open tab Policies to display the list of policies defined for this client. These policies will be applied to all API invocations made by the client, in addition to whatever policies are defined by the API itself. To add another policy to this client, use the Add Policy button. Doing so will redirect you to the page Add Policy, where you can choose a policy and customize it:
Refer to Policies for an overview of the standard policies supplied with Scheer PAS API Management. Refer to Assigning Policies for detailed explanations on how to configure a policy.
The order of the policies is important. The order in which the policies appear in the user interface determines the order they will be applied at runtime. You can drag a policy up and down the list to change the order:
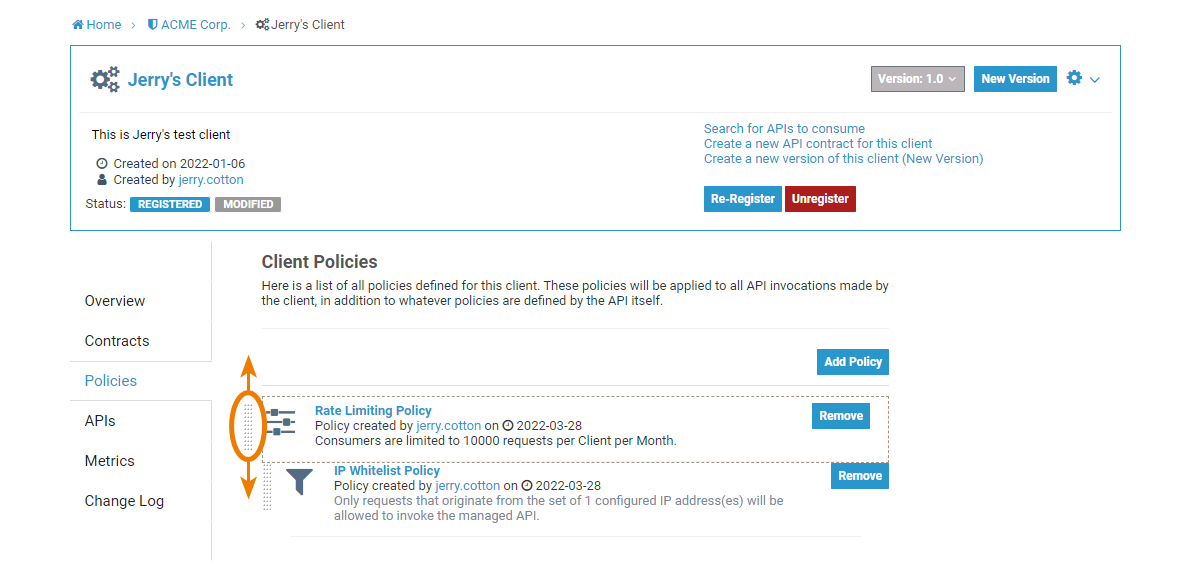
If you want to delete a policy from this client, use the Remove button of the policy in question.
APIs
This tab is only visible for registered clients.
Use the APIs tab to figure out how to invoke an API once you have concluded a contract for it. The APIs tab lists all of the APIs consumed by this client. This information is derived from the set of contracts the client has entered into. You can also download the API registry information in JSON or XML format, just use one of the buttons Download as JSON or Download as XML:
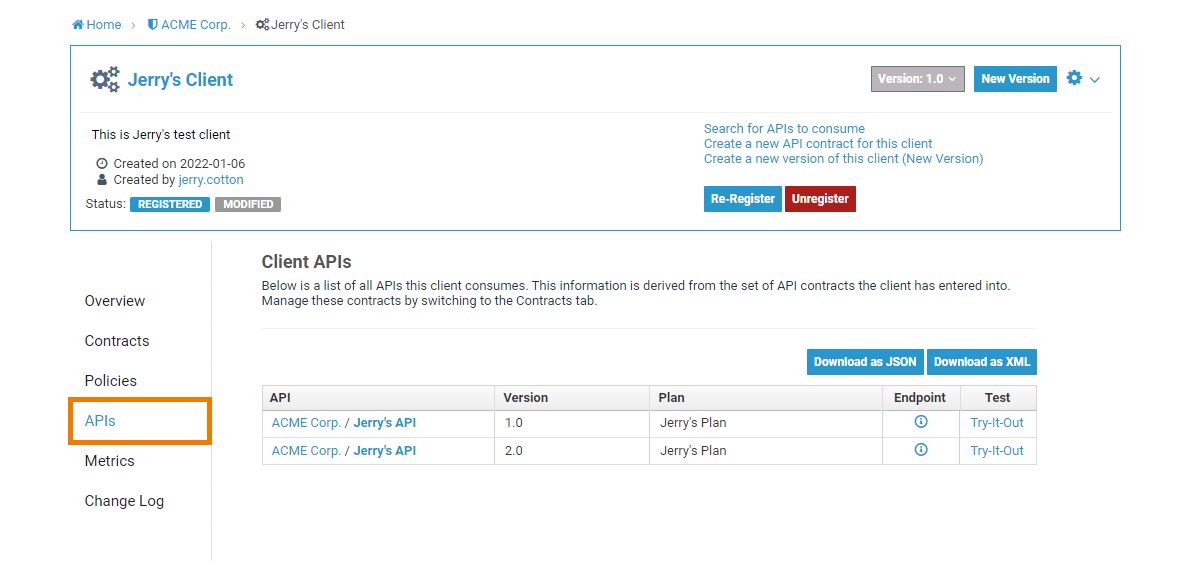
The entries in the table on page Client APIs show you the following information:
|
Option |
Description |
|---|---|
|
API |
Shows the name of the organization / the name of the API. Click on one of the links to open the corresponding details page. |
|
Version |
The version name / number of the API is displayed here. |
|
Plan |
Displays the name of the plan. |
|
Endpoint |
A click on the icon

|
|
Test |
Click on the Try-It-Out link to open the Swagger API Definition where you can send test calls to the API. For more information on testing APIs, refer to Testing APIs. You can find more information on how to use the Swagger UI on the Swagger pages. |

Metrics
This tab is only visible for registered clients.
Navigate to tab Metrics in the Clients section of API Management to display metrics information about the client. Once a client has consumed an API, you can use the Metrics tab to view basic analytics information:
PAS 22.1 For more elaborated metrics, have a look at the Log Analyzer which offers a default dashboard visualizing API Management insights.
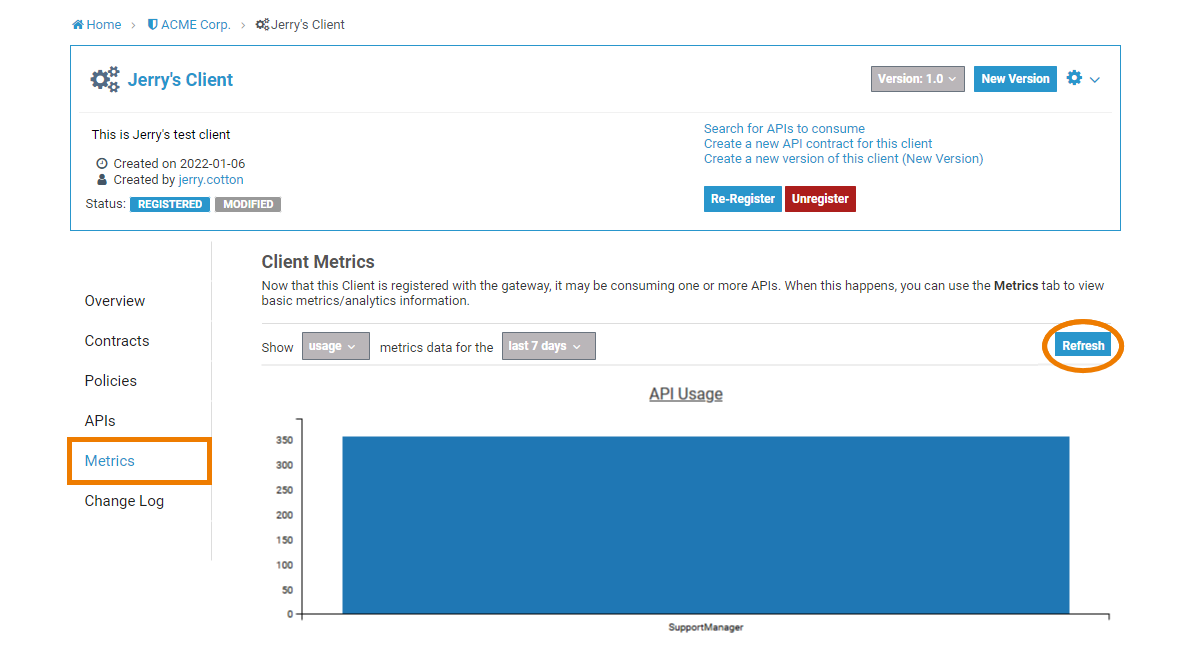
You can adapt the presentation of the data by selecting from the following options:
|
Option |
Description |
Allowed Values |
|
|---|---|---|---|
|
Type of Metric |
Select the type of metric you want to see. |
usage |
Show the count of requests per date (default). |
|
response type |
Show the count of requests per response type (success, failed, error). |
||
|
Time Range |
Select one of the pre-defined time ranges:
|
|
|
Click Refresh to update the page and load the latest data.
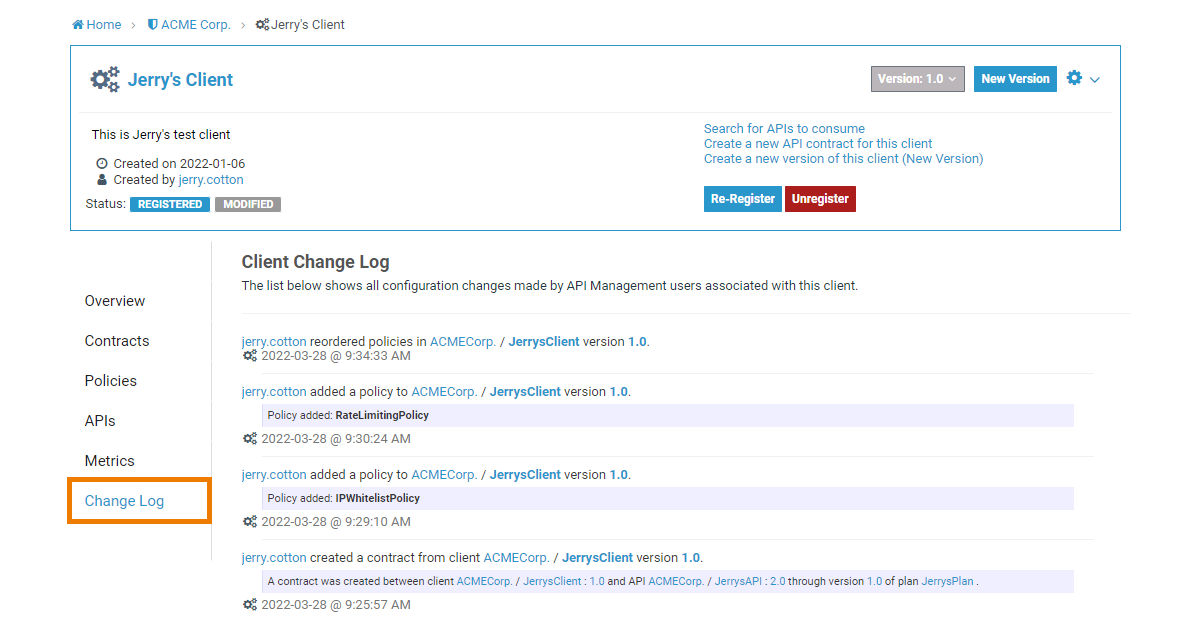
Change Log
Navigate to the Change Log tab if you want to see an overview of changes made for this client. All configuration changes made by API Management users associated with this client are listed here: