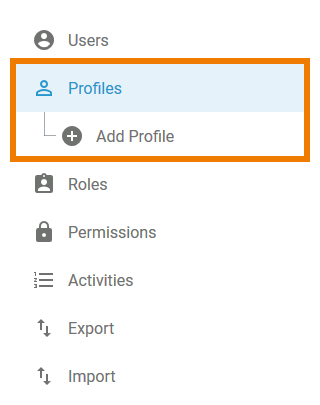
Users need appropriate permissions to log in to and work with the platform. Profiles are designed to manage permissions. A user will not be able to work with the platform unless at least one profile has been assigned to his account. At least one standard profile must be assigned to each user. Administrators can create new profiles by choosing the sidebar menu Add Profile.
The platform distinguishes two types of profiles:
- Profiles without Namespace are used exclusively to manage required access rights for the different platform components.
- Profiles with Namespace allow users to save content. If a user should create new content in one of the platform components, he or she needs a dedicated namespace his or her work can be saved to. In addition to your dedicated namespace, you may have shared namespaces to collaborate with other users.
Menu "Profiles"
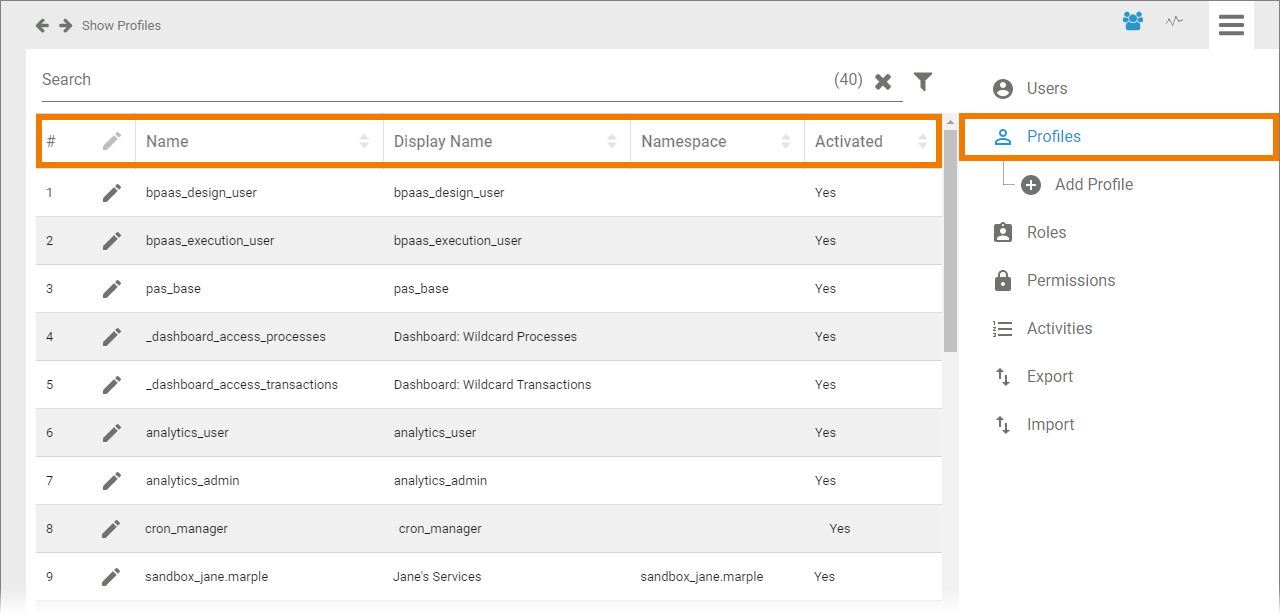
| Choosing menu Profiles allows you to create new profiles and to edit existing profiles. It contains the following menu options:
| |
| In the Profiles menu, a list of all profiles is displayed in the content area. This list contains the following information:
| |
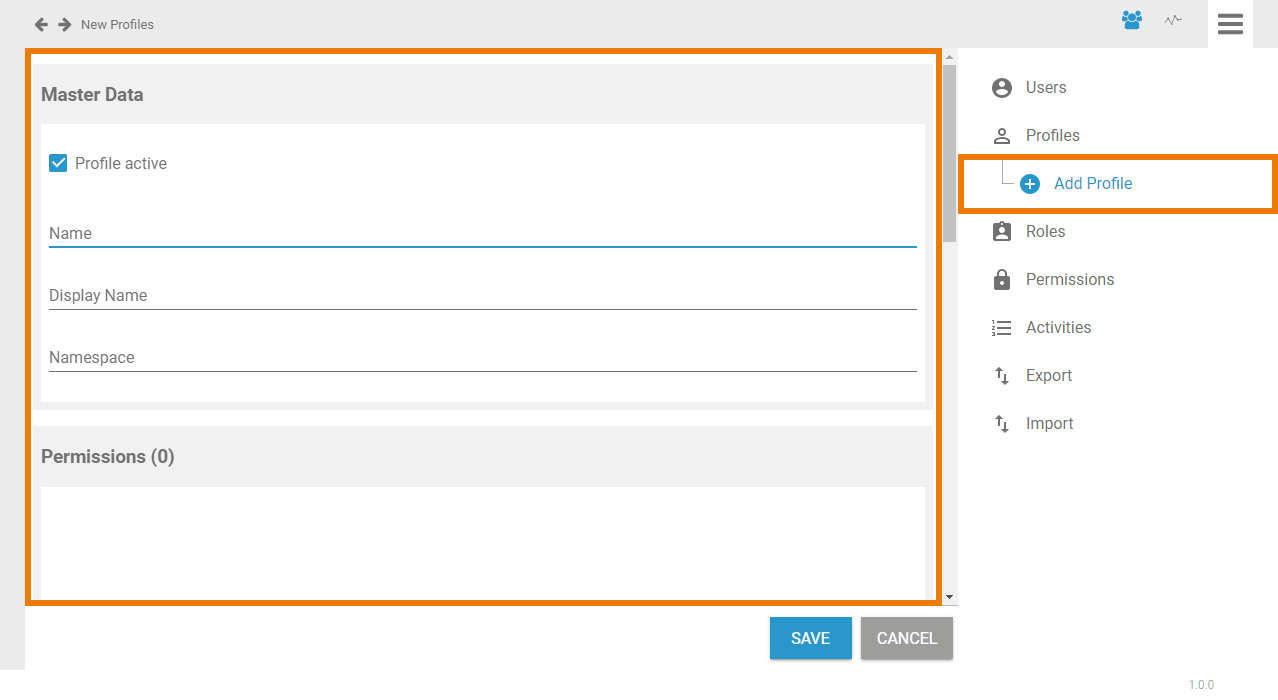
| Select Add Profile to create a new profile. An empty profile data sheet will open. |
The Profile Data Sheet
Every profile consists of a profile data sheet covering the following information:
Master Data
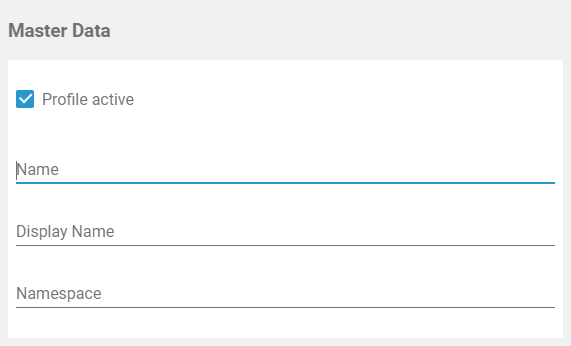
| You can manage the basic data of a profile in the Master Data section. Only Name is mandatory. Display Name and Namespace are optional. |
| Profile active The checkbox indicates whether the profile is activated or not. If you create a new profile, default is active. Administrators will still be able to assign a deactivated profiles to users but users will not be able to use deactivated profiles. |
| Name This field contains the profiles' technical name. The name has to be unique: Every name should only be used once in your database. |
| Display Name The display name field is optional. If the user should not see the technical name of the profile in the different platform components such as Designer or BPaaS, insert a different label for the profile here. This label will be the displayed in the platform components. If the field remains empty, the content of field Name is shown. |
| Namespace Namespace is the term for the memory location where the data of this profile is saved. In a profile without namespace, no data can be saved. You can not add or delete an namespace to/from an existing profile after creation. Therefore, new profiles are generally created with namespace. Individual write permissions can be granted or denied for profiles with namespace. Go to page Editing a User for further information. |
Permissions
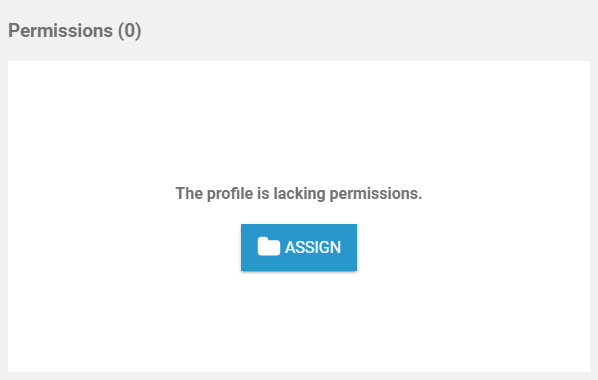
| Permissions are used to control the access to URLs, for example the URL of the portal, of the BPaaS cockpit or the Designer, or the URLs of specific apps. The permissions window displays the permissions assigned to the profile. Use the Assign button to allocate further permissisons:
|
User
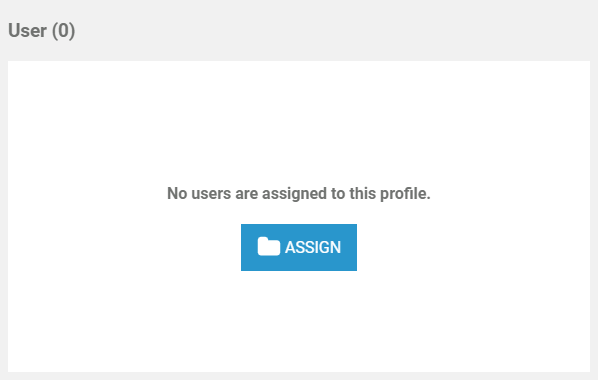
| In the User section, the profile can be assigned to all users who should be able to see the content saved in this profile:
|
Translations
Meta
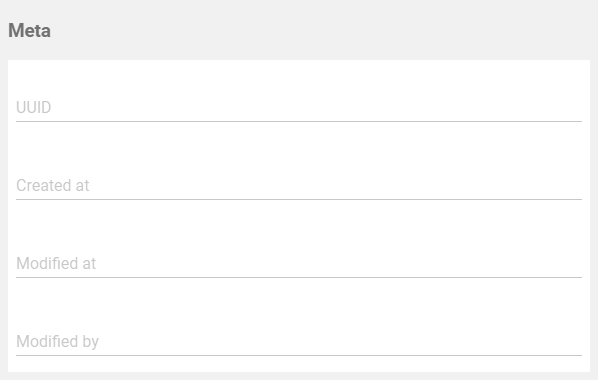
| The Meta section contains a list of the profile's meta data such as:
|
