Namespaces are the highest level in the hierarchically structured explorer tree. All content is stored within a namespace. Namespaces have to be created and assigned to the user accounts in the Scheer PAS Administration.
Every user needs a dedicated namespace his or her work can be saved to. In addition to your dedicated namespace, you may have shared namespaces to collaborate with other users on the same projects.
The Namespace Context Menu
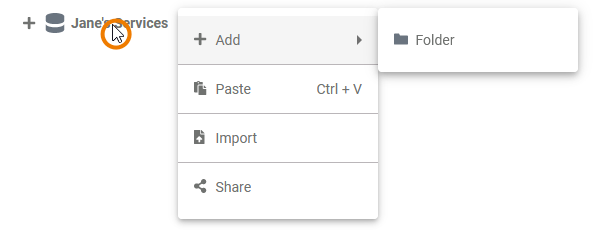
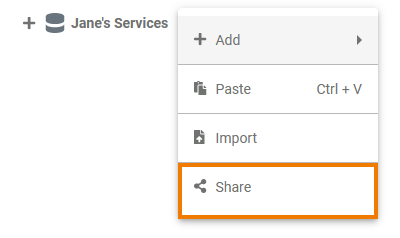
| Right click a namespace to open its context menu. The context menu displays all options available for a namespace: |
Adding a Folder
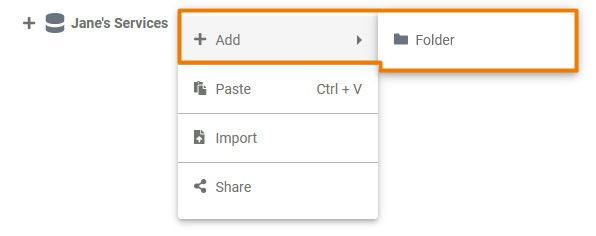
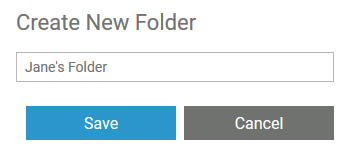
| In Scheer PAS Designer you need folders to manage your content such as projects and models. To add a folder to a namespace, right click on the namespace and choose the option Add folder from the context menu. |
| |
|
Pasting Items
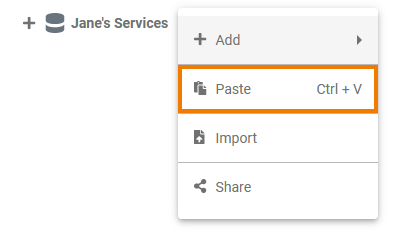
| You can cut off elements from the tree and paste them elsewhere using the context menu. If you have cut an element and the clipboard contains content to paste, the namespace context menu shows the option Paste item. | |
| If you choose this option, the cut element is pasted in the first level of the namespace hierachy.
|
Sharing the Namespace
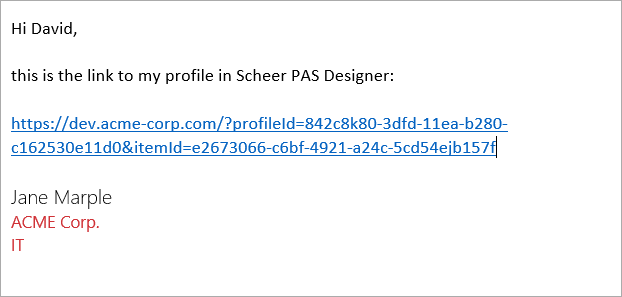
| You can also share the link for your namespace. Choose the option Share from the context menu to copy the link of your namespace to the clipboard. |
| |
|
Publishing the Namespace to the Cockpit
| If you want direct access to your Designer namespace in your Scheer PAS Cockpit, open the context menu and choose option Publish to cockpit. | |
| ||
| If you open your cockpit the next time, an external link tile grants you direct access to your Designer namespace.
|
Namespace Settings
If you click on a namespace in the tree, its settings are displayed in the settings window on the right side:
Editing the Namespace Description
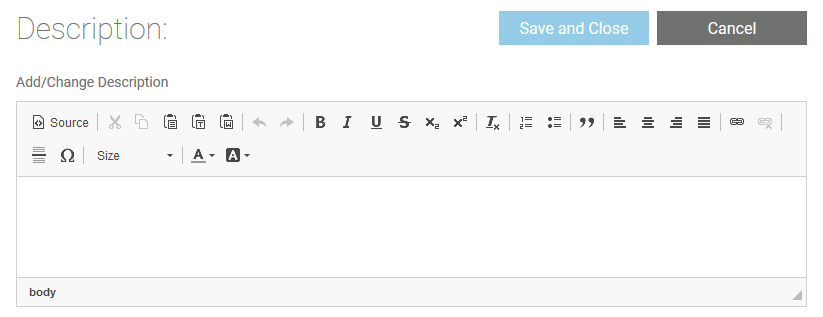
| Click the Edit description button if you want to enter a description for your namespace. | |
| |
