The content area of the cockpit is a workspace where users can create groups and tiles to manage their BPaaS content.

Tiles for projects, Process Apps and external links cannot be placed directly on the desktop, but only in a group.
After logging in for the first time, you will already find a first group in the content area of the cockpit. The Scheer PAS group is filled with three blue link tiles, which can be used to access further information on the product:

You can remove the Scheer PAS group from the cockpit. If you want to show the group again later, use the button Restore Group Scheer PAS in the Additional Actions Sidebar.
Groups
The groups help users to present start links for projects, Process Apps and external websites in a structured way. Use them to keep an overview of your projects and to switch to the desired work areas with just one click.
Creating a Group
The cockpit supports users of BPaaS to structure projects and process apps clearly. In the content area of the cockpit, each user can create his or her own groups and configure them as desired. Start tiles for projects, Process Apps and external links can then be stored in the groups. Thus the cockpit becomes your personal control instrument for your projects in BPaaS. Use the plus button Enter a name for your new group. If you want to assign a Background Color click in the grey field. In addition to the group wizard, the pop-up Color opens. Select one of the colors from the color scale. The chosen color is copied to the Background Color field. You can repeat this step as often as you like. The wizard adopts the selected background color. Click Add to create the new group.![]() in the navigation bar to open the group wizard, which supports you in creating a new group.
in the navigation bar to open the group wizard, which supports you in creating a new group.
The wizard opens in a pop-up window and is directly ready for input. 


The group is added to the content area of the cockpit and can now be used.
Editing Groups
| Each group has its own menu bar that you can use to edit the group. |

The following table provides an overview of the menu options:
| Button | Menu Option |
|---|---|
| A click on the Settings button opens the group settings. Here you can change the name and background color of the group at any time:
|
| Use the Delete button to remove a group from the workspace. Only the group is deleted, projects or Process Apps in it are not removed from the database. They can still be used via the New Elements Sidebar and the Hierarchy Sidebar. A click on the recycle bin opens the deletion dialog:
|
| With the arrow button you can expand and collapse a group: Example: Expanded group
Example: Collapsed group
New tiles can only be created in expanded groups. |


Groups are filled with tiles. Tiles are created by creating a new project or dragging existing Process App start links from the New Elements Sidebar into the group.
The creation of tiles is explained in detail on page The New Elements Sidebar.
Sorting Groups
Groups are not always created in the desired order. Sometimes priorities shift and you want to place a group displayed further down on the workspace further up - or vice versa. If you have created several groups, you can sort them on the workspace using drag & drop.
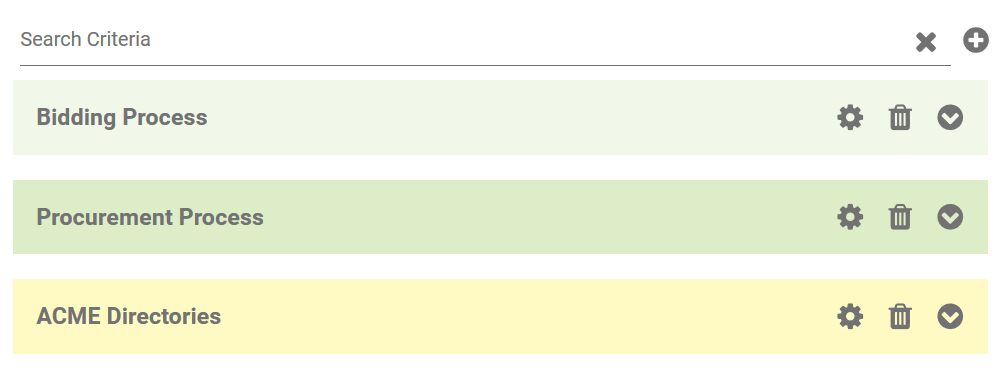
Example: Moving the group "ACME Directories" | |
|---|---|
| Irene Adler has created the new groups Bidding Process and Procurement Process. The two groups are now displayed at the top of the content area in the cockpit and the group ACME Directories was displaced downwards. However, Irene wants the ACME Directories group to be displayed at the top. |
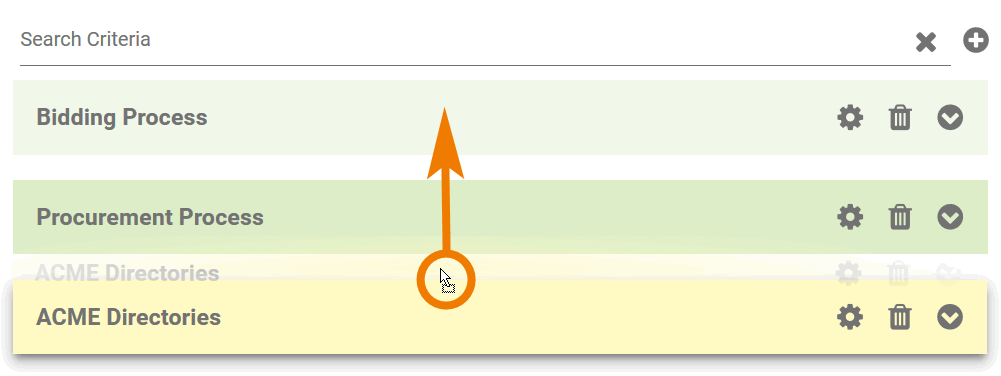
| After clicking on the ACME Directories group with the mouse, she moves the group to the desired position. |
| The ACME Directories group is sorted into the group list as soon as the mouse button is released. |

Tiles
Different types of tiles are used in the cockpit:
| Tile | Description |
|---|---|
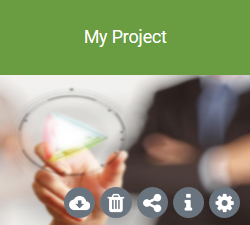
| Project Tile The project tile is the entry point to a project that contains modelled processes and app projects that belong together in organisational terms. |
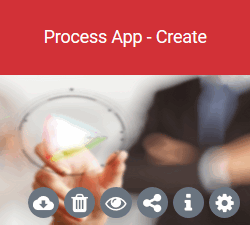
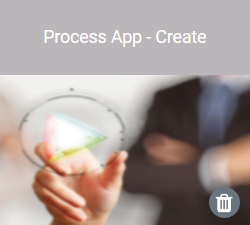
| Tile for Process App - Create You can start a Process App using the tile Create. If you open an app via the Create tile, you start a new process and you can create a new instance. When you create a new app project within a project, the two start links Process App - Create and Process App - Overview are automatically created and displayed in the cockpit sidebar. |
| Tile for Process App - Overview (with instance counter) You can also start a Process App using the Overview tile. If you open an app using this tile, all instances that have already been created are displayed in an overview table. You can use the table to search through the existing instances and also open them. As soon as instances have been created in an app, an instance counter is added to the Overview tile. The counter is displayed in the upper right-hand corner of the tile and shows the number of available instances. The counter is displayed by default. You can show and hide the instance counter in the tile settings via the toggle-button Show Instance Counter:
|
| External Link Tile The blue external link tiles enable users to access pages outside BPaaS. Any URL can be stored in a link tile. You can use the tile to go directly to the stored internet page. It is also possible to link SAP systems or webmail clients using this tile. |
| Softwarerobot Tile Users who are licensed for Scheer PAS RPA can create robot tiles in the cockpit. These tiles can be used to start the linked software robots directly. The functionalities of Scheer PAS RPA are explained in detail in the Scheer PAS RPA Guide. |
| Special Case: Gray Tiles Each project is saved in a profile. To access projects and apps, the user must be assigned the corresponding profile. If a user has already created tiles for apps, but is then deprived of authorization for the profile, these tiles are displayed in gray in the cockpit. Gray tiles are no longer usable. They can be removed from the cockpit using the button |
PAS design users are allowed to create project, app and link tiles. PAS execution users are only authorized to create app tiles and tiles for external links. | |


The creation of tiles is explained in detail on page The New Elements Sidebar.
Editing Tiles
| The tiles can be configured as required using the menu bar at the bottom. |

The following table provides an overview of the configuration options:
| Icon | Description |
|---|---|
| Settings The
For external link tiles, the following settings can be mainained:
The settings also show the profile in which a project is stored:
When creating a new project, you can assign the profile once. It can no longer be changed afterwards. |
| Information on the Model Click the button
|
| Share Use the button
Note on the Share Button Shared links allow other users to open the shared project or the shared overview or input form directly. The prerequisite, however, is that the user is registered for your BPaaS system and can log in after clicking on the link. |
| View EPC Model of the App When using the button This option is only available for Process App tiles. |
| Remove Tile Click on the button
You can create a new tile on the cockpit at any time using the corresponding start link in the New Elements Sidebar. |
| Export Use the export button Step-by-step instructions for importing and exporting models can be found in the chapter Transporting Models. |


Sorting Tiles
Just like groups, tiles can also be sorted by drag & drop. Users can move tiles both within a group and from one group to another.
Tiles can only be moved into expanded groups.
Example: Moving the project tile "ACME Bidding Process" within a group | |
|---|---|
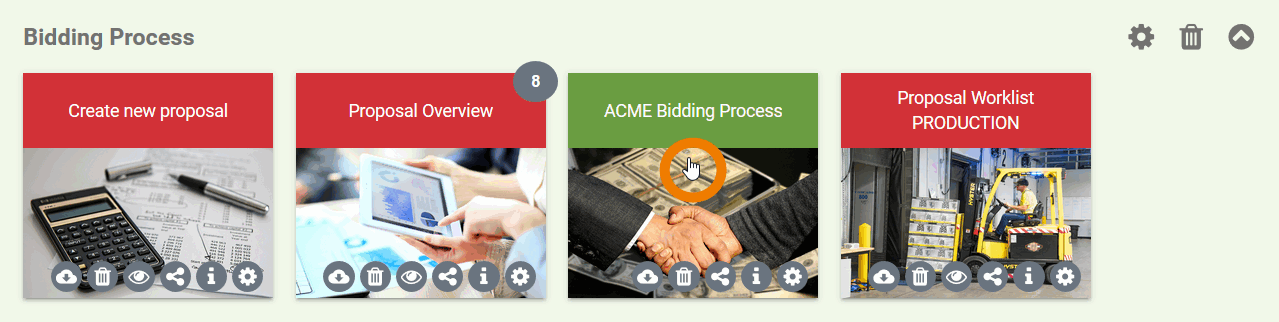
| Irene Adler wants to move the project tile ACME Bidding Process to the first position in group Bidding Process. |
| After clicking on the ACME Bidding Process tile with the mouse, she moves the tile to the desired position. |
| The ACME Bidding Process tile is sorted into the group list as soon as the mouse button is released. |


Example: Moving the link tile "ACME Homepage" from one group to another | |
|---|---|
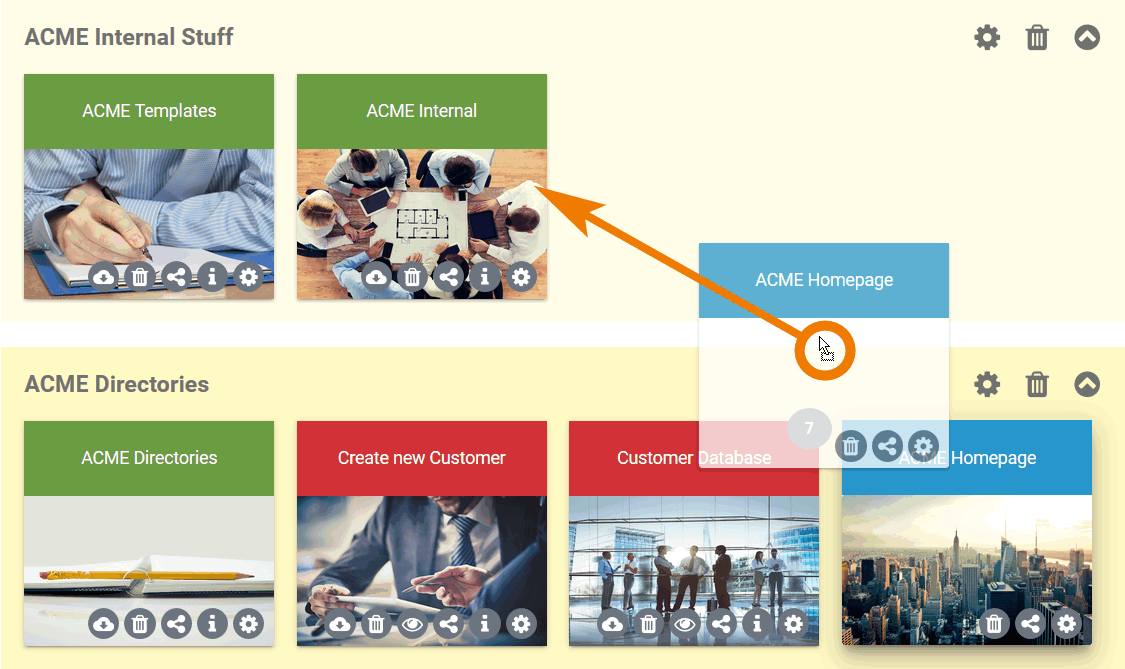
| Irene Adler wants to move the link tile ACME Homepage from the group ACME Directories to the group ACME Internal Stuff. |
| After clicking on the ACME Homepage tile with the mouse, she moves the tile to the desired position in the new group. |
| The ACME Homepage tile is sorted into the group as soon as the mouse button is released. |


On this Page:
Related Pages:
Overview
Content Tools