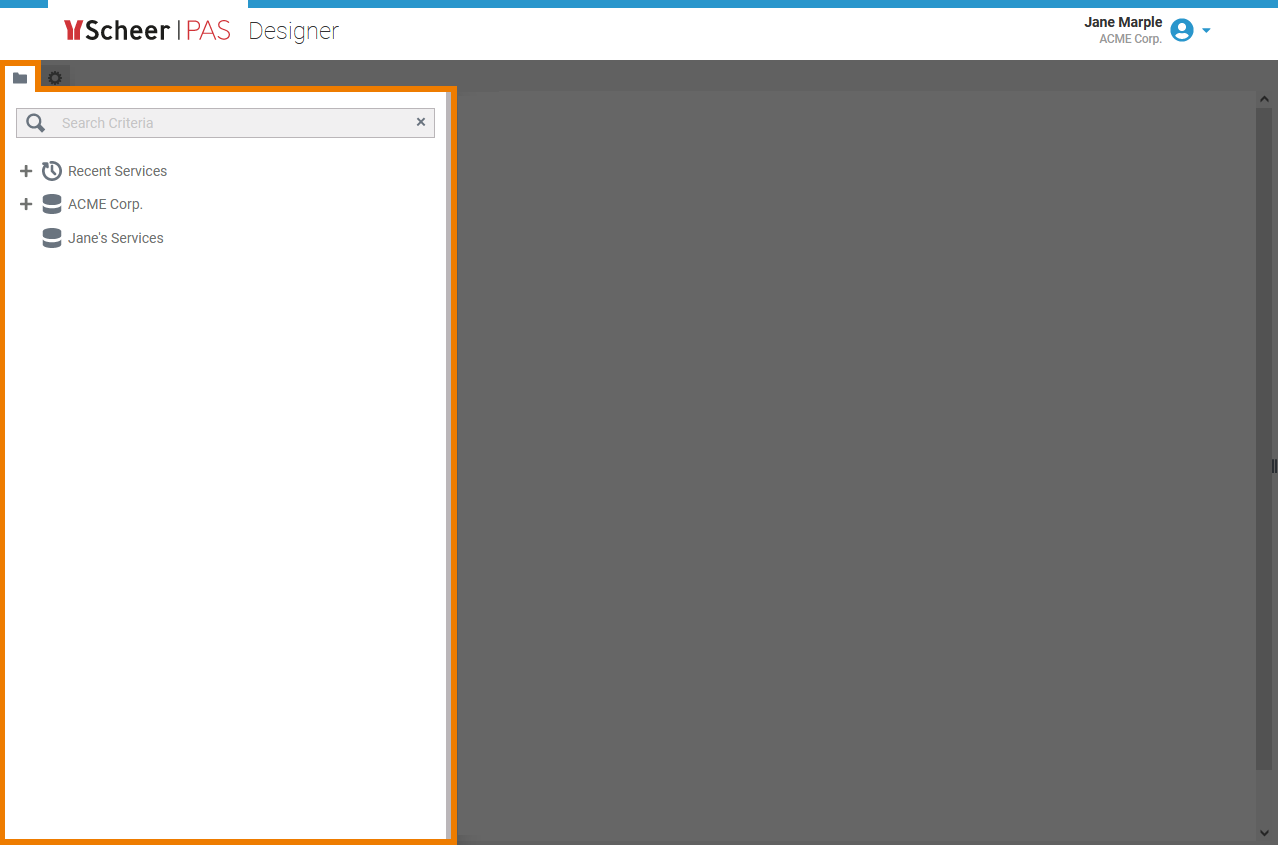
After logging in for the first time, the Explorer of the Scheer PAS Designer will open. In the explorer tree, you can find all namespaces ![]() that have been assigned to your user. Use the tree to create new folders and services.
that have been assigned to your user. Use the tree to create new folders and services.
The Explorer Tab
Click icon ![]() to open (or close) the explorer tab:
to open (or close) the explorer tab:
The Explorer Tree
| In the explorer tree you create new folders and services which are displayed in a hierarchially structured page tree. |
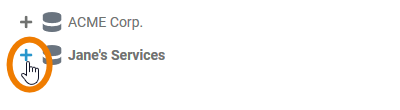
| To expand an element in the tree, click |
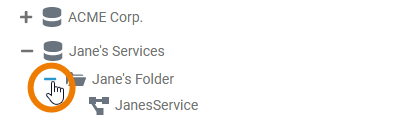
| If you want to show less content in the tree, use the icon |
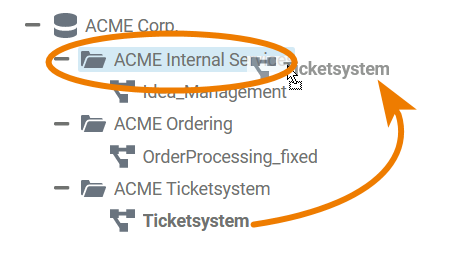
| You can also rearrange the content of the explorer tab by dragging and dropping elements. Start dragging an element to a new place in the tree. Allowed destinations are highlighted. Drag & drop is only possible in the same namespace. |
To open a service, click on the service name in the explorer tree. To access the service, click on the the explorer tab icon or on the service details area to close the explorer tab. Refer to Service Panel for further information. |

Main Elements in the Explorer Tree
In the Explorer tree you can use the following elements to structure your work:
Name | Element Icon | Element Icon when expanded | Description | Further Information |
|---|---|---|---|---|
| Namespace |
| - | All Designer content is stored within a Namespace. Namespaces have to be created and assigned to the user accounts in the Scheer PAS Administration. Refer to the Administration Guide for further information on the creation of namespaces. | |
| Folder |
|
| In Folders you can manage your contents, therefore it is possible to create folders on different levels of the tree. You can create folders...
| |
| Service |
| A Service contains one executable micro service. Services are created in the Explorer tree. The necessary settings for your service such as the service properties, the BPMN model, the data model, used libraries and forms are managed within the service. You need to open a service to access its contents via the Service panel, refer to Service Panel for details. |
Creating New Elements
Each element is explained in detail on the element pages: Namespaces, Folders and Services.
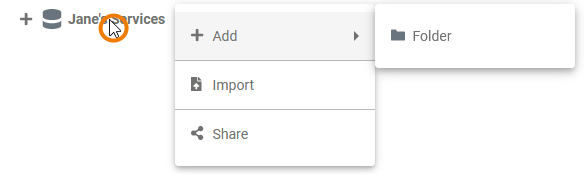
| If you want to create a new element, right click on the higher situated element to open the context menu. Choose the option Add ... . |
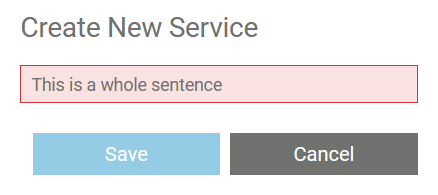
| Enter a name in the pop-up window and confirm with Save. |
| The new element is added to the tree. |
| When creating new elements, respect the restrictions for element names. Restrictions on Element Names The only restriction for folder names is that they must not be empty. To all other elements in the Explorer, the following name restrictions apply: Element names...
|


Further Functionalities of the Explorer
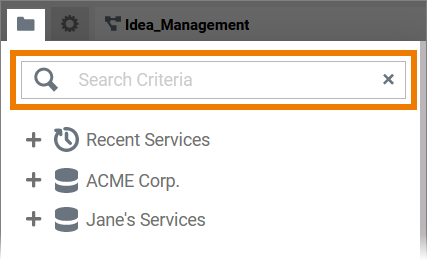
| On top of the explorer tree you can find a search box. Select the part of the explorer tree (namespace, folder or service) you want to search, and enter a search term. For detailed information see page Searching in the Designer. |
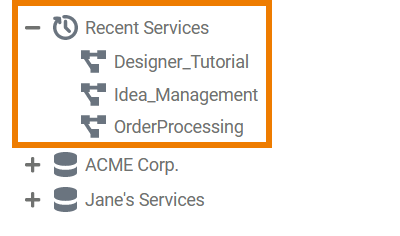
| The first content in the explorer tree is Recent Services. This option lists the last ten opened services - and gives you quick access to them. |
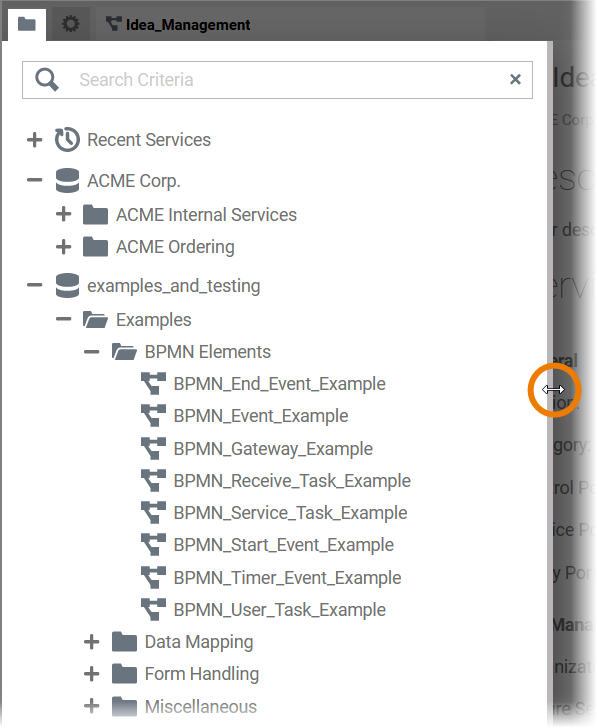
| You can resize the explorer sidebar by drawing it's right border. |
Overview
Content Tools