Page History
Adding
ObjectsVariables to the Execution
CanvasPane
| Multiexcerpt include | ||||||||
|---|---|---|---|---|---|---|---|---|
|
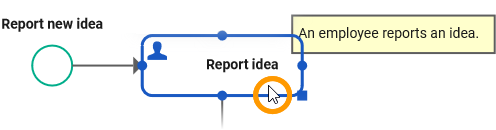
Select BPMN Element
| To add an execution objectexecutional parts to a BPMN element, you must first select the BPMN element on the BPMN canvas diagram pane to which you want to add the objectexecution. | ||||||||||
| The related execution part will be displayed in the execution canvas. As no execution has been implemented yet, the panel shows an empty UML diagram. | ||||||||||
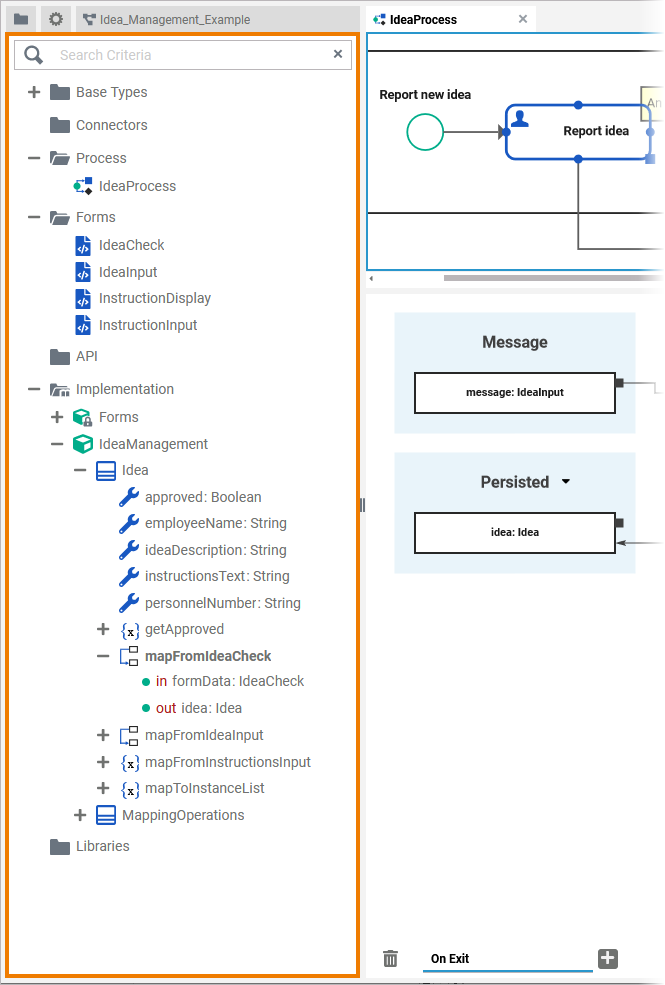
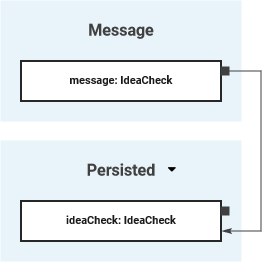
If the selected BPMN element is a Message Start Event, the execution canvas also shows section Message with an incoming message object of type Any.
| |||||||||||
| If you have selected the outgoing relation of an Exclusive Gateway, section Return is displayed, containing the unchangeable object return of type Boolean. |
Select Type
execution pane displays the related execution model. If there is no execution model in place, you need to create a new execution model (see Working with the Execution Editor > Adding an Execution Model for details). |
Select Type
Next, you need to select the type of the new variable.
| Go to the Service panel. Types are available from
|
| Now go to the Library panel and expand the library you want to use. Tip |
| |||||||||||
|
Drag Type to Execution
CanvasPane
| To add a variable |
to the execution |
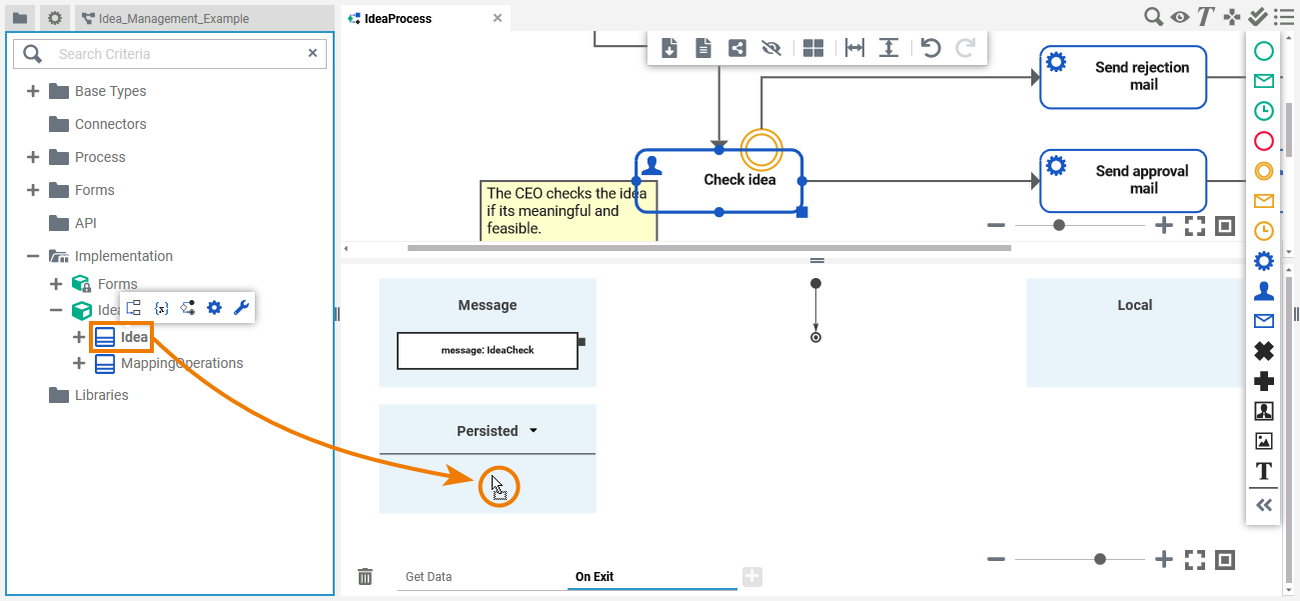
- Select the necessary data type from your library.
- Drag it from the library panel and drop it on the execution canvas.
There are different targets to drop an object to:
- Sections Persisted or Local: Drop a type on one of these sections to add a new object.
- Existing Object: Drop a type on an existing object to change its type.
, simply drag the selected type to the execution pane and drop it to a target area. You can cancel this procedure |
by pressing Esc or dropping the element outside the execution |
pane. |
You can add a new object by dropping it in section Persisted or Local.
| Info |
|---|
You can drag the following library contents to the canvas:
|
Adding a New Object
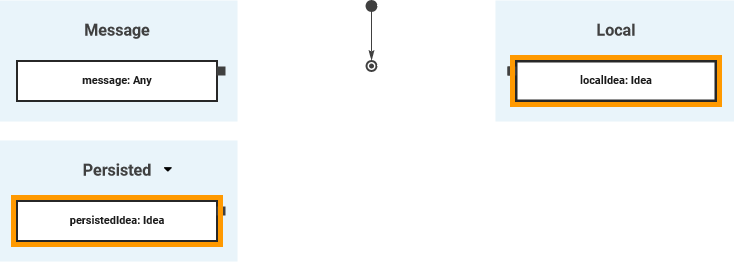 | You can drop the type to different targets:
|
|
By dropping a type on an existing variable, you can change the type of the variable (see Changing the Type further below). |
Changing a Variable
Changing the Multiplicity
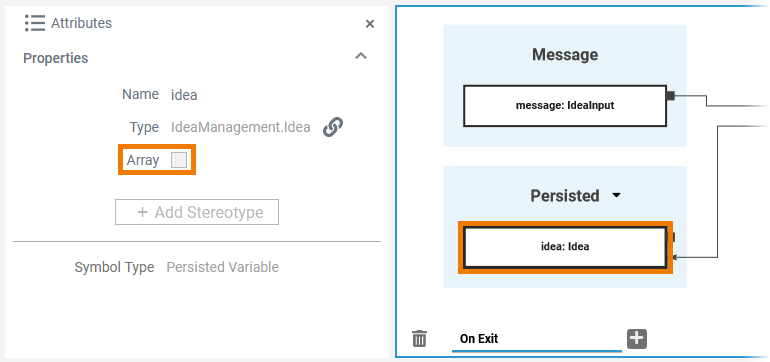
As per default, variables are created with multiplicity 0..1 but you can change this in the attributes of the variable.
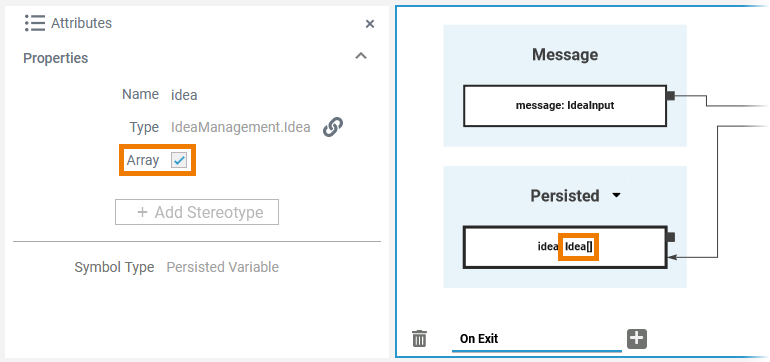
| Open the attributes panel for the variable in question. To change the multiplicity to 0..*, activate checkbox Array. | ||||||
| The element type on the pane now is extended by a pair of square brackets to indicate the new multiplicity. |
Changing the
ObjectType
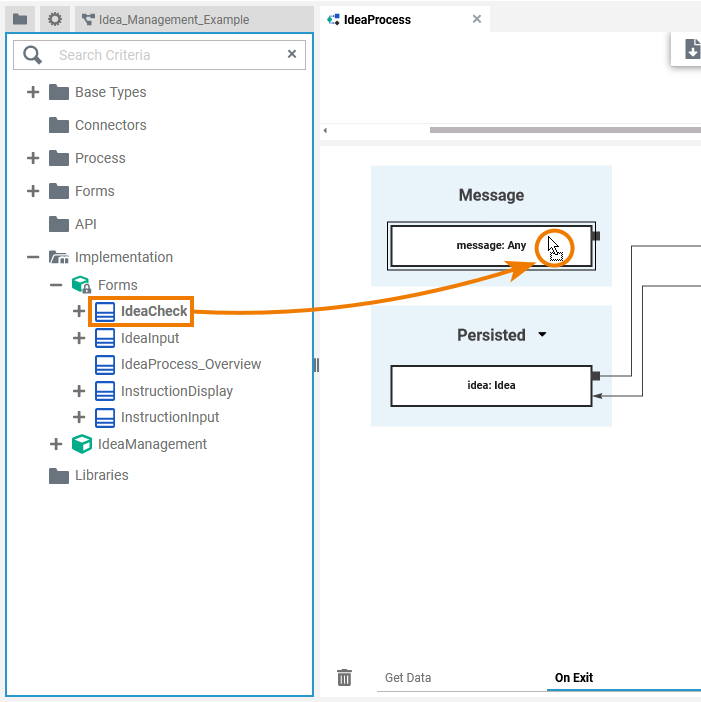
You can change the type of any variable and there are different ways to do so.
| Using Drag & DropYou can change the type of any object if you drag a variable by dragging a type from your library and drop dropping it on the object variable itself. Example: | ||||||
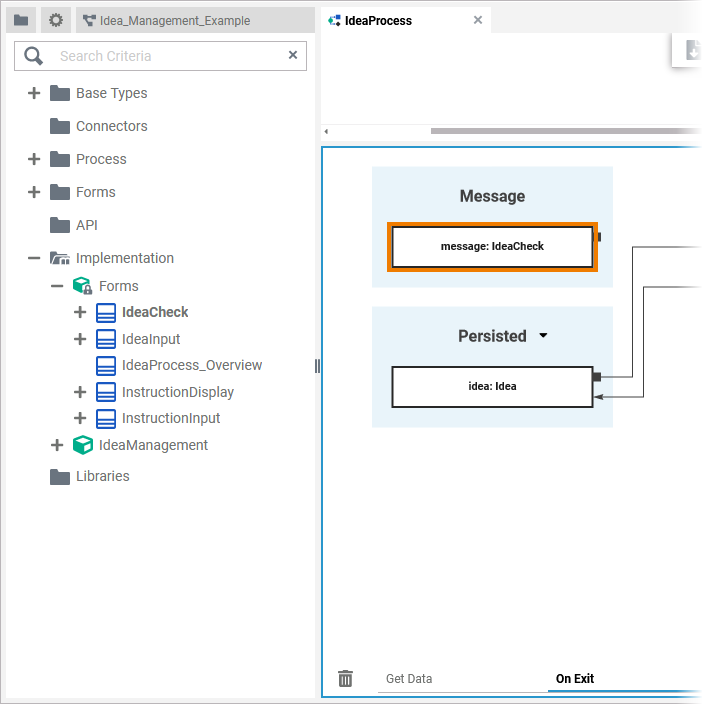
| After you have having dropped the type on the object, it has changed its typevariable, the new type is displayed. Example: | ||||||
| Using the Type Selection DialogYou can use the Type Selection dialog | | Tip |
to change the message type back to its default. | ||||
| Object message cannot be of simple type. If you try to drop a simple type other than default type Any on the message element, a red frame indicates that this is prohibited. |
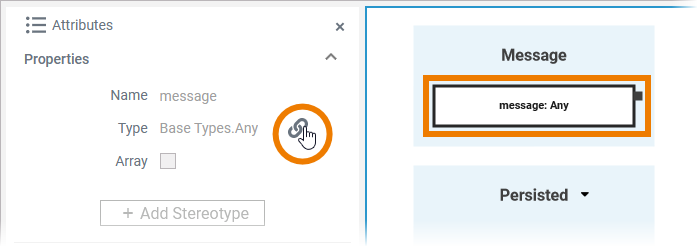
type of a variable. Click on the variable you want to adapt and open the attributes panel. Use icon | |
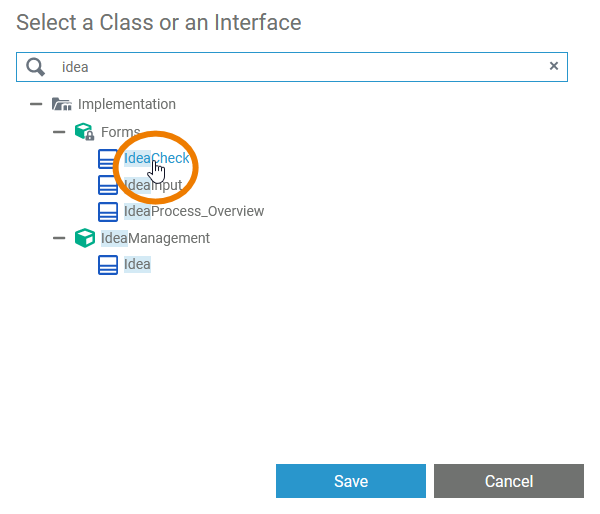
| Use the search box on top to find the type you are looking for. Click on the type you want to apply. Then click Save. |
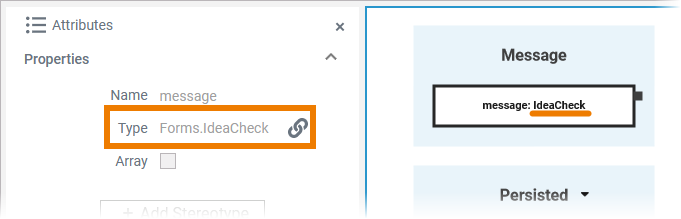
| The dialog closes and the selected type is applied to the variable. |
Changing the Scope
It is also possible to change the section scope for an objecta variable. You can drag & drop objectsvariables:
- From Local to Persisted
- From Persisted to Local
- From Message to Persisted or Local
| Local to Persisted:
|
| Persisted to Local:
|
| Message to Persisted or Local:
|


Special Case: Adding Persisted
ObjectsVariables
| Tip |
|---|
For detailed information see page Persisting Data. |
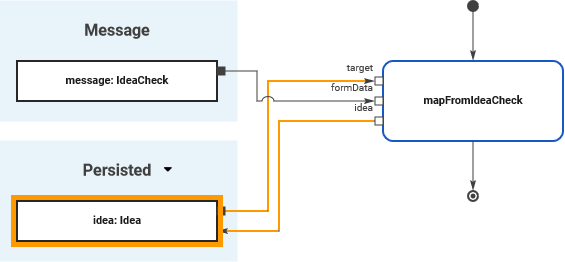
| If you add objects to section By creating variables as Persisted, they are usable in all executions of throughout the BPMN model. | ||||||||
To use a persisted objectvariable, click the | |||||||||
| |||||||||
|
| Panel | ||
|---|---|---|
| ||
|
| Panel | ||
|---|---|---|
| ||
| Otp | ||||
|---|---|---|---|---|
|
| Rp |
|---|
| Rde |
Overview
Content Tools