During modelling, you can create roles in the BPMN editor (Designer) and in the BPaaS editor. You can also create them in the Roles menu of the user management.
When a role is created during modeling, only the role's name is determined. All other settings have to be inserted in the role's data sheet in the user management.
Creating a Role in the User Management
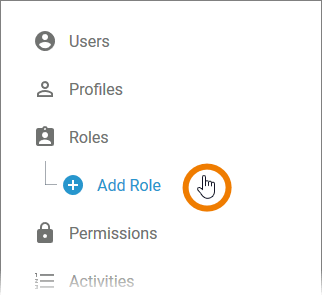
| Select option Add Role from the sidebar menu. |
| An empty role data sheet opens. |
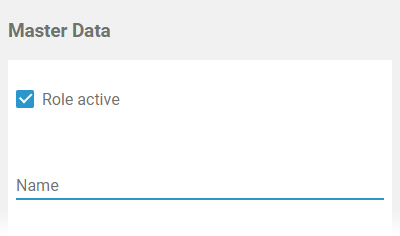
Entering Master Data
| Insert a Name for the role. Go to Inserting Translations to know more about the translation options for a role's name. |
| The Name field must not be empty. Allowed characters are:
|
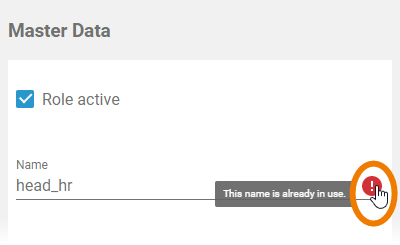
| The input in the Nam e field must be unique. Therefore, your input is automatically checked. If the name is already in use, you need to change your entry. |
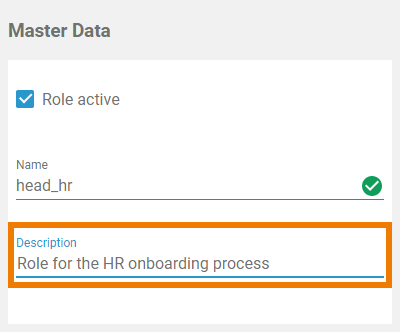
| You can also enter an explanatory description for your role, but this is not mandatory. |
| If you have entered the Master Data, you can already create the role by clicking the Save button. |
| The role data sheet is closed, the message Successfully saved! is displayed and the role is added to the list. You can use the link from the success message to reopen the role's data sheet. Before saving the role, you can also assign users and insert translations first. But it is not mandatory to assign users or insert translations to create a role. |


Assigning Users
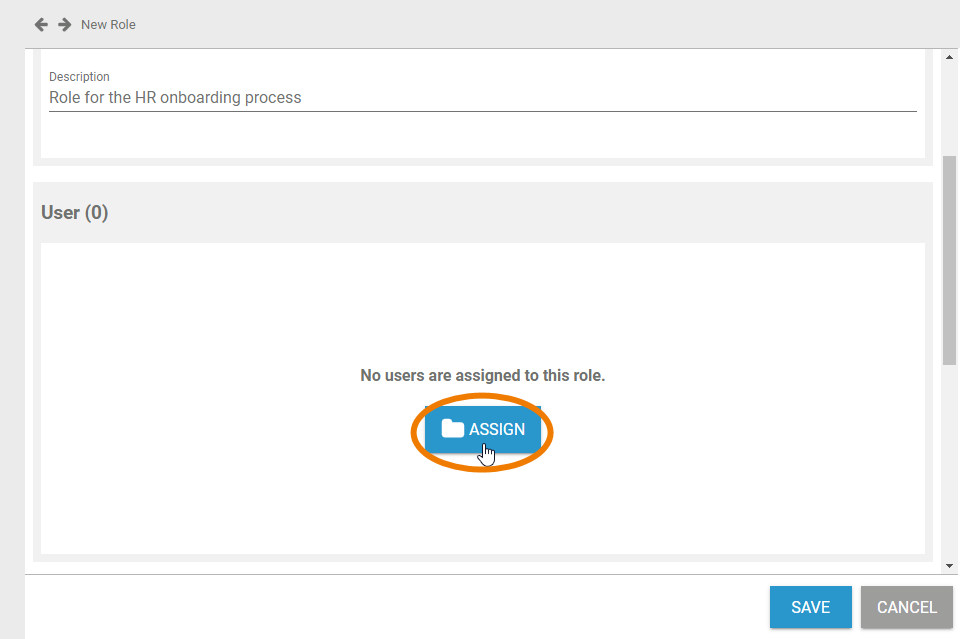
| In a role data sheet, the users assigned to the role are listed in the User section. If you create a new role, you start with an empty User section. If you want to, you can assign the users to a role within the profile's data sheet. Click button Assign to assign users to the role. |
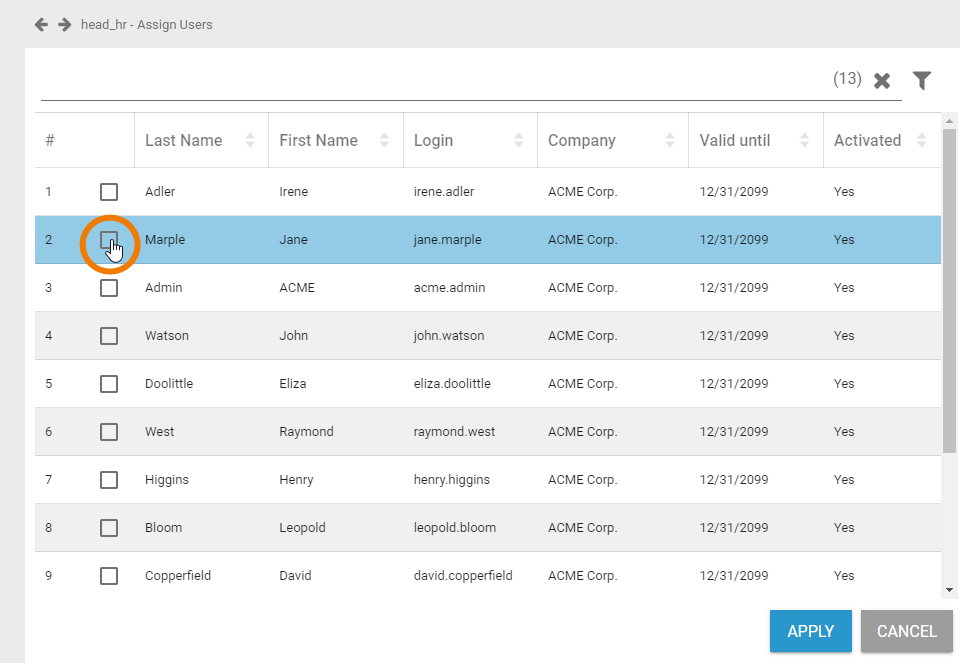
| The list of all available users opens. Use the corresponding checkboxes to choose the users you want to assign. |
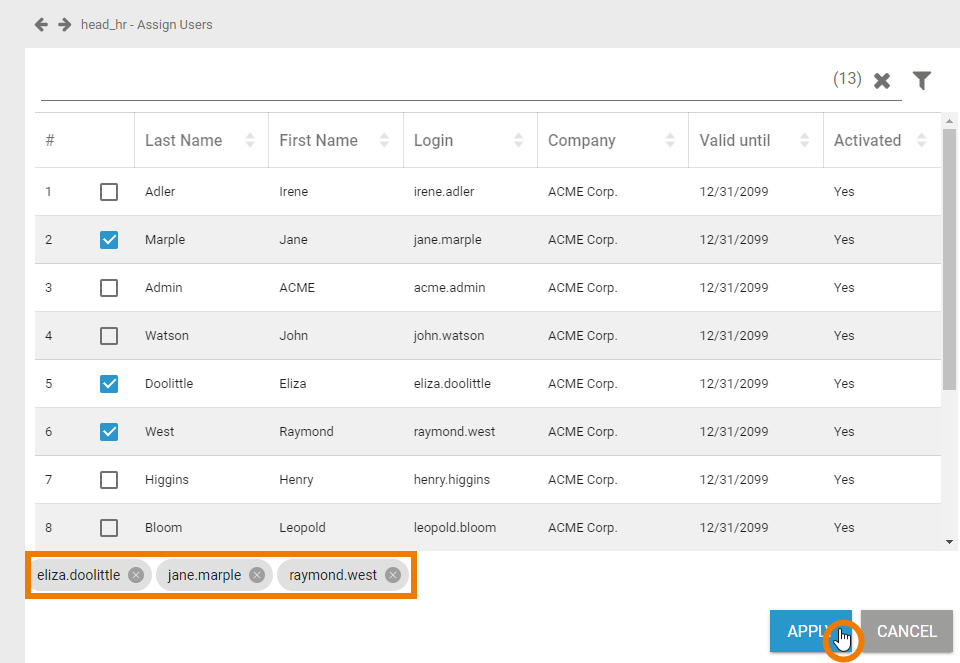
| All selected users are displayed in the footer of the list. Click Apply to assign the users to the profile. |
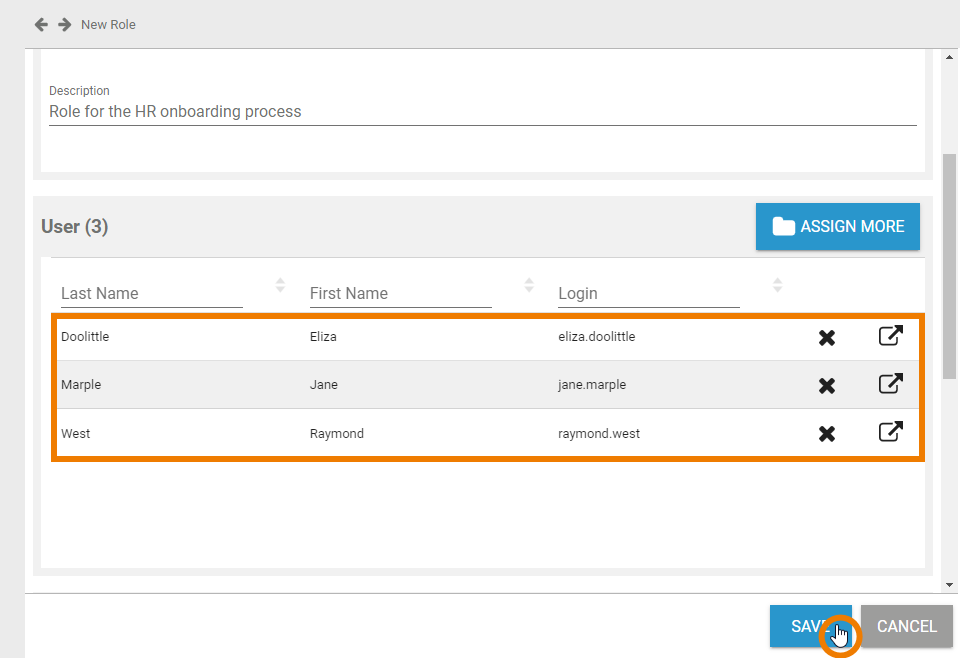
| Your selection is transferred to the User section of the role data sheet. When all necessary users have been assigned, you can save the role data sheet or continue to edit the role by inserting translations. When a user is added or removed a role, they must log into the system again for the changes to affect their account. This also applies to the Scheer PAS Mobile App. |
Inserting Translations (BPaaS)
The role name inserted in section Master Data is a technical name for the role. In section Translations you can insert translations for the profile's display names (this applies to usage in BPaaS only).
| Use window Translations to insert the display name in different languages. | |
Clicking button Edit Translations will show the fields German, English and French. The names inserted in those fields will be shown in BPaaS according to the language selected for the user interface. |
| The names saved in this section will be shown in the EPC models in BPaaS according to the language selected for the BPaaS user interface. |
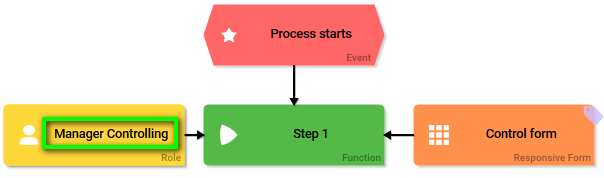
Creating a Role in the Designer
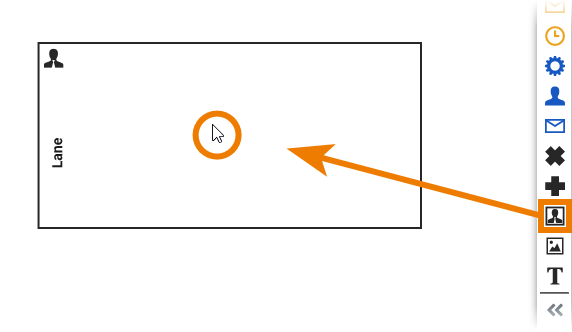
| Designer users can create roles during modelling in the BPMN editor by using the Lane element. |
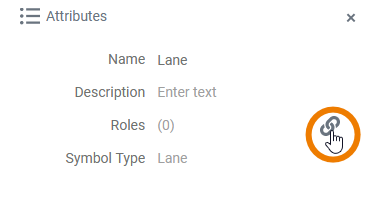
| To create a new role, open the Attributes of the lane element and click icon |
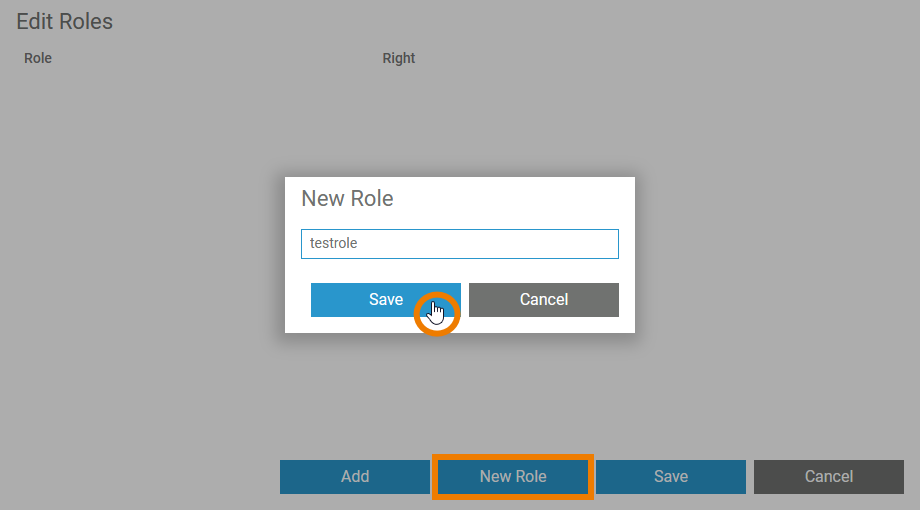
| Click button New Role to create a new role and assign it to the lane element. |
| The roles created in the Designer will automatically appear in the roles list in the user management where they can be managed and assigned to users. |

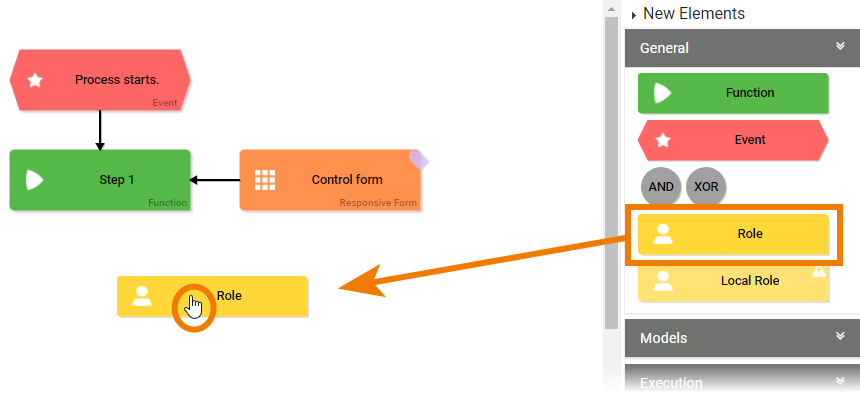
Creating a Role in BPaaS
| BPaaS design users can create roles during modelling in the BPaaS editor by using the Role element. |
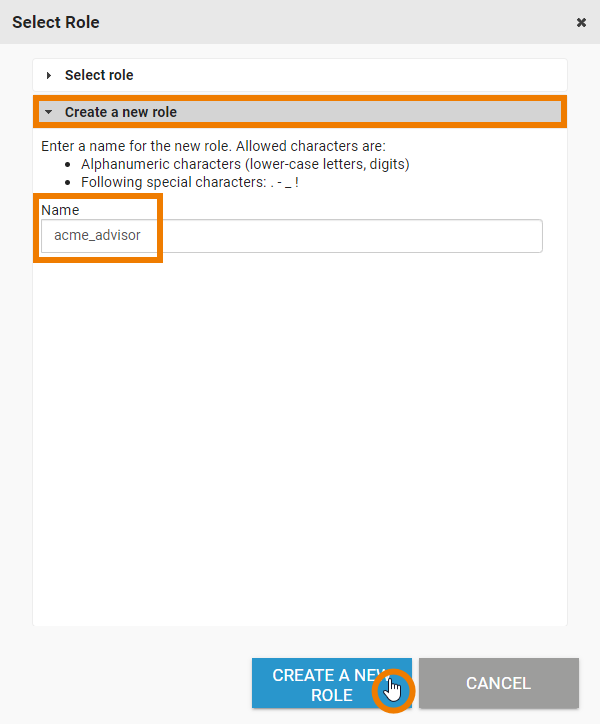
| In BPaaS, a wizard supports the design user when creating a new role. The user can choose if he wants to select an already created role or if he wants to create a new role. |
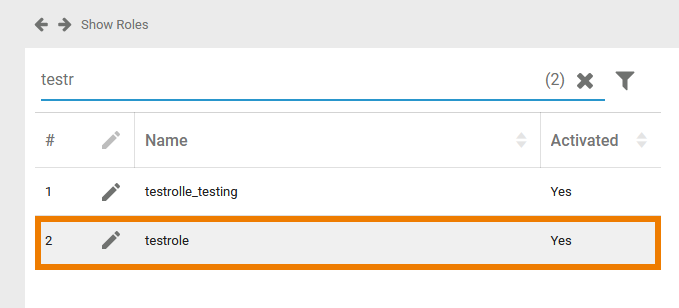
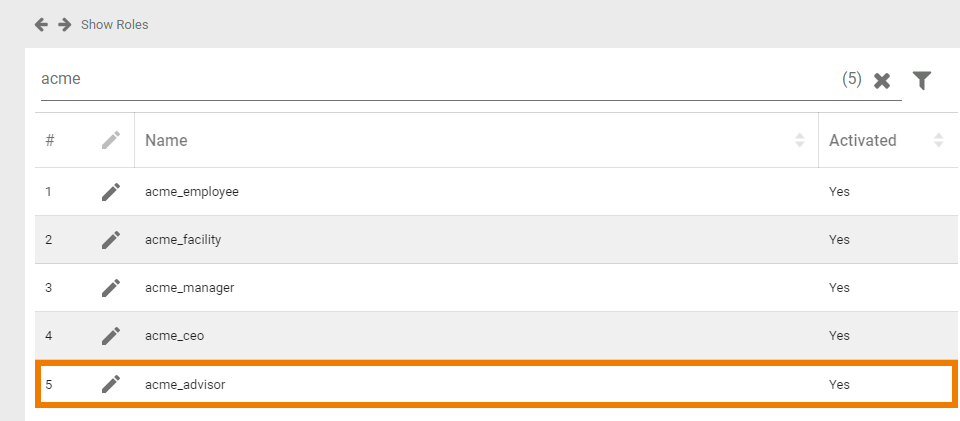
| The roles created in BPaaS will automatically appear in the roles list in the user management where they can be managed and assigned to users. |
On this Page:
Related Pages:
Related Documentation:
Overview
Content Tools