
The next step is to compile the finished xUML service to an executable Web service.
First, you need to examine the settings. Make sure you have opened the Model Compiler window (via the menu items E2E Builder > Views).
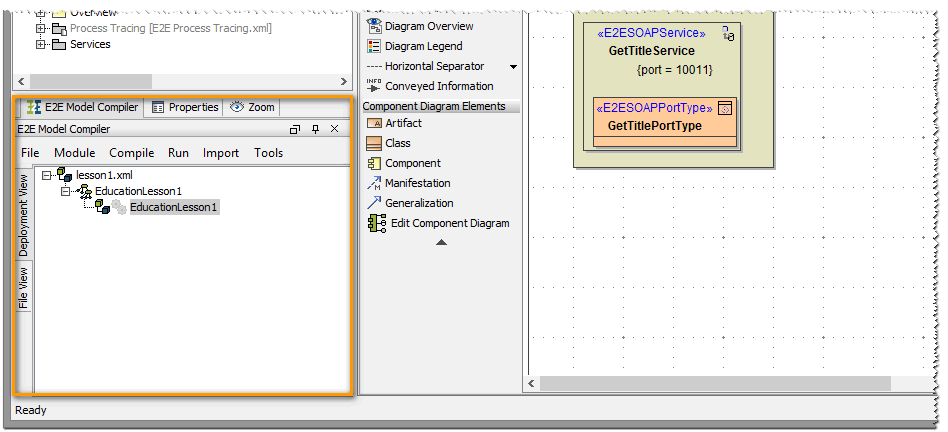
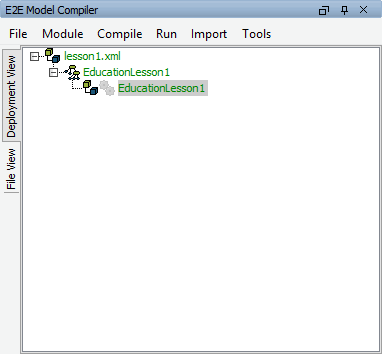
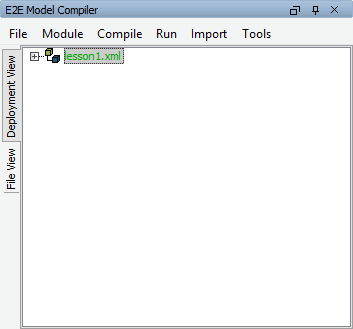
| Expand the entry lesson1.xml. The xUML service EducationLesson1 will be visible. If you expand this node, you will see the deployment for this service. Select the deployment EducationLesson1 and open the menu Compile from the menu bar. You will find a detailed description about all menu items in the BUILDER User's Guide. |
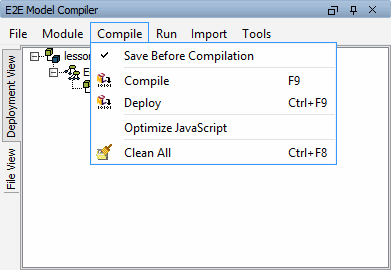
If the option Save Before Compilation is not selected, the Builder will ask you to save an unsaved XMI file before compiling it. If the option is selected, the Builder always saves an unsaved XML file before a compilation without asking you.
The check mark of the option Save Before Compilation is always displayed, but the option is only selected, when the check mark is highlighted: 
The menu items Compile and Deploy can be used for each deployment of an xUML service.
Clean All deletes the repository files of all local versions of compiled xUML services in the repository directory of the current Builder project and all files in the working directory.
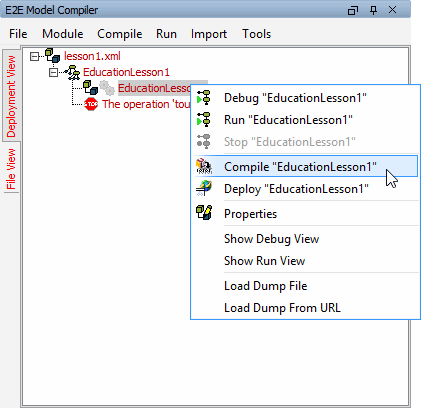
| In the next step, you will compile the xUML service EducationLesson1. Select the deployment EducationLesson1 with the right mouse button and select the menu item Compile "EducationLesson1" in the context menu. Alternatively, you can open the context menu of the xUML service EducationLesson1 and select the menu item Compile Deployments. In this case, all existing deployments of the xUMLservice would be compiled. |
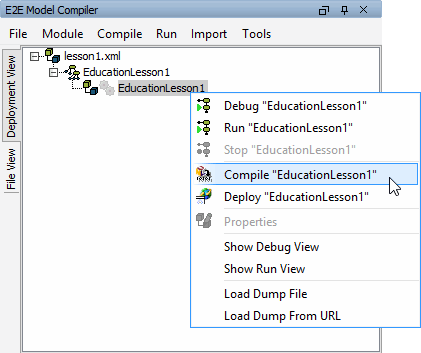
It is also possible to use the menu item Compile > Compile in the menu bar or the short cut F9. However, you need to make sure that the correct entry is selected in the Model Compiler.
| The following window indicates that the Model Compiler is compiling the xUML service to an executable Web service that can be deployed to the Server. |
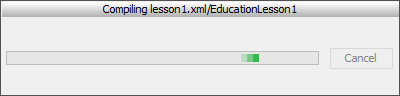
During compilation the model is being syntax checked and the repository, including the WSDL file of the service, is generated. The repository can be found in the Builder project directory named repository.
| If no error in the UML model is found, the deployment node turns green. You successfully compiled your first UML model to an executable service! |
It could be possible that the example was not compiled without errors. In this case, the deployment node EducationLesson1 would have turned red. The following chapter explains how to solve such a problem.
Solving Errors
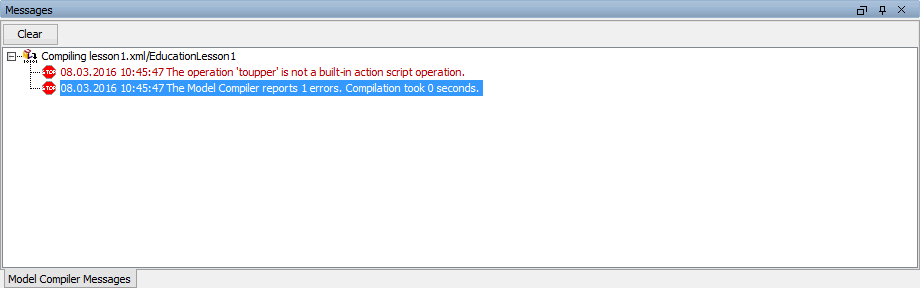
If the Model Compiler reports an error, it tells you what problem was found. It will also guide you to the location in the containment tree, where the error occurred. In the following example, we introduced an error in the model on purpose.
Switch to the activity diagram Get Title and edit the action script of the action node Get Title with the E2E Action Script Editor.
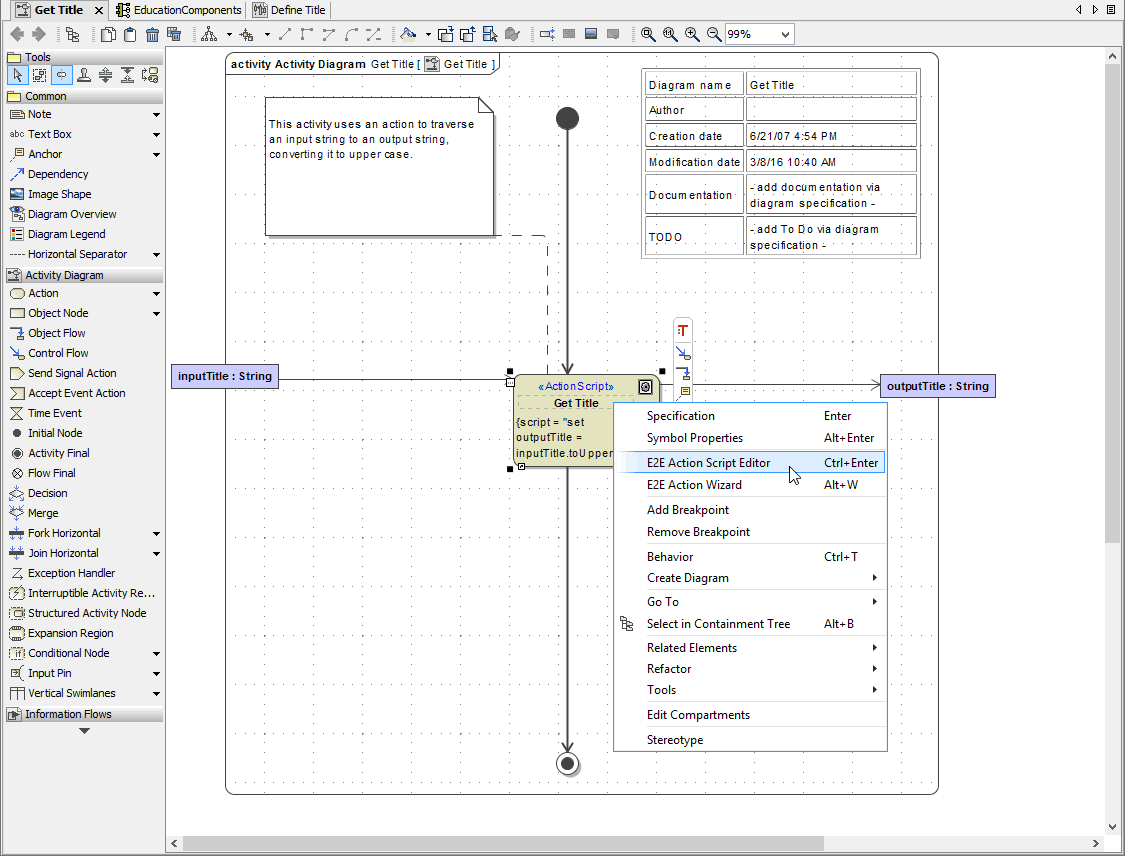
| Change the operation in Get Title from |
| Save |

When you start the compilation without saving the model, the Model Compiler will ask you if you want to save the changes. In this case, click Yes.
In the Compile menu of the Model Compiler, you can switch on Save Before Compilation. Then, the Model Compiler will automatically save all changes before compiling.
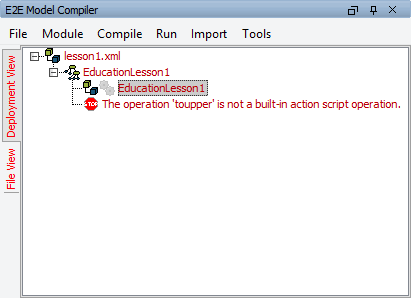
The Model Compiler shows all error messages in the E2E Messages window.
| The error message is also displayed in the tree of the deployment view below the deployment of the xUML service. |
| Double-click the error in either the Messages window or the Model Compiler window. |
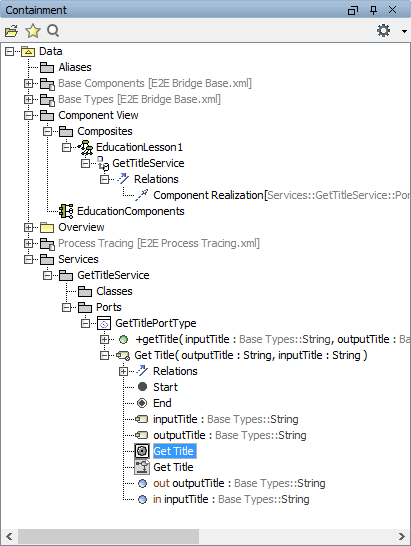
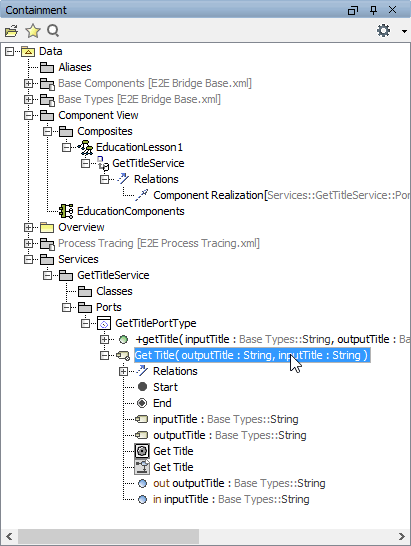
| If the activity diagram containing the erroneous action is not opened yet, you can either double-click the entry of activity diagram |
The activity diagram Get Title is displayed in the diagram pane. For a better overview, close the Messages window. You can always reopen it if necessary via E2E Buider > Views or the shortcut Ctrl - Shift - M. Correct the name of the 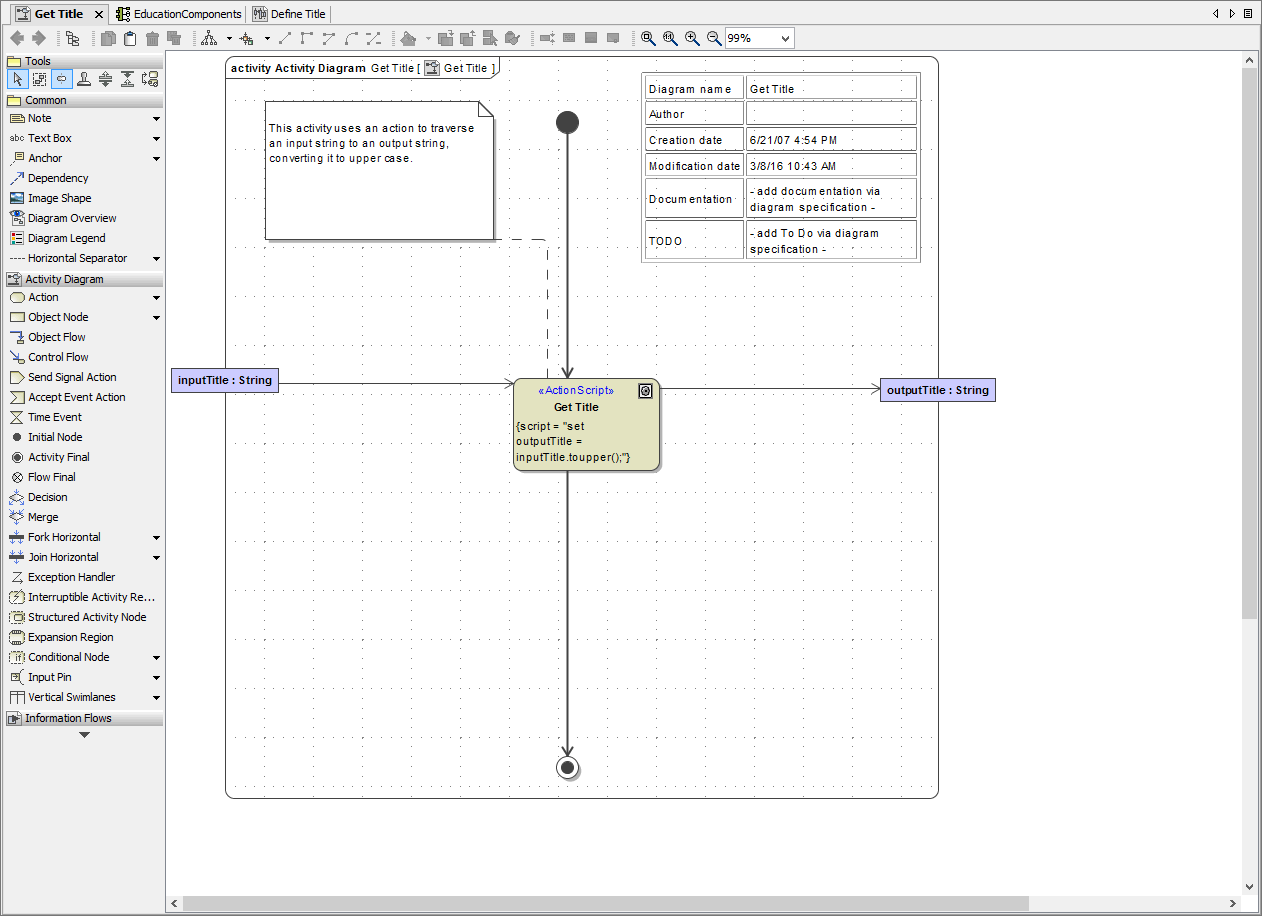 | |
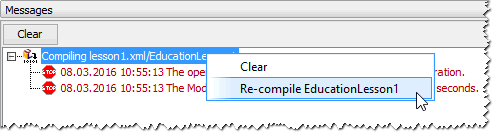
| Re-compile the deployment EducationLesson1. You can either select Compile "EducationLesson1" in the Model Compiler window ... |
| ... or select Re-compile EducationLesson1 from the context menu in the Messages window. If you closed the Messages window you can reopen it with Ctrl - Shift - M. |
After correcting the action script statement to toUpper() the Model Compiler will not report any errors anymore. In the Model Compiler, the color of the compiled deployment has changed from red to green.

If you find no way to fix possible other problems in your lesson 1 model, you can use the solution model of lesson 1 as a reference. Click the link to download the Builder project Education Solution to your computer (or unpack the example from E2E Builder > Examples) and unzip it to a folder of your choice. The solution project contains the solutions of all three lessons.
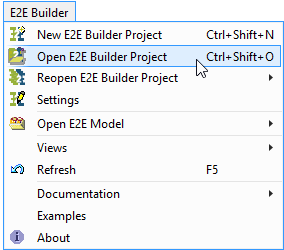
| Open Builder project Education Solution. |
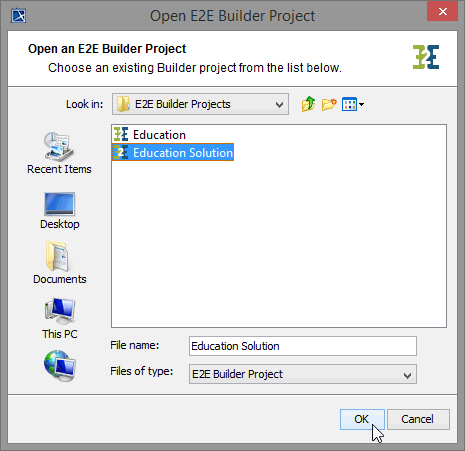
| Select the Builder project and click OK. |
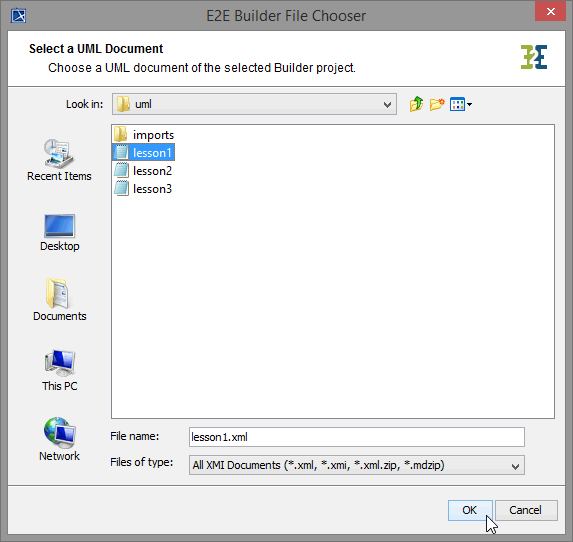
| As you have not opened this Builder project before, the E2E Builder File Chooser pops up. Select the file lesson1.xml in sub folder uml, which contains all reference models of this course with complete solutions. |
Note the title bar of MagicDraw. It displays the path of the now active Builder project Education Solution in brackets (see highlighted area).  | |
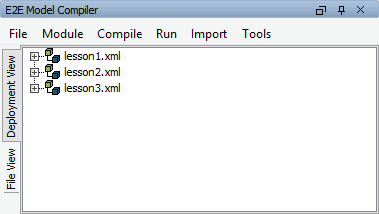 | The solution models of lesson 1 to 3 are listed in the Deployment View of the Model Compiler. Open the model lesson1.xml by double-clicking it. |
| You can compare the solution model with your own model to find the error. |
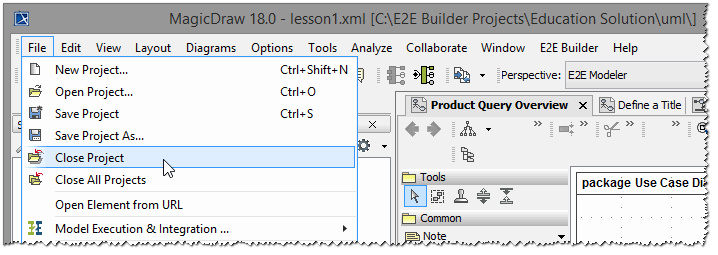
| Now, return to your own model. Close the solution model using the MagicDraw menu items File > Close Project (select the solution model first). Remember, that in MagicDraw a project is a model file and should not be mixed up with a Builder project. |
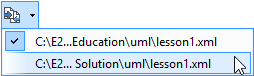
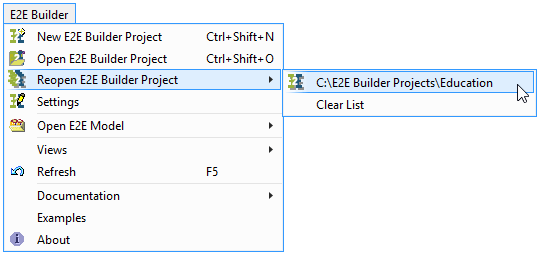
| Switch the Builder project again. Select E2E Builder > Reopen and choose your Builder project (Education) from the list. |
Note the change in the MagicDraw title bar. The Builder project name has changed back to Education.  | |
| In the Deployment View of the Model Compiler, your model file lesson1.xml is visible again. |

As an alternative, you can continue the work with the solution model by importing it directly into your own Builder project.
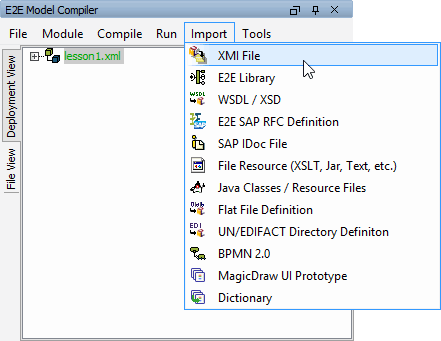
| Select the menu item Import > XMI File in the Model Compiler. |
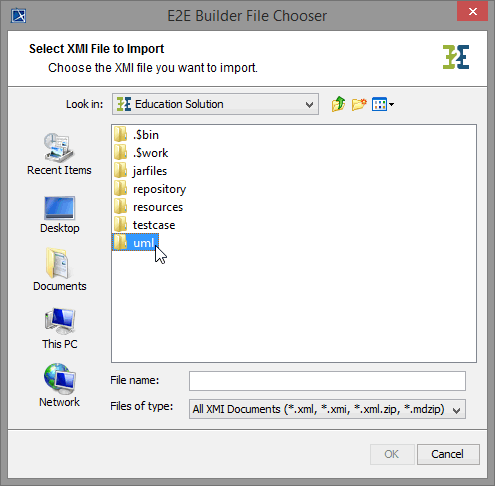
| In the File Chooser, change to the folder of the Builder project Education Solution (default location see above) and double-click the folder uml. |
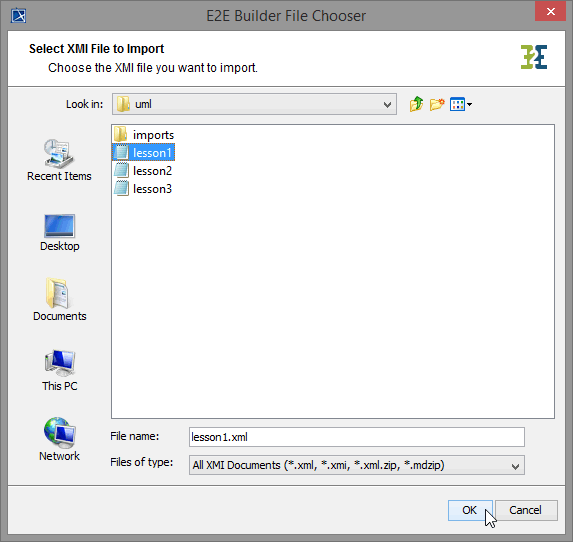
| Choose lesson1.xml, as you want to import the solution model of lesson 1 and click OK. |
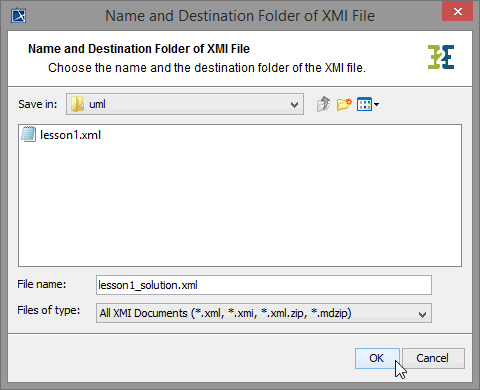
| Now, define the destination of the imported model. The default folder is the uml folder of the current Builder project. Change the file name to e. g. lesson1_solution.xml and click OK. The imported model will be listed in the deployment view of the Model Compiler. You can compile this model and continue with it to the end of lesson 1. |

On this Page:
Overview
Content Tools