For the description of this use case, we assume a Scheer PAS customer system consisting of two installations:
- A test/development system used for development and testing.
- A productive system running only productive applications. To ensure smooth and trouble-free operation of the productive system, no Scheer PAS Designer is in operation on the productive system. It is used exclusively for your running applications.
How to Set a Designer Service Productive
You have developed a service with Scheer PAS Designer on your test system. The test phase has been successfully finished. During the test phase, you have also tested the deployment target Container for your service. This use case starts, when you want to transfer the tested service to your productive system. This use case ends when your service is running on your productive system.
Step 1: Exporting the Compiled Service from Designer
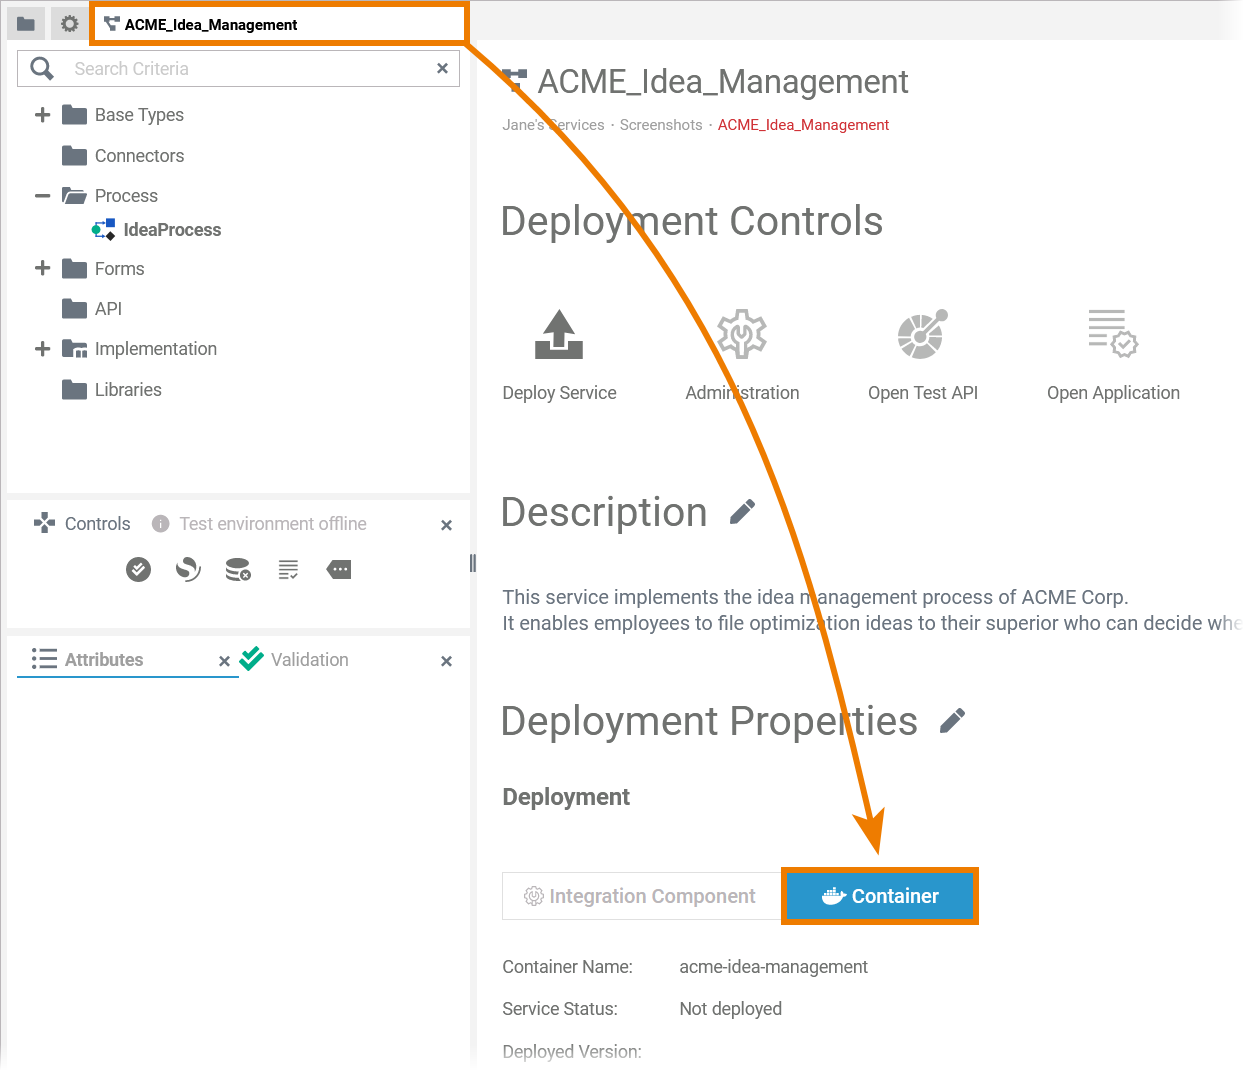
| Open the Service Details page in the Designer on your test system. Make sure that deployment target Container is set for your service.
| |
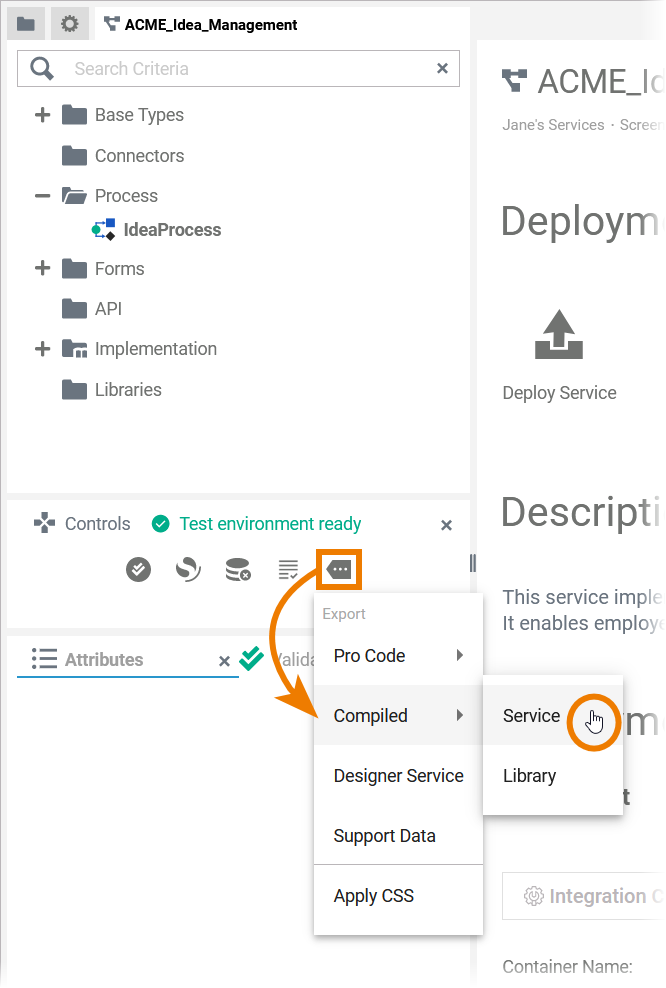
| Open the additional menu In section Export select Compiled > Service. This will start the export of the service repository file (.rep) that is optimized for container deployment. The .rep file is downloaded to your computer.
|
Step 2: Deploying the Service on the Productive System
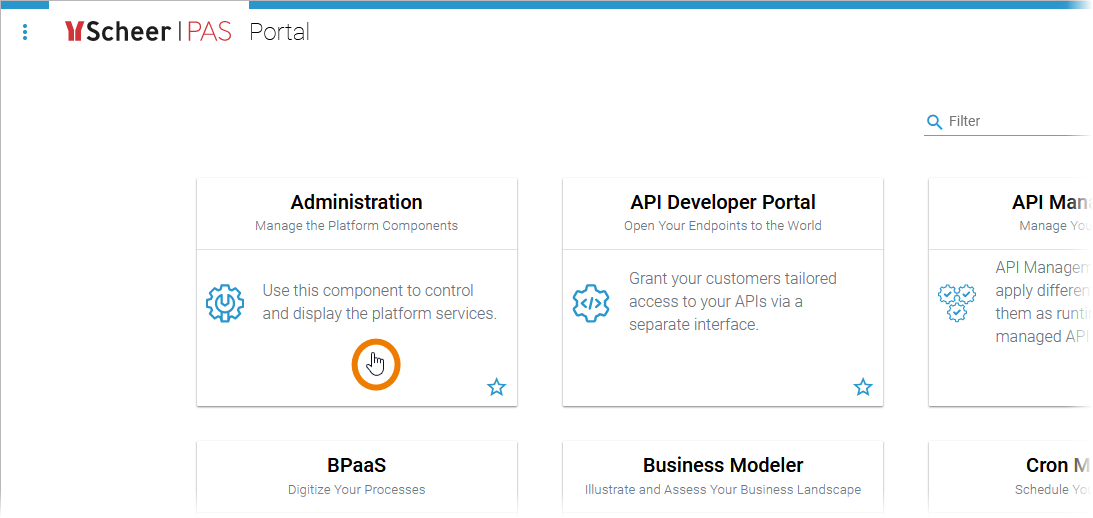
| Now you need to switch to your productive system. In the Scheer PAS Portal, click the Administration tile.
| |
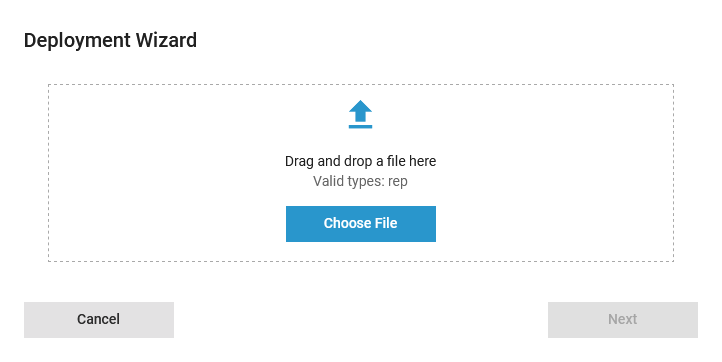
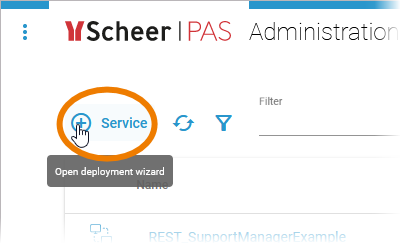 | In the administration, you need to use the deployment wizard to upload repository files. Click | |
| Upload your exported repository file to the deployment wizard and let it guide you through the next steps.
| |
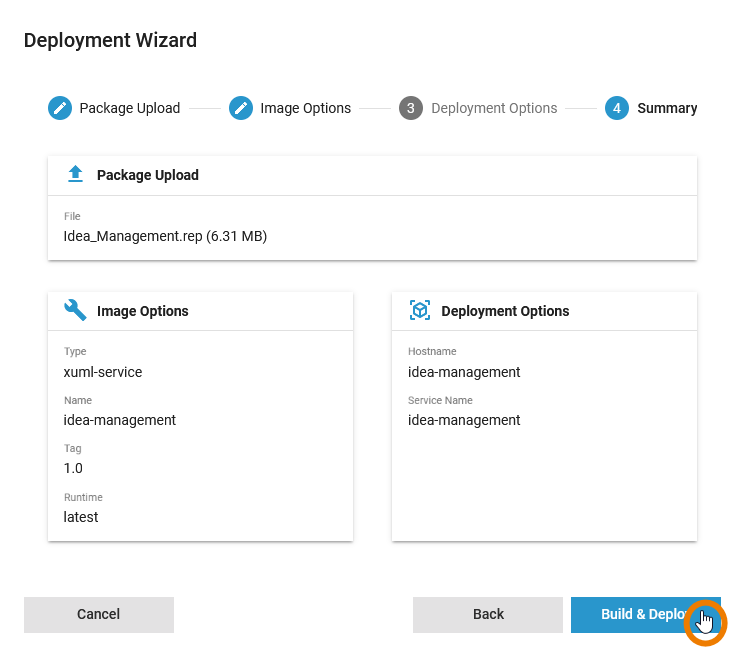
| In the last step, you can check all deployment-related information again. Click Build & Deploy to start the deployment process. | |
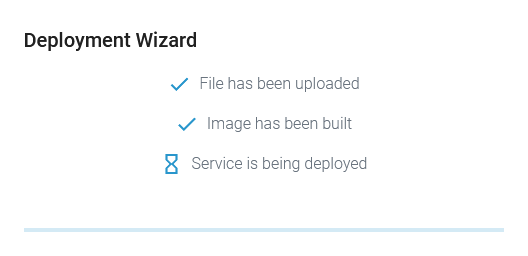
| The wizard starts the deployment and keeps you updated about the running deployment steps:
This information is read-only, you cannot intervene in the process at this moment. | |
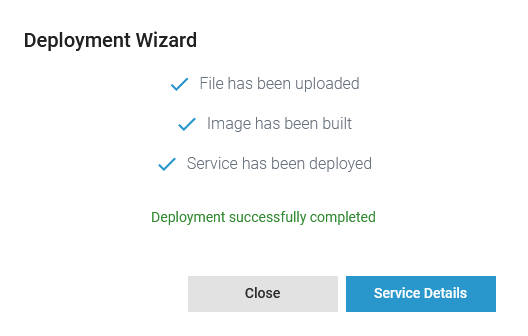
| When the deployment is finished, you have the choice between closing the wizard or opening the service details. | |
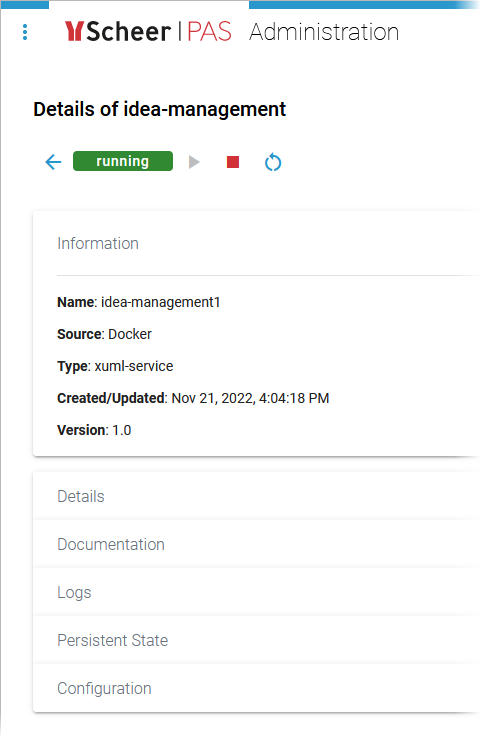
| Your service is now running on your productive system. In the service details you can see the status of the service. You have also the options to restart or stop the service and access further details such as service documentation, logs, persistent state or the service configuration.
|
 on top left to open the wizard.