Adding a New Form
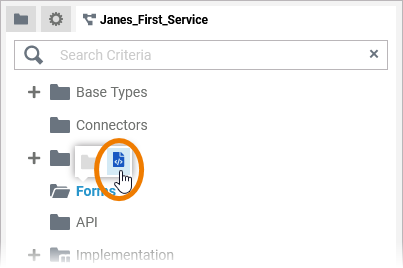
| Forms are managed within a Forms folder. To create a form, hover over the Forms folder in the service panel and click icon |
| Alternatively, you can open the context menu of a Forms folder and select the option Add Form. |
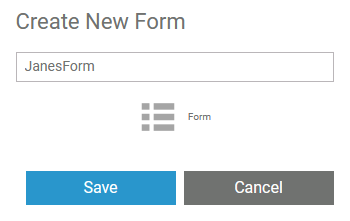
| Enter a name for the form in the pop-up window Create New Form. Click Save. Restrictions on Element Names A BPMN model name must be unique within one service. In addition, the following name restrictions apply to all service panel elements: Element names...
|
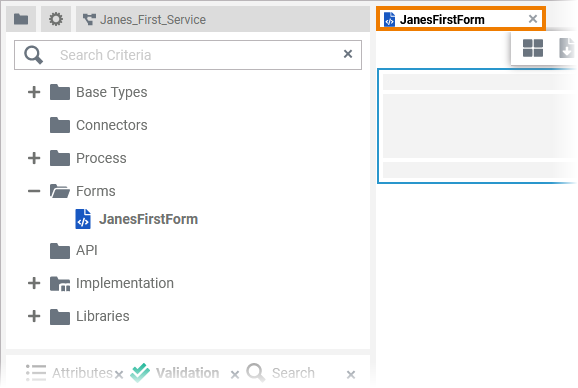
| When you create a new form, it opens automatically in a new tab and you can directly start designing. Refer to Working with the Form Editor for detailed information. |
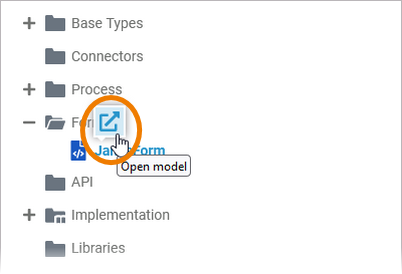
| The new form is also displayed in the service panel and you can use option Open model |
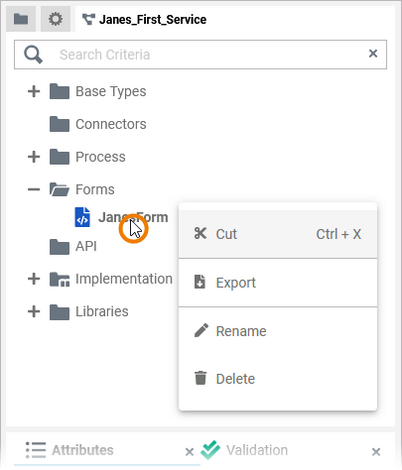
| Once the form has been created, use the context menu to manage the form. Available options are:
Go to page Single Form for detailed descriptions of the options. |

Using the Form Editor
When you create a new form, it is automatically opened in the Form Editor:
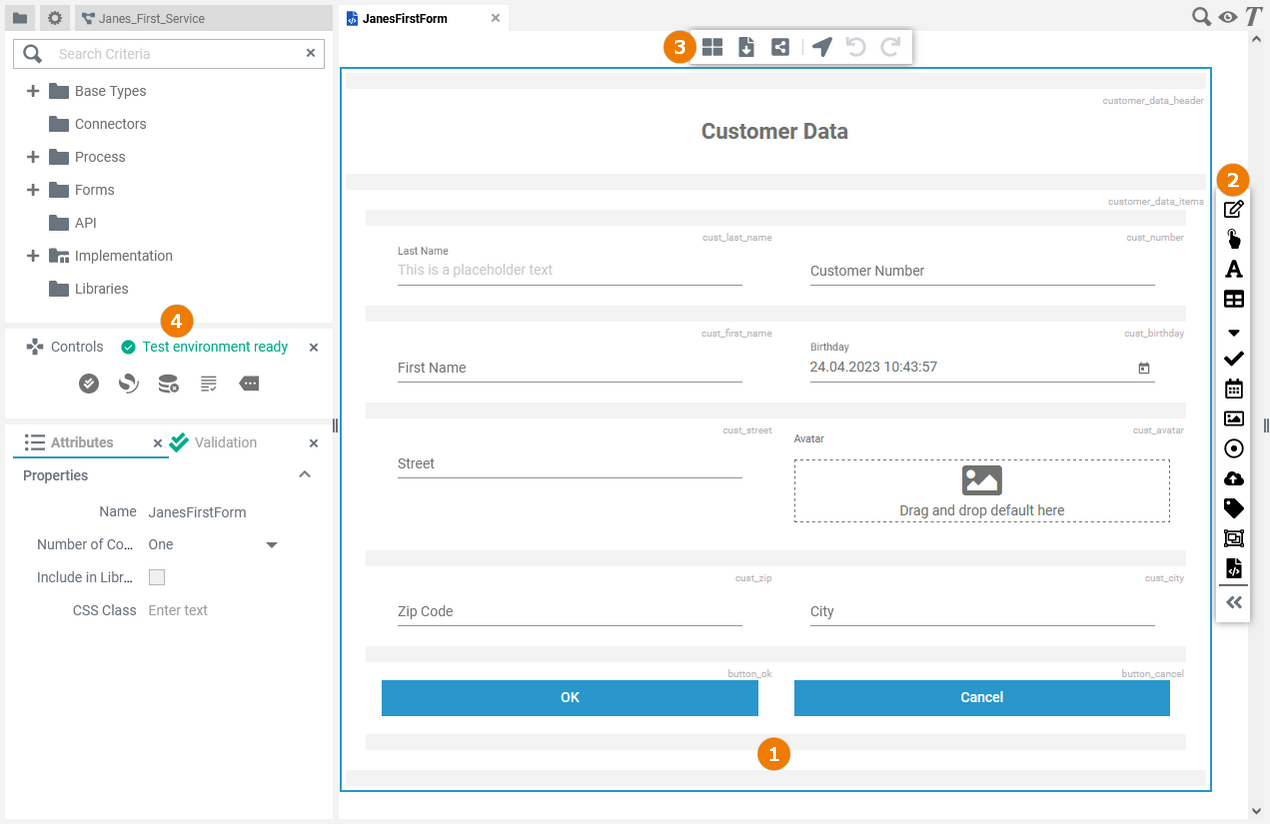
Use the various functionalities of the Form Editor to design your form:
| Name | Description | |
|---|---|---|
1 | Form Editor | The form editor is where you design your form. Go to page Working with the Form Editor for detailed information about the features of the form editor. |
2 | Elements Toolbar | The elements toolbar contains all form elements that you can create in the form editor. |
3 | Form Toolbar | The form toolbar assists you in creating your form. |
4 | Designer Panels | In the form editor, the following panels assist you in creating forms:
|
On this Page:
Simple_Form_Example
| Click the icon to download a simple example model that shows how you can configure form elements in Scheer PAS Designer. |
Form_Data_Transfer_Example
| Click the icon to download a simple example model that shows how you can transfer data between forms in Scheer PAS Designer. |
Overview
Content Tools