Page History
Testing and Developing Your Form Component
For testing purposes, your multiple-projects workspace comes with an automatically generated test application along with one Angular component.
| Multiexcerpt include | ||||||
|---|---|---|---|---|---|---|
|
Test Application Features
All mentioned files reside in folder <name of the library>/projects/<name of the application>/src/app.
| File | Description | |||||||||
|---|---|---|---|---|---|---|---|---|---|---|
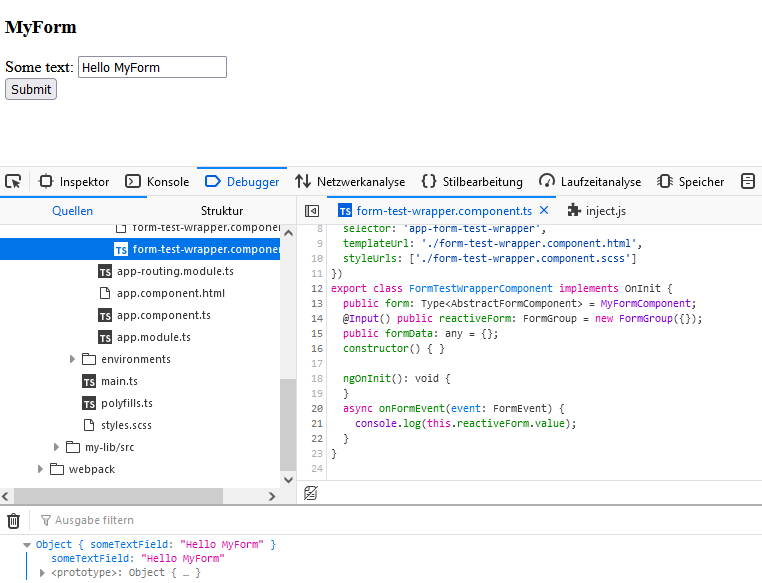
| form-test-wrapper.component.html | Contains the <pas-child-form> element. This element is part of the @pas/app-core module and is also used by the Designer to show subform elements. With this element, you can test your Designer integration as close as possible. The <pas-child-form> element is preadjusted to use events in order to read the form's data. To test that, add text to the input field, open your browser console and click the submit button (see Starting the Test Application below).
| |||||||||
form-test-wrapper.component.ts | Contains an import of your form component from your library's public-api.ts file and a form variable which allows you to use your component MyFormComponent in the <pas-child-form> element.
| |||||||||
| app.module.ts | Contains an import of @pas/app-core module which makes the <pas-child-form> element accessible.
| |||||||||
| app.component.html | Contains the selector of your form-test.wrapper.component to make your component appear.
|
Starting the Test Application
To start your test application, use:
| Code Block | ||
|---|---|---|
| ||
ng serve my-form-test --configuration development |
This outputs
** Angular Live Development Server is listening on localhost:4200, open your browser on http://localhost:4200/ **
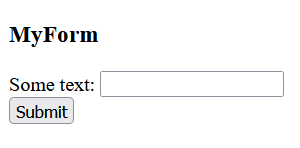
| Open the mentioned URL http://localhost:4200/ in your browser and you will see the following screen: |
| Enter some text in the input field in your form. Open the developer console of your browser and click Submit. The entered text will be displayed in the console. Now you can continue extending your form with individual elements and test them in the Designer. |
Using External Libraries
If you want to use external libraries in your Pro-Code forms, you need to add the external library to your own library project.
| Path | Step | Description | Example Code | |||||
|---|---|---|---|---|---|---|---|---|
| my-lib/projects/my-lib | 1 | Go to my-lib/projects/my-lib and execute the install command for the external library. |
| |||||
| 2 | Adjust the ng-package.json in the library folder to make the external library available for your applications. |
|
Overview
Content Tools