Installing the Builder
Preliminary Considerations
Before installing Builder for MagicDraw 18, make sure that MagicDraw UML 18.0 is properly installed on your system. For more information, refer to Installing MagicDraw 18.0.
Hint concerning Windows systems:
During the installation process, the Builder plugin installer writes some files to the folder to which MagicDraw has been installed. If you installed MagicDraw to C:\Program Files, the installer will not have the rights to write the files.
You can either
install MagicDraw to a folder different to C:\Program Files as suggested in Installing MagicDraw 18.0, step 4,
or start MagicDraw as an administrator to import the Builder plugin
(you will need to provide administration rights on every Builder update),or give your windows user full access to the installation folder of MagicDraw via the folder properties
(you need admin rights for this, but only once, not with every update).
If you want to get the most out of the Builder and inspect the BPMN features of the Quick Start Example, we recommend to also install the NoMagic Cameo Business Modeler Plugin as described on Installing the Cameo Business Modeler Plugin.
Installing the Builder
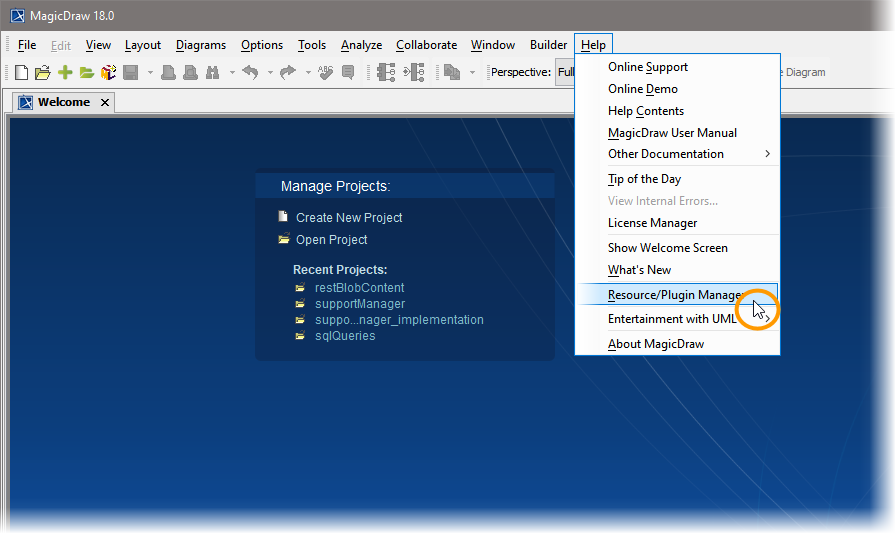
Go to Help > Resource/Plugin Manager:
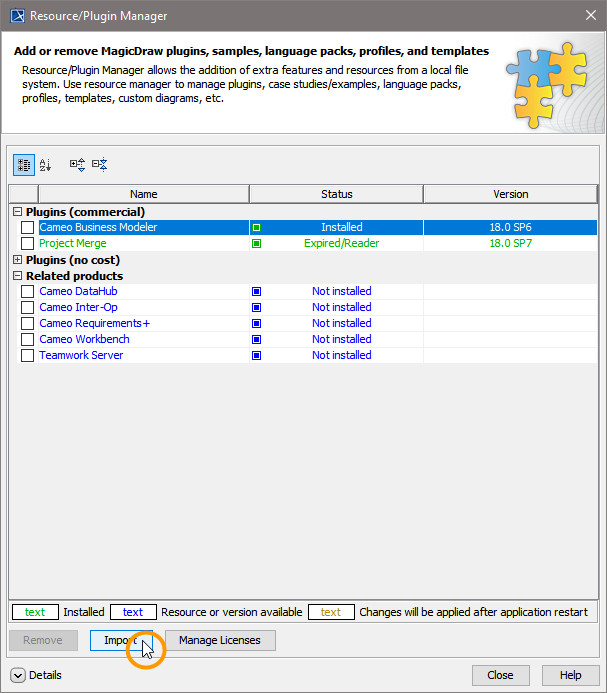
Click Import to choose the Builder plugin ZIP file:
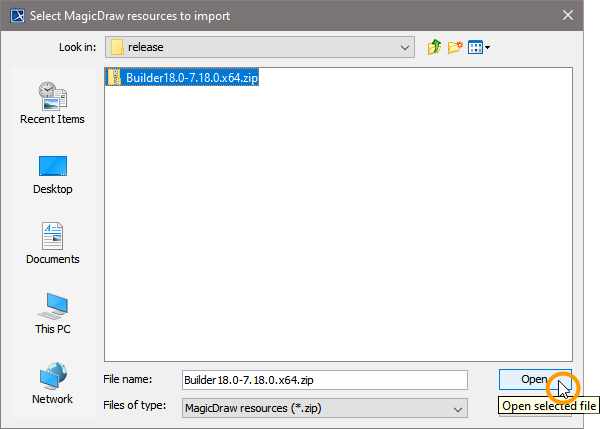
Select the Builder ZIP file you have been provided with. Click Open and wait for the file to be loaded. If you have no Builder installation file, please contact our support.
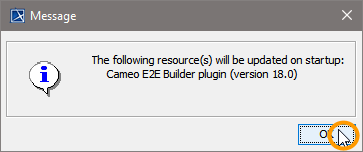
The Builder has been installed successfully and will be available after restarting MagicDraw. Click OK.
The MagicDraw Resource/Plugin Manager shows that the Builder has been installed. Click Close:
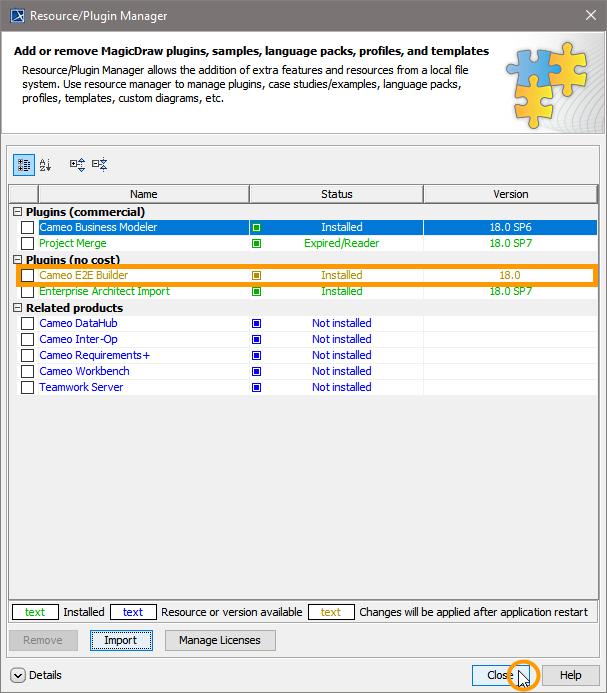
Restart MagicDraw to make the Builder plugin available. If you did not follow the hint on the top of this page, you must provide administration rights on the first restart after installation.
Have fun with the Builder plugin!
The Builder comes with many examples covering all kinds of use cases. If you want some guidance on exploring the Builder, we recommend to extract and open the QuickStart example via Builder > Examples. Alternatively, you could have a look at the examples that are delivered with the Builder.
Refer to Unzipping the Builder Examples for more detailed information on how to access the examples:
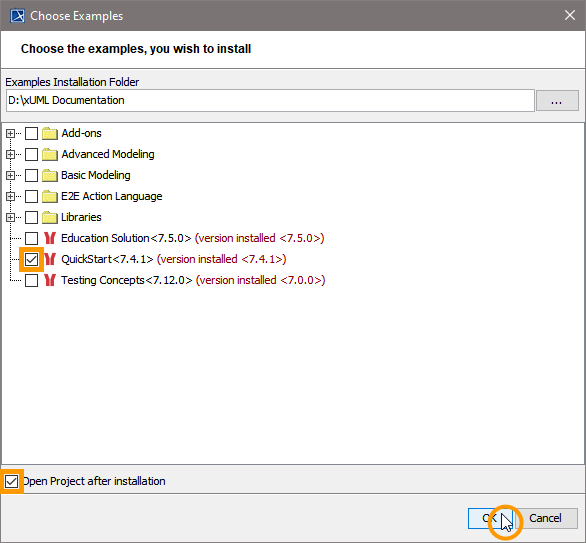
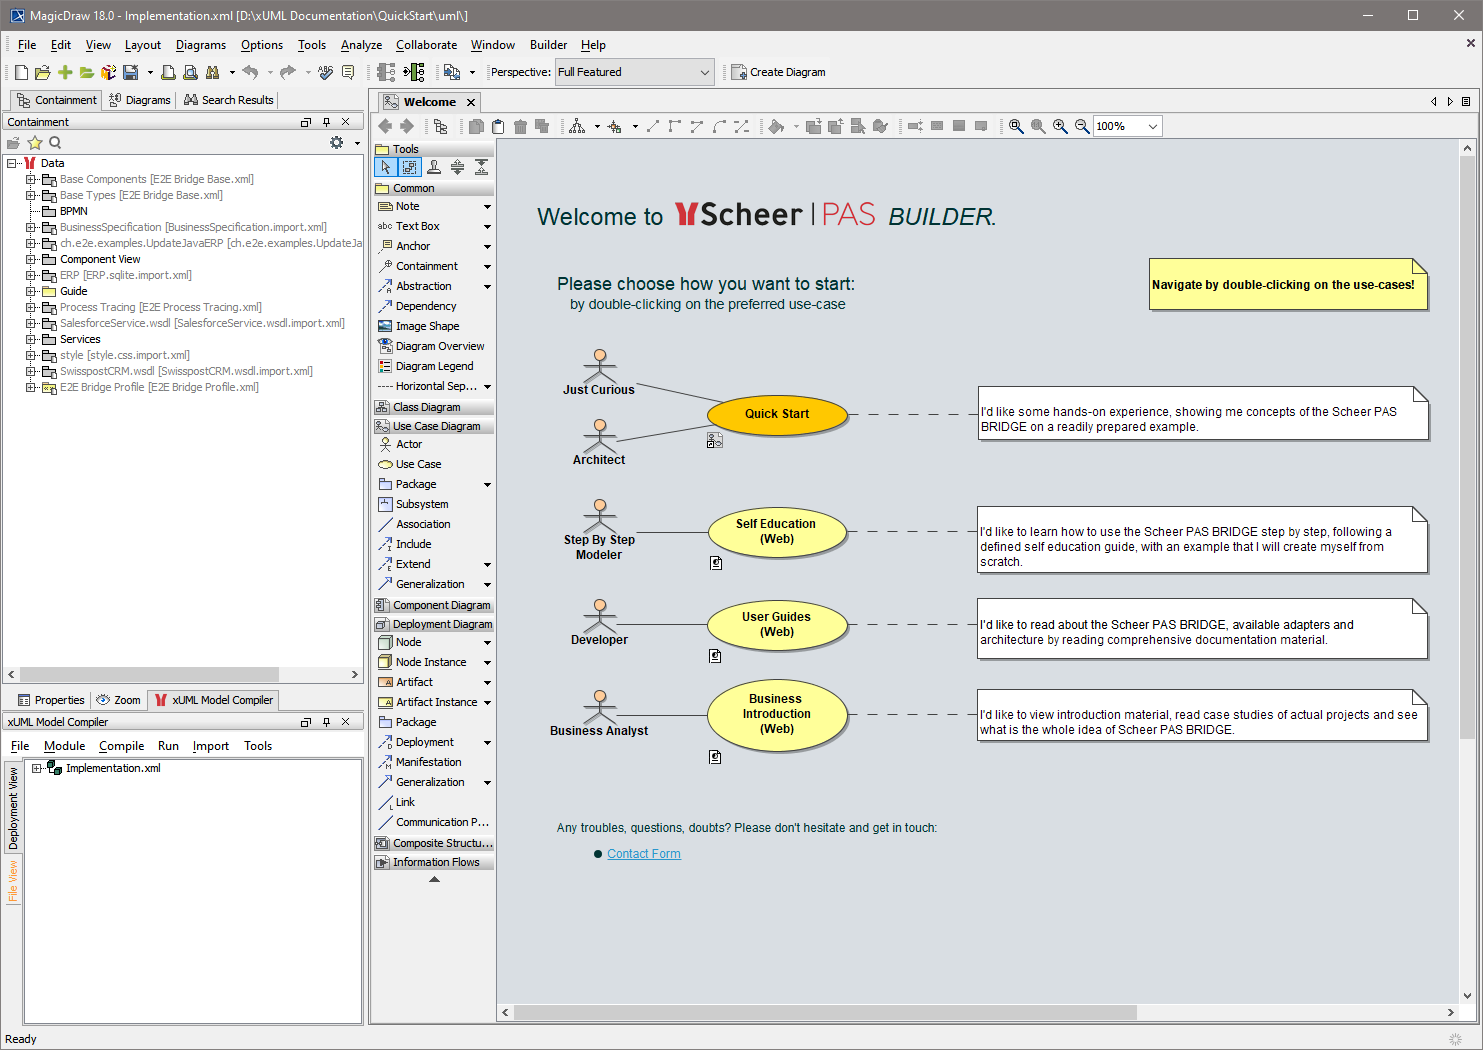
If you chose to unzip the QuickStart example, we recommend to start with the Quick Start use case for an overview on the main concepts of Scheer PAS Bridge on a readily prepared example. Browse through the use cases of the sample model:
