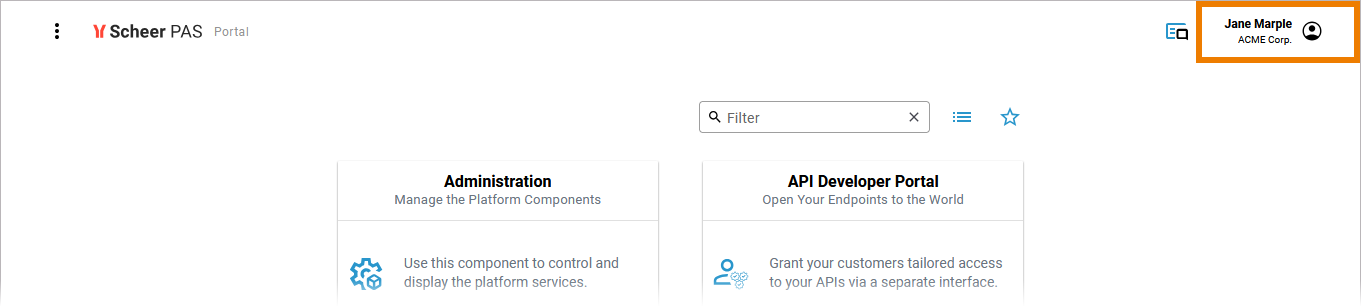
The Header Menu of Scheer PAS
On the right side of the Portal header you can find the header menu. Use the menu to access further functionalities:
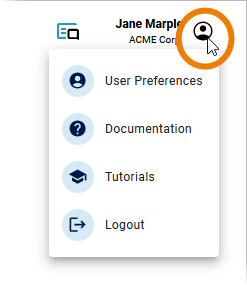
Open the drop-down menu next to your user name to access all menu options:
|
Icon |
Description |
|---|---|
|
|
User Preferences
|
|
|
Documentation
|
|
|
Tutorials
|
|
|
Logout
|
Showing the User Preferences
The user preferences open in a pop-up window. The pop-up contains several tabs:
-
User Data
-
Organization Data
-
Change Password
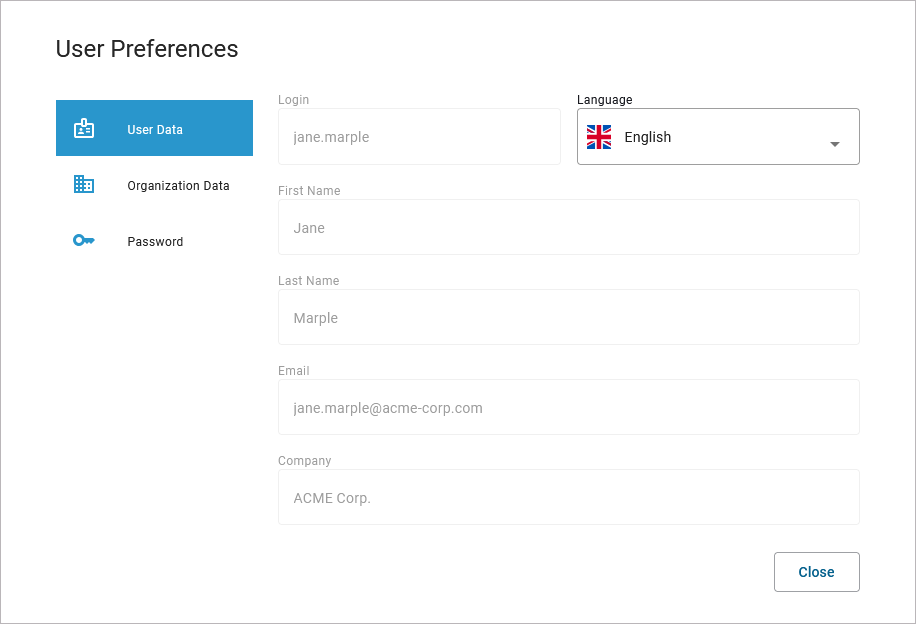
User Data
Tab User Data shows the user-related information of the current user in read-only mode:
-
Login
-
First Name
-
Last Name
-
Email
-
Company

The user-related information is managed in the user adminisration. Refer to Managing Users in the Administration Guide for details.
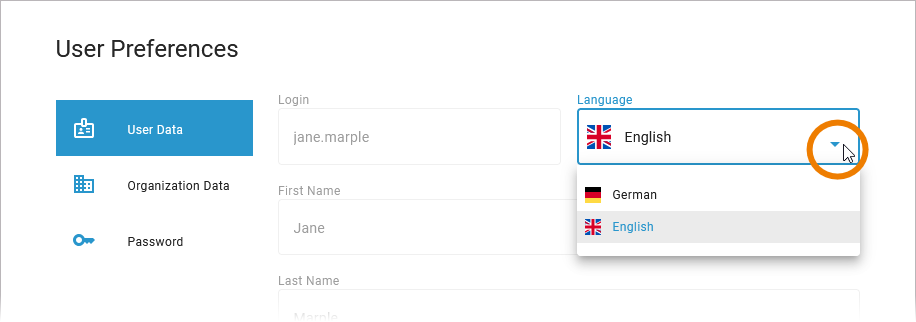
Changing the Display Language
You can adapt the display language of the PAS platform in the user preferences. Click option Language Selection and select the display language you want to use. In the default configuration the languages English and German are supported:
It is possible to add more languages to your Scheer PAS configuration. Refer to Customizing PAS in the Administration Guide for further information.
Organization Data
Tab Organization Data shows the organization-related information of the current user in read-only mode:
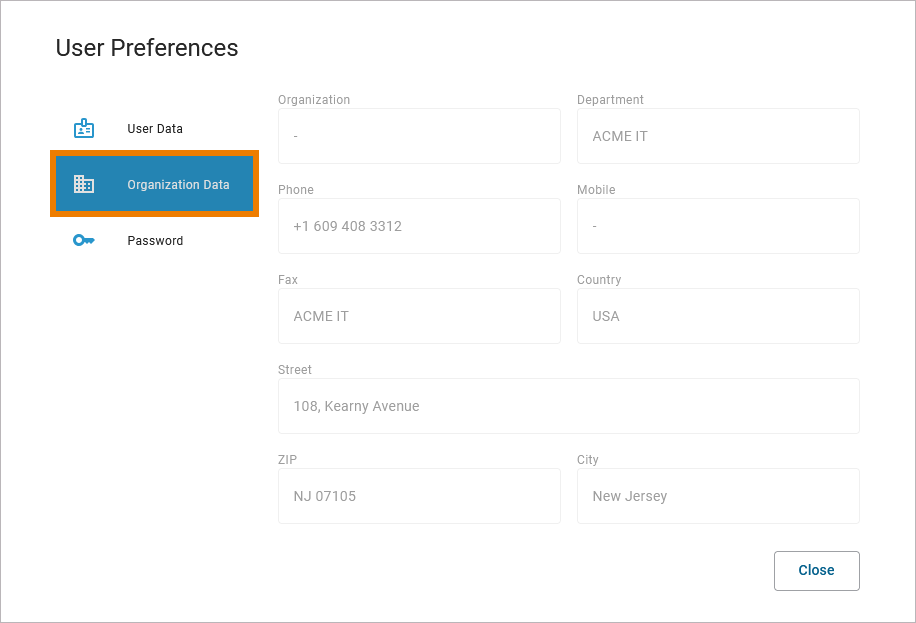
The organization-related information is managed in the user administration. Refer to Managing Users in the Administration Guide for details.
Password
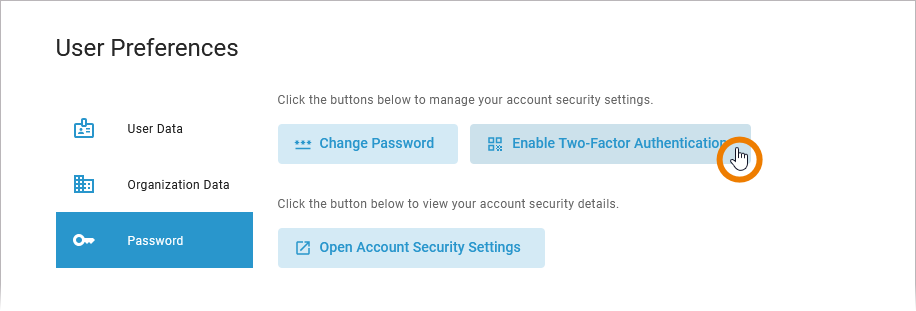
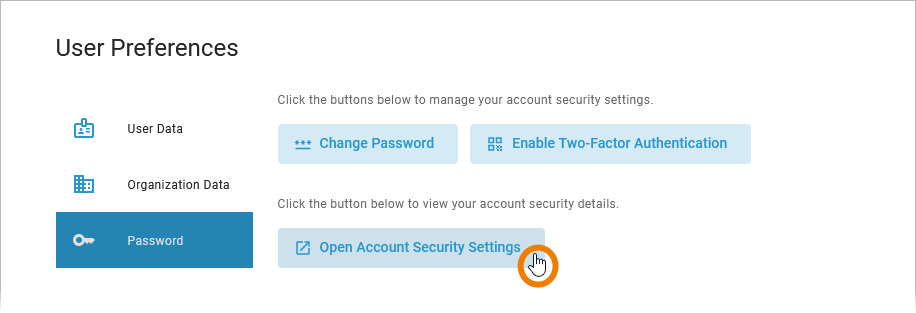
If you want to manage the security settings for your PAS account, select tab Password:
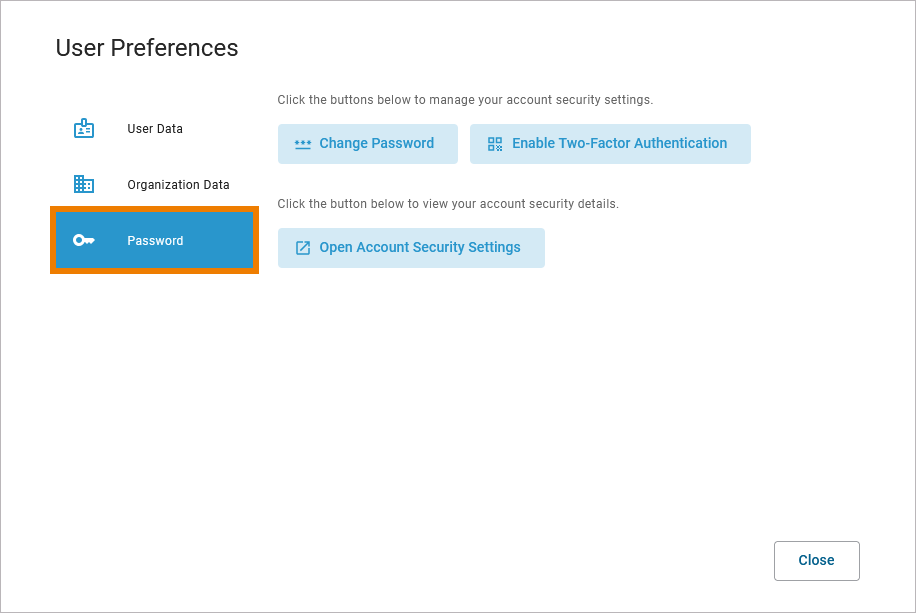
You have now multiple options
-
Change Password
-
Enable Two-Factor Authentication
-
Open Account Security Settings
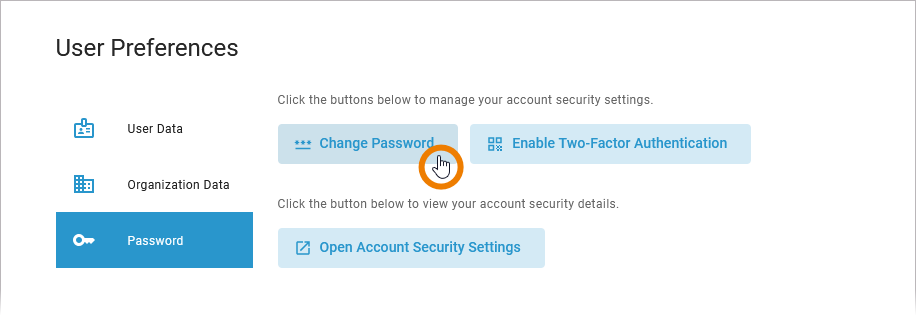
Changing the Password
If you want to set a new password for your PAS account, select option Change Password:
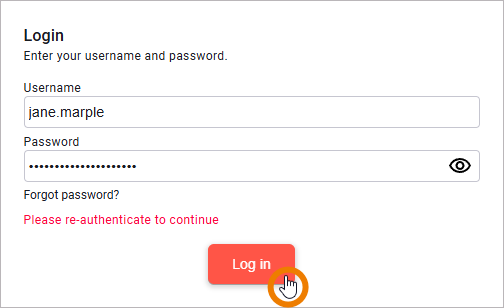
You will be redirected to the PAS login page where you need to re-authenticate with your current credentials:

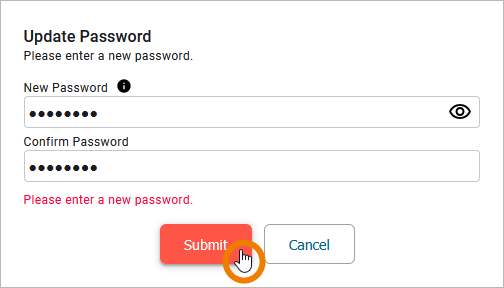
In the next window, enter your new password and confirm it in the second entry field. Click on the eye icon to make your entries visible:
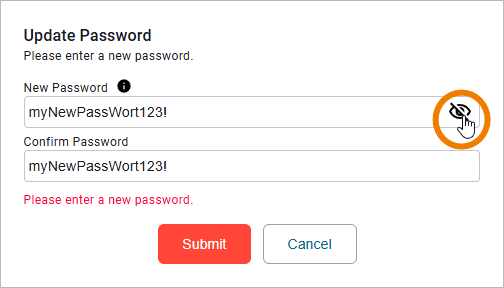
Your new password must meet the password criteria. Hover over the information icon to check these:

If you have finished your entries, click Submit:
If your entries are not identical or do not meet the password criteria, the input fields will be cleared and a corresponding error message will appear:
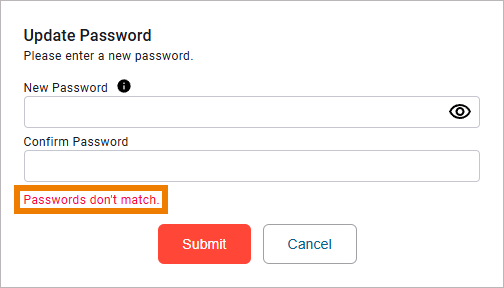
In that case, please try again with a valid entry. After correct entry and successful transmission, you will be redirected back to the last application you opened.
Enabling Two-Factor Authentication
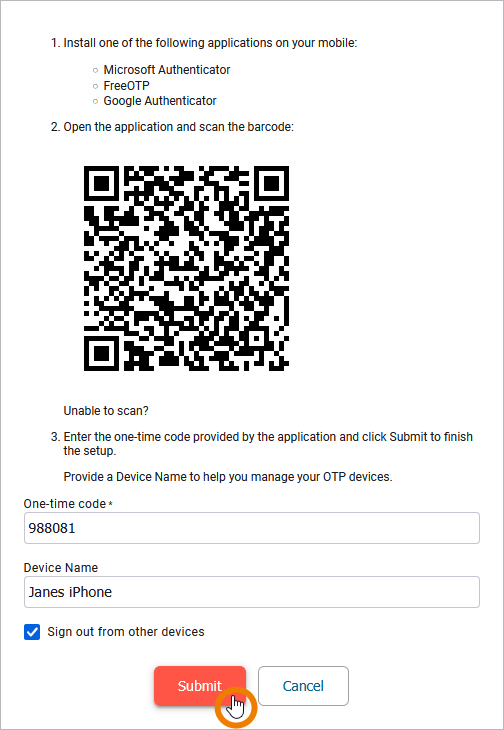
To be able to use two-factor authentication, you need to install one of the following applications on your mobile device:
-
Microsoft Authenticator
-
FreeOTP
-
Google Authenticator
If you want to enable multi-factor authentication for your PAS account, select option Enable Two-Factor Authentication:
You will be redirected to the PAS login page where you need to re-authenticate with your current credentials:
Follow the steps displayed in the next window. Start by scanning the barcode with your authentication app, then enter the one-time code provided in the field below. We recommend that you also specify a name for the mobile device you are using. This will help you manage your devices more effectively. Click Submit when you have finished:
After successful transmission, you will be redirected back to the last application you opened.
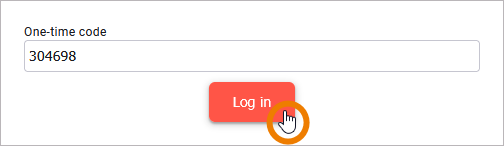
The next time you log in, you will be asked for the one-time code in addition to your login credentials:
Managing the Account Security Settings
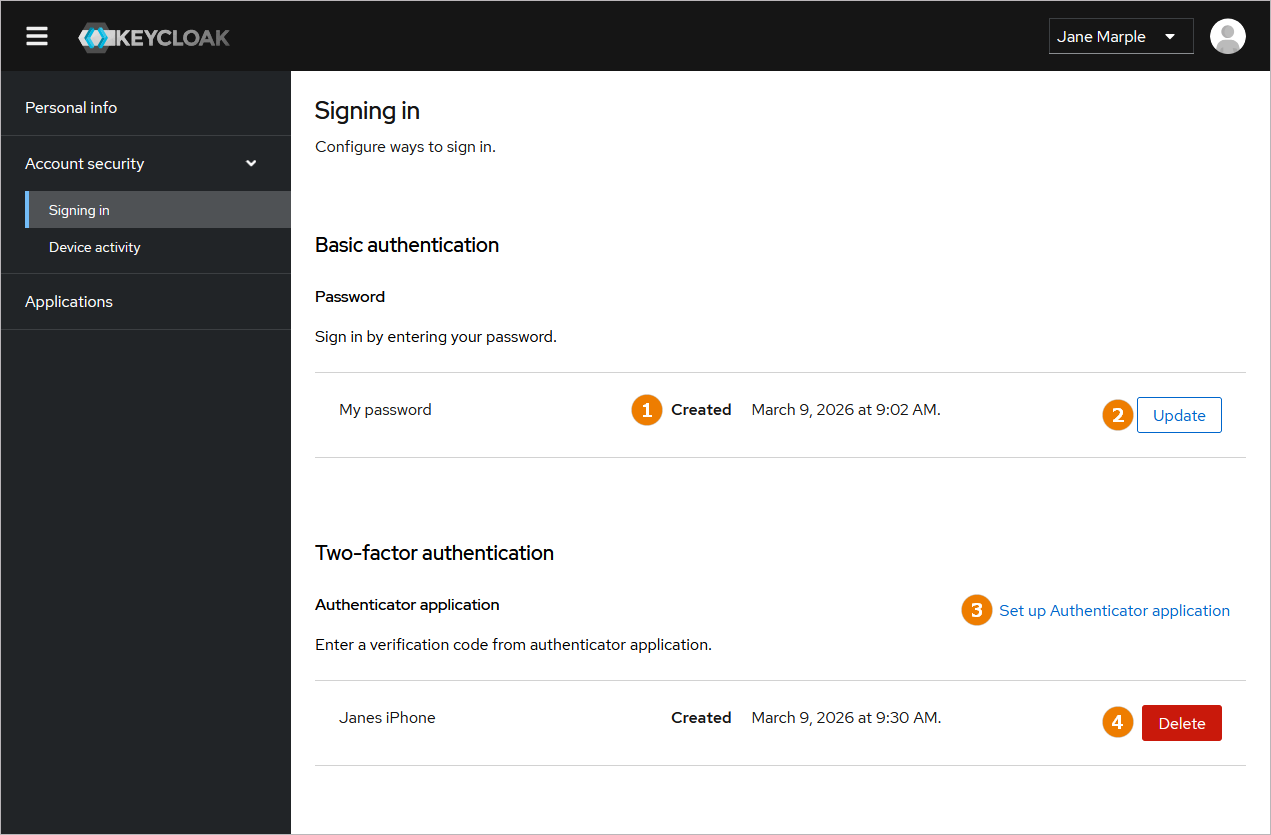
If you want to manage the security details of your PAS account, select option Open Account Security Settings:
You will be redirected to the Account security tab in the Scheer PAS Identity Management (Keycloak). On this page, you have the following options:
(1) You can see when your password was last updated.
(2) You can also change your password from here. Click Update to start the action.
(3) You can add set up (another) authenticator application. Use the link Set up Authenticator application.
(4) You can remove an already set up authenticator application. Click Delete to start the action.
Refer to Working with the Identity Management for more information on how Scheer PAS uses Keycloak.
Related Content
Related Pages: